Vector first gained our attention with their Desk PC named the Belladonna during our first event coverage of PC Expo 2013 held at Mid Valley. Today, we have something more portable in our labs in the form of a Test bench – the latest product from Vector, the Benchcase.
(SRP for the Vector Benchcase: RM534.00)
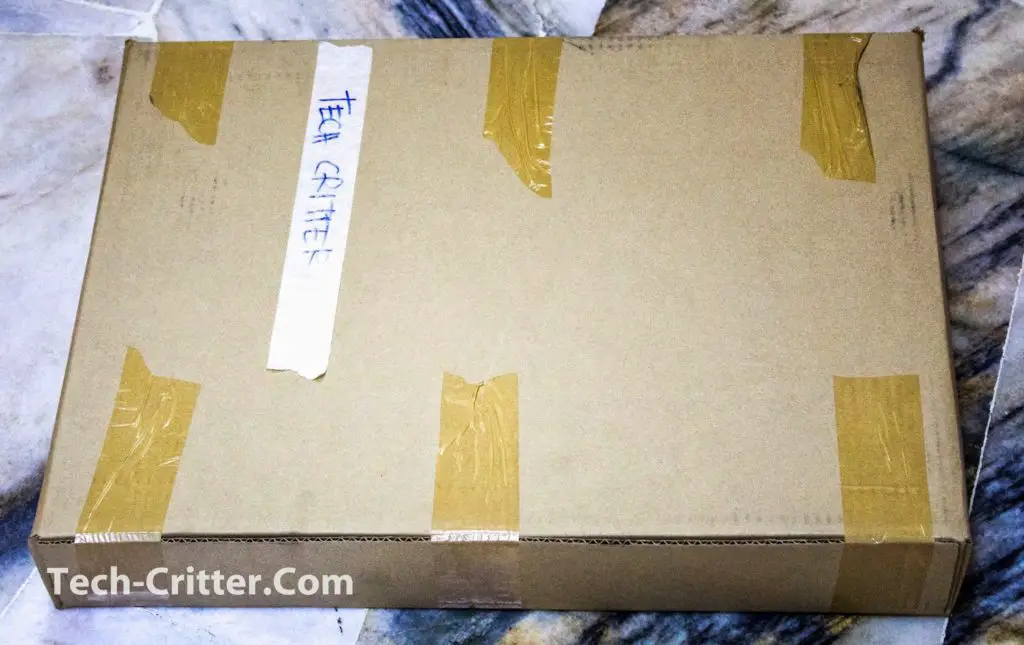
Our first look at the package, the first level protection is a plain cardboard box to contain the bench case.
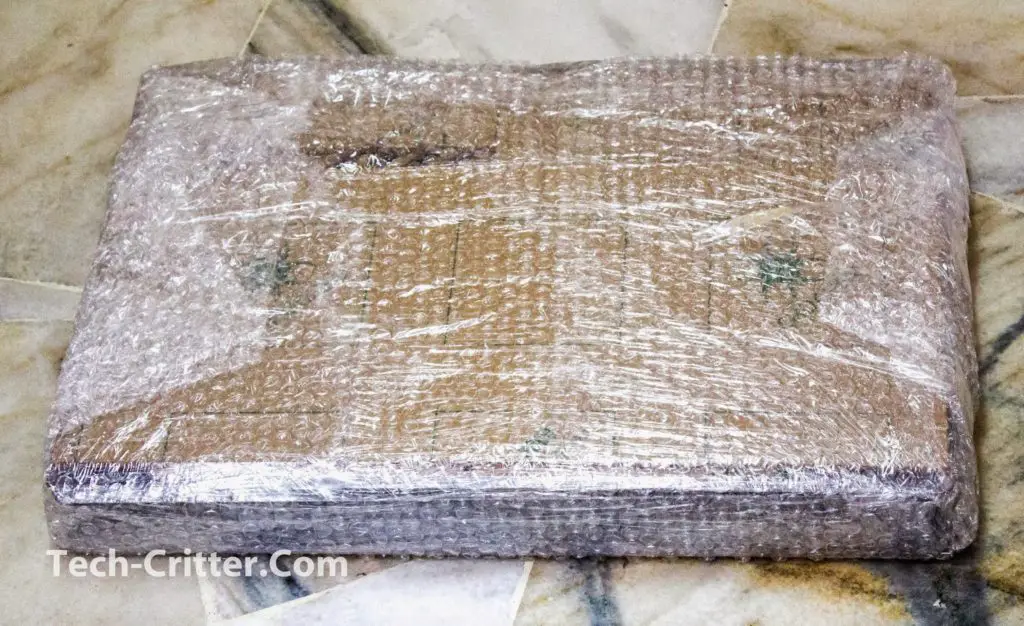
The second level protection, protective bubble warp for minimal protection against impact.
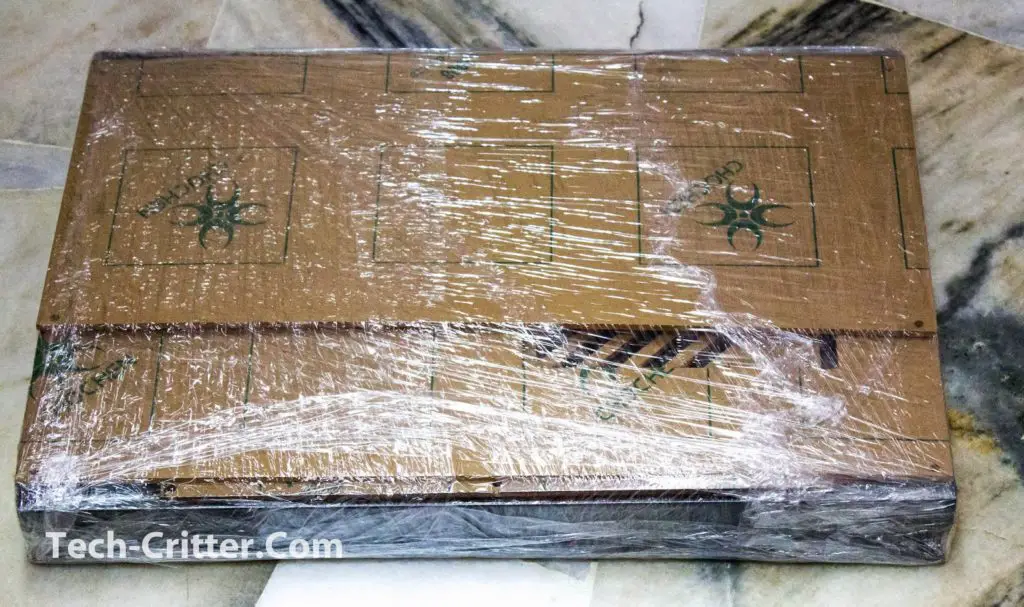
The final stage, packaging film to held everything together.

The parts were all carefully wrapped in packaging film, but unwrapping all of it is a little tedious.

We resorted to a blade to speed up the unwrapping process.
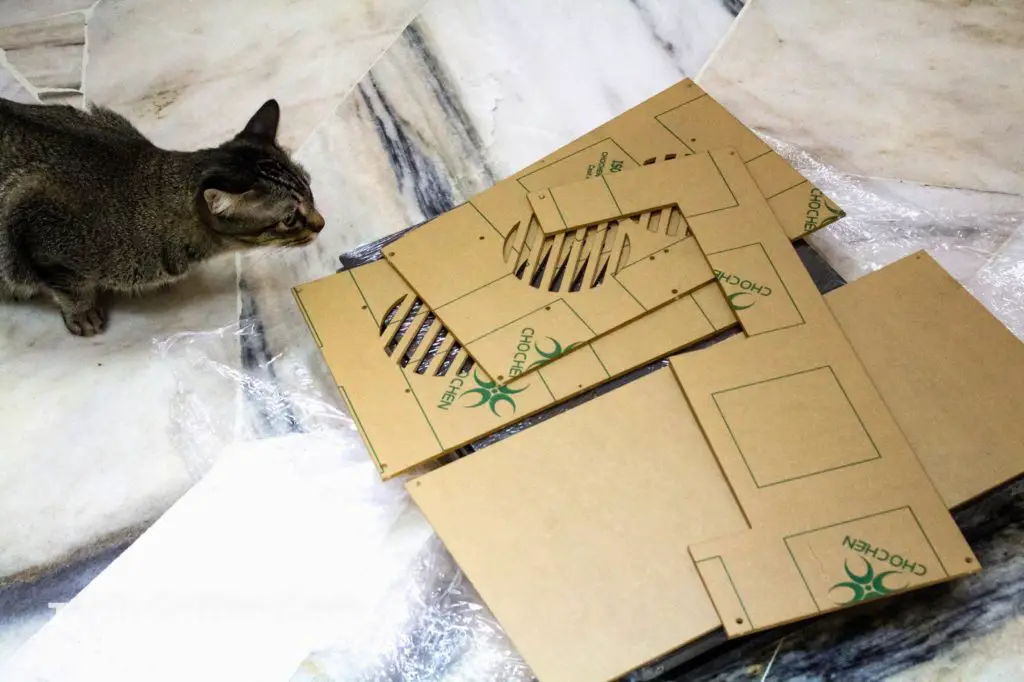
Sorry to disappoint you Bebe (the cat), but these are the parts for the acrylic cover.Accessories
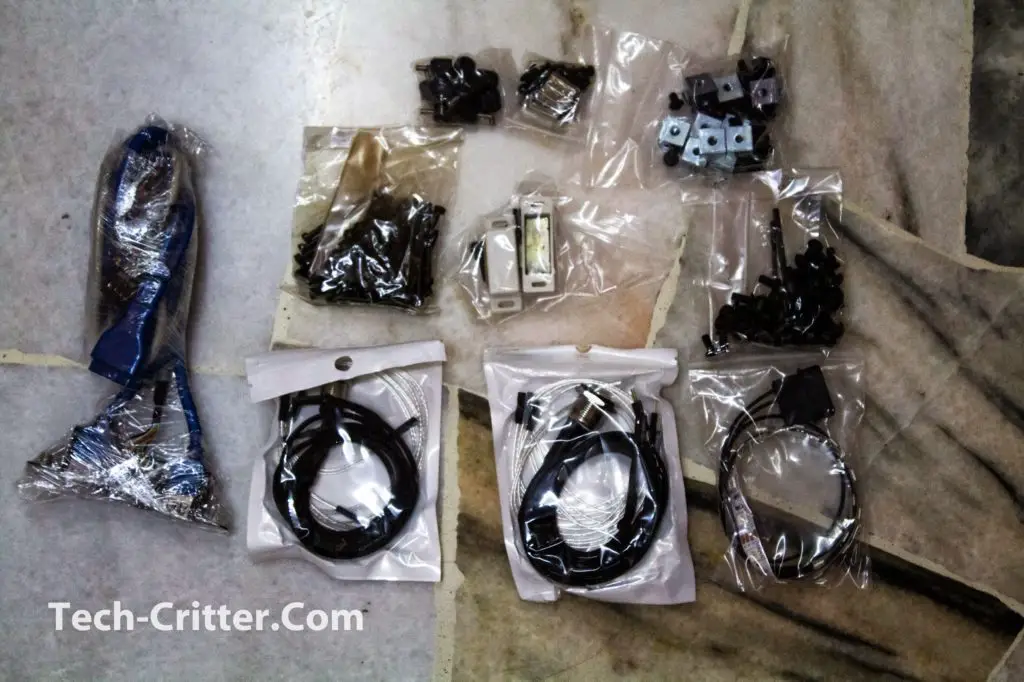
The included accessories are listed below:
- I/O Panel with USB 3.0 and Audio Jacks
- Power button with extension cable
- Reset button with extension cable
- LED powered by 4-pin molex connector
- Magnets
- Corner cubles for the acrylic cover
- Tons of screws
Assembling
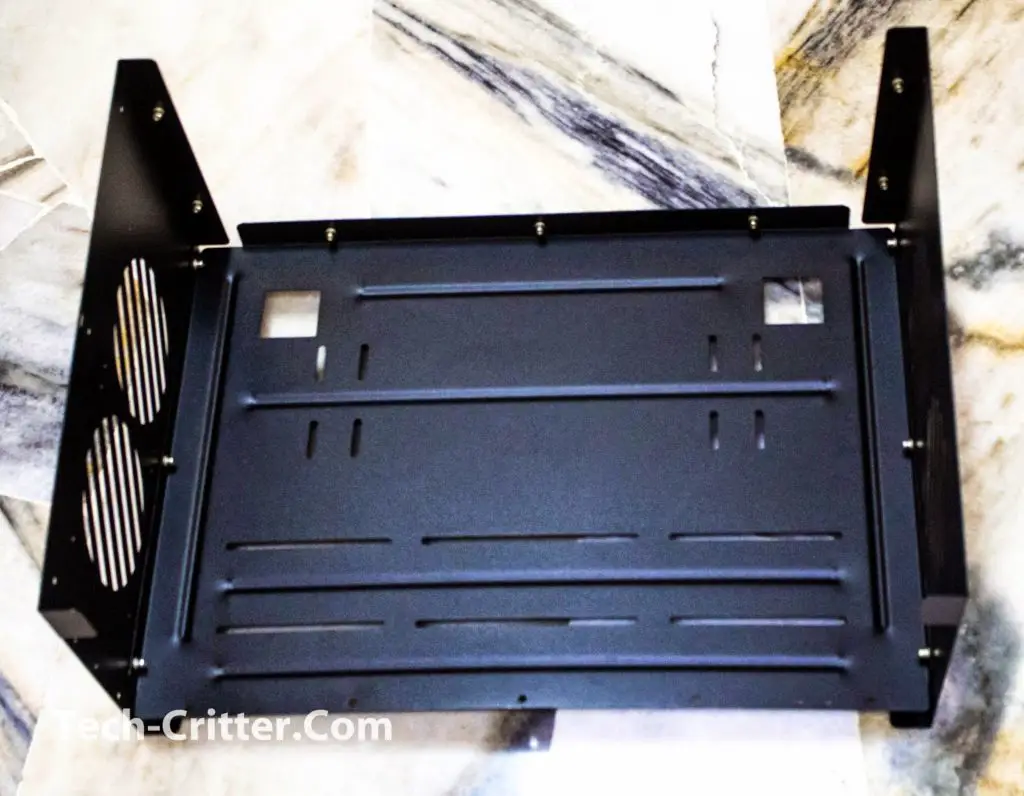
We started off by putting together both side pieces and the bottom piece with the M4 hex screws provided. It’s a little wobbly now but nothing much to worry about as everything will be fine once it all comes together.
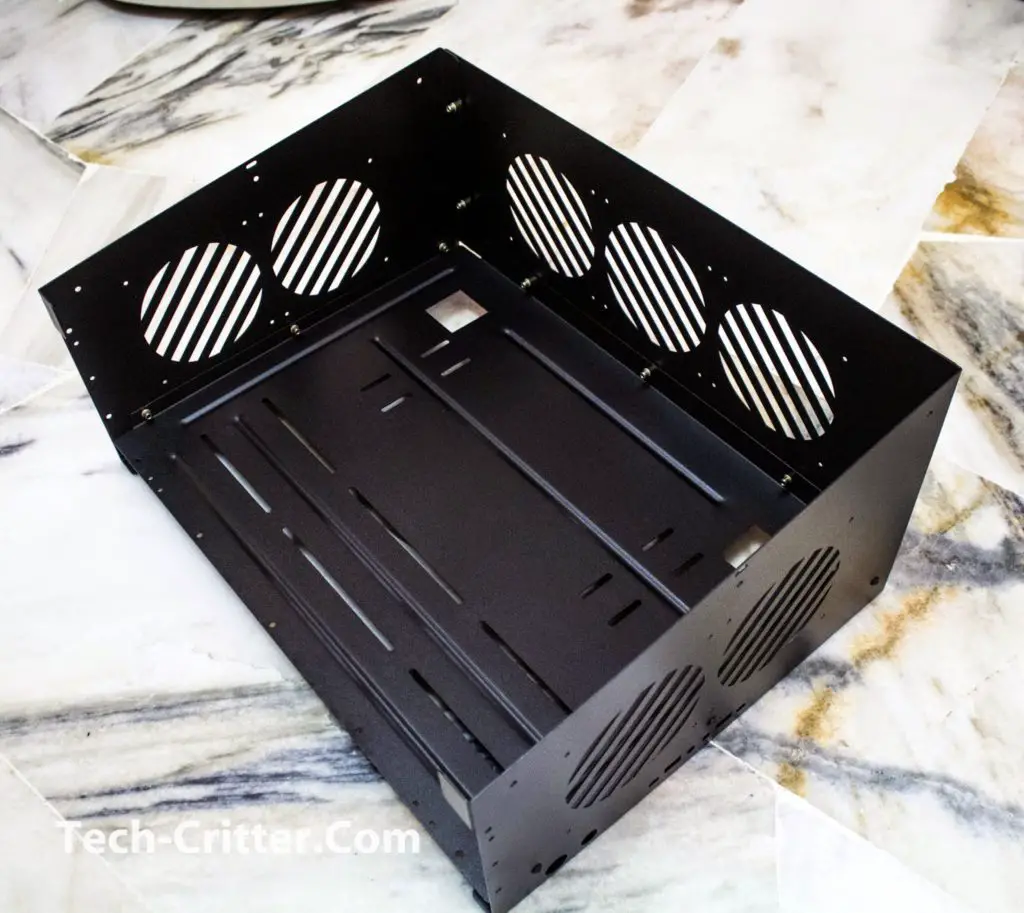
Once these 3 pieces is secured, it should looks exactly like above. Both side pieces can be mounted with a pair of 120mm fans each, or a 240mm radiator if you’re planning on a watercooling setup for your build.
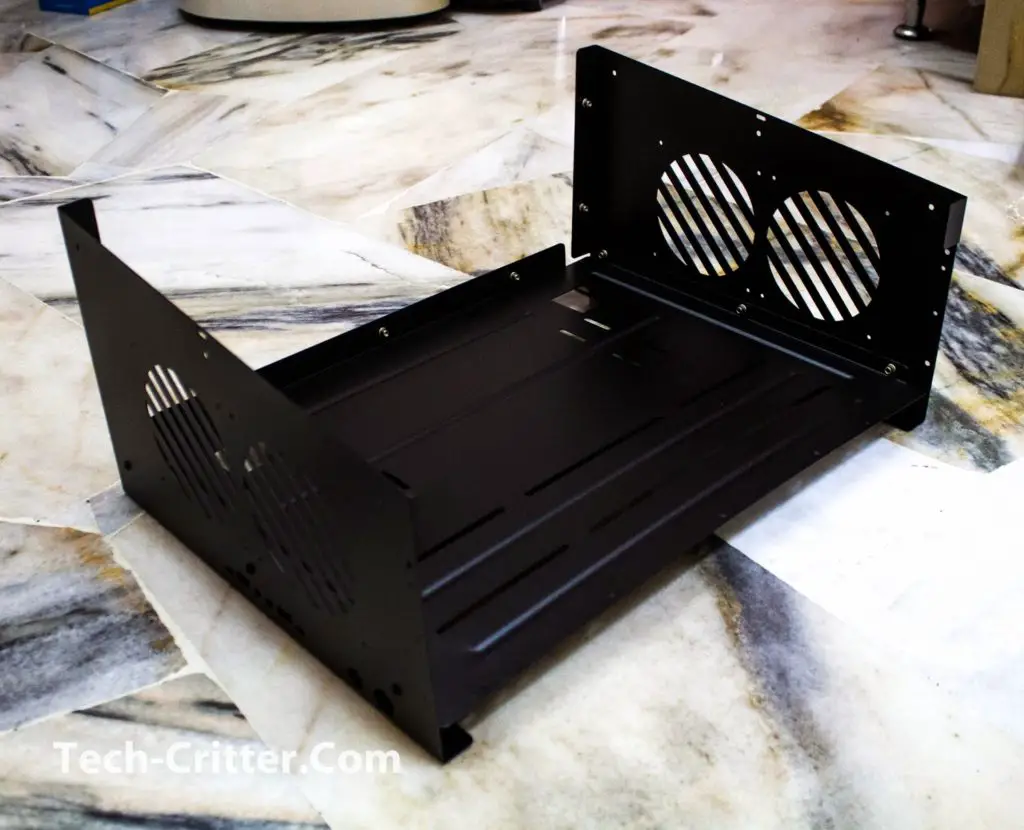
Up next is the rear piece, this one allows you to mount up to 3 pieces of 120mm fans or a 360mm radiator for watercooling setup.
The bench case is taking its shape now.
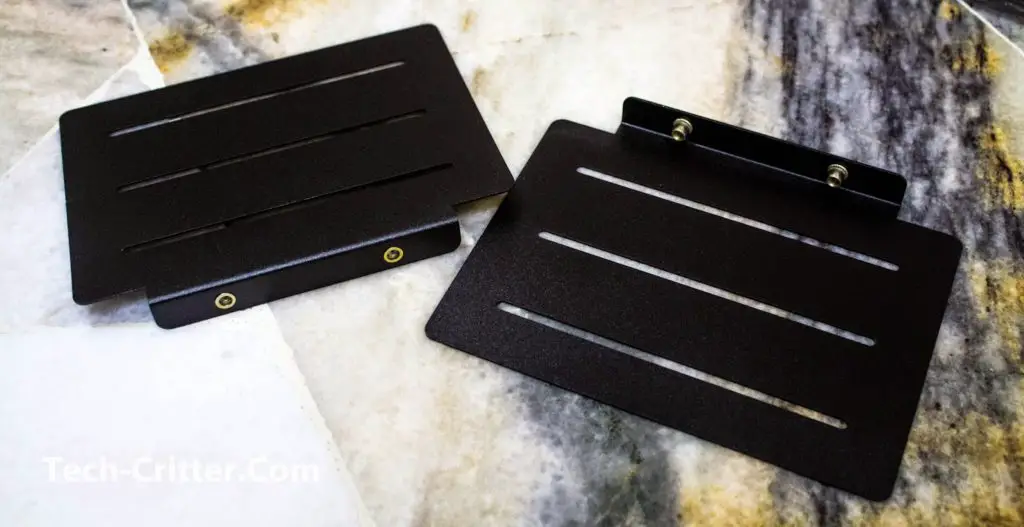
This will be the PSU bracket to the power supply unit in place.
The hard drive mount supports up to 3 drives, an additional layer of anti-vibration foam would make things even better.
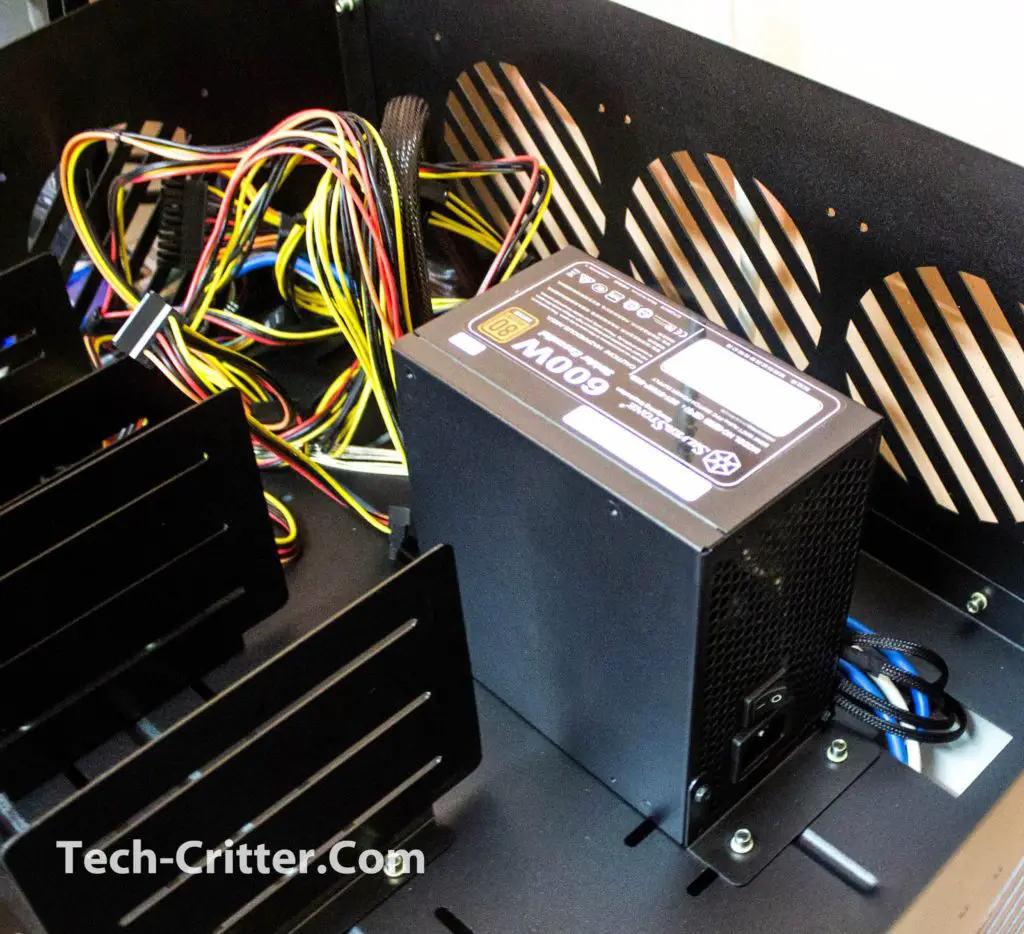
A quick glimpse on how it looks like with the power supply unit and hard drive mount installed.
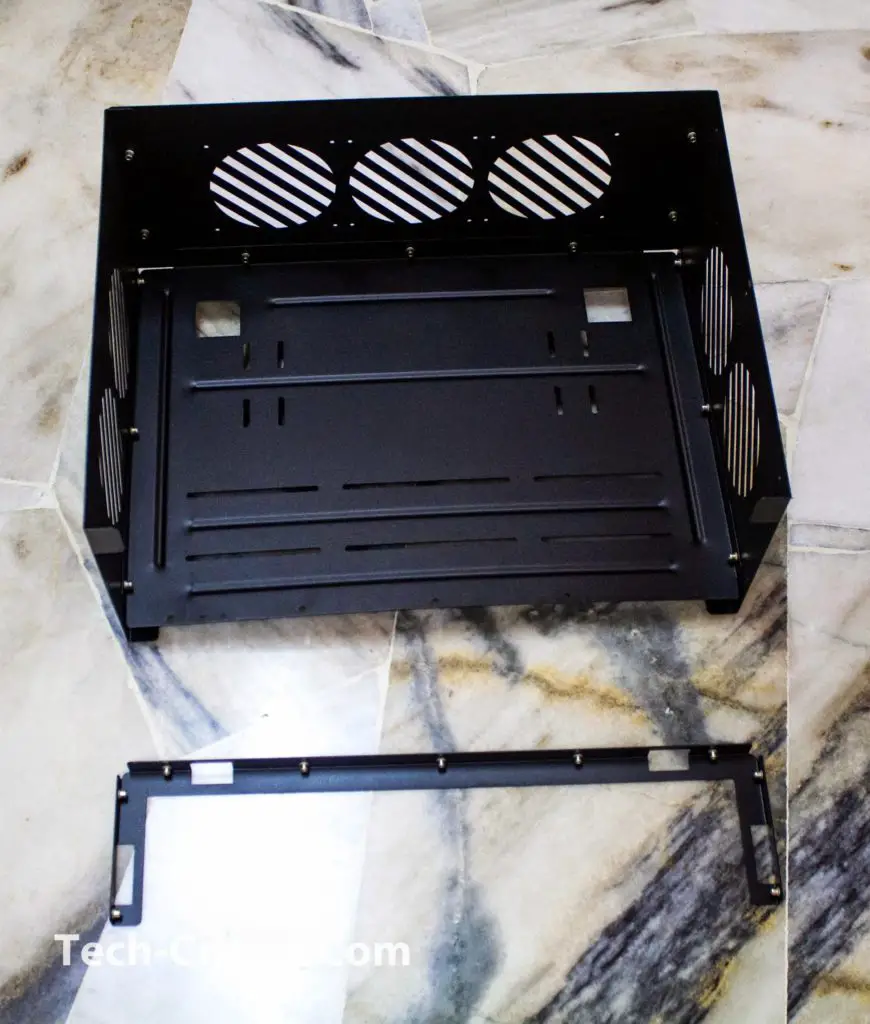
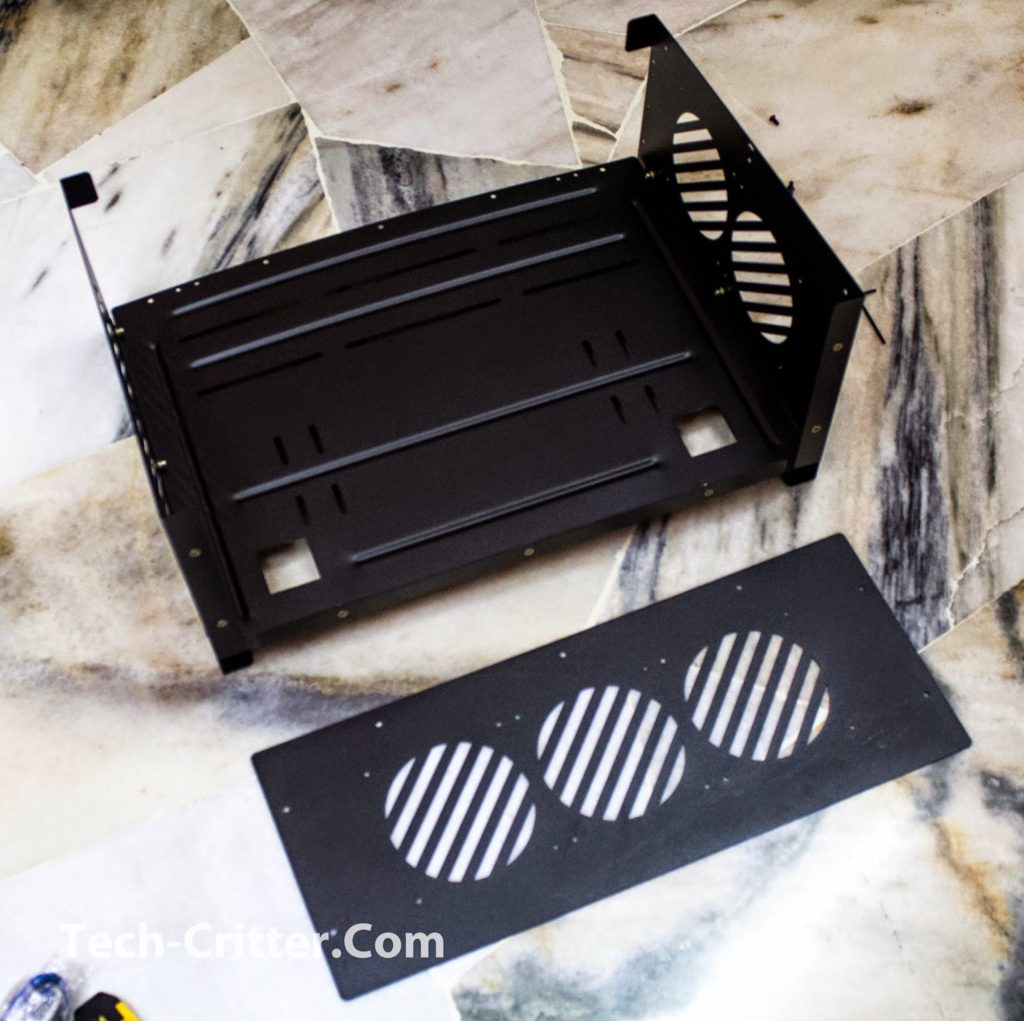
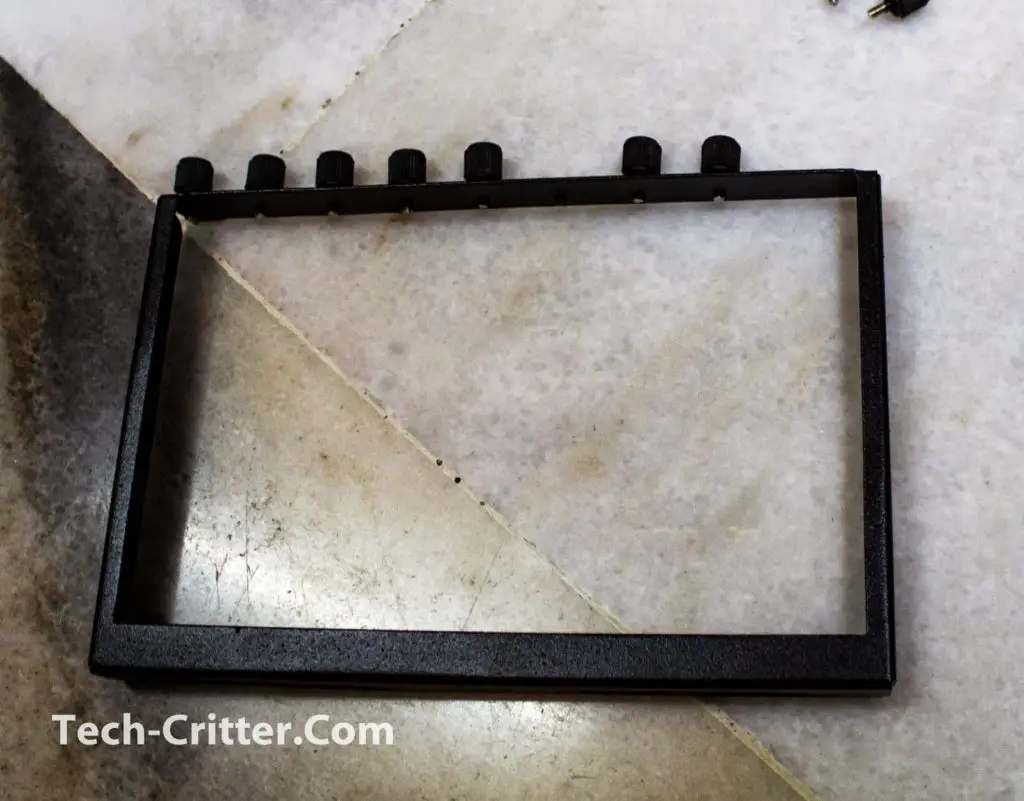
Moving on with the front frame, this has to be installed before you can install the front cover and motherboard tray. You’ll need 9 M4 screw for this little piece… I sure hope that’s all necessary.
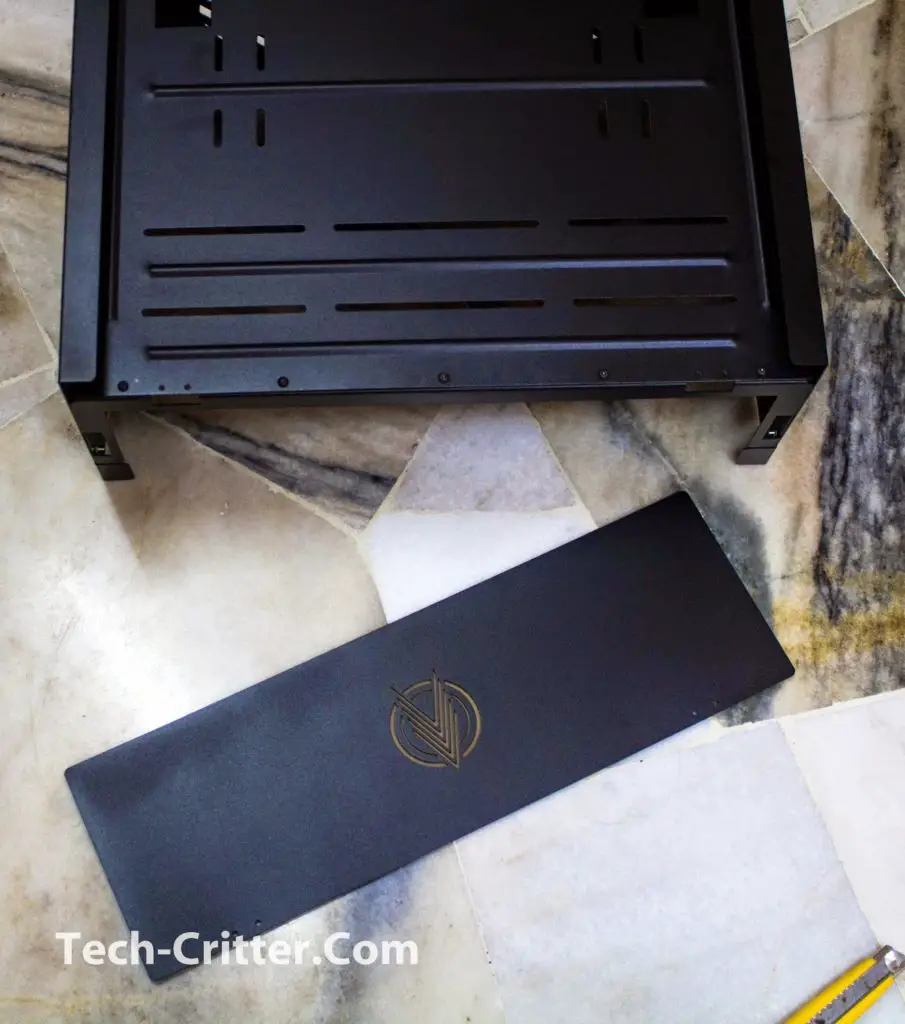
Once the frame is installed, the front cover can be installed with the hinge provided.
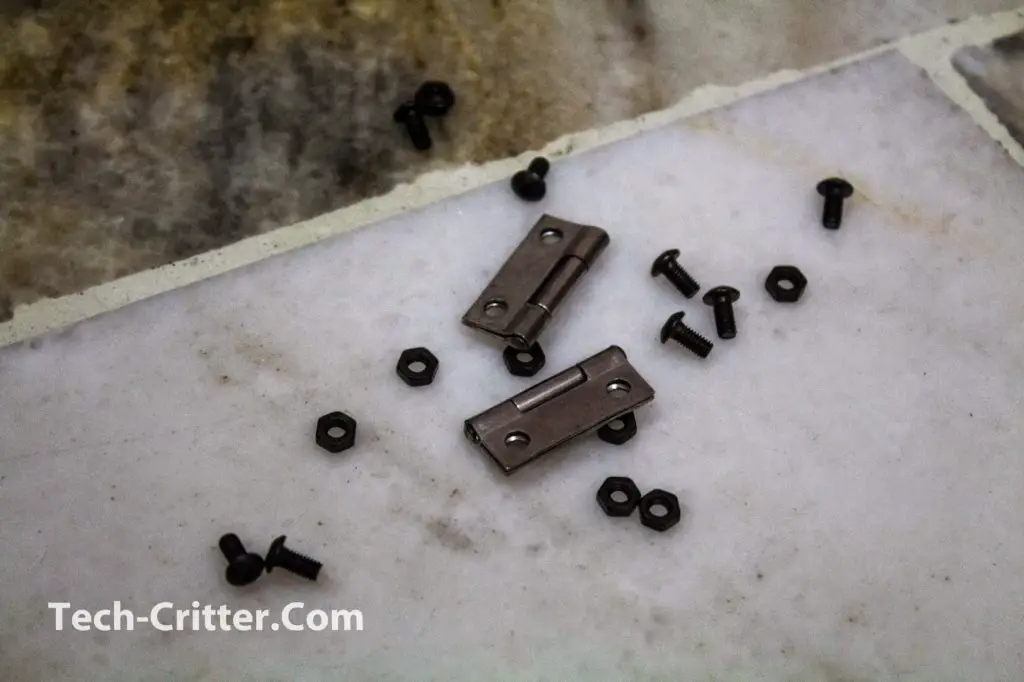
The included hinge, installation is a little troublesome as the bolts and nuts provided is pretty small in size.

Do be careful to not over fasten the bolts and nuts as it might damage the hinge – you don’t want that to happen!
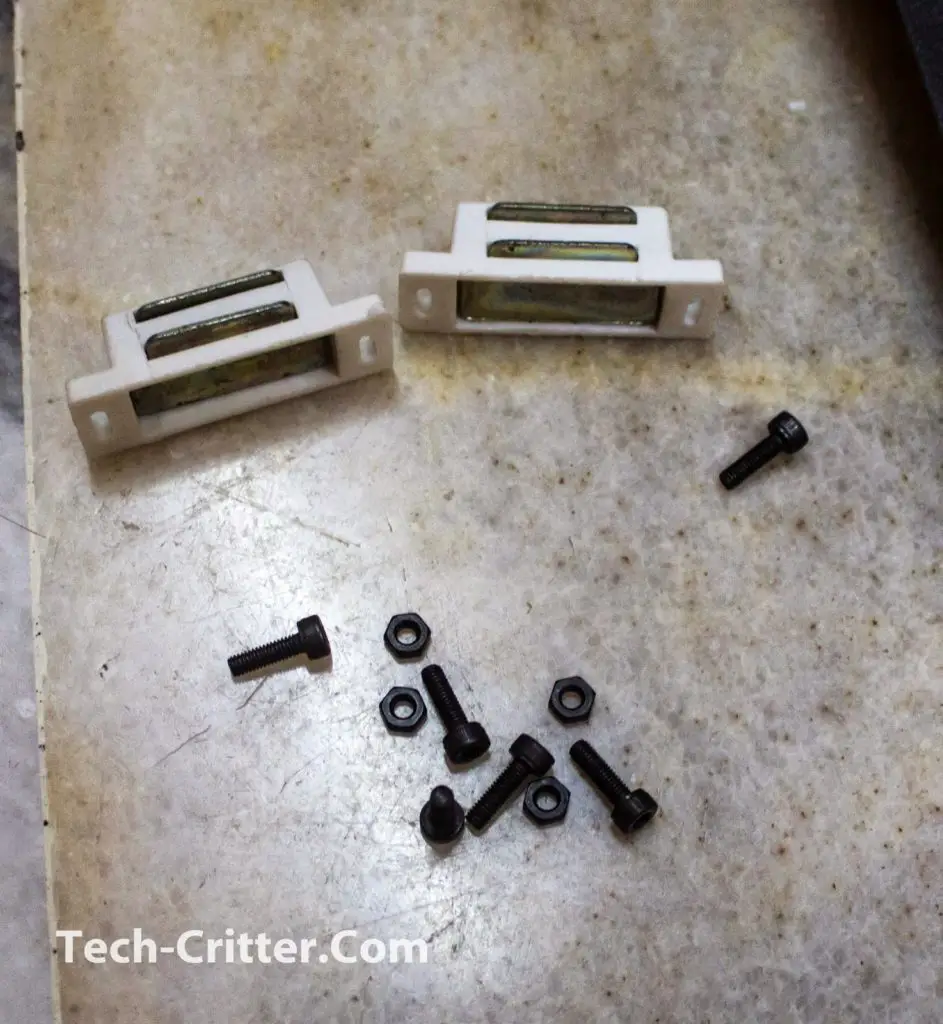
The magnet pieces to hold the front cover in place, looks like the ones used on plywood furniture.
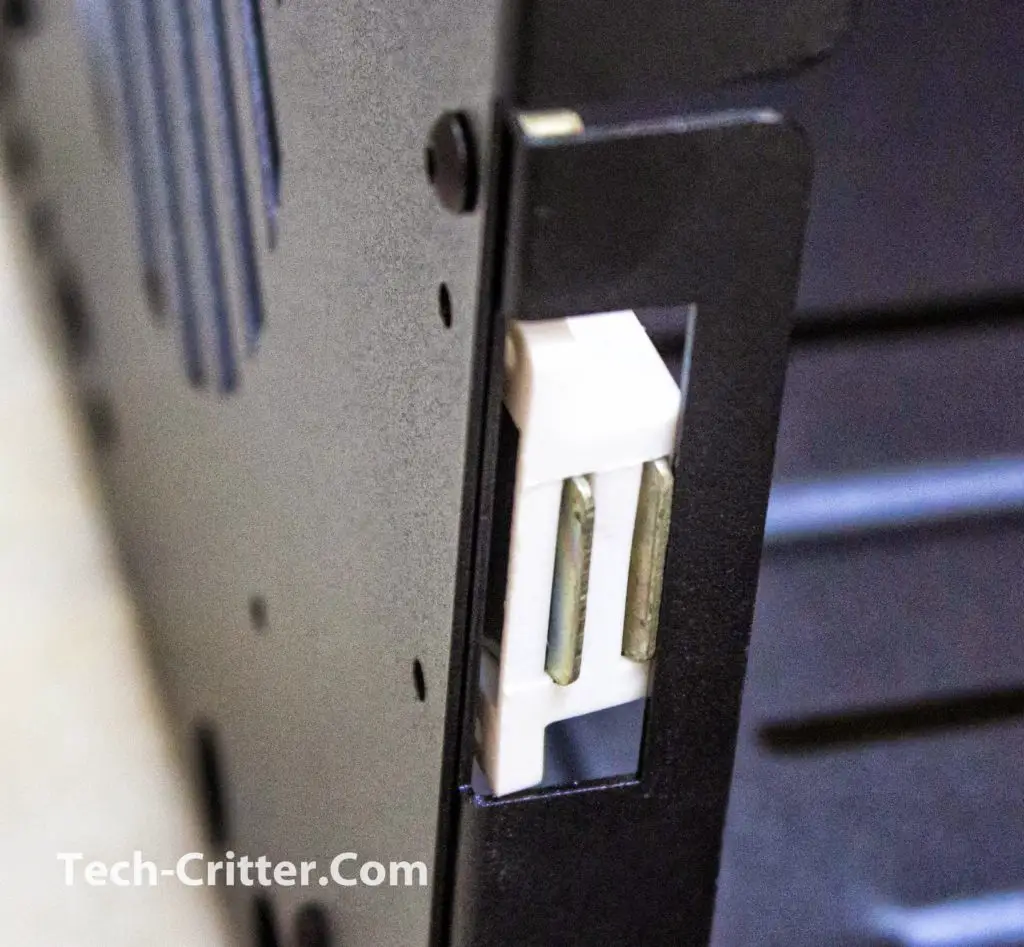
We must admit that the magnet looks unmatched on the bench case, but there’s nothing much to worry about as it’ll be hidden under the front cover.
The I/O panel kit consists of 1 x USB 3.0, 1 x USB 2.0 and audio jacks for headphone and microphone.
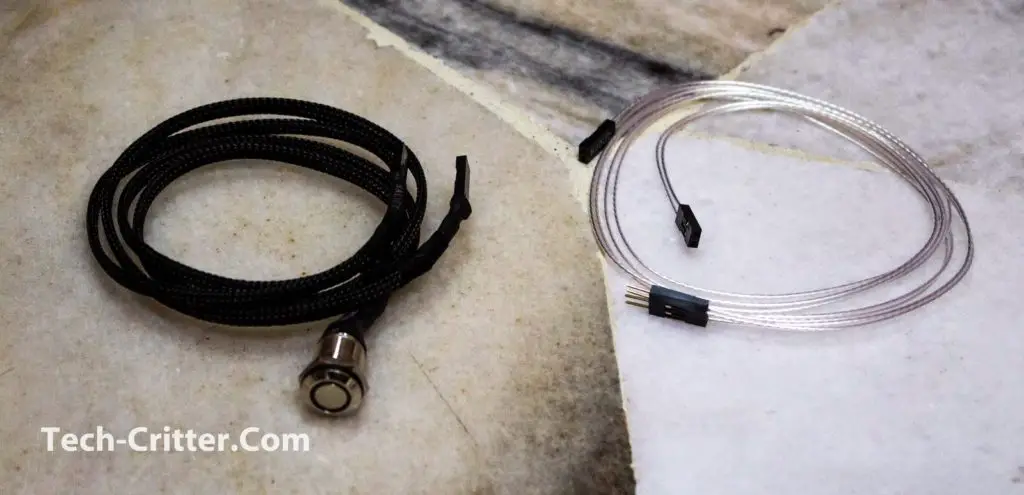
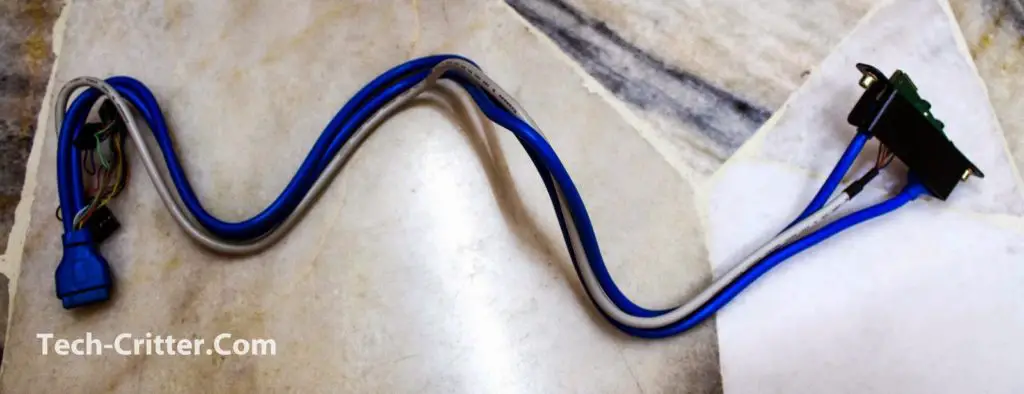
The power/reset button cable kit with its 2-pin to 2-pin internal header extension cable – that silver plated copper wire looks really good!

The power/reset button and front I/O panel kit can be installed on either left or right side of the bench case, but we will recommend installing it at the left as it’s the nearest route that doesn’t requires and extension cable.
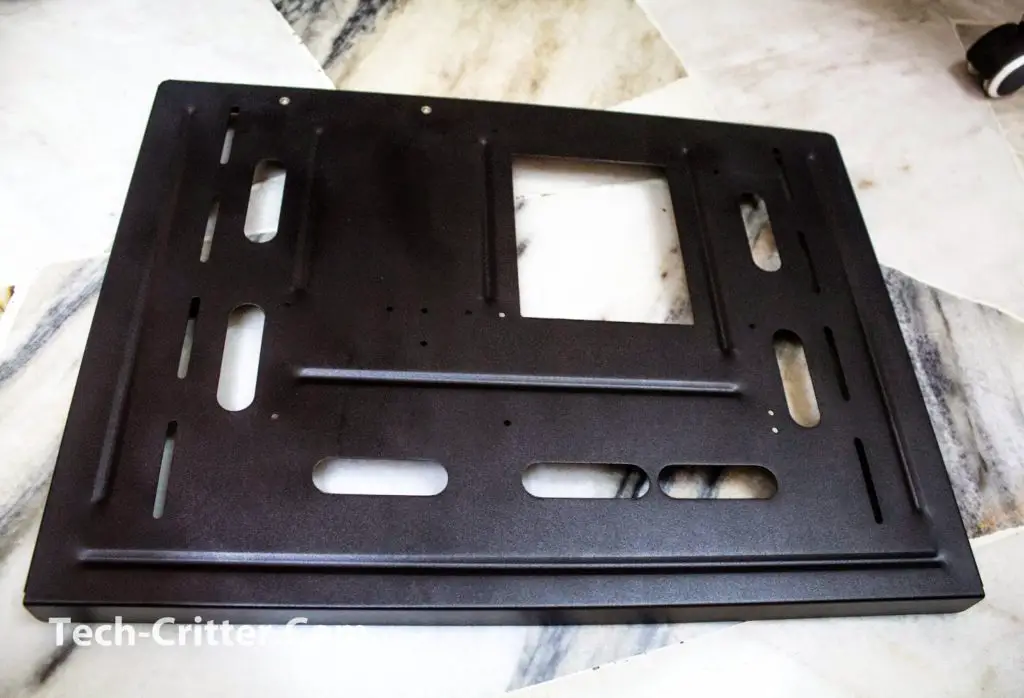
Once the base is ready, you’re good to go with the motherboard tray. The motherboard tray supports up to ATX sized motherboards and it comes with a standard cutout for cable routing.

The screws and standoffs for motherboard installation.
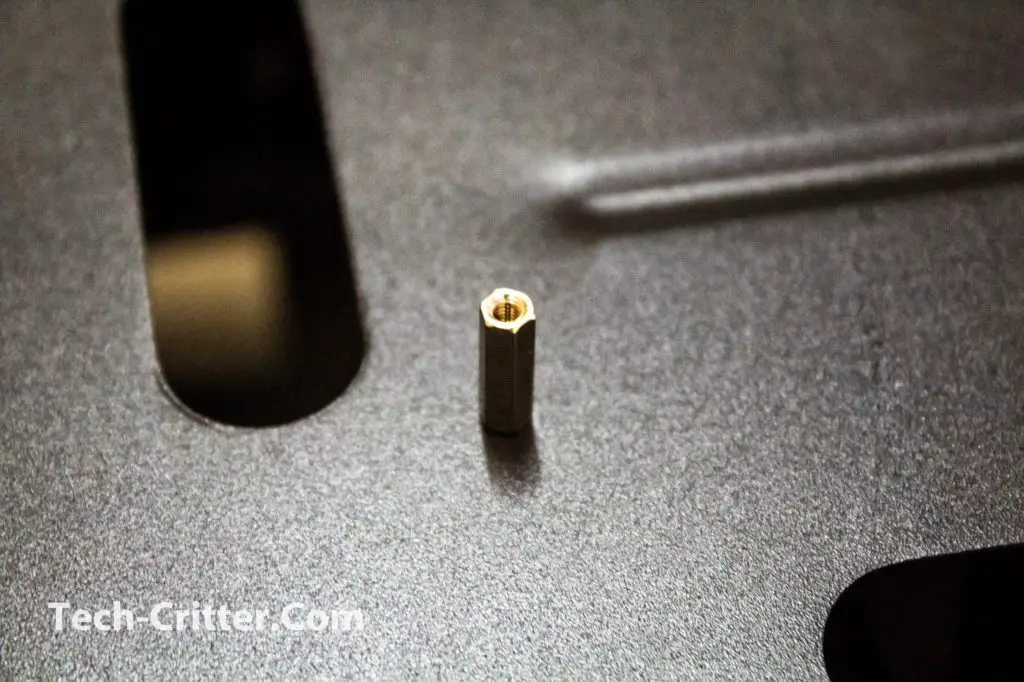
The standoffs has to be secured from both sides but good thing that the installation doesn’t causes much trouble.
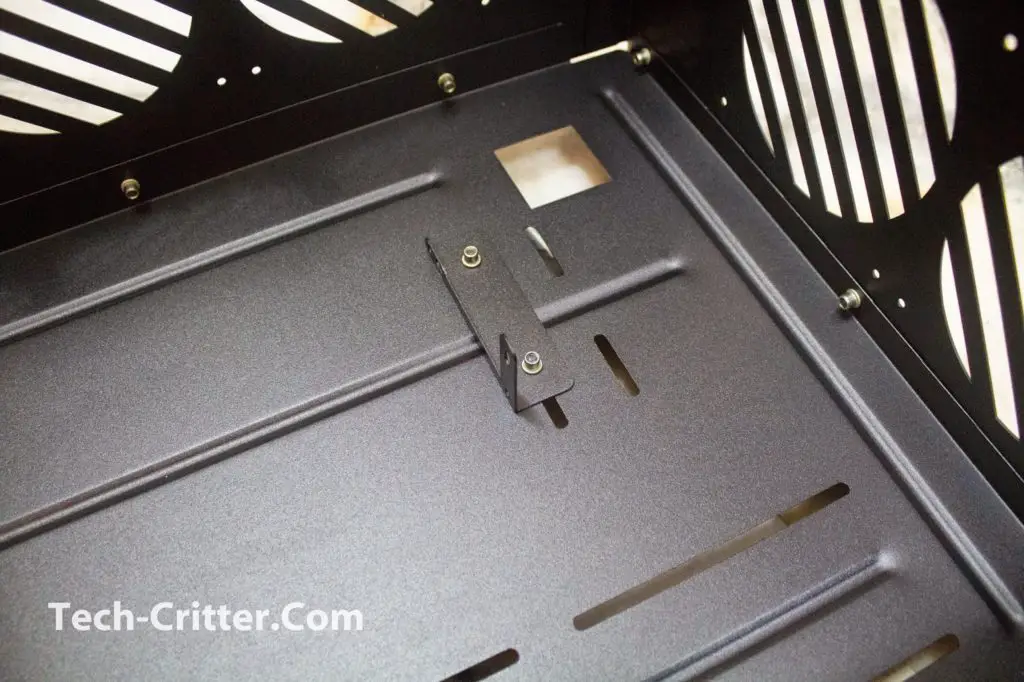
This bracket is to hold your expansion cards (graphics card, sound cards, network cards, etc).
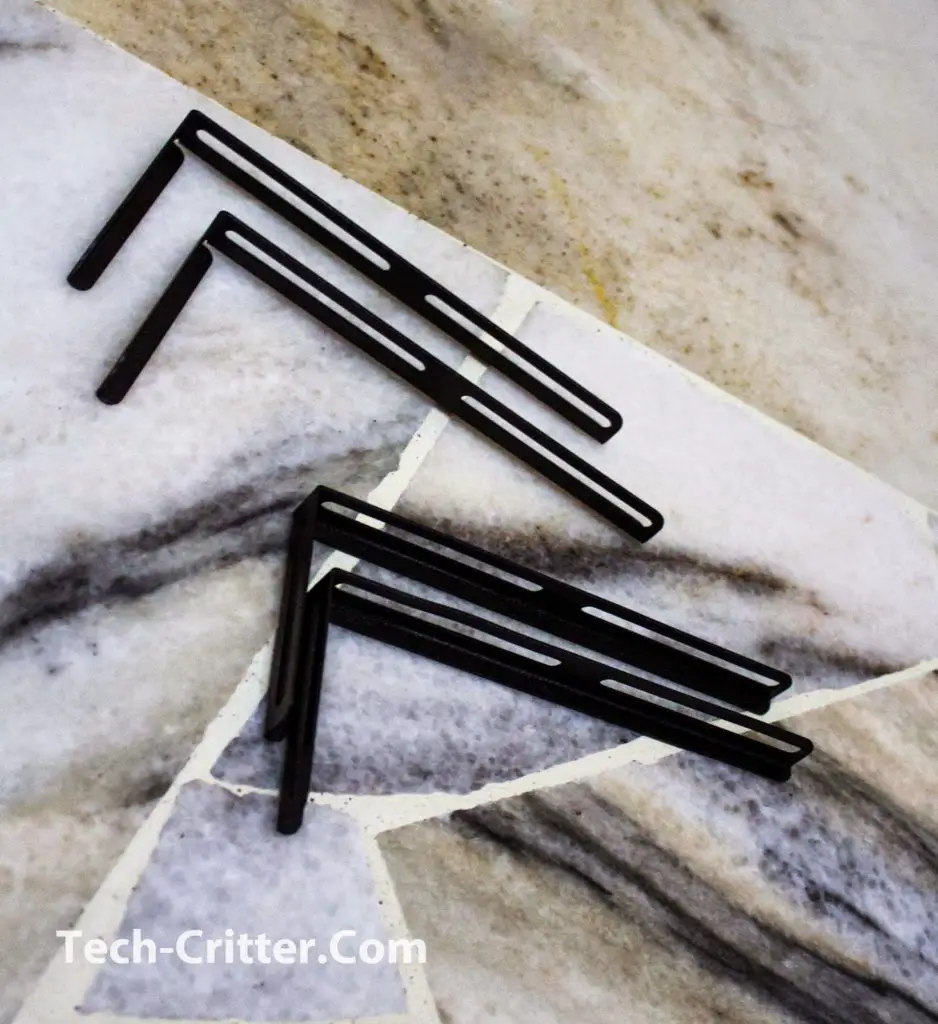
There’s 4 pieces of L-shaped fan brackets included, it takes us a while to actually figure out its function and purpose.
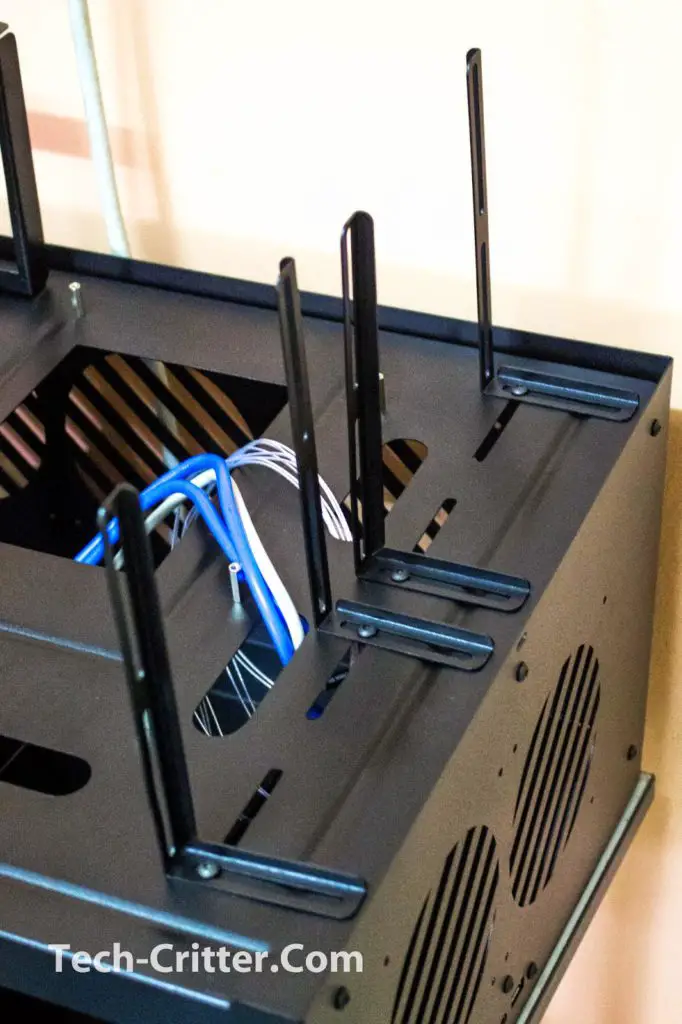
These brackets allows fans or radiator installation, a very useful part for those who are using self-contained liquid coolers.
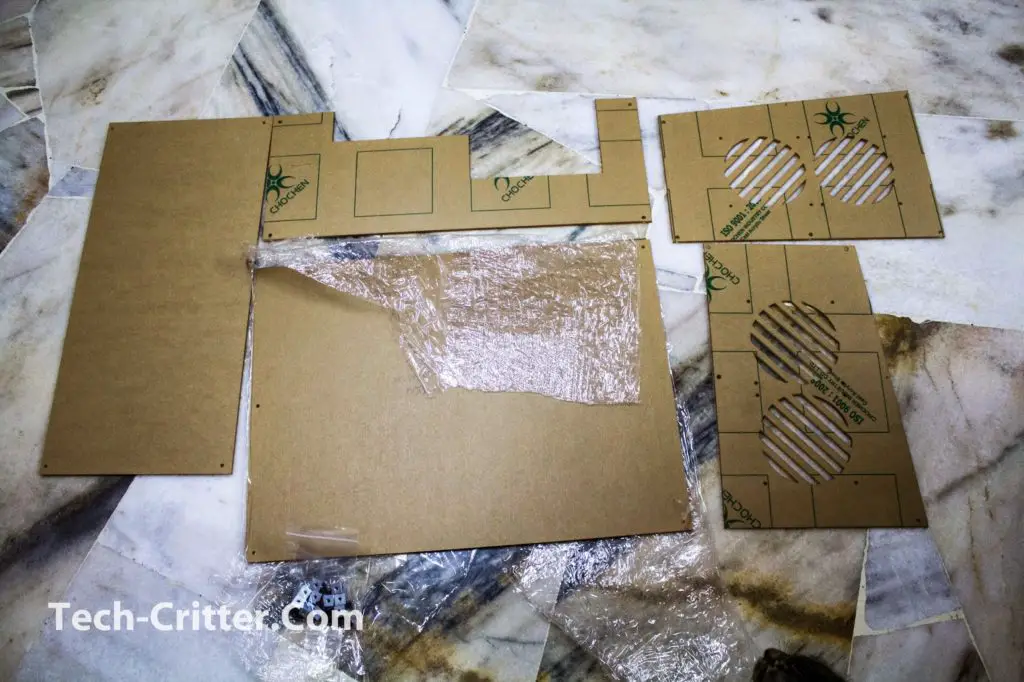
The acrylic sheets that will be the top cover of the bench case. Removing the protective paper will take some time and effort, patience is the key!
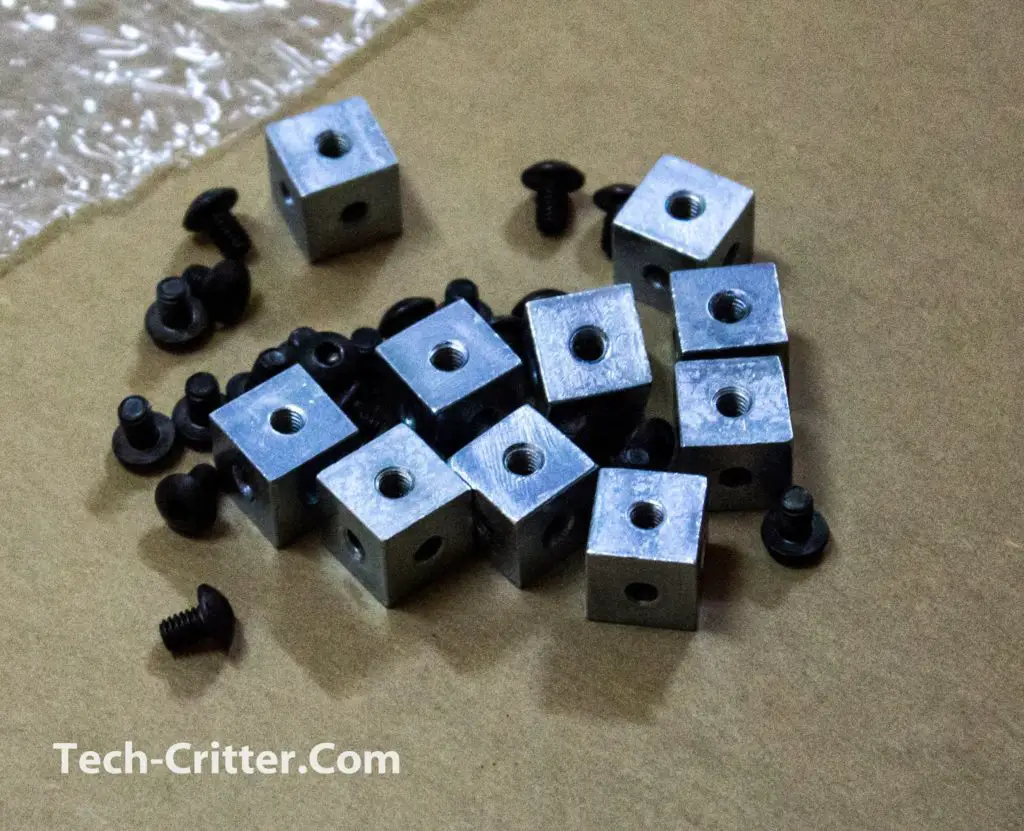
Purpose of these little cubes? You’ll need these to combine the acrylic sheets for the top cover.

The top cover might be optional, but it does helps to minimize dust intake.
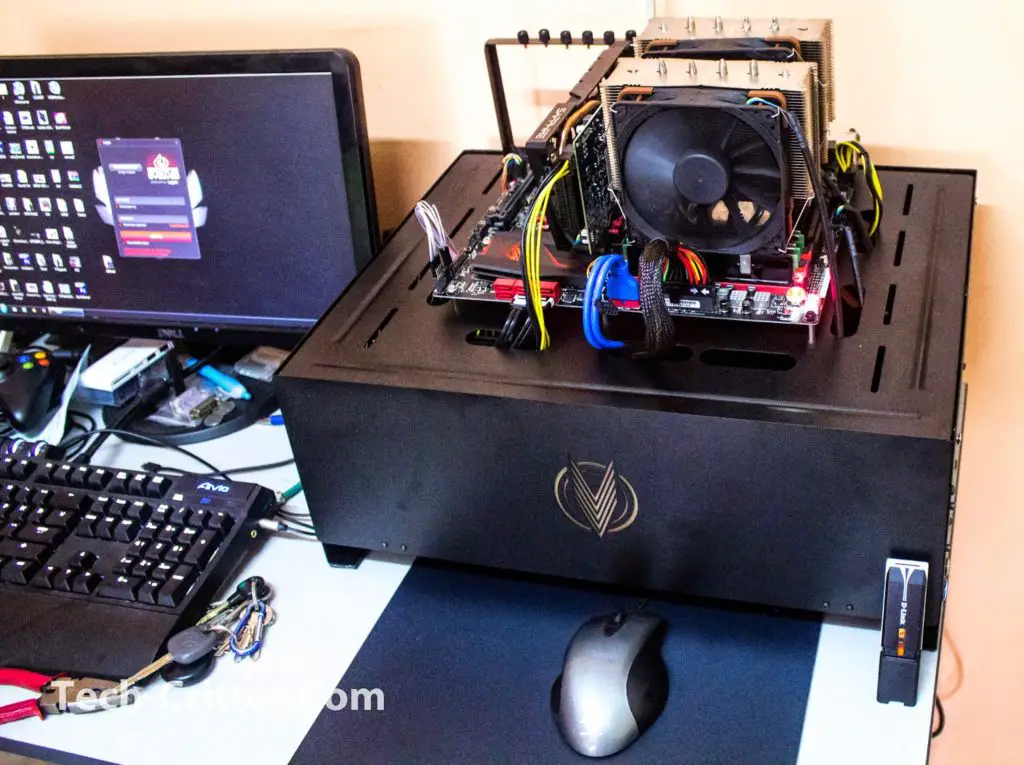
And we’re done. We’ve installed the ASUS ROG Maximus Ranger VII here’s still plenty of space left for at least 2 piece of 240mm radiator not including the space where the PSU is located.
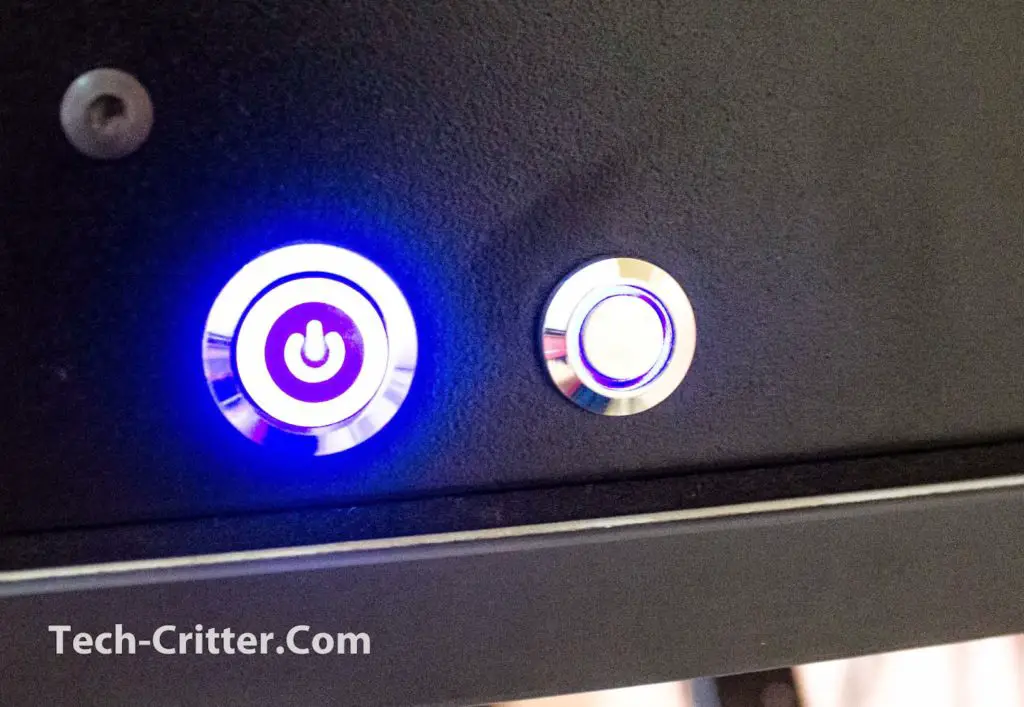
Lights on! The power and reset button has a built in LED that gives a decent lighting when the system is powered on.

And last but not least, the frosted Vector logo! The Vector Bench Case comes with a LED strip that can be installed at the bottom area as the light source to lit up the Vector logo.
User Experience
We’ve conducted various reviews on the Vector Benchcase since then and here’s some photos of hardware installed:
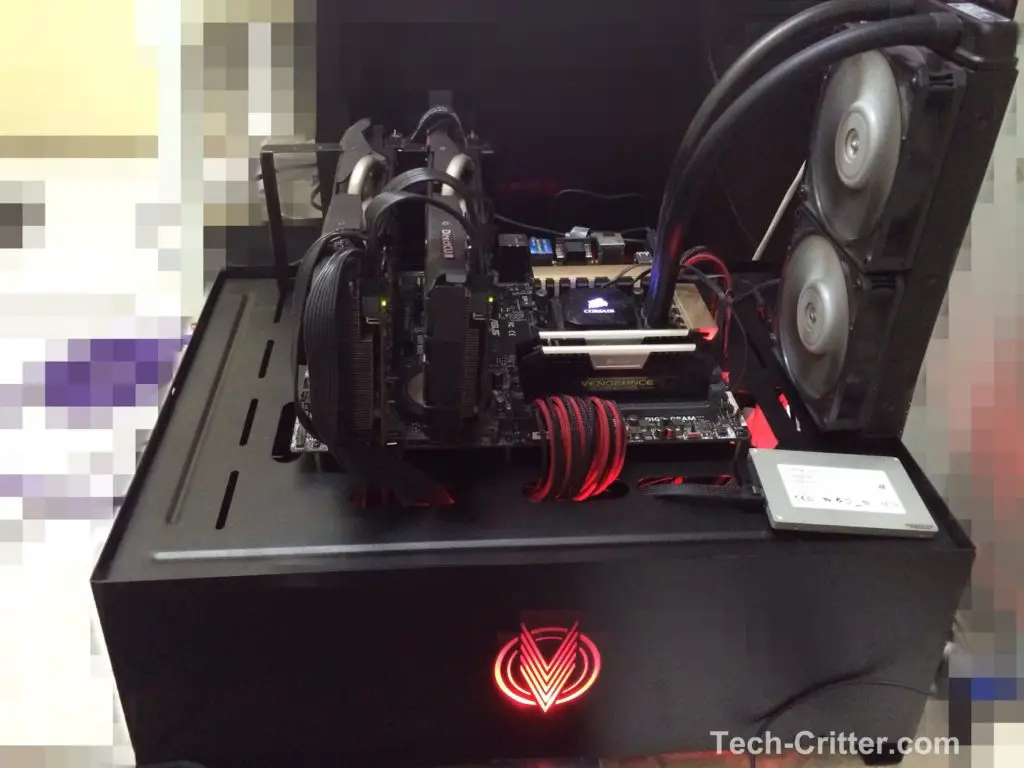
If you find placing the 240mm radiator horizontally is too mainstream, why not give the vertical position a try?
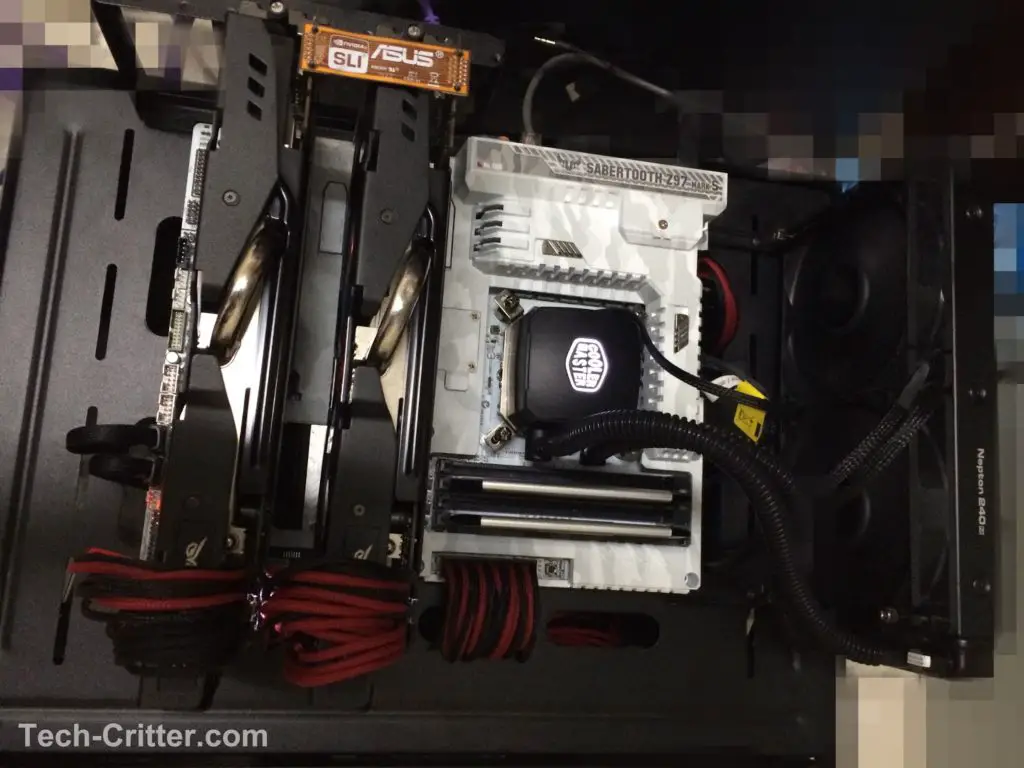
Full compatibility with AMD crossfire and NVIDIA SLI setup and well placed cable routing holes for a clean and neat overall appearance.
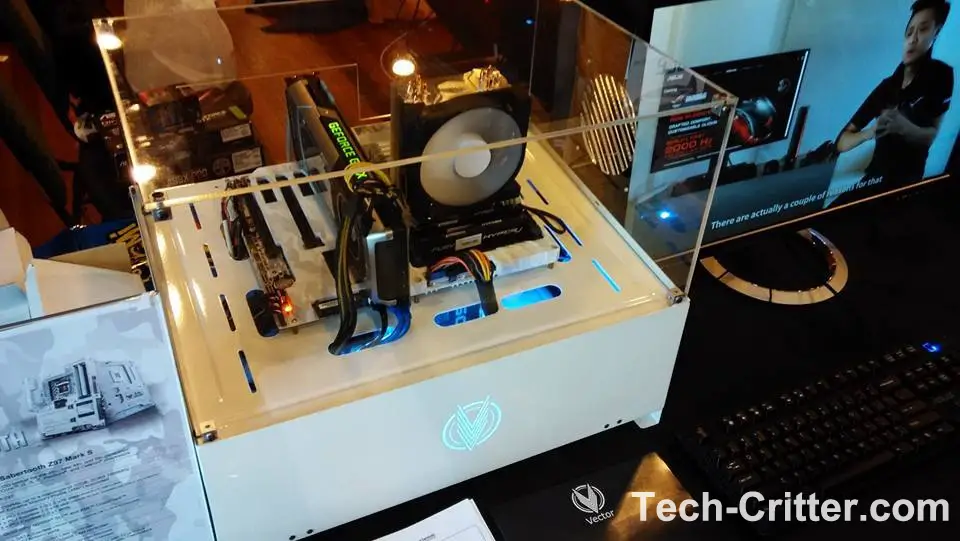
The one and only Vector Benchcase White Edition making an appearance during Cyberfusion 2014.
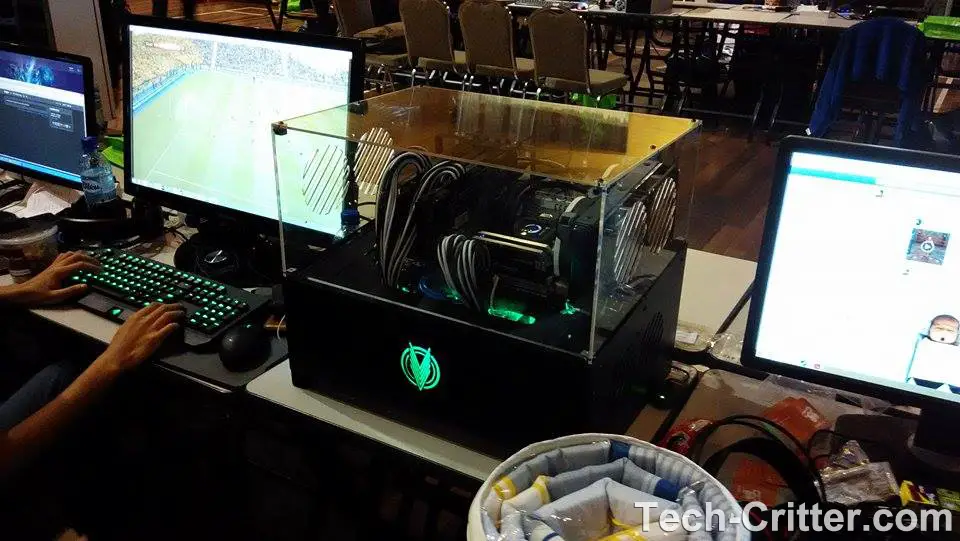
A very neat looking setup which we have spotted during Cyberfusion 2014.
Conclusion
So as you can see, the Vector Beta Testor is a very versatile bench / chassis for the PC enthusiast. Lots of room to build a system and total flexibility to swap components in and out; on top of that, there are endless ways to customize it with a little work. Having it being designed and manufactured in our very own Malaysian soil just gives it that much more sentimental value to us. Though we have to admit that the Vector Beta Testor is not for everyone.Particularly because it is fully DIY, unlike furniture from ikea, this will really test your patience during assembly. The use of Hex screws all over the place is the main culprit else assembly time would be a much quicker process. It is also quite large because it has to be able to fit components of any size so one might just have to forget about owning one if desk real estate is a bit of a concern. The lack of dust filters may concern some people though if you swap components all the time I guess it shouldn’t be much of an issue.
Pros
- Lots of room to build a system
- Support for multiple radiators
- Limitless potential for customization and modification
- Easy to swap components
Cons
- Tedious to assemble
- Use of too many Hex screws
- Bulky