If you are one of our loyal fans and/or long-time readers, we apologize for the lack of content containing Bitfenix products. However, after a long hiatus of sorts, we now have the Shogun, which seems to be Bitfenix’s answer to the whole tempered-glass and RGB lighting trend of chassis as of late.
Being a “Super Mid-Tower” chassis, the MSRP for the Shogun is at RM759 at the time of review, and I think you will agree with me that this is a very premium product, and I can’t wait to just dive right into the review.
Specifications
| Color | Black |
| Materials | Aluminum │Tempered Glass │SECC Steel │ABS |
| Chassis Type | Super Mid-Tower |
| Motherboard | E-ATX │ ATX │ M-ATX │ Mini-ITX |
| CPU Cooler | Up to 175mm Height |
| Graphic Card Length | Up to 410mm |
| Power Supply Length | Up to 250mm |
| Storage Capacity(5.25″ODD) | 0 |
| Storage Capacity (3.5″ HDD) | 6 |
| Storage Capacity (2.5″ HDD) | 6 + 5 |
| Cooling Capacity (Front) | Up to 140mm x3 or 120mm x 2 (2x120mm Included) |
| Cooling Capacity (Rear) | 120mm x 1 (Included) │ 140mm x 1 |
| Cooling Capacity (Top) | Up to 140mm x 2 or 120mm x 3 |
| Radiator Capacity (Front) | Up to 280mm x 1 or 240mm x 1 |
| Radiator Capacity (Rear) | 120mm x 1 │ 140mm x 1 |
| Radiator Capacity (Top) | Up to 360mm x 1 or 280mm x 1 |
| Front I/O port | USB 3.0 x 2 │ USB 2.0 x 2 │ HD Audio MIC & Headphone |
| Dimensions (WXHXD) | 250 x 565 x 525 (mm) |
| Weight | 14.15kg (net)│16.34kg (gross) |
| Highlights | Elegant Aluminum Design │ Dual Tempered Glass Side Panel │ Quick Custom storage design │ Quick Custom SSD Chroma │ Quick Custom EATX Shield │ BitFenix Chroma Control and SSD Chroma │ Advance design GPU Safe │ Support Graphic Card Length up to 410mm │ Up to 25mm Cable management Space │ 360mm Radiator Support at Top │ 3 pre-installed Fans |
Packaging

Staying true to their standards, we have the usual brown box with black artwork right on one side of the package.

Giving it a 180 degrees turn will show you the outlined features of the chassis such as GPU safe, Quick custom SSD Chroma, Quick Custom E-ATX Shield and 25mm Cable Management Space.
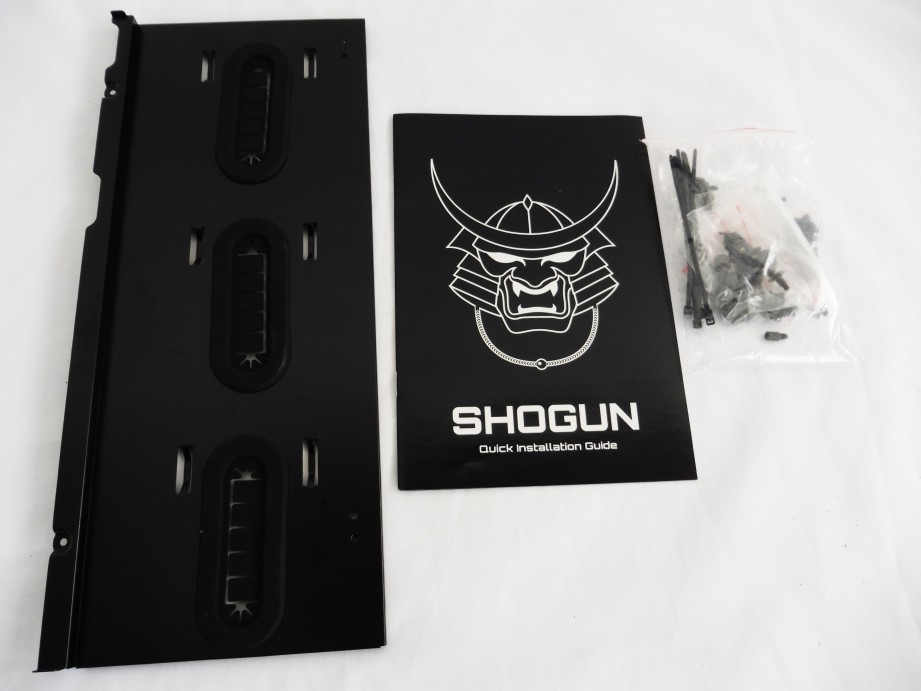 In terms of accessories, you get the Quick Custom E-ATX shield, a quick installation guide and a bag of small components (e.g. cable ties, motherboard standoffs, screws etc) to complete your build.
The Exterior

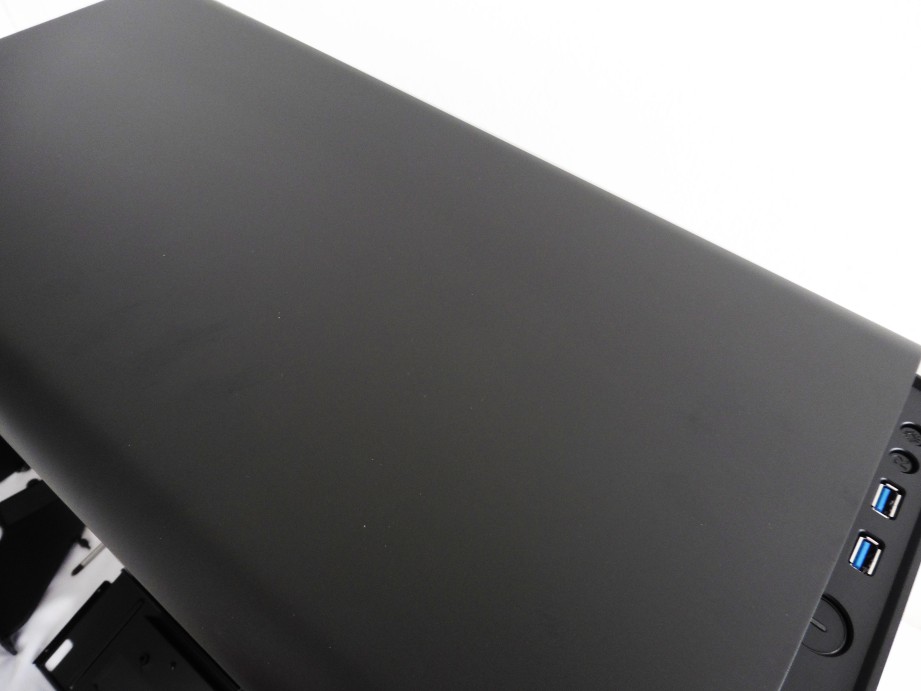
Out of the box, the Shogun is very sleek but in a way have a commanding atmosphere to it… probably due to it being larger than most mid towers that we reviewed in the past. The tempered glass side panel has a slight tint to it that sits very well with the overall anodised black aluminium chassis. It is a little hard to see from here but the sides of the front panel does have a honeycomb mesh for air intake.
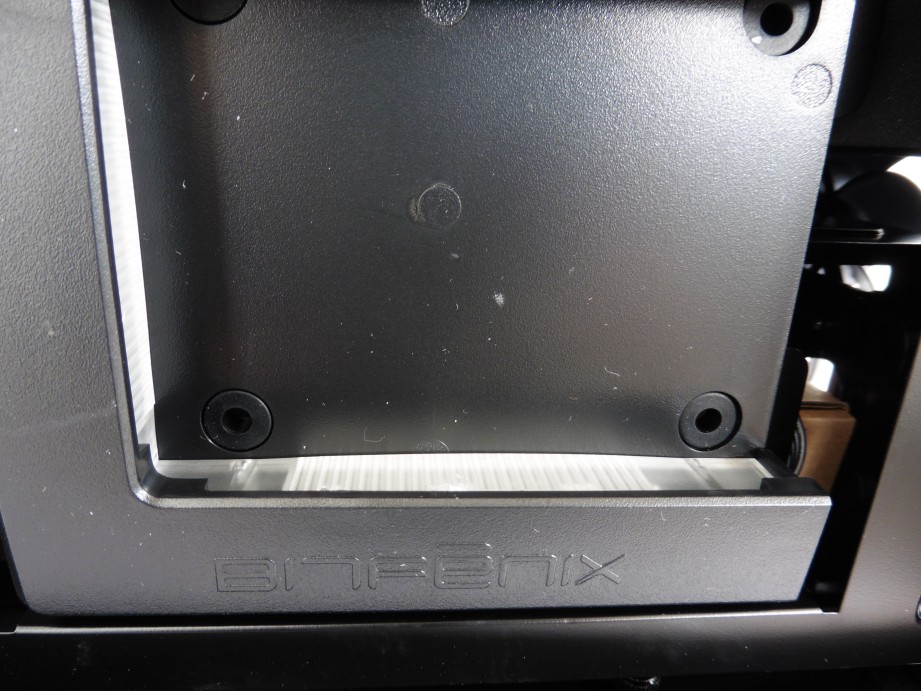
Up at the front fascia is a more traditional Bitfenix logo.
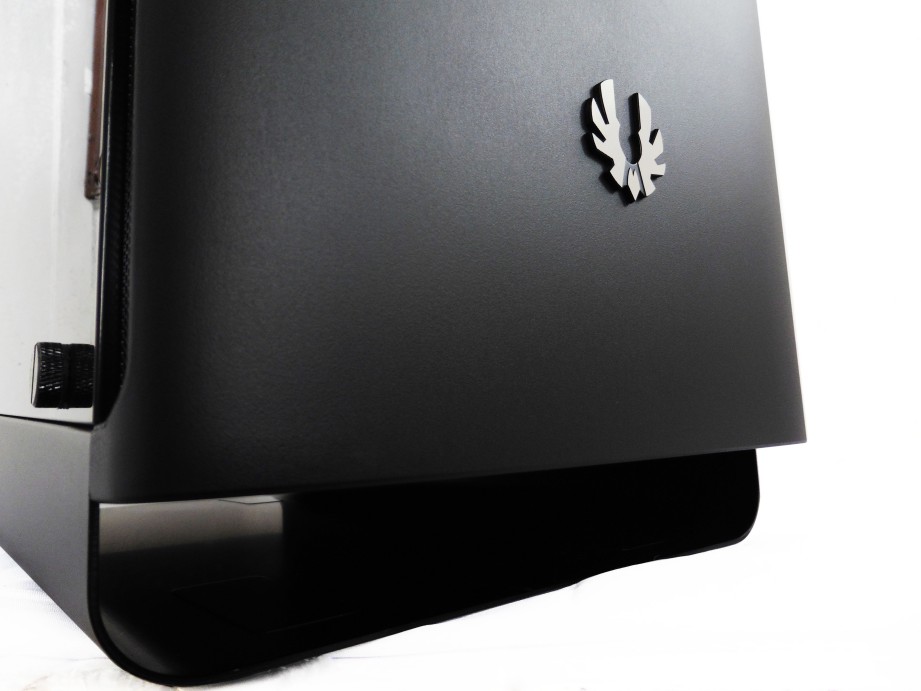
A peek at the bottom section reveals a sizable chamber for airflow thanks to the aluminium base which encompasses the whole bottom part of the Shogun. Placing your rig on the carpet is no longer a sin if the Shogun is your chassis of choice.
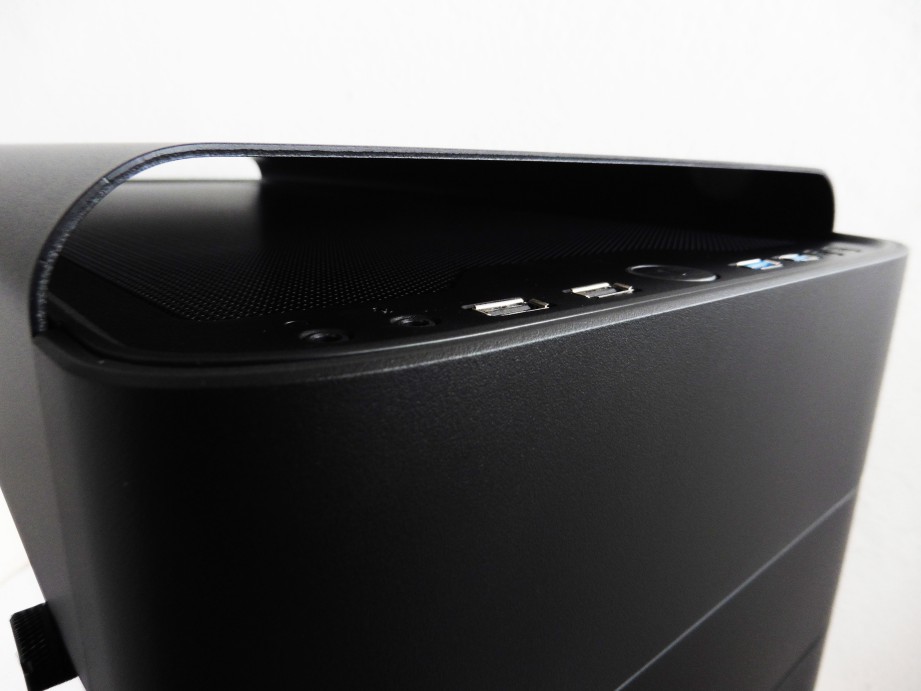
Up at the top, you get pretty much the same tunnel-like chamber across the whole section.

At the very edge of that is where the i/o for the Shogun is. It is pretty much the standard lineup with Audio and Microphone ports, dual USB 2.0, Dual USB 3.0, Power and Reset buttons with an additional LED toggle switch at the far end. This is a small issue but some might be mistaken the LED button for the reset which could be frustrating.
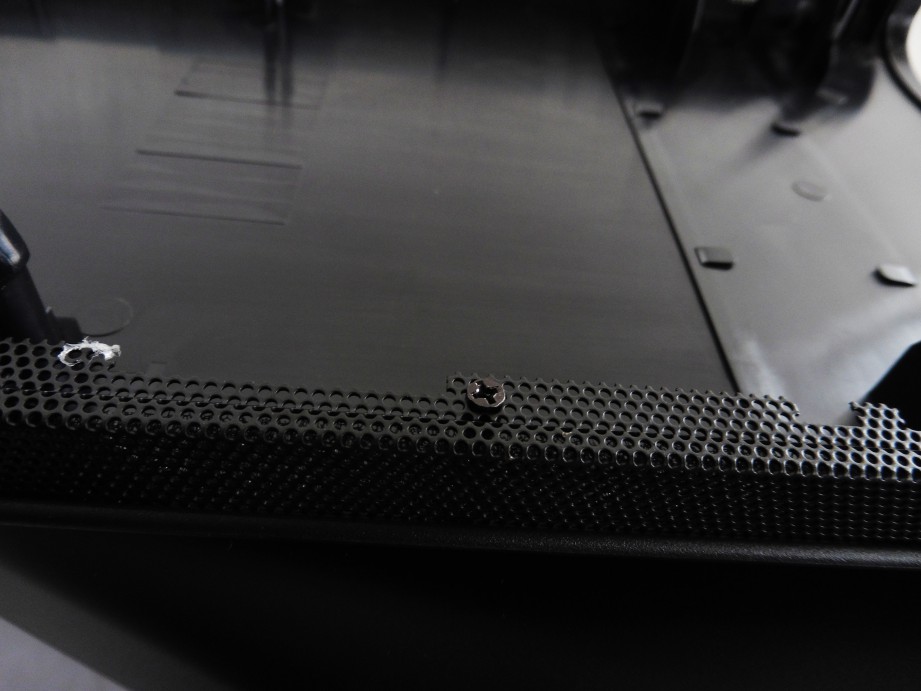
The front panel comes off easily with a tug at the bottom part and from here we can see that the meshed strips are secured with screws, a nice feature that will make painting the mesh a whole lot easier.

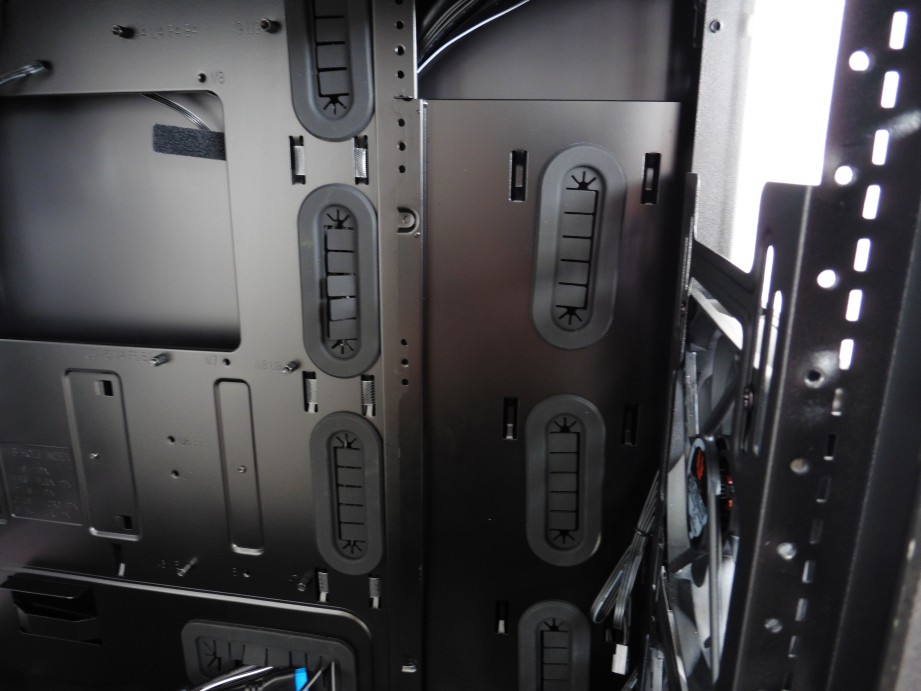
Right behind the front panel sits two 120mm fans to cater for the intake of fresh air, with enough space up at the top for another 120mm fan should you desire. These are of course removable to make way for tripple 140mm fans but Bitfenix only listed compatibility for up to a 280mm radiator here.
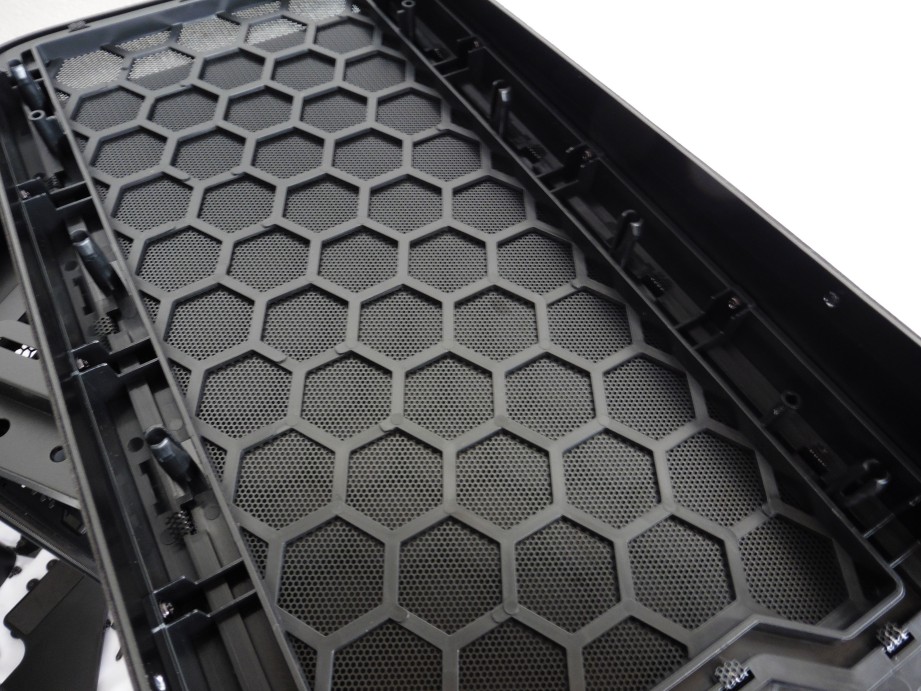
The top of the chassis is a nice smooth piece, which also has honeycomb mesh filter. The top panel is also easily removable, simply give it a bit of a tug at the end and off it comes.

Lots of mounting options at the top, from 3 x 120mm fans to 2 x 140mm fans if you’re into air cooling, or up to 360mm or 280mm radiator if you’re into custom water cooling setup.
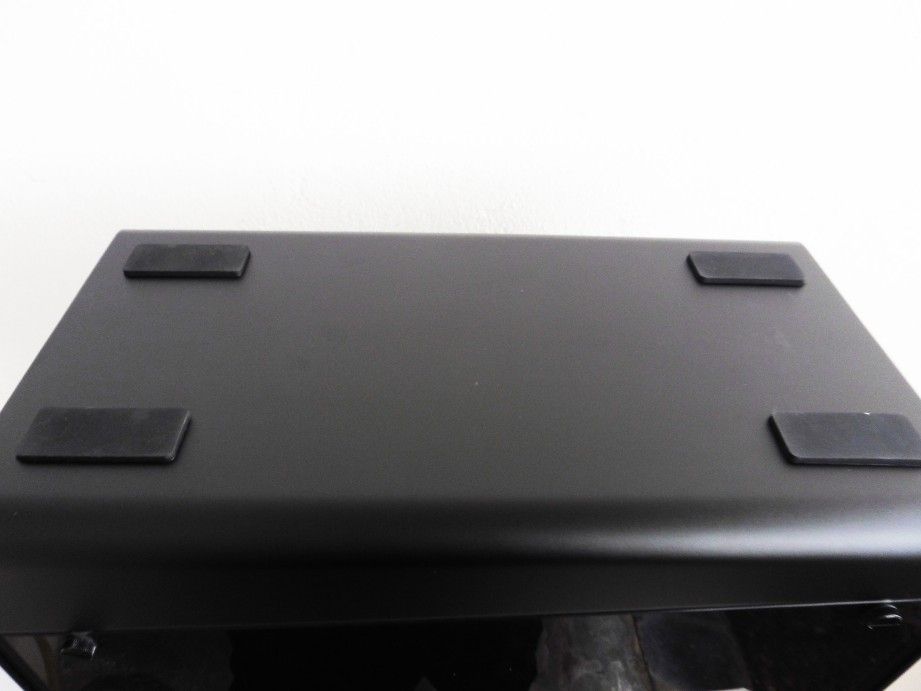
Flipping the Shogun upside down, we see that the bottom part still feature non-slip pads for feet in case one decides to place their rig somewhere other than carpet I suppose.
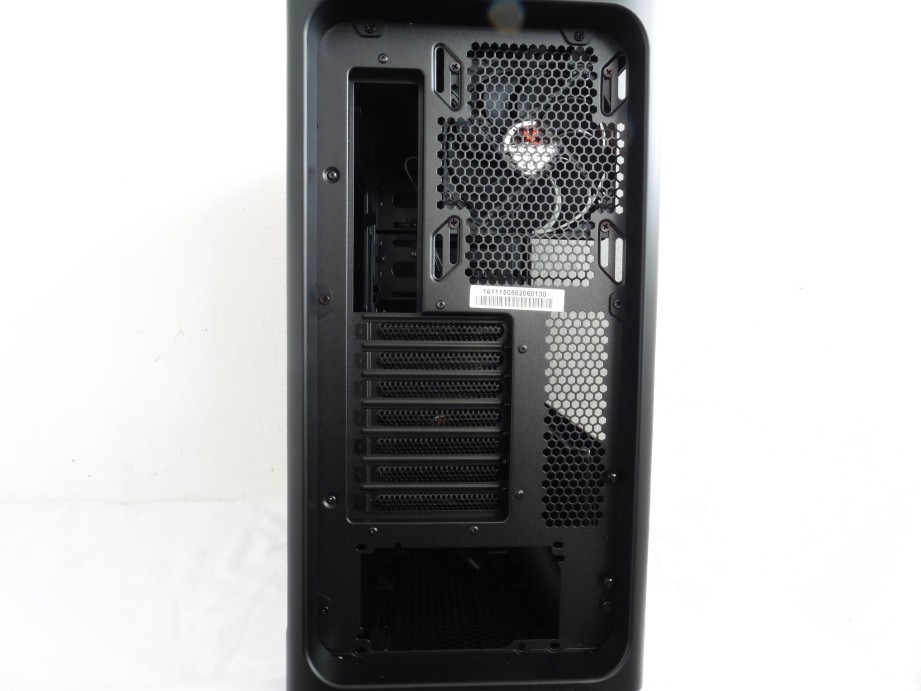
The back of the Shogun is pretty standard with a bottom mounted PSU compartment, seven PCI expansion slots and the ear i/o punch out. Lotsa mesh all around for cooling.
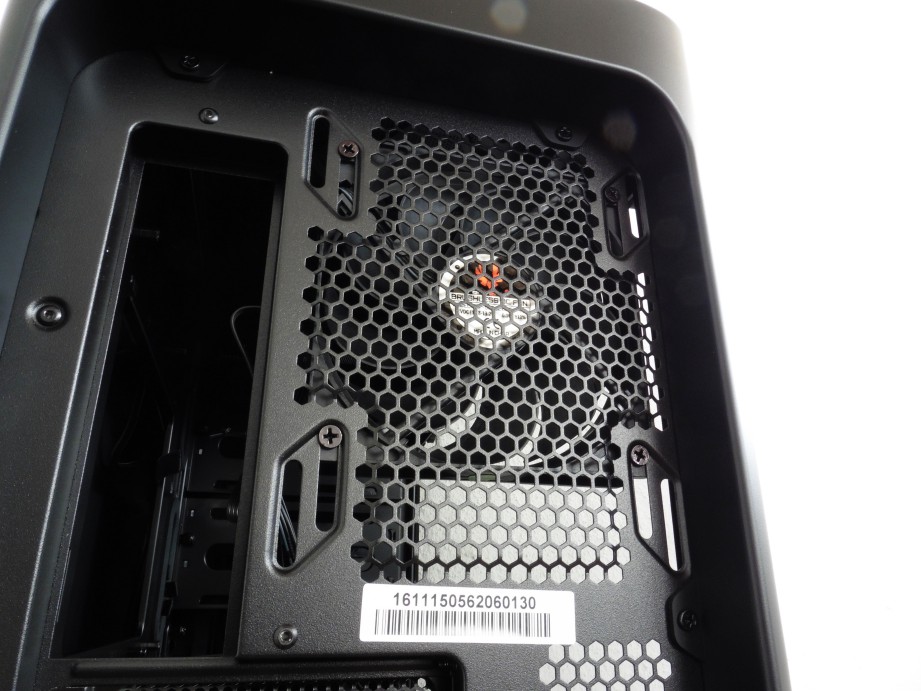
On closer inspection, the fan mount is adjustable, a nice feature to have especially for those who might be thinking of mounting a radiator (up to 140mm) here as well.


The tempered glass panels are secured with rubber padded thumb screws to prevent damage from over tightening the screws. The glass panel holder and the side of the chassis are heavily padded as well, mainly to reduce any potential vibration between the glass and chassis.
The Interior
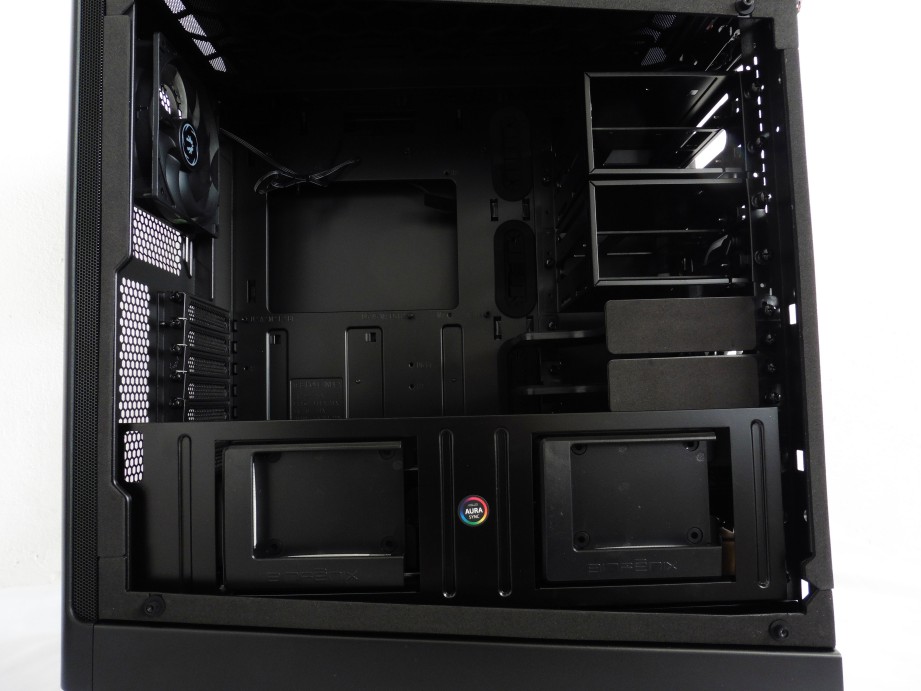
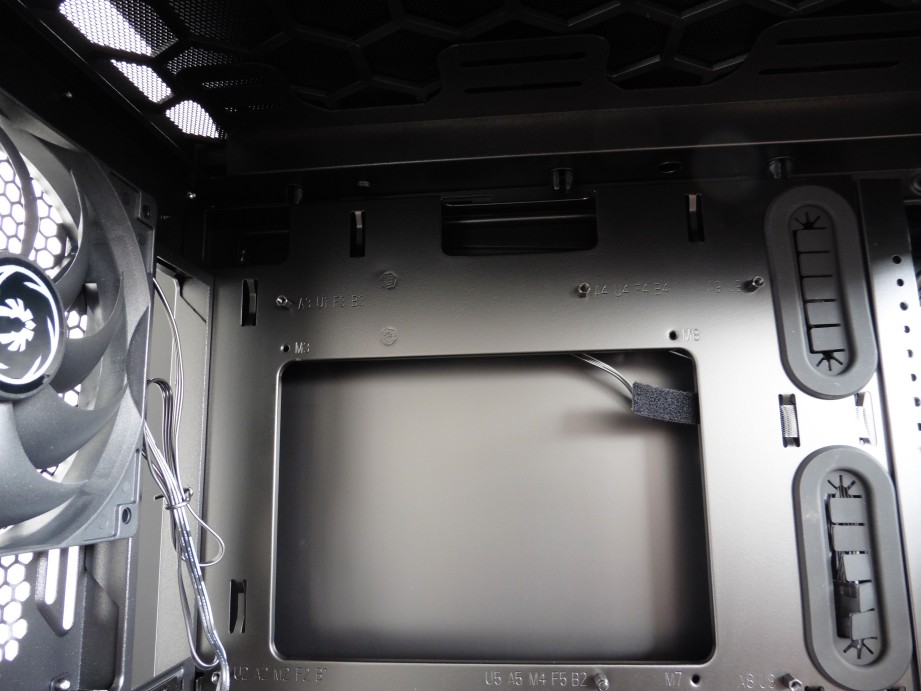
The main chamber is very spacious indeed from here we can see that Bitfenix opted with an SSD display panel as opposed to a PSU shroud, and for good reasons.
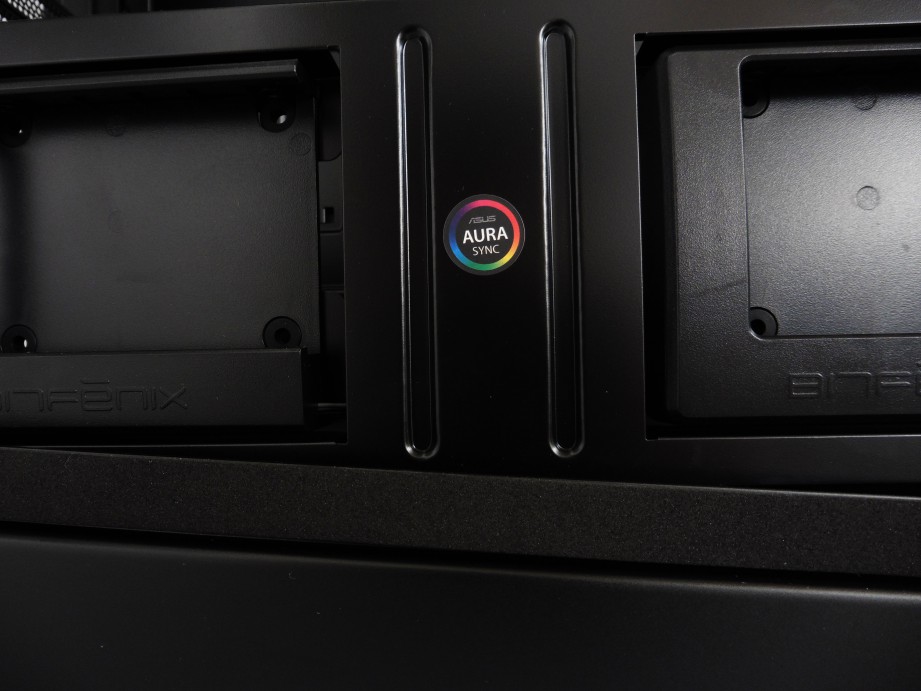
Bitfenix is among the few who partnered with ASUS to have their chassis made to be AURA SYNC ready. The SSD display panel houses 2.5-inch drives at the side here comes ready with RGB lighting that can be paired to work with ASUS’ AURA RGB LED utility directly from the motherboard.
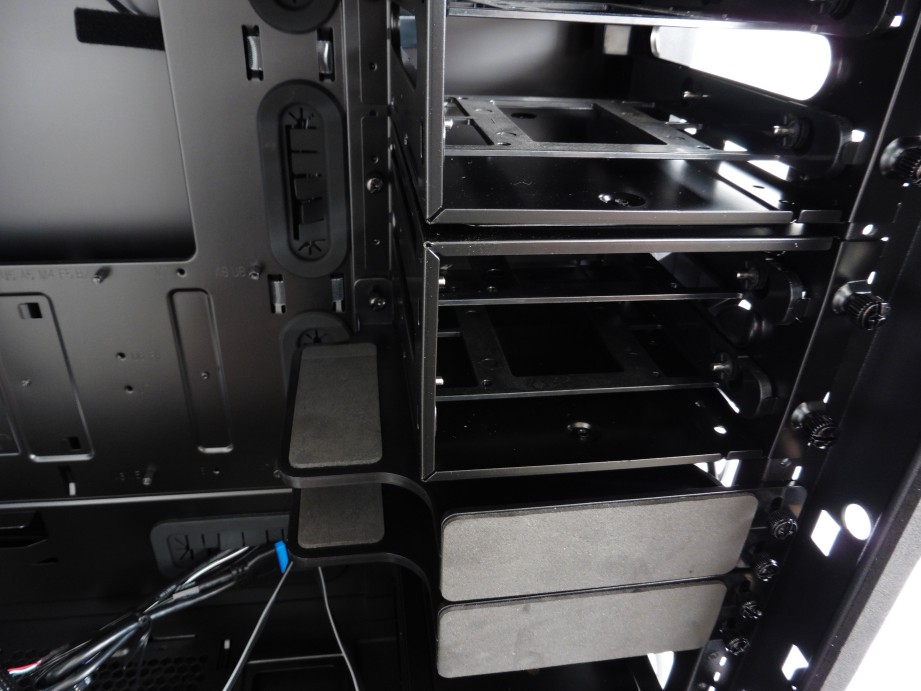
Another unique feature found on the Shogun is the GPU safe brackets mounted at the front to provide the extra support for lengthy GPUs, preventing the dreaded sag at the end. Bitfenix still included some HDD cage as well for those who still has them traditional spinners to store data. These are quite modular and is secured with a couple of thumb screws at the side of the chassis.

The only problem is that the gap between the SSD display panel and the front of the chassis are just too narrow, which is technically impossible to reach with bare hands.
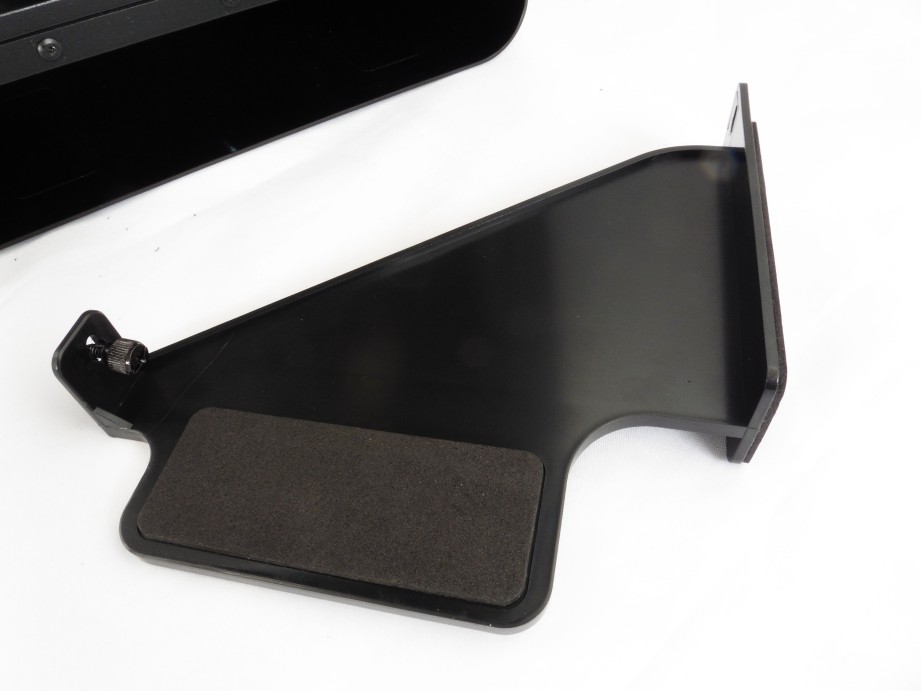

Thanks to the modular design, both its GPU safe holder and HDD cage can be removed to make more space for custom water cooling setup.

Here is a view of the interior with the modular components removed – it’s extremely spacious alright.
Remember the E-ATX shield mentioned in the accessories? it goes in here to fill in the void space left behind by the modular cages, making it easier to hide them cables behind the motherboard tray.

Standoffs are pre-mounted in the Shogun to ease the transition and as usual, the labels are stamped onto the motherboard tray itself for easy reference as to where you should have a standoff depending on the size of your motherboard you have.
A large cutout for ease of swapping in third-party CPU coolers.

PCI expansion slots are secured with thumbscrews, just the way it should be.
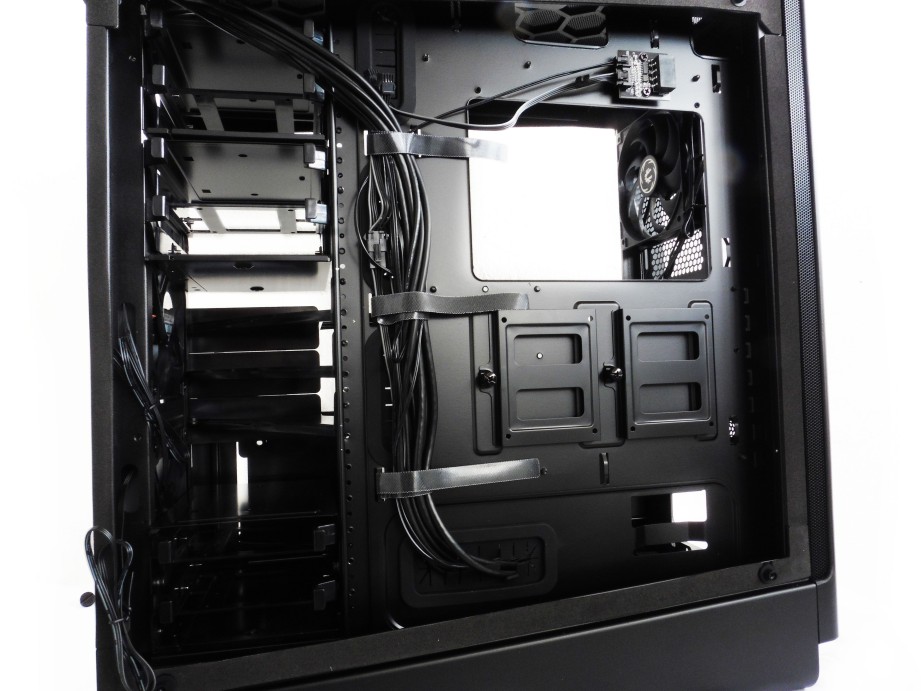
Behind the motherboard tray, you’ll find two additional 2.5″ drive mounts should one needed more than two at the front. Cable management certainly looks good with the inclusion of the hook & loop straps.

Bitfenix included a nifty LED board powered off a single 4-pin Molex, we just wished it was SATA instead.

As promised, 2.5mm of space for all your cable management needs. For in this case, a screwdriver storage space.
Testing Method
| Test Rig Configuration | |
| CPU Cooler | be quiet! Dark Rock Pro 3 |
| CPU | Intel Core i7 7700K (OCed to 4.6GHz) |
| Graphics Card | -Coming Soon- |
| Motherboard | MSI Z270 Gaming M7 |
| Memory | Apacer Commando DDR4 16GB |
| Primary Hard Drive | Intel 520 Series 240GB SSD |
| Power Supply | Be quiet! Straight Power 10 600W |
We have conducted a series of thermal test with the setup as above using CPU stress test utility Prime95 with the option ‘In-place large FFTs’ while GPU stress test utility FurMark with its Furry Donut stress test for maximum heat output from both the CPU and GPU. The tests includes the following:
- CPU and GPU on default clock
- CPU overclocked, GPU on default clock
- CPU on default clock, GPU overclocked
- CPU and GPU overclocked
Each of the test are done separately, where the system is left with the stress test utility running for at least a day. The observed temperature are then populated in a graph as per below:
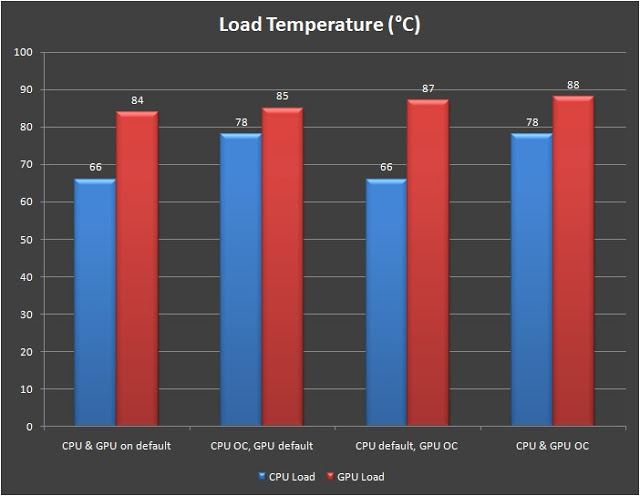
Before proceeding any further, I would like to clarify that the stress test is done purposely to obtain the maximum heat output from both GPU and CPU for us to observe the air circulation of the chassis. It is very unlikely for both components to hit this temperature reading in most of the real world usage (gaming, office work, music, video,etc).
Verdict
Named after the military dictator of Japan who held absolute power over territories through military means, the Bitfenix Shogun a premium, solidly built super mid-tower that can easily outlast most mid-tower you can find in the market. Other than the plastic made front panel and the tempered glass side panels, the entire body of the Shogun made of aluminum and steel.
Of course, there’s more to the Shogun aside of its already premium looking exterior and solid construction. As one of ASUS’ partner, the Shogun is among the latest PC chassis to support the AURA Sync feature. In case if you plan to put on a light show in your room with your existing AURA Sync ready peripherals, components, etc.
If you’re among the enthusiasts that isn’t really into all these RGB light show, the features and hardware compatibility of the Shogun might be something that interests you more. With minor cons aside, the Shogun offers PC enthusiasts friendly features ranging from tall CPU cooler up to 175mm height, graphics card up to 410mm length, motherboard of E-ATX form factor, custom water cooling setup with 2 radiator ( 360mm/280mm on top, 240mm/280mm at the front), etc – majority of the features you need is right here.
Pros
- Very solid construction
- Spacious interior
- The aesthetics
- Comes ready with stand-offs for easy of installation
- Comes with E-ATX shield for E-ATX form factor motherboards
- ASUS’ AURA Sync ready
- Well padded on the side to prevent vibration noise from the tempered glass panel
- Modular HDD cage and GPU safe brackets
- Lots of SSD mounting slot
- Lots of room behind the motherboard tray for cable management
- Included Spectre 120mm fans isn’t pushing too much air
- Thumb screws in between the gap of the SSD display panel and the front of the chassis can only be reach with tools
- Could have used SATA power connector for the LED board instead of 4-pin Molex connector