
Aerocool has been around as one of the strong brand known by many among the local PC community, especially for its PC chassis and cooling fan. We’ll be taking a closer look at the Aerocool X-Predator X3 in today’s review, courtesy of AV Future Link Sdn. Bhd aka the distributor of Aerocool in Malaysia.
The Aerocool X-Predator X3 retailed at RM359, a very affordable price point for full tower form factor chassis. Still, does it have the qualities of being a worthy full tower form factor chassis? Let’s move on with the review to find out more!
Technical Specifications

Overview

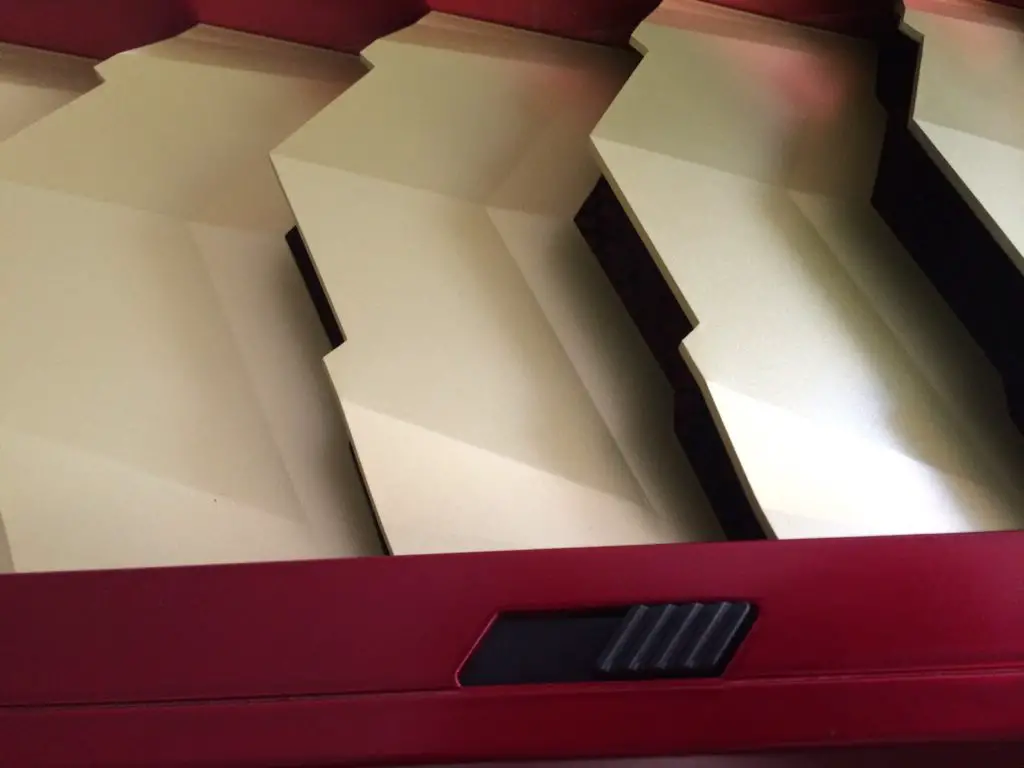
The color scheme immediately reminded us of Iron Man / Tony Stark / Stark Industries, which you’d probably know if you’ve been a fan of Marvel Super Heroes.
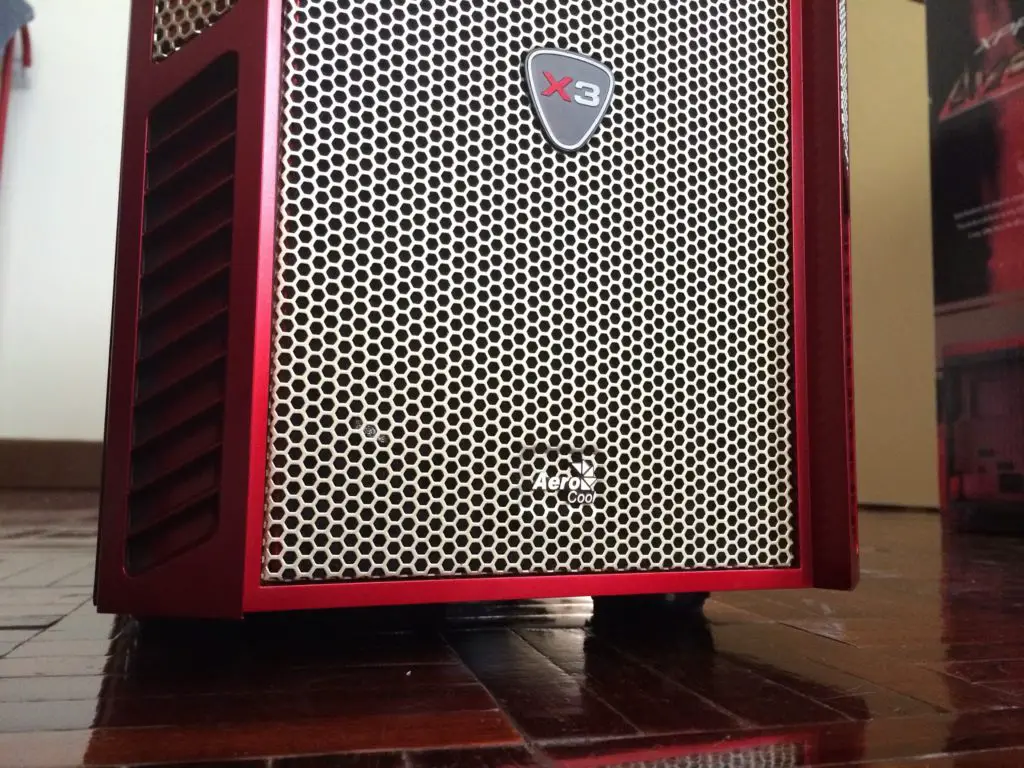
The meshed front panel allows better airflow

On the other hand, we find these smaller meshed area were only meant for aesthetics and does no function at all.

At the back of the front panel you’ll find a thin layer of sponge that act as dust filter. The only shortcomings here is that removing the layer of sponge for cleaning will take more effort as you will need to remove the mesh before hand.

The sponge dust filter on the removable 5.25″ drive bay cover can be removed easily for cleaning but front the looks of it, washing it directly will save you a lot of trouble.

There’s a 200mm intake fan mounted at the front to improve air movement into the chassis interior for better cooling performance. If the 200mm fan is just not your type of fan, you can always remove and replace it with a pair of 120mm fans.
We’ve noticed that the ventilation holes at the front actually directs airflow to the gaps in between hard drives to lower the drive temperature and moving air into the chassis at the same time.
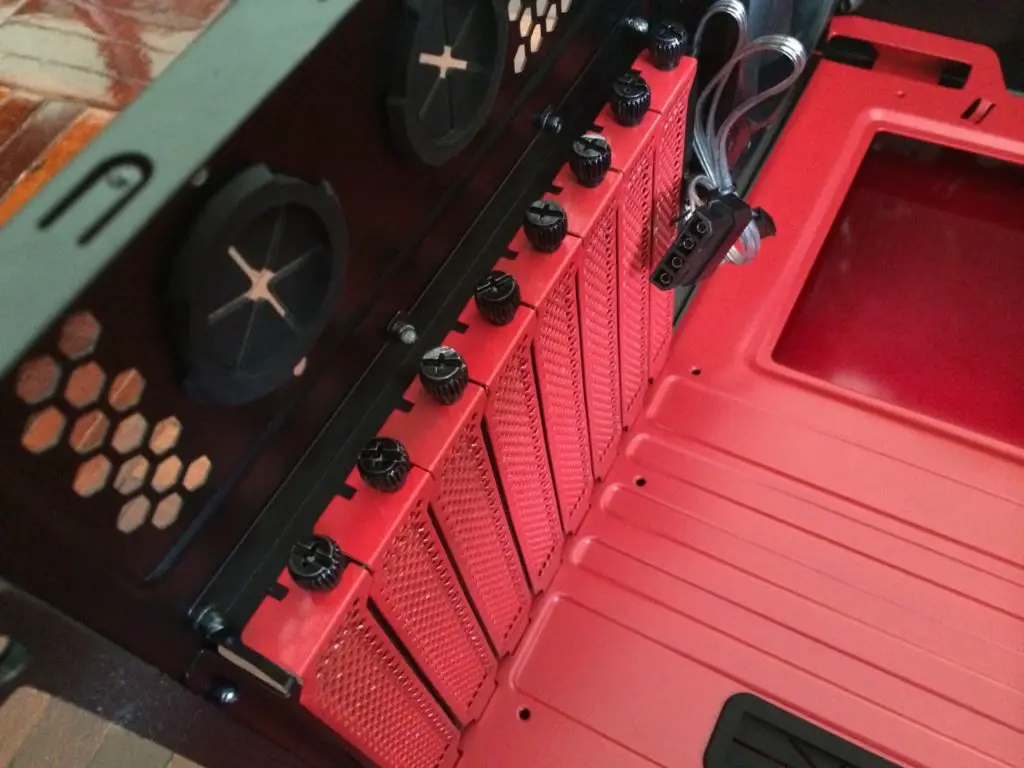
The 5.25″ drive bay has plenty of spaces that will fit in 3 optical drive or perhaps a reservoir for water cooling. 
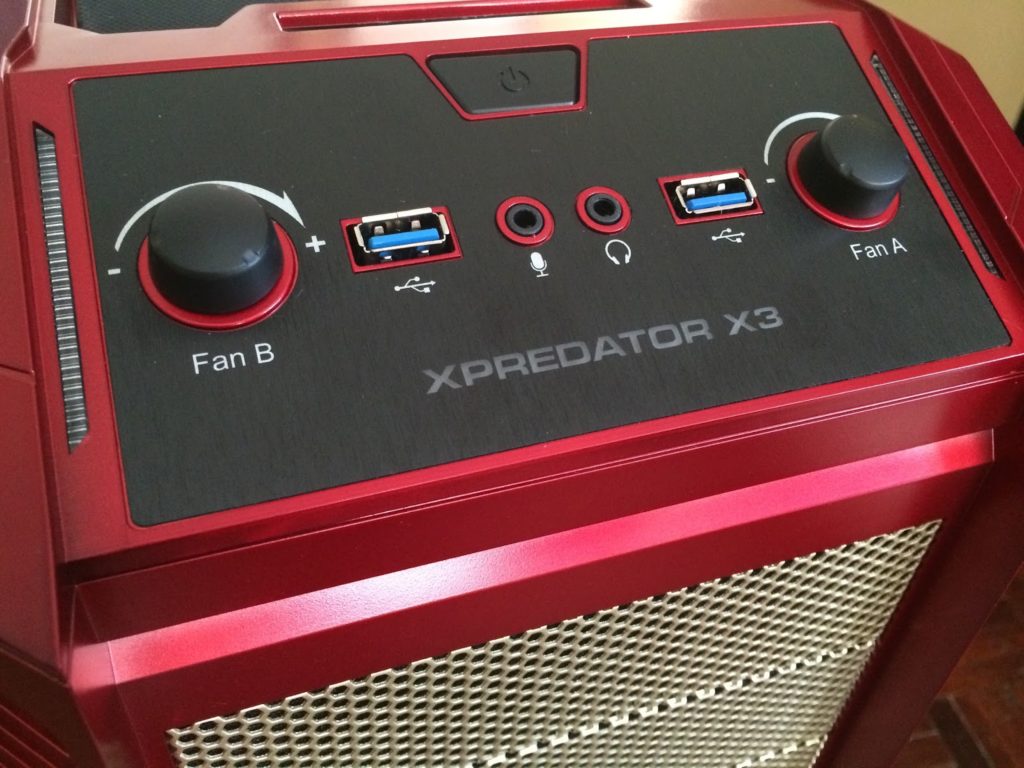
The front I/O panel consist a power on button, 2 USB 3.0 port, audio jacks and 2 fan control knobs for fan speed control.
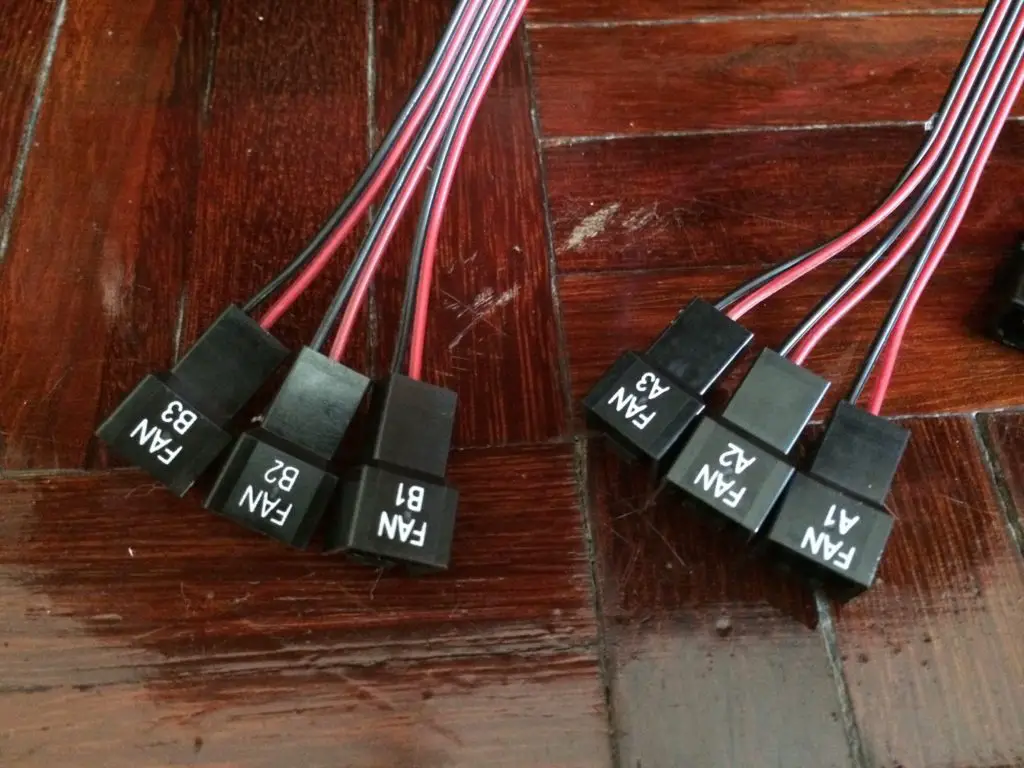
The fan connector with 3 fans for each respective fan controller knob.
The LED that lights up the translucent parts at the front I/O panel.
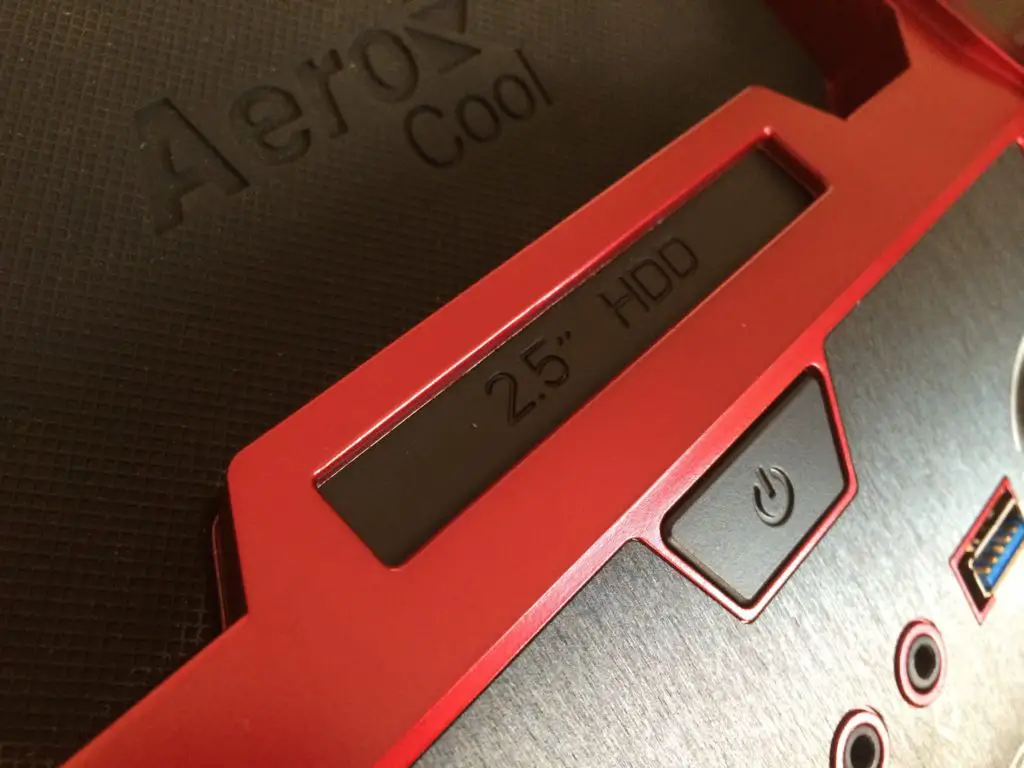
You’ll find a 2.5″ drive hot swap bay right on top of the power on button, a very useful feature for those who tends to do a lot of hot swapping but it’ll be even better if there’s support for 3.5″ drive as well.

The true identity of the hot swap bay.
The top of the chassis ships with a uniquely design vents that can be accessed via the slide lever for air ventilation control.
Sliding the lever forward allows you to raise the louvers to enhance air intake/exhaust, depends on the direction of the fans installed.
The top fan mount can be accessed by removing the top panel and to our surprise, Aerocool has decided to include screw holes for various size of fans ranging from 200mm to 120mm.
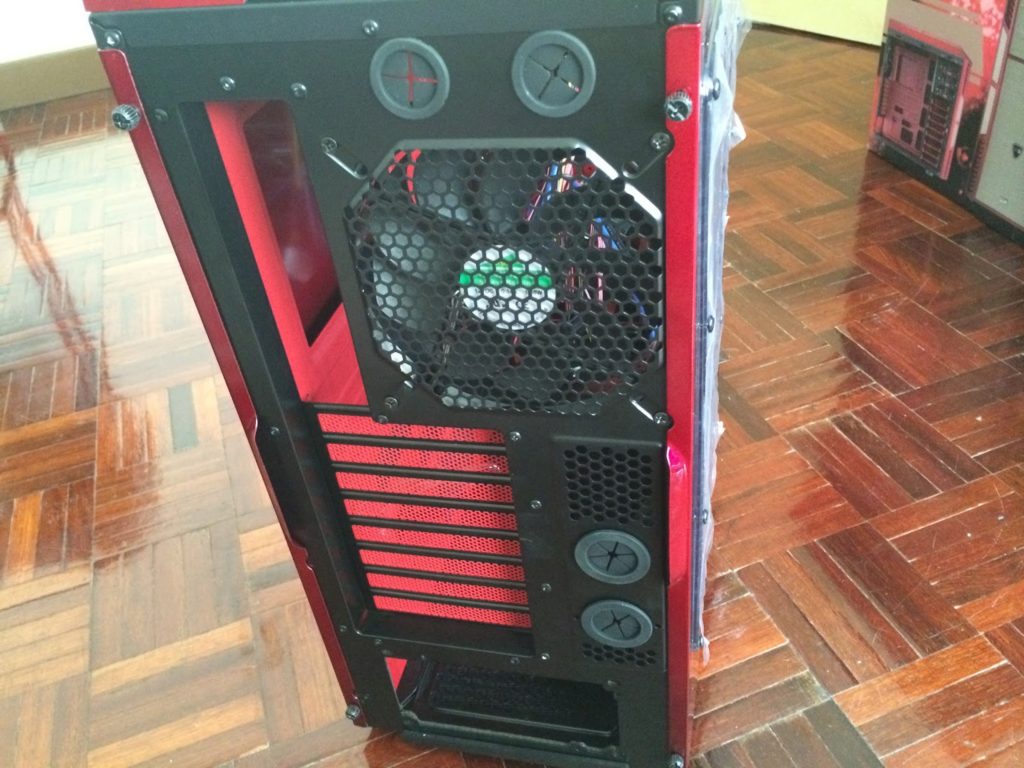
The rear view of the chassis.

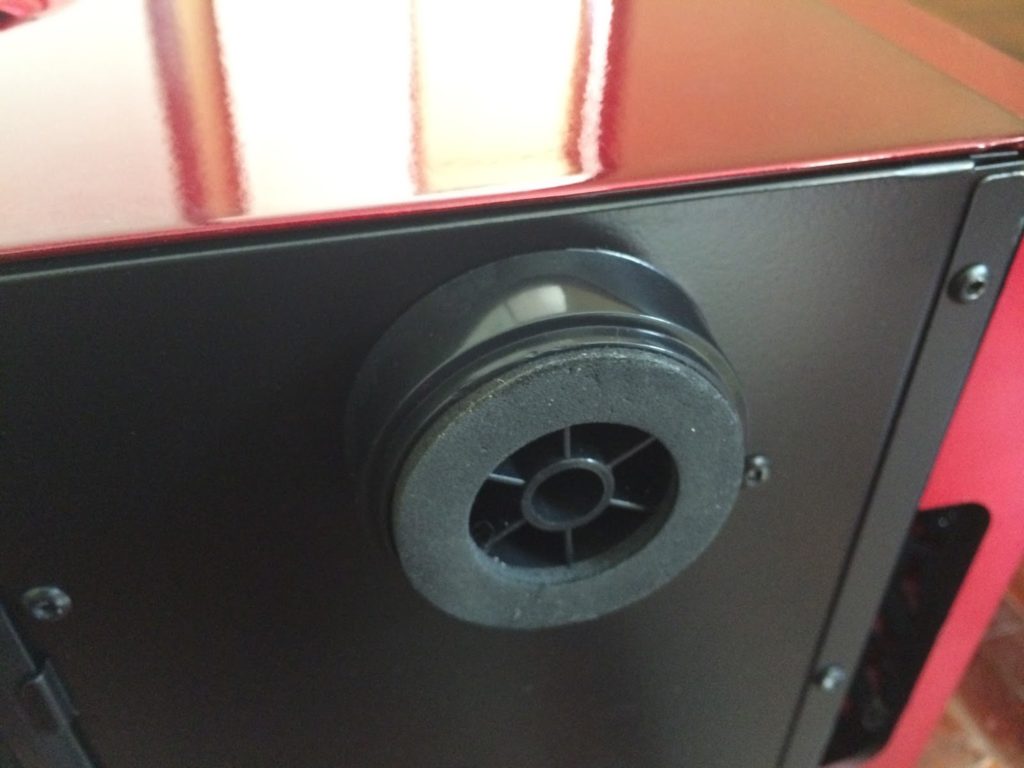
Aside of the 2 rubber grommets covering the holes for external watercooling setup, the rear fan mount supports both 120mm and 140mm fans.

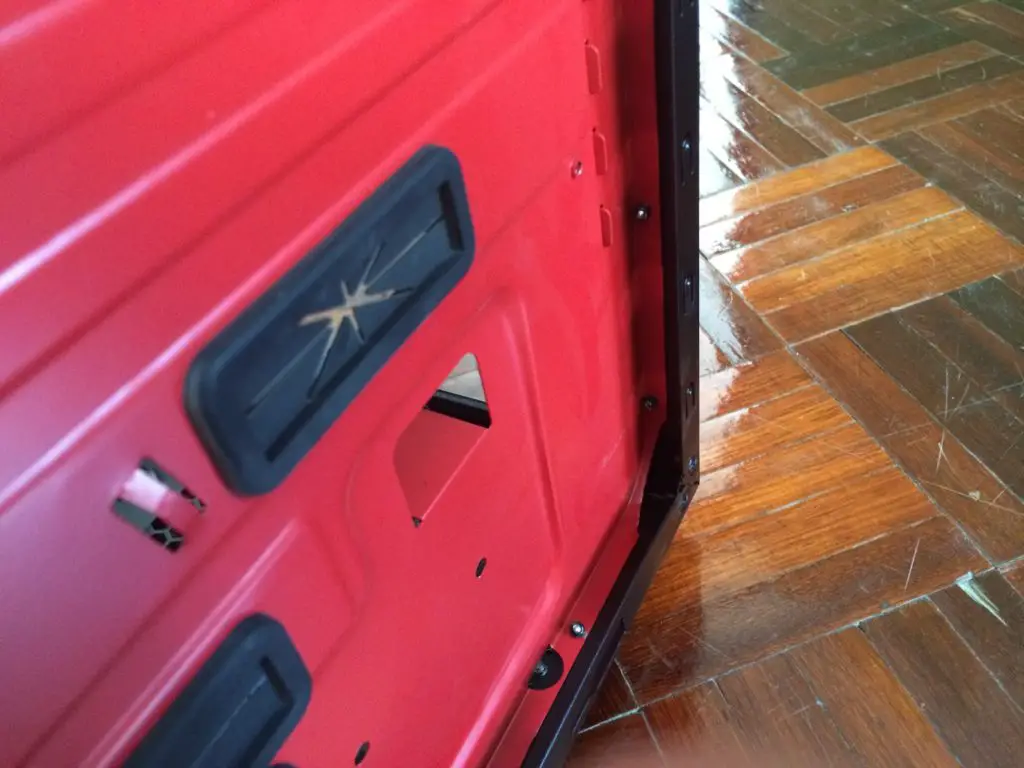
2 larger rubber grommets can be found right next to the PCIe expansion slot, covering the holes for external watercooling setup.

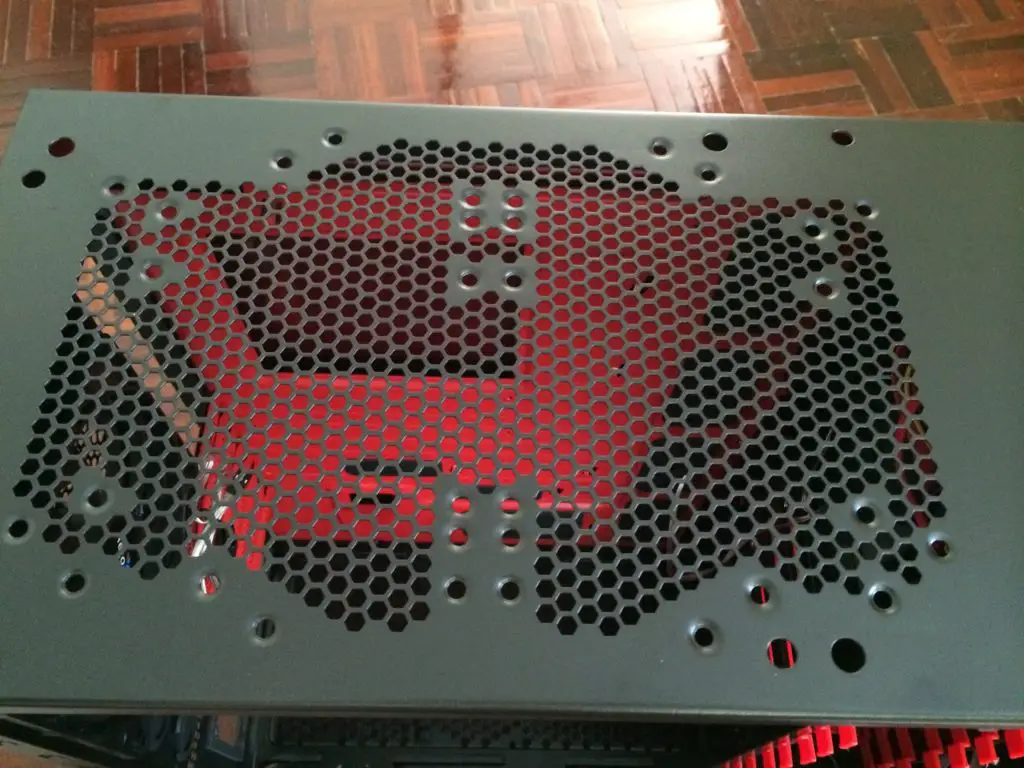
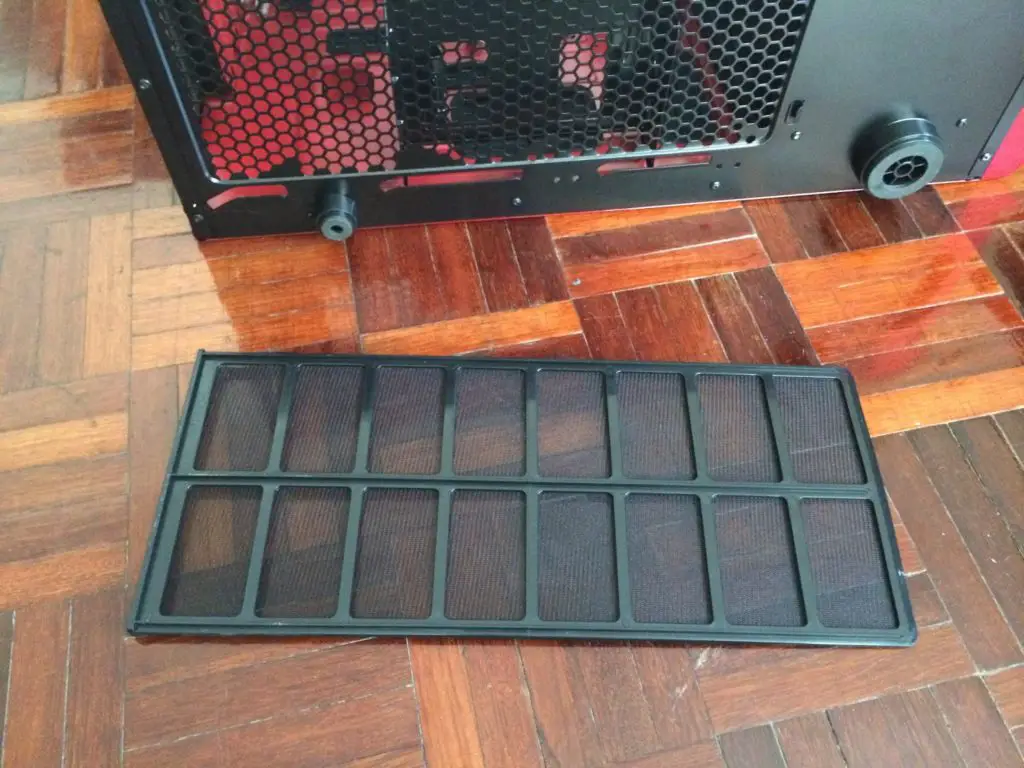
The bottom of the chassis ships with a large dust filter that is easy to remove to minimize dust intake from the bottom.
With the dust filter removed, we can the the honeycomb mesh at the bottom of the chassis that further maximizes the ventilation of the chassis.
The shape of the chassis feet resembles those fancy chassis feet, except that it doesn’t comes with the metal ring which is seen on its fancy counterpart.
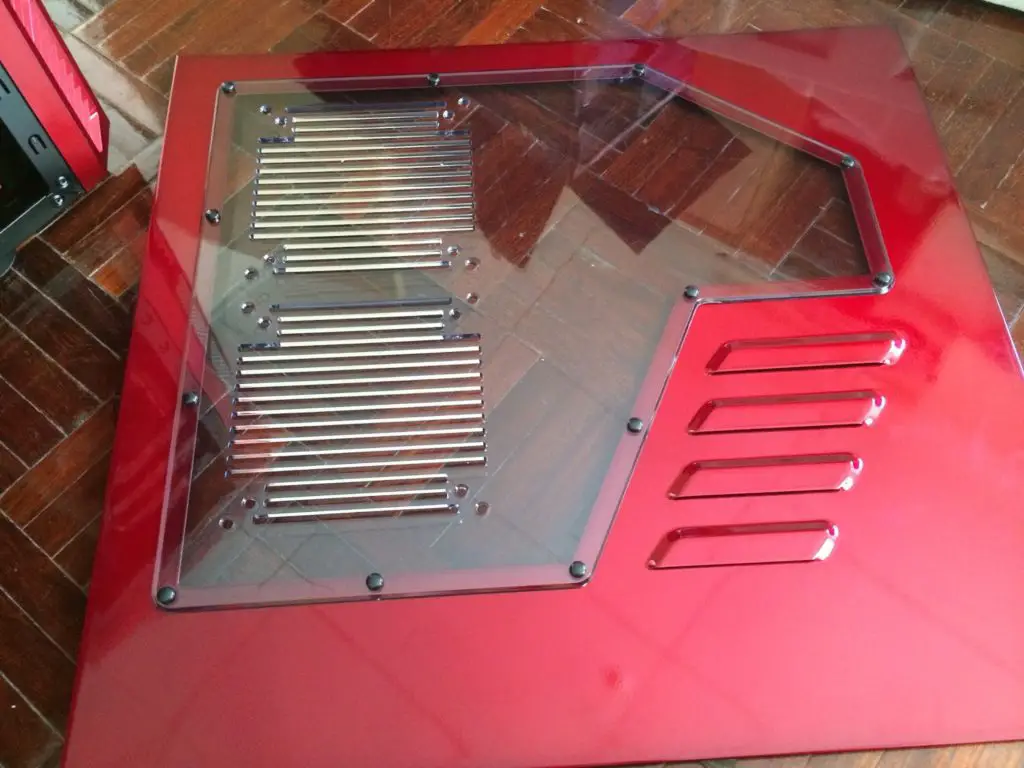
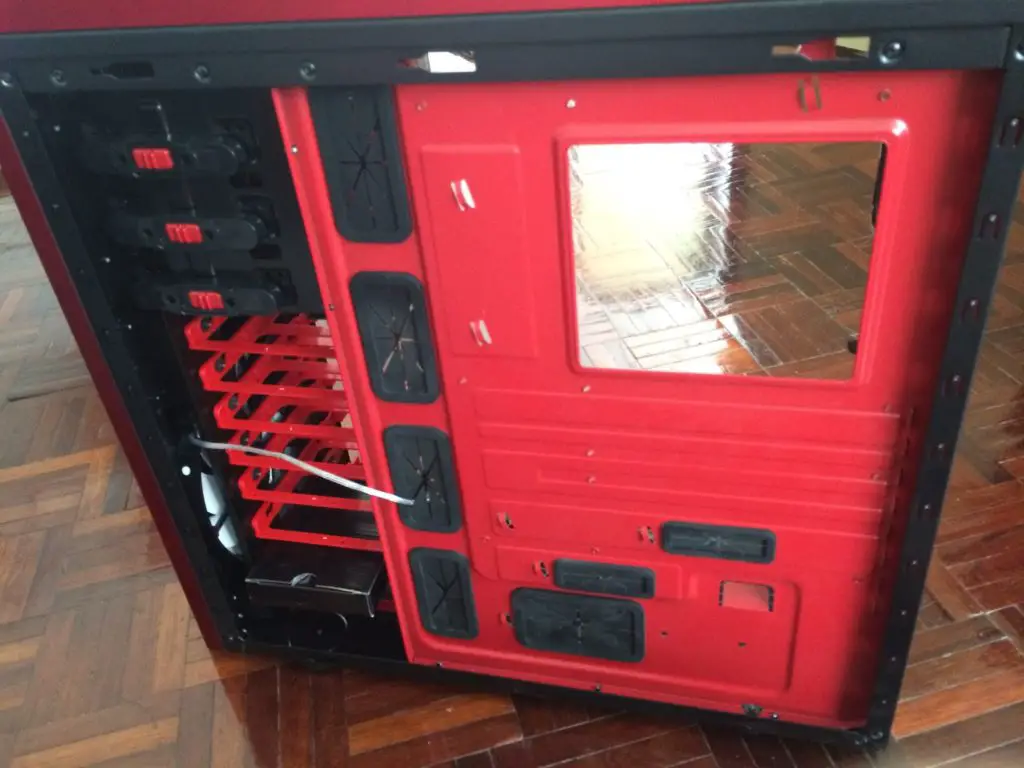
The side panel comes with a large window for hardware showcasing purposes and 120mm/140mm fan mount for extra cooling fans.
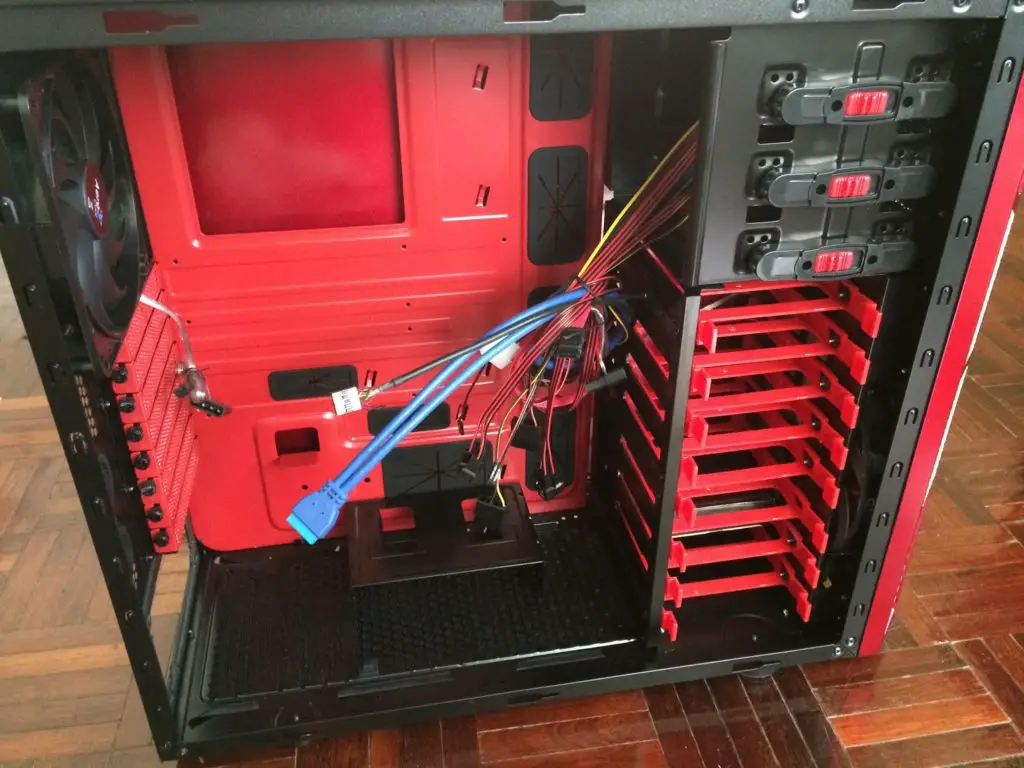
Moving on to the interior of the chassis, the first word that came to our mind – spacious.
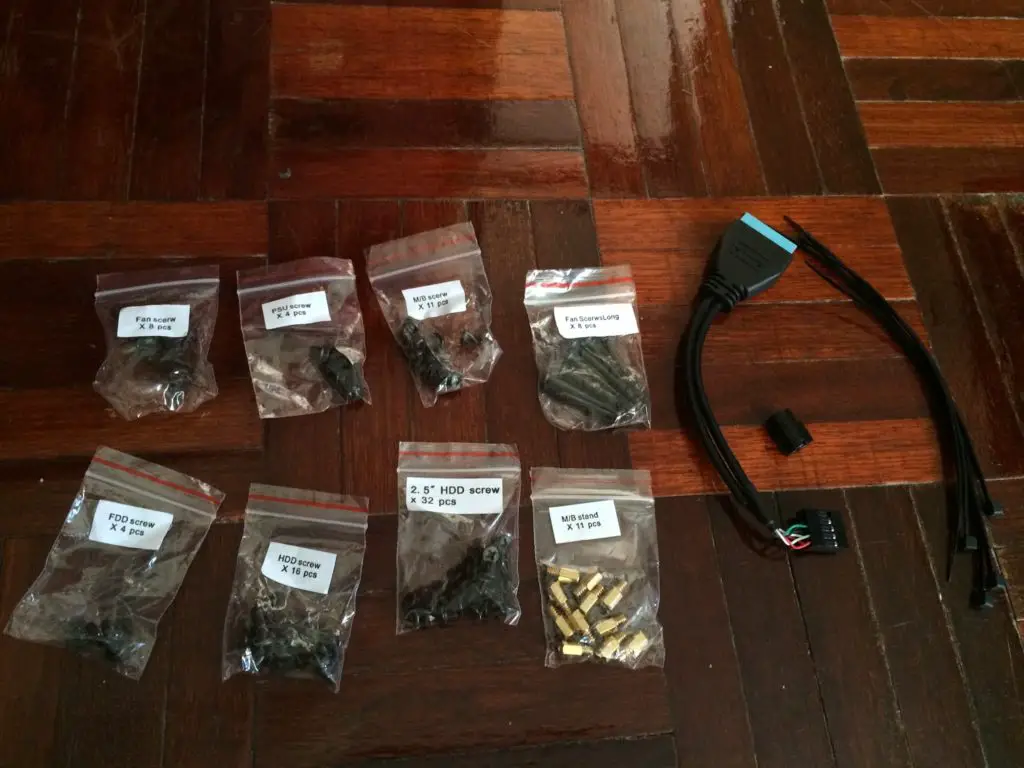
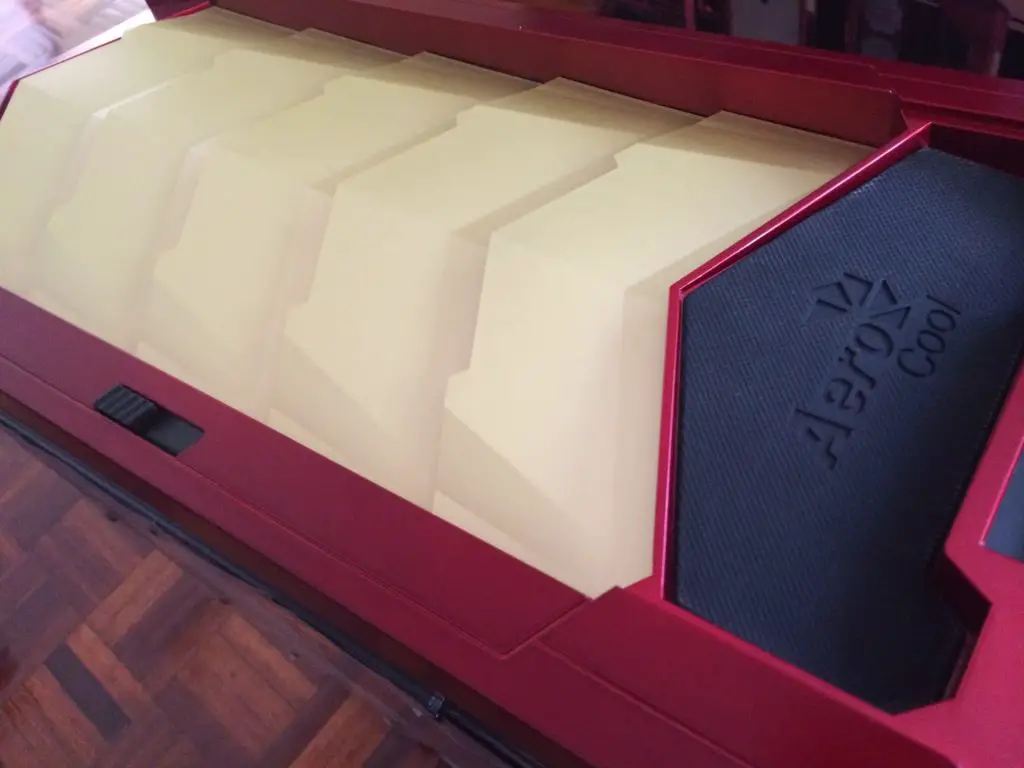
The accessories included, a USB 3.0 to USB 2.0 adapter, zip ties and few packs of very well labeled screws – double thumbs up for Aerocool on that!

The tool-free optical drive locking mechanism is always a good thing to have.
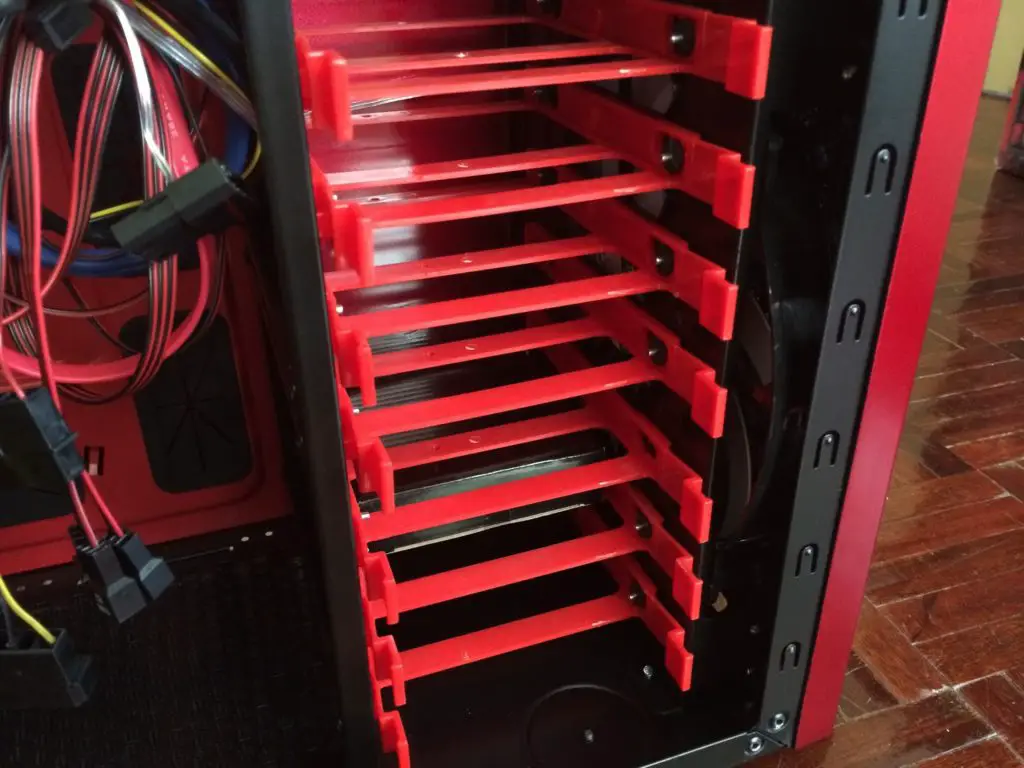
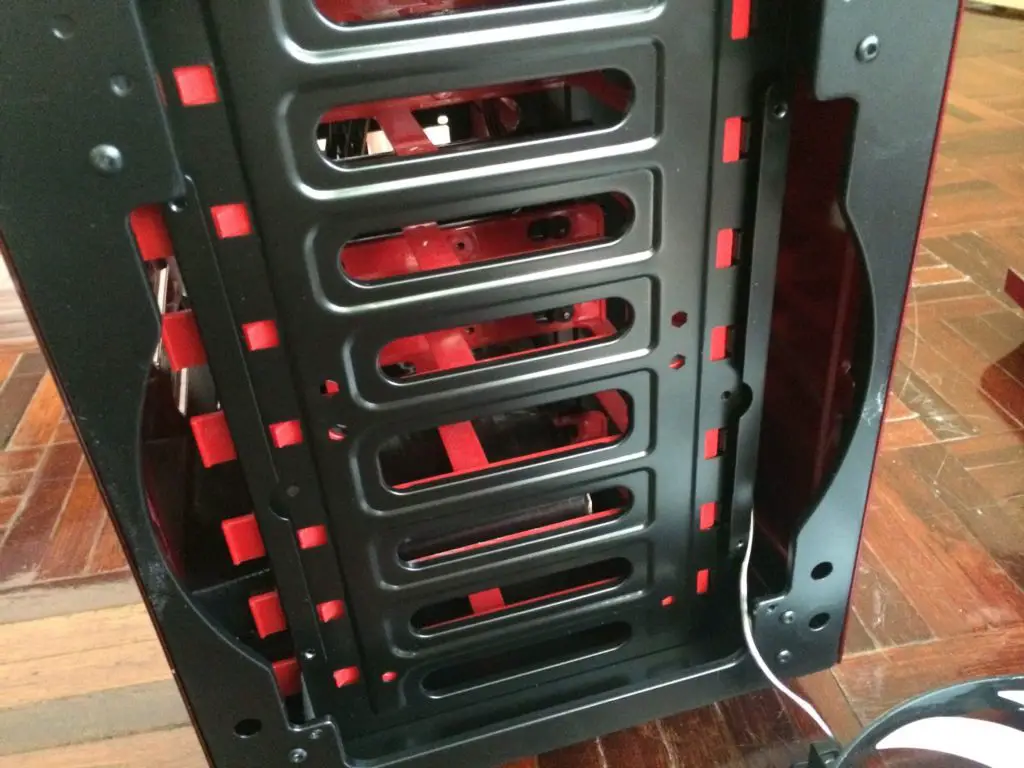
The official technical specifications appears to be incorrect as instead of the stated 6 drives support, the actual product supports up to 8 drives.
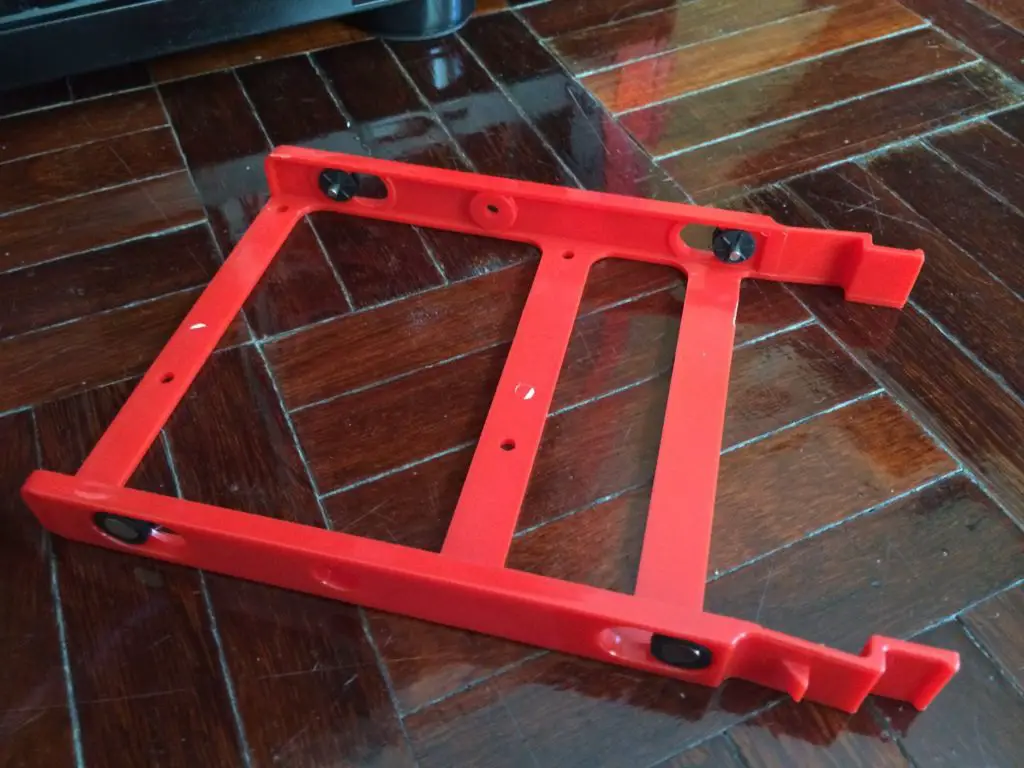
The hard drive bracket isn’t tool-free entirely, as you will still need screws to secure a 2.5″ drive to the hard drive bracket.

There’s a 5.25″ optical drive to 3.5″ drive bracket included as well to mount your hard drive at the 5.25″ optical drive bay, in case if you need more than 8 hard drives in your system.
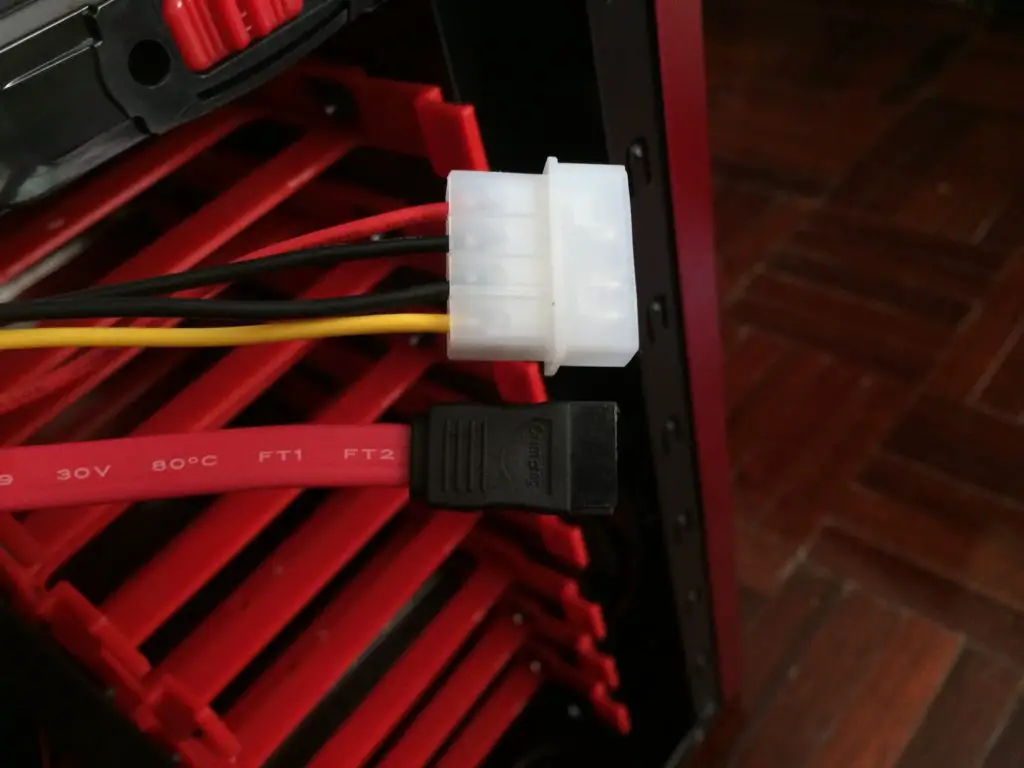
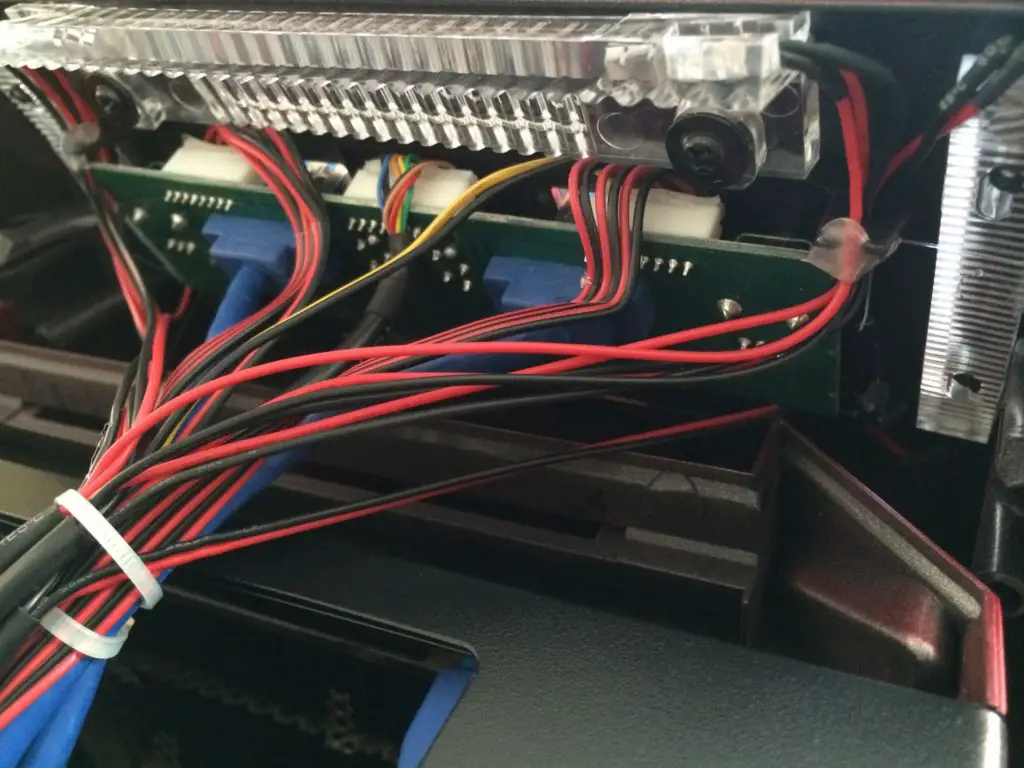
The SATA cable and 4-pin molex power cable for the 2.5″ drive hot swap bay.

More connectors:
- power on/ reset/ HDD LED
- front I/O panel USB 3.0
- front I/O panel USB 2.0
- front panel LED

There’s a lot of rubber grommets on the cable routing cutouts to hide traces of cables and to protect the cable as well.

The PSU mount is padded with rubber foam and rubber pads to absorb vibration generated from moving parts inside the PSU.

The top is quite spacious and there’s no clearance issue for self-contained liquid coolers.
Worry-free – there’s still plenty of space left for the RAMs even after the self-contained liquid cooler radiator has been mounted on.

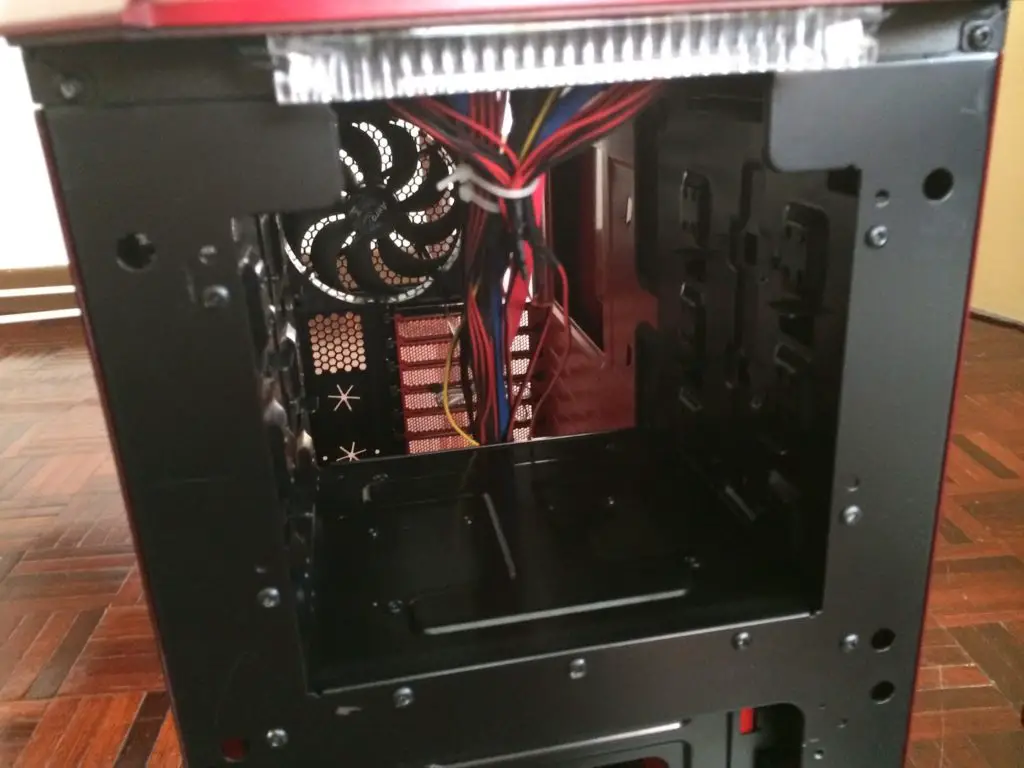
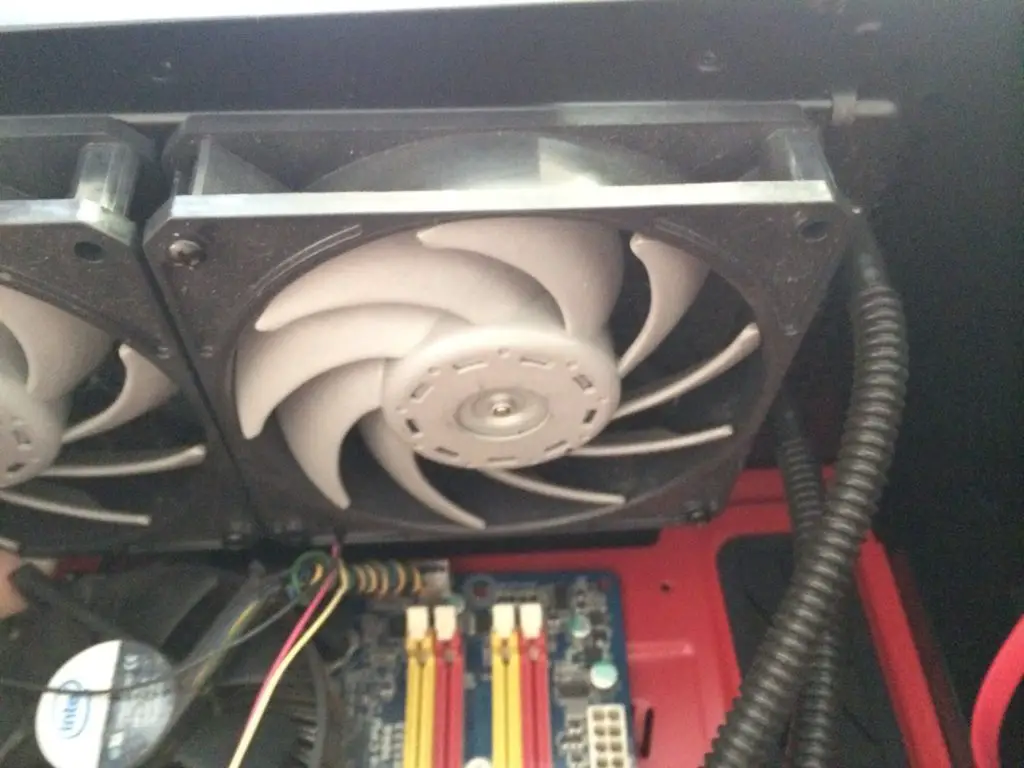
The included 140mm rear exhaust fan can be powered with either a 4-pin molex power connector or the 3-pin fan header on your motherboard.
The chassis supports up to a total of 10 PCIe expansion cards and there’s thumb screws on each of the expansion slot for the ease of removal/ installation.
Behind the motherboard tray, you’ll find these tie off points for cable management where you can keep your power supply cables tidy with the help of zip ties.
There’s plenty of space behind the motherboard tray for cable management and you will not have to worry on not being able to close the side panel due to cramped power supply cables.

Motherboard tray cut out makes swapping of CPU cooler much easier as you won’t have to remove your motherboard to gain access to the CPU cooler backplate.
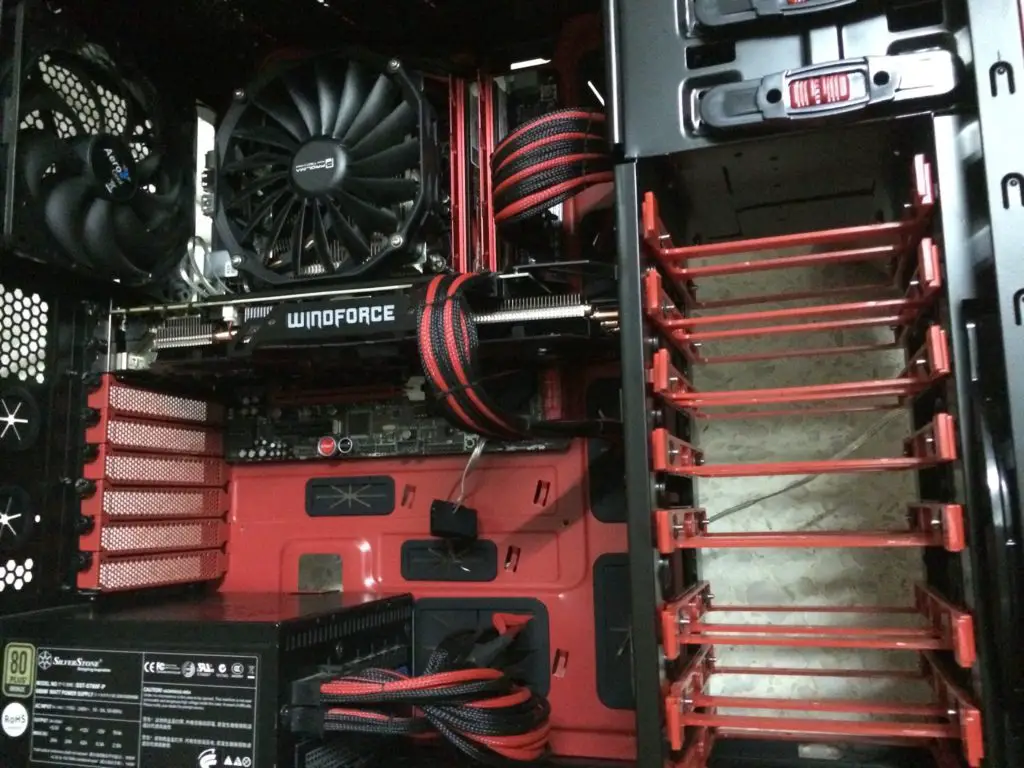
And here how it looks like with all the components installed, looks pretty good in overall but the promised 330mm PCIe expansion card length support doesn’t seems to be as what’s stated on the official technical specifications as there’s barely any space left after the Gigabyte GTX 970 G1 Gaming which is 312mm in length that we’ve installed.

Cable management behind the motherboard tray will fit all cables of non-modular PSU and it’ll look even better if sleeved cables is used.
Testing Method
Test Rig Configuration | |
CPU Cooler | Prolimatech Samuel 17 |
CPU | Intel Core i7 4790K |
Motherboard | ASUS Maximus Gene VI |
Memory | G.Skill TridentX 8GB |
Primary Hard Drive | Kimtigo KTA-350 120GB |
Power Supply | SilverStone Strider Plus 600W |
Chassis | Aerocool X-Predator X3 |
Moving on to the performance test, we ran a few stress test with the setup that we’ve prepared as above. Without any overclocking done to the test setup, our stress test involves the CPU stress test utility Prime95 with the option ‘In-place large FFTs’ while GPU stress test utility FurMark with its Furry Donut stress test for maximum heat output from both the CPU and GPU.
The test conducted consists 2 different scenario but with the vent louvers raised:
- Without side panel
- With side panel
Our room temperature throughout the test is 30 ºC in average and the stress test is repeated for several times in order to get a stable and consistent temperature reading. The final result is presented in the graph as below:


Before proceeding any further, I would like to clarify that the stress test is done purposely to obtain the maximum heat output from both GPU and CPU for us to observe the air circulation of the chassis. It is very unlikely for both components to hit this temperature reading in most of real world usage (gaming, office work, music, video,etc).
The stock cooling fans didn’t perform as good as we hope it would be, but we’re still able to maintain both CPU and GPU at a decent temperature, all thanks to the meshes that allows air to move more frequently through the chassis. High performance fans is highly recommended if better results is desired and you can easily adjust the fan RPM with the chassis fan controller.
Final Thoughts
Although the Aerocool X-Predator X3 didn’t make it to the list of our personal liking, but we can’t deny that it does offer the features and value of a decent full tower chassis. Hardware compatibility is still acceptable, long graphics card of 320mm in length and 240mm radiator on the top with push/pull configuration fits in without any issue.
Cooling performance is still bearable even though stock cooling fans isn’t performing up to expectations. We recommend replacing the stock cooling fans with high performance fans to yield better result, since there’s a lot of fan mount on the chassis.
Investing RM359 for the Aerocool X-Predator X3 isn’t a bad idea, but user who prefers themed build might want to reconsider before getting one as it’s very difficult to find components that has the same color scheme as this Aerocool X-Predator X3 does. Given a scale of 1 to 10, we’d give the Aerocool X-Predator X3 a 6.5 – a silver award.
Pros
- Affordable full tower form factor chassis
- High airflow design
- Built in fan controller
- Built in hot swap bay for 2.5″ drive
- Lots of space behind the motherboard tray and easy cable management
Cons
- Uncommon color scheme
- Stock cooling fans isn’t doing very well
- The hot swap bay support only 2.5″ drive
- The hard drive cage cannot be removed to support longer graphics card


