The competition is getting tougher as more budget oriented chassis arise to meet the needs of the majority. Manufacturers came up with various designs of budget oriented chassis to offer the best compatibility for high end components especially long graphics card and a not too shabby cable management spaces at that very limited amount of budget. That’s where the ThermalTake Versa H21 comes in.
Thermaltake has take on the challenge and came up with another of their budget oriented chassis to compete, introducing the Thermaltake Versa H21 and special thanks to AV Future Link Sdn Bhd for making this review possible. Retailed at a budget friendly price of RM 129, let’s find out what does the Thermaltake Versa H21 has to offer – yay or nay?
Specifications
| Model | Versa H21 |
| P/N | CA-1B2-00M1NN-00 |
| Case Type | Mid Tower |
| Dimension (H x W x D) | 429 x 209 x 480 mm (16.9 x 8.2 x 18.9 inch) |
| Net Weight | 4.2 kg / 9.3 lb |
| Side Panel | No Window |
| Color | Exterior & Interior : Black |
| Material | SPCC |
| Cooling System | Front (intake) :(optional) 120 x 120 x 25 mm x 2 Rear (exhaust) : 120 x 120 x 25 mm Turbo fan |
| Drive Bays | -Accessible : 3 x 5.25’’ -Hidden : 3 x 3.5’’ or 2.5’’, 3 x 2.5’’ |
| Expansion Slots | 7 |
| Motherboards | 9.6” x 9.6” (Micro ATX), 12” x 9.6” (ATX) |
| I/O Ports | USB 3.0 x 1,USB 2.0 x 1, HD Audio x 1 |
| PSU | Standard PS2 PSU (optional) |
| LCS Upgradable | Supports 1/2”、3/8”、1/4” water tube |
| Radiator Support | Rear: 1 x 120mm |
| Other | CPU cooler height limitation: 155mm VGA length limitation: 315mm |
Packaging
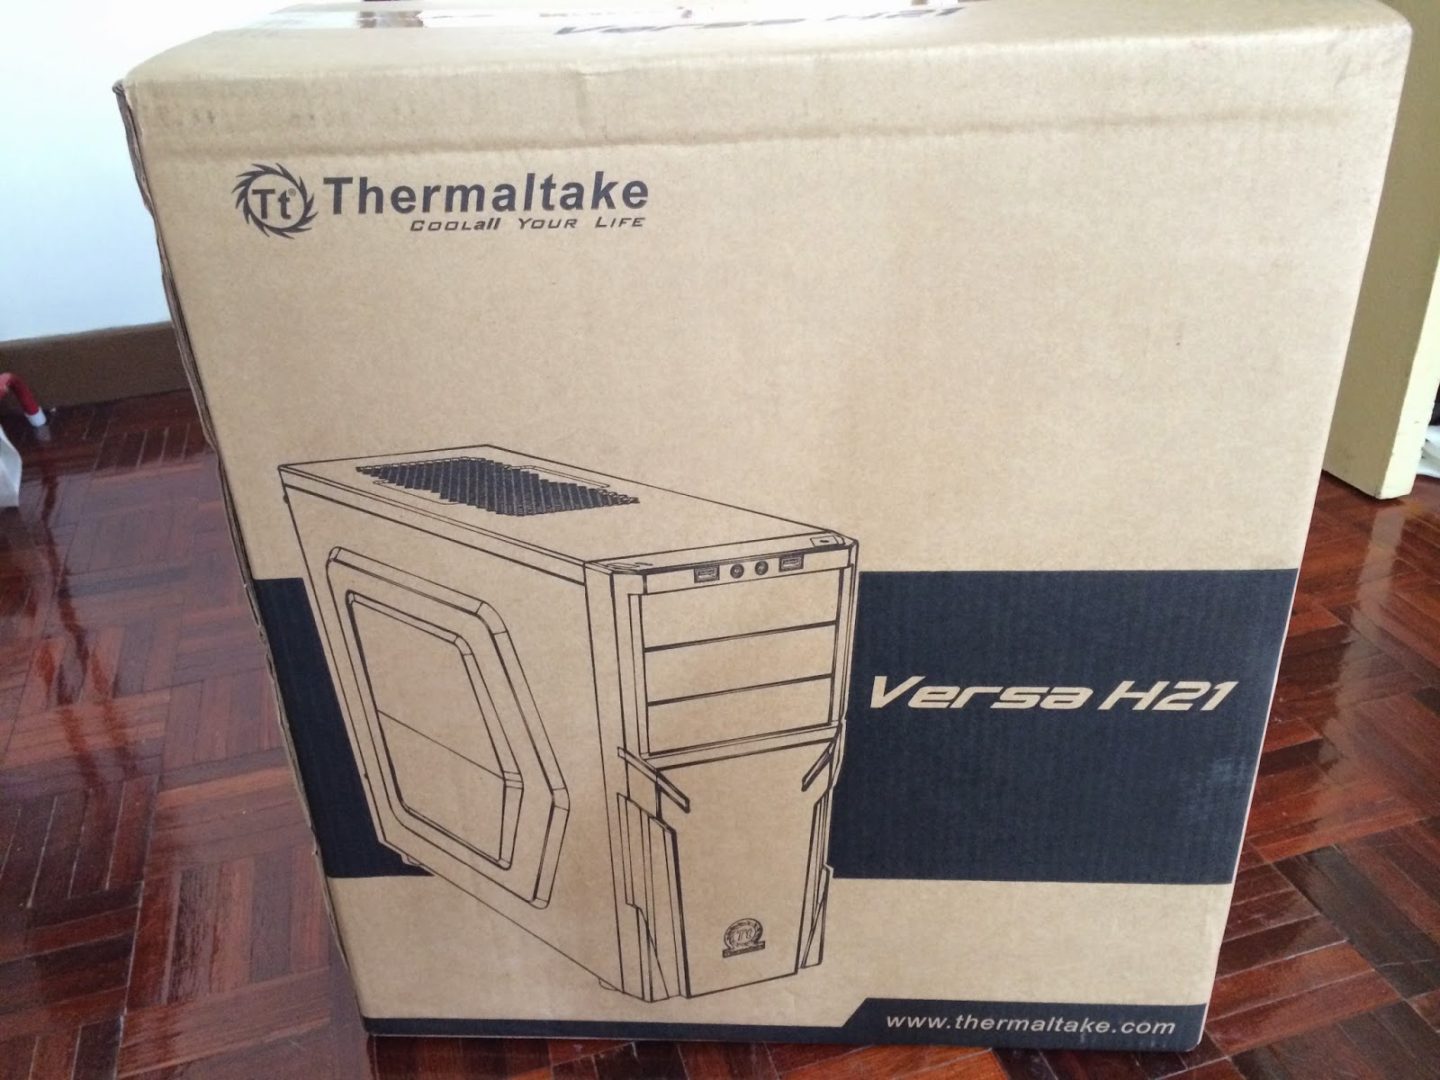
The Thermaltake Versa H21 comes in a cardboard packaging with just the line art of the chassis printed on both sides of the box.
Accessories

The included accessories is pretty standard for a budget oriented chassis – user’s guide, a PCIe slot cover, a pack of screws for various mounting purposes and some zip ties for cable management.
Closer Look
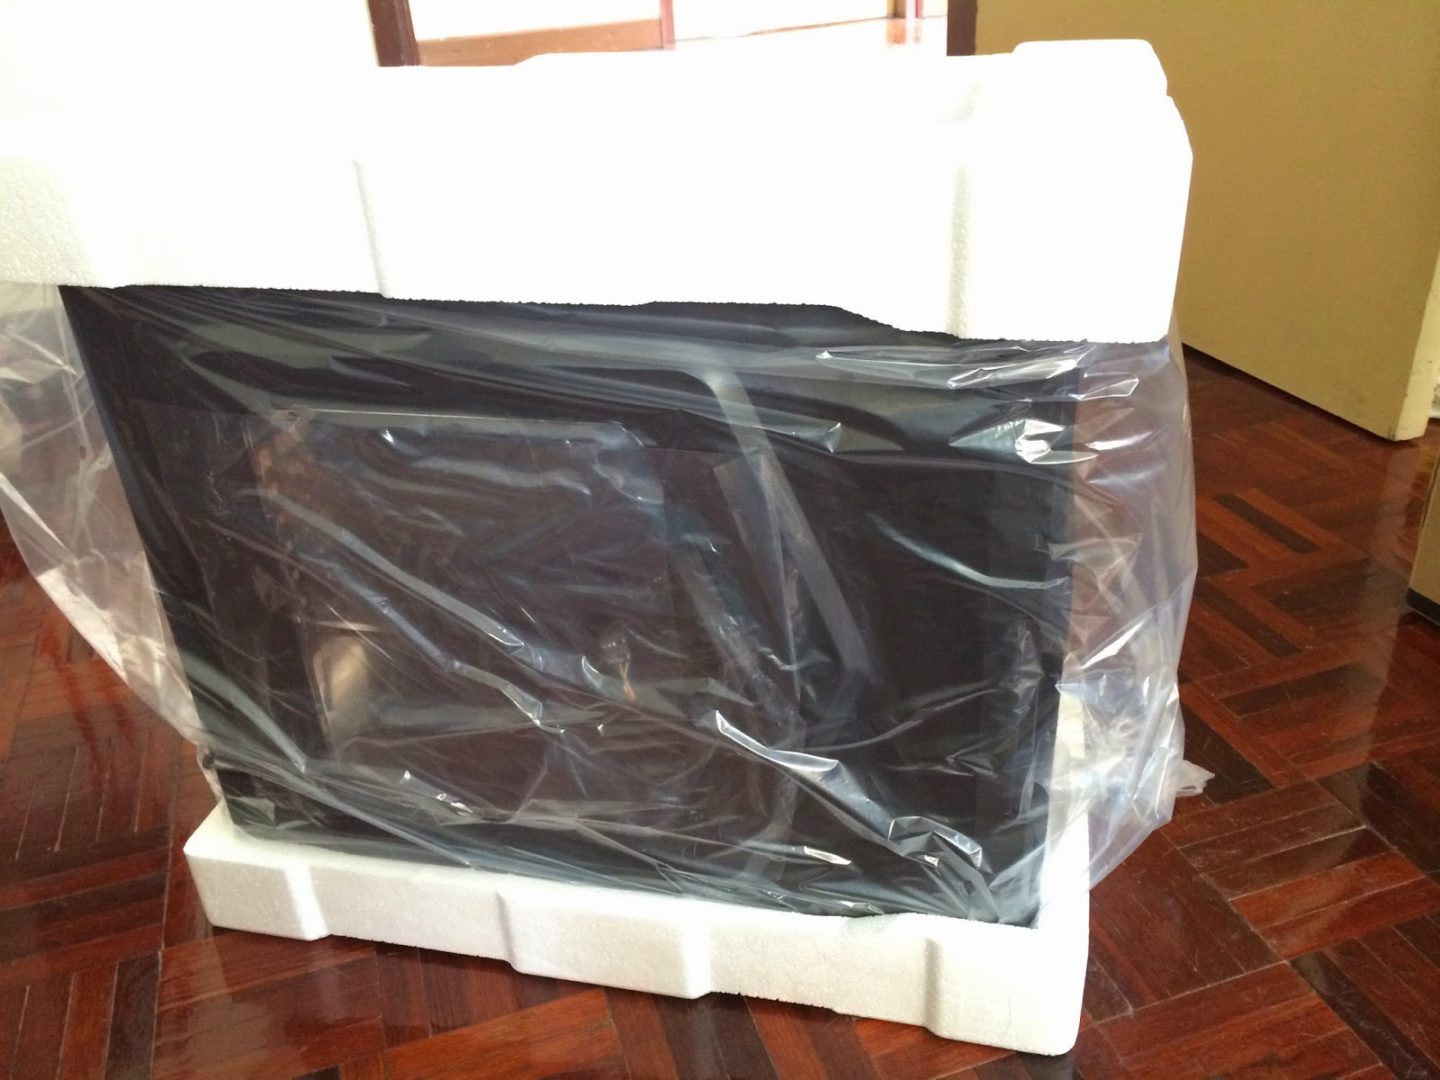
The Versa H21 comes flanked in between 2 pieces of polystyrene foam as shock absorbent and covered with clear plastic cover to prevent dust and minor scratches during transportation.
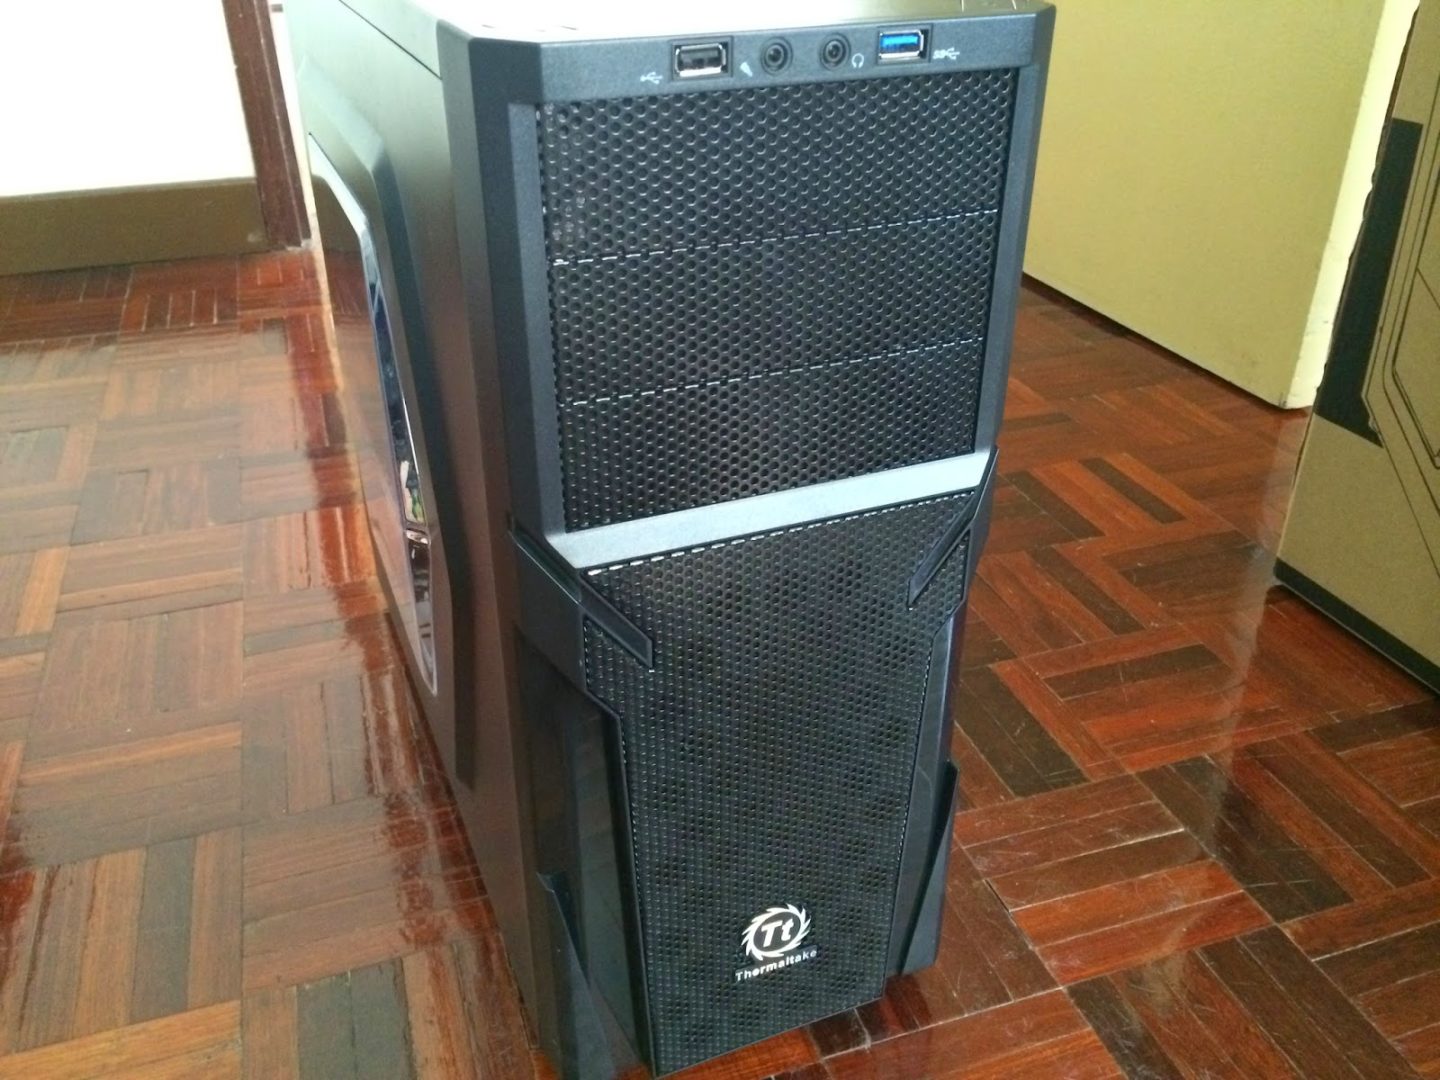
The front panel comes in a meshed design that serves for ventilation purposes.

A shiny Thermaltake badge did added a few points to the appearance of the Versa H21.

For the front I/O, we have audio jacks, a single of each USB 2.0 and USB 3.0 port.
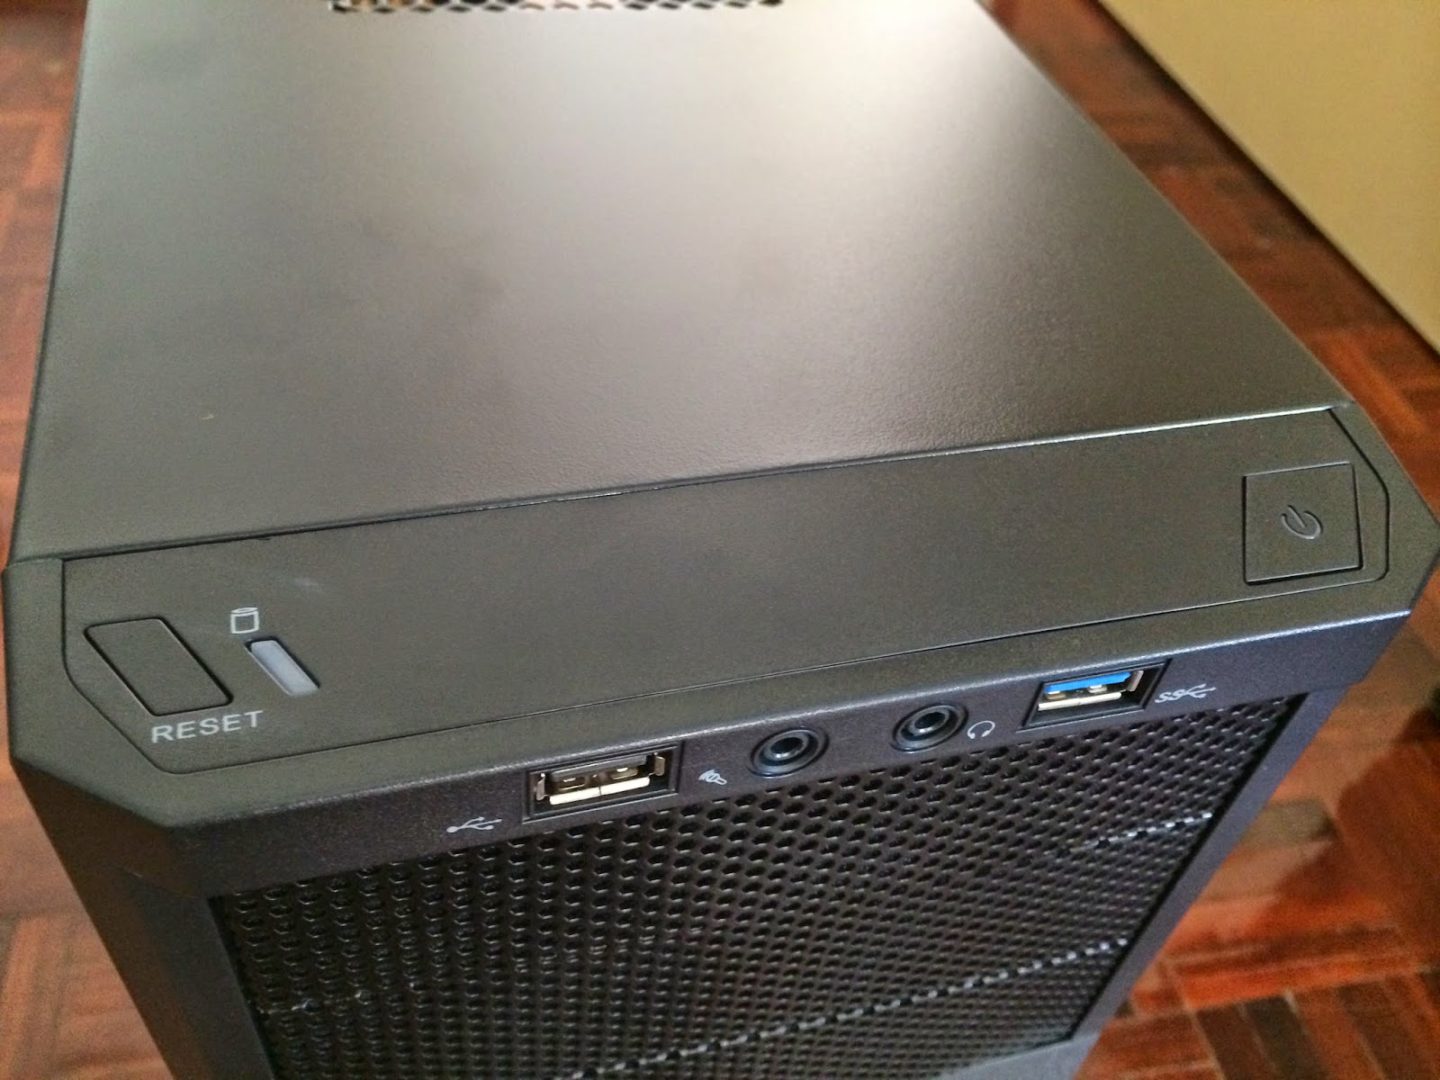
On top of the front I/O panel you’ll find a reset button, HDD LED and power button.

More mesh encountered as we move a little further to the back of the top panel for ventilation purposes but mounting fans doesn’t seems possible as there’s no screw holes available.

Back to the front panel, its removal is as easy as pie but do note that it is held by plastic clips that might break if it’s handle with brute force.

The ODD cover is held by these plastic clips and it can only be removed from the inside.

A thin layer of foam is used on the cover as dust filter and it can be easily removed for cleaning.


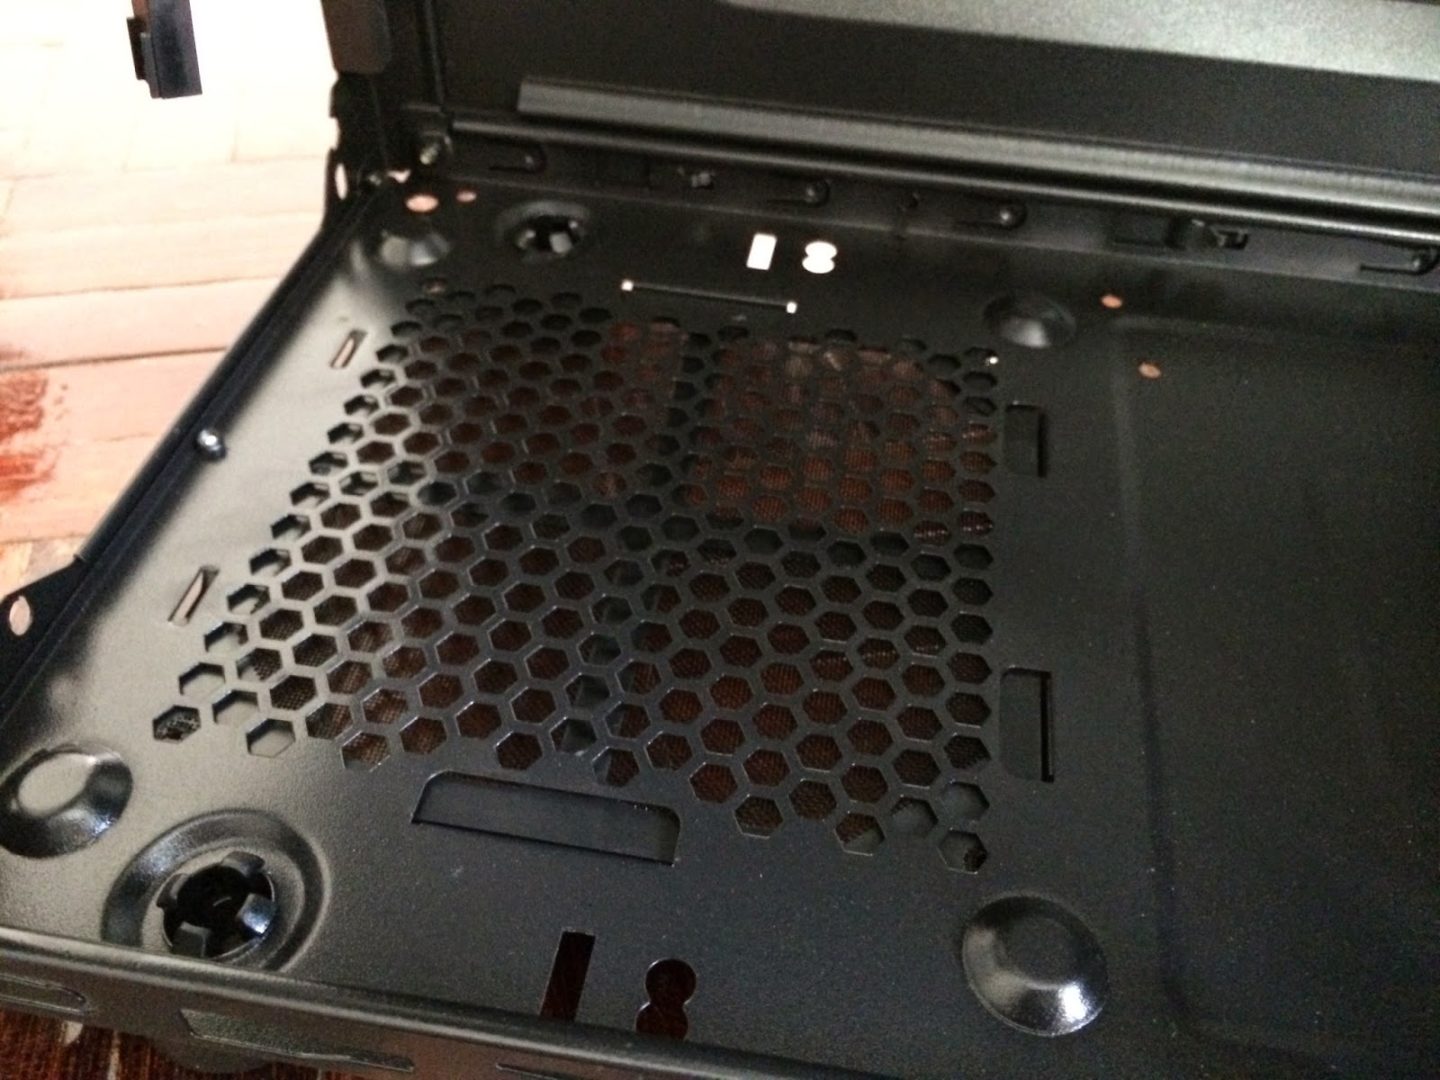
There’s a removable dust filter at the front where intake fans are supposed to be installed onto it.
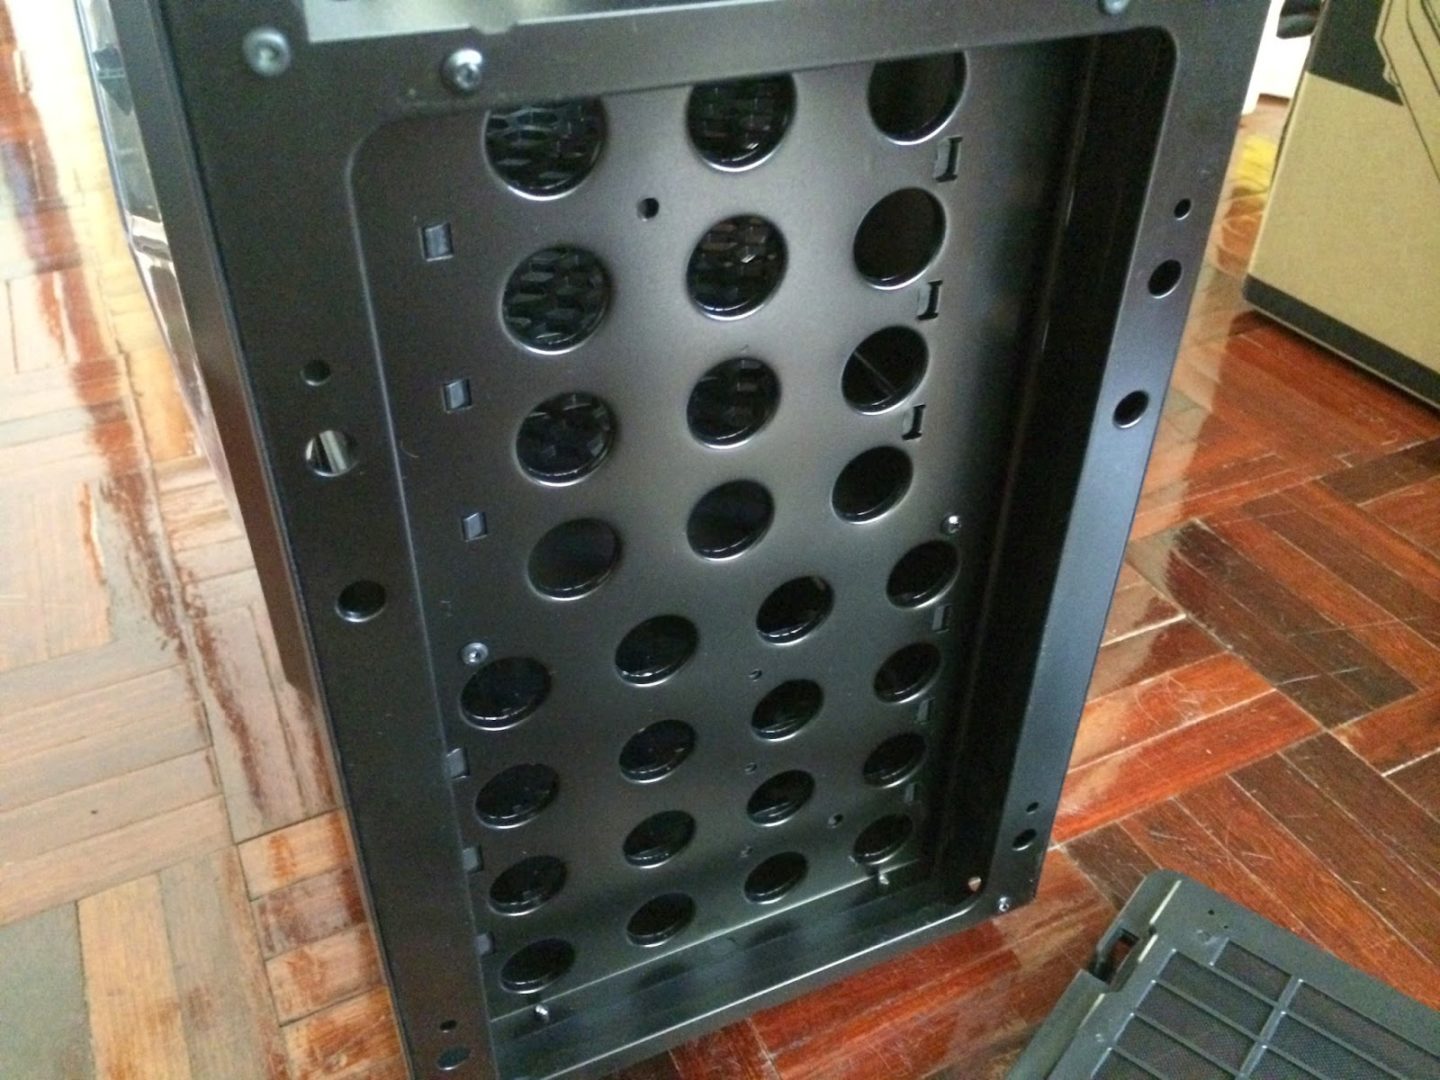
The design looks awfully familiar to another chassis that we’ve previously reviewed, these holes serves as ventilation allowing air to move from the front intake into the chassis.

The front I/O cables are very well placed and there’s plenty of clearance for optical drives.

As three of the Thermaltake Versa Series, namely H21, H22 and H23, shares the same body-frame, the front panel is interchangeable. However, it requires some extra unscrewing to the existing front I/O panel.

It’s extremely rare for a budget oriented chassis to have a PSU dust filter, this is a nice touch.
Well here’s the small letdown, no fancy rubber feet with metallic ring for you. Can’t expect too much for what it’s priced at – RM 129.

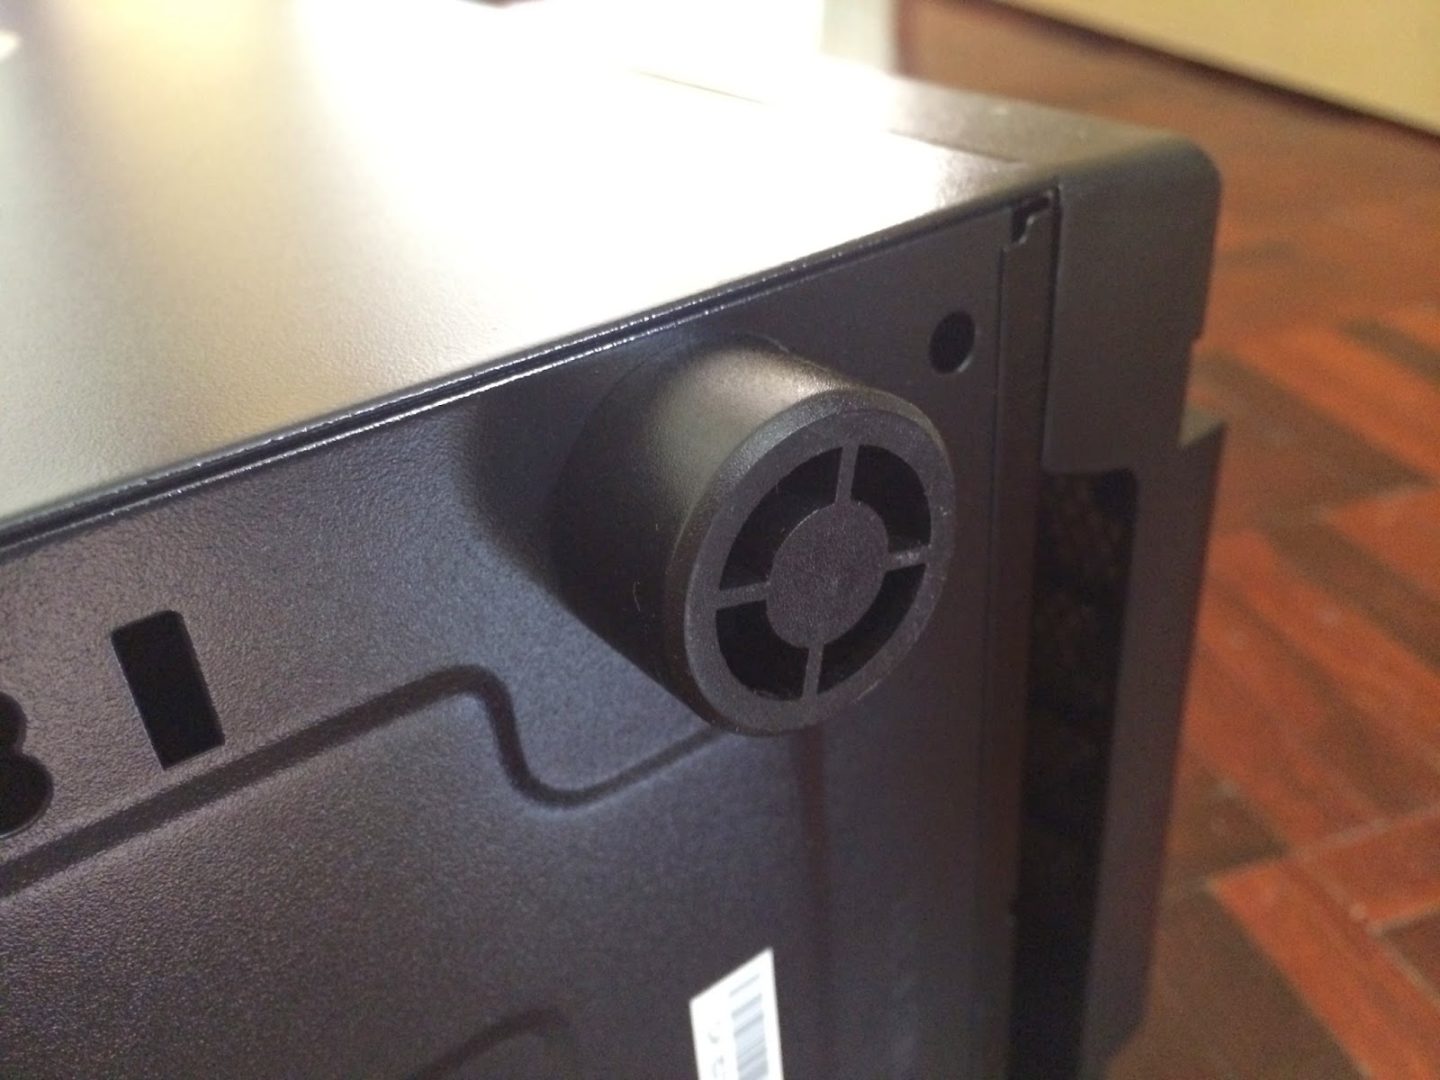
Moving on to the back layout, you’ll find a standard I/O cutout, 2 holes covered with rubber grommets for external watercooling setup, a 120mm exhaust fan mount, seven breakaway expansion slots with its plastic cover and a bottom mounted power supply bay.

These cutouts allow you to setup external custom watercooling without having to cut a hole or two on your own.


The expansion slots comes with a plastic cover to keep things neat externally as the screws to secure your expansion cards are located outside the chassis. The first PCIe slot on the other hand, is missing a cover, which we already know why; people are most likely to use it and if you’re not going to use it, just cover it with the included PCIe slot cover.

The breakaway PCIe slot cover, no turning back once it is taken off.

The side panel comes with an acrylic window so you can showcase your components.
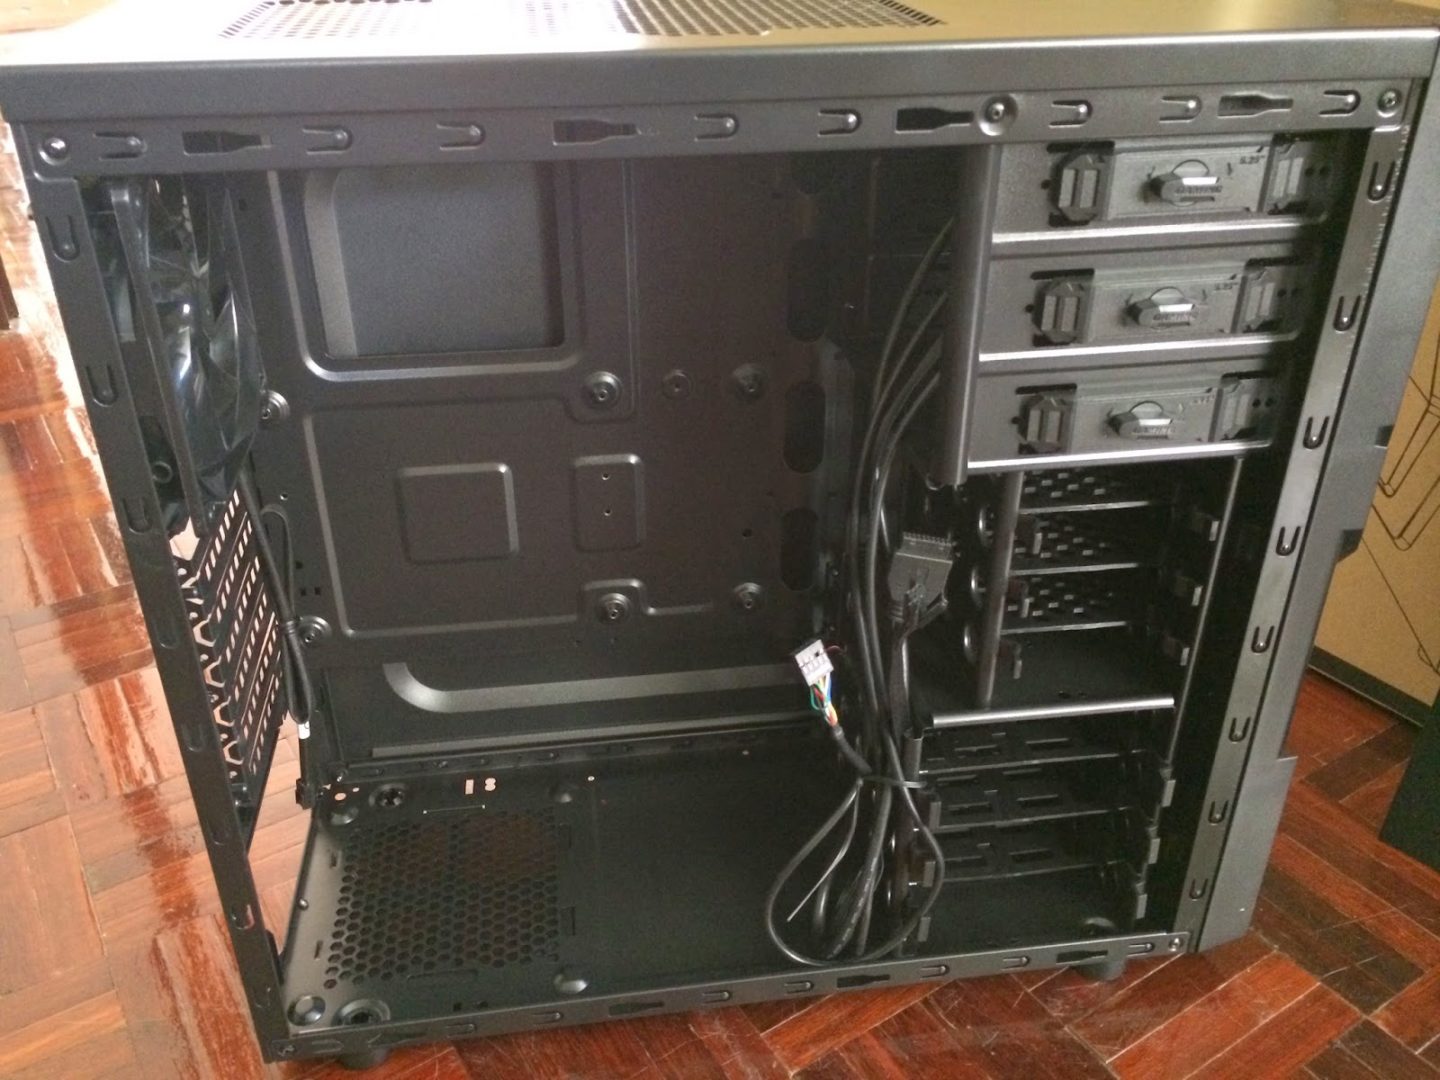
Now this looks nothing like a budget chassis at all. 2.5″ drive bay, HDD brackets, cable routing cutouts, etc belongs to chassis that will cost you around RM 200.

The front I/O connectors: Audio jacks header, USB 2.0 header, USB 3.0 header, HDD LED, Power and reset button header.

A ThermalTake Pure 12 fan is included as the exhaust fan.

Tool-free 3.5″ drive lock for quick and easy optical drive installation.

The 2.5″ drive bay not only allows you to install SSDs without the need of any 3rd party brackets, it gives that extra clearance for long graphics card.

Unlike the 3.5″ drive bracket that comes with studs to hold the drive in place, you’ll still need to secure the 2.5″ drive with the screws provided.
It’ll be great if there’s rubber pads to dampens the vibration from moving parts, but that might just be a little too much to ask for.

Motherboard installation is made easier with these stand offs which has been pre-built onto the motherboard tray.

The cutout for easy CPU cooler swapping, not really that ideal but accessing the backplate is made easier this way.

And there’s the cable routing cutouts for a decent cable management, limited but it’ll still turn out well with a little effort.

Due to the limited space behind the motherboard tray, most cables will be to be routed to the space behind the 2.5″ and 3.5″ drive bay.

So what if things gotten nasty even if you’re on a fully modular power supply with sleeved cables like this?

ThermalTake did a quick fix for that with the side panel protruded to accommodate better cable management; closing the side panel should be easier as well.

The cable routing cutouts might not fit the 24-pin header, but the rest will do just fine. We fitted an ASUS STRIX 780 with a measured length of 28.7cm and there’s still plenty of space left.

This is how everything looks like after closing up the side panel. You can add some LED strips for that extra bling if you like.
Performance Test
Test Bench Configuration | |
| CPU Cooler | Cooler Master Hyper 212 Evo |
| CPU | Intel CoreI7 4790K |
| Motherboard | ASRock Z97E-ITX/ac |
| Memory | Corsair Vengeance Pro 4GB x 2 |
| Primary Hard Drive | Crucial M500 120GB |
| Power Supply | SilverStone ST60F-P 600W |
| GPU | ASUS STRIX GTX 780 |
In order to test it’s cooling performance, we stressed both CPU and GPU using Prime95 with the option ‘In-place large FFTs’ and FurMark with its Furry Donut to simulate the worst case as possible for heat build up in a system. Our room temperature throughout the test is 31ºC on average. The stress test is done repeatedly with and without the side panel for a better comparison in temperature differences.

Do note that it is very unlikely for both components to hit this temperature reading in most of real world usage (gaming, office work, music, video,etc) as both CPU/GPU are being stressed to the limit only for performance testing purposes.
Despite having only one fan for exhaust (ThermalTake Pure 12), the temperature difference that we’re getting here still pretty reasonable and it can be better by installing some extra fans for intake or replacing the existing fan with a high performance fan to improve air circulation in the chassis.
Final Thoughts
The Thermaltake Versa H21 has a lot of similarities to BitFenix’s Comrade and Neos; probably because they’re from the same OEM. Thermaltake Versa H21 takes the lead in pricing though by being RM40 cheaper.
The overall construction might not be as solid as other higher end chassis and its appearance might not be everyone’s liking, but the Thermaltake Versa H21 is the “bang for the buck” when it comes to hardware compatibility and features.
- Pros
- Compatible with wide range of components
- Comes with many good features of a decent mid tower chassis
- Extra enlarged space at the side panel for better cable management
- Interchangeable front panel (H21/H22/H23)
- Highly affordable
- Cons
- Less solid construction
- Requires extra unscrewing for front panel swapping
- Top ventilation mesh doesn’t comes with dust filter
- PCIe expansion slot plastic cover is not compatible with non-reference graphics card


2 thoughts on “Unboxing & Review: Thermaltake Versa H21”
Hey, Great unboxing! I just wrote this but when i hit publish it cleared the page and didn't show my comment, so I'll just write it again.
I just recently built a pc with this case, and similar parts, especially the Evo 212. Seems like it just barely fits in the case, and the copper pins that stick out the top of the Evo touch the side panel right as the side panel bevels out. Makes closing the case a little difficult, not terrible, but noticeably. Have you noticed this? I'm using the solid side panel instead of the clear panel you have.
Also is there an advantage to mount the cpu fan blowing up instead of to the back towards the case fan? I have it set up blowing from front to back, straight into and out the case fan.
Hi Stephan, thanks for the heads up!
We have the Hyper 212 Evo installed and didn't notice any issue though.
Installing the cooler facing upwards has a reason: we're using an ITX board and mounting the motherboard is totally impossible with the cooler installed in front-back direction. :S
Comments are closed.