
Specification

Packaging

Sticking to tradition, the Raven 05 comes in an overall black cardboard box depicting the chassis with a raven in the background.

The usual key highlights of the chassis are found at the back.

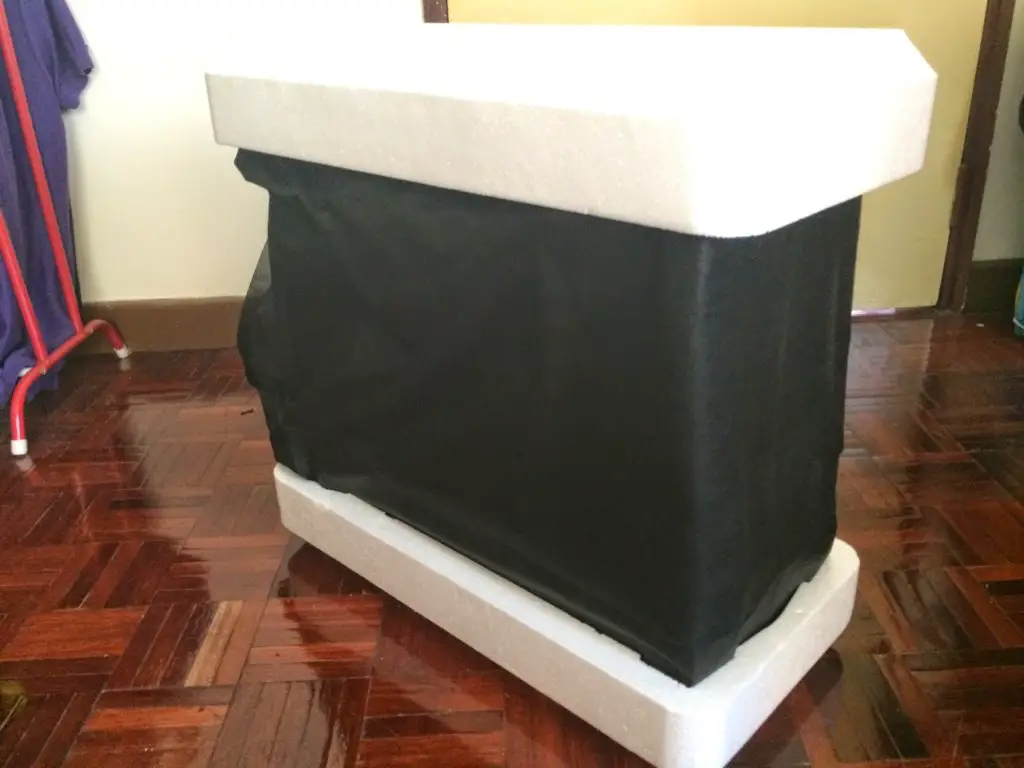
Moulded hard polystyrene foam protects the chassis from damage during transportation. The chassis is also wrapped in a black cloth-like cover to protect against dust and scratches.

Accessories are scarce with the Raven 05, you’ll get a bag of screws, a user manual and a magnetic dust filter.
Exterior

The front of the Raven 05 retains the angular design and the V-shaped LED right below the Raven emblem. No 5.25″ bays this time around.

Up at the top is a huge area for ventilation, Silverstone designers styled it aggressively and it suits the chassis well. We’re a bit concerned about not having filters here at all as this is here all of the components will be located, we’ll probably be having nightmares about a screw falling into the PSU or GPU vents from time to time.
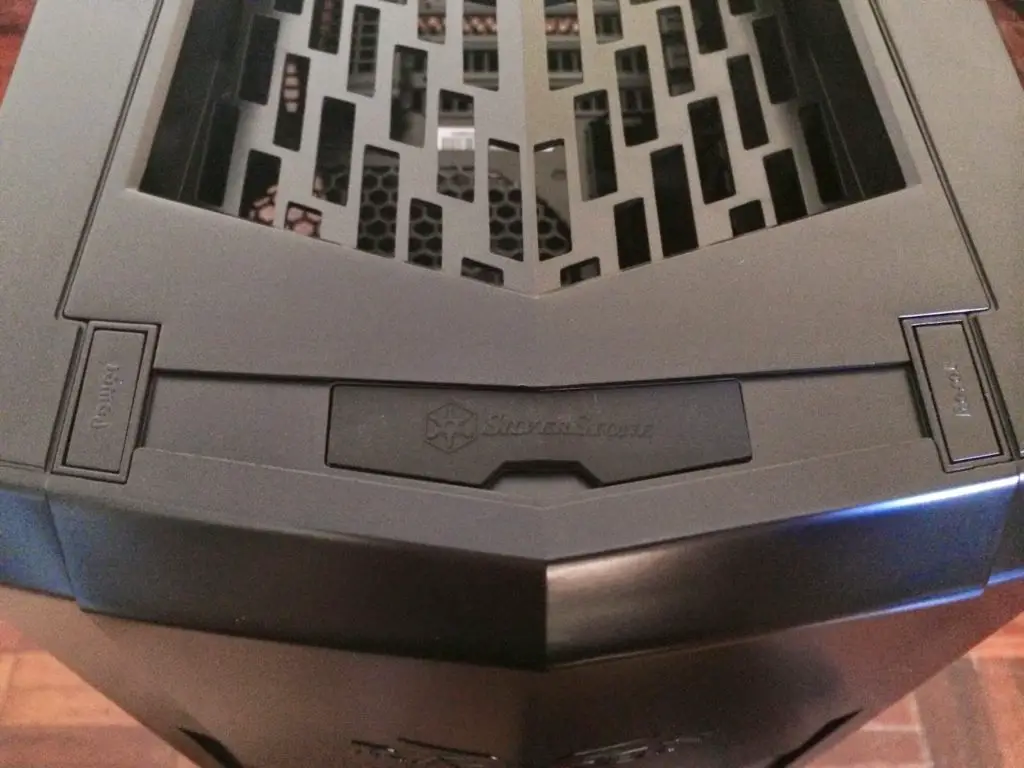
At the front edge is where the power and reset button is located.
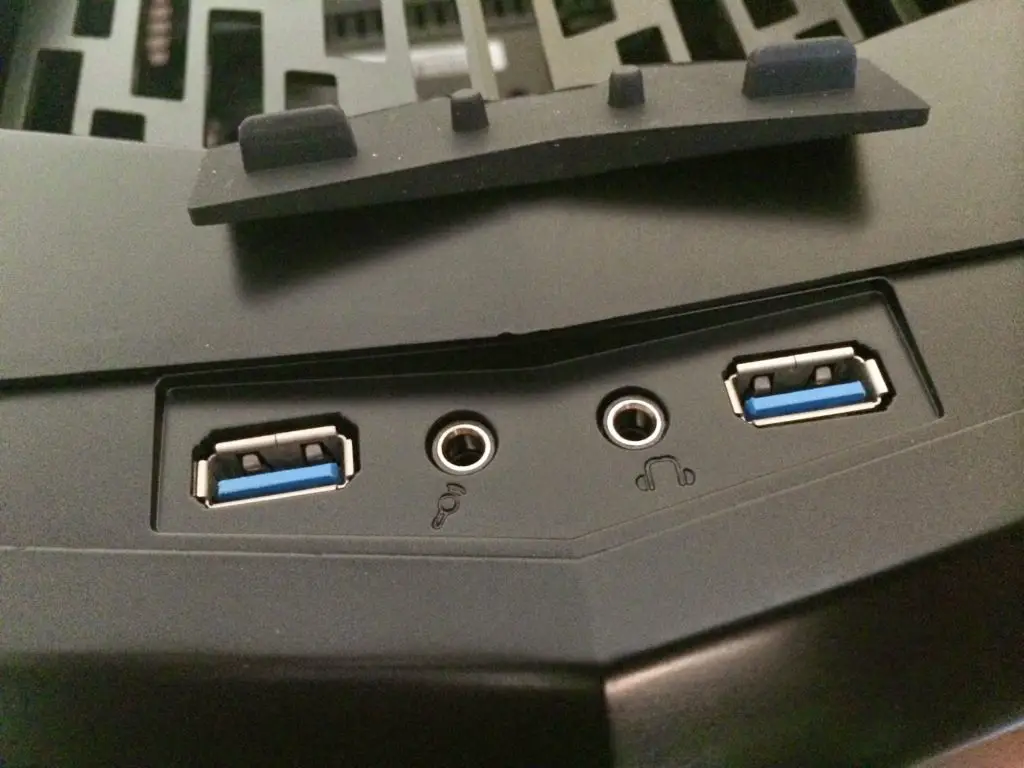
A little rubber flap covers up the front I/O which consists of dual USB3.0 ports, a microphone port and a headphone port. The rubber flap makes a good dust cap for the ports but Silverstone could’ve tethered it to the chassis to avoid any chance of it being misplaced.
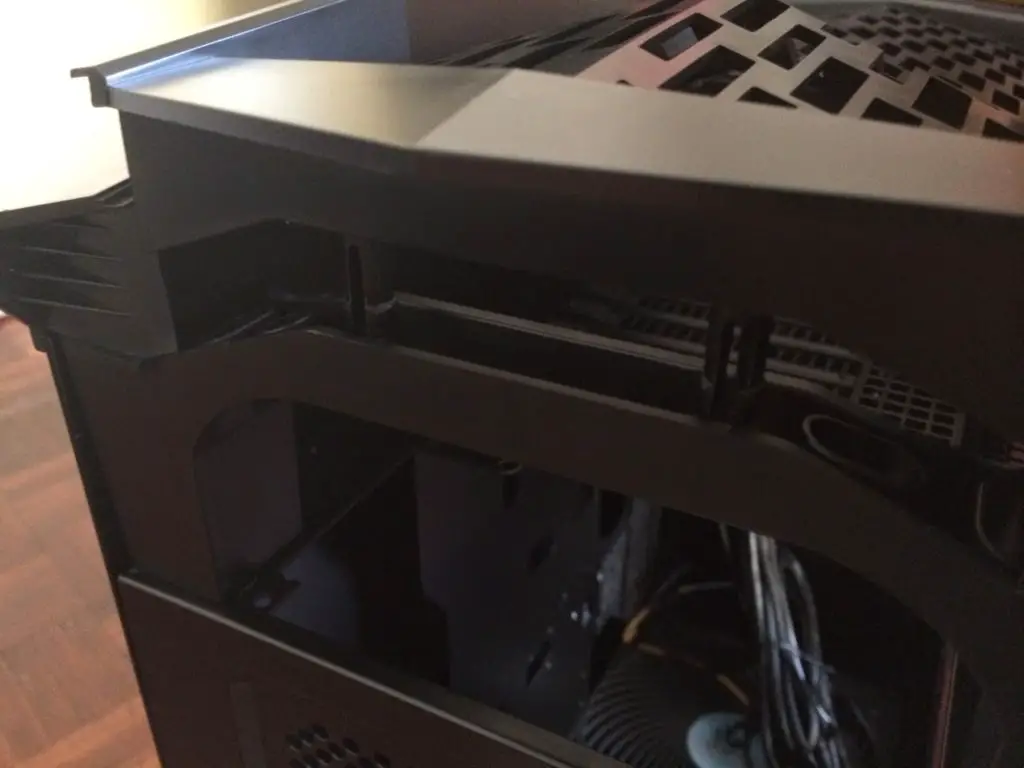
The top panel is easily removable by tugging at the back.
Just another view of the filter-less top panel.

They don’t get in the way of assembly with strategic placed access for your screwdriver, just make sure it’s long enough to reach wherever you want to secure the screws.

When it’s on though, it provides not only a clean look but also another step of security albeit the slight hassle.


At the back is a ventilation area for the PSU, this is where you would want that magnetic dust filter to be placed.

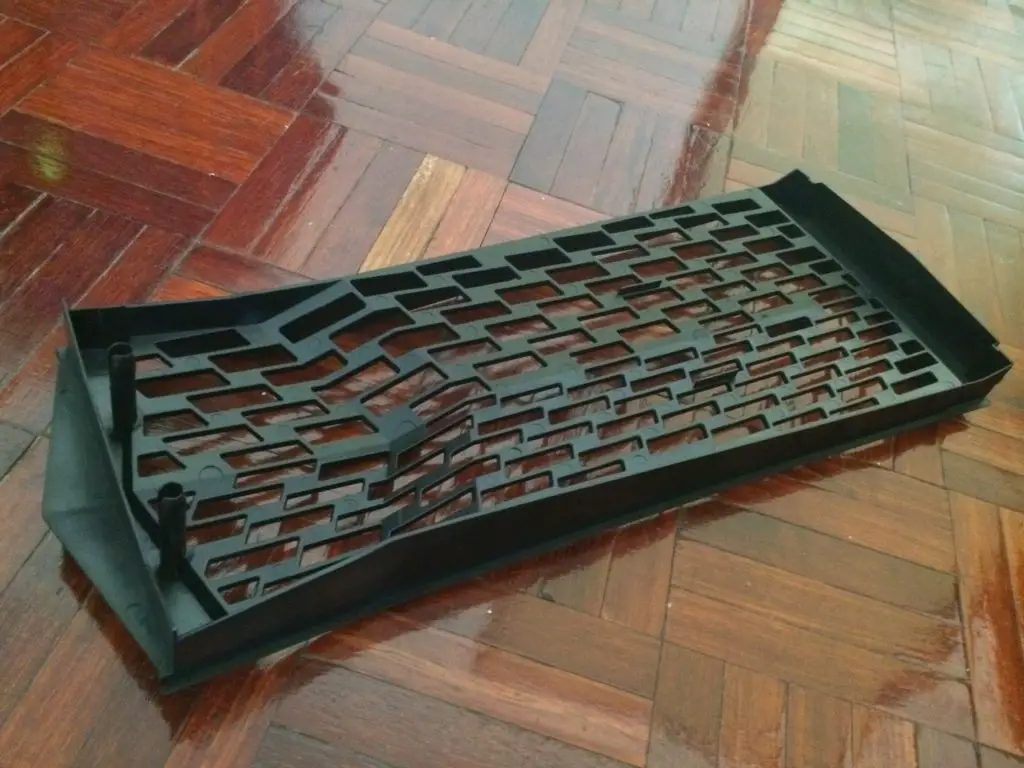
At the bottom of the Raven 05, there is a dust filter that expands through the whole surface.
Pulling the dust filter is done from the front, which should be the way right from the start! I can’t remember the countless times that I had to move my chassis to get to the PSU dust filters at the back. I hope all chassis manufacturers pay attention and make the changes now.

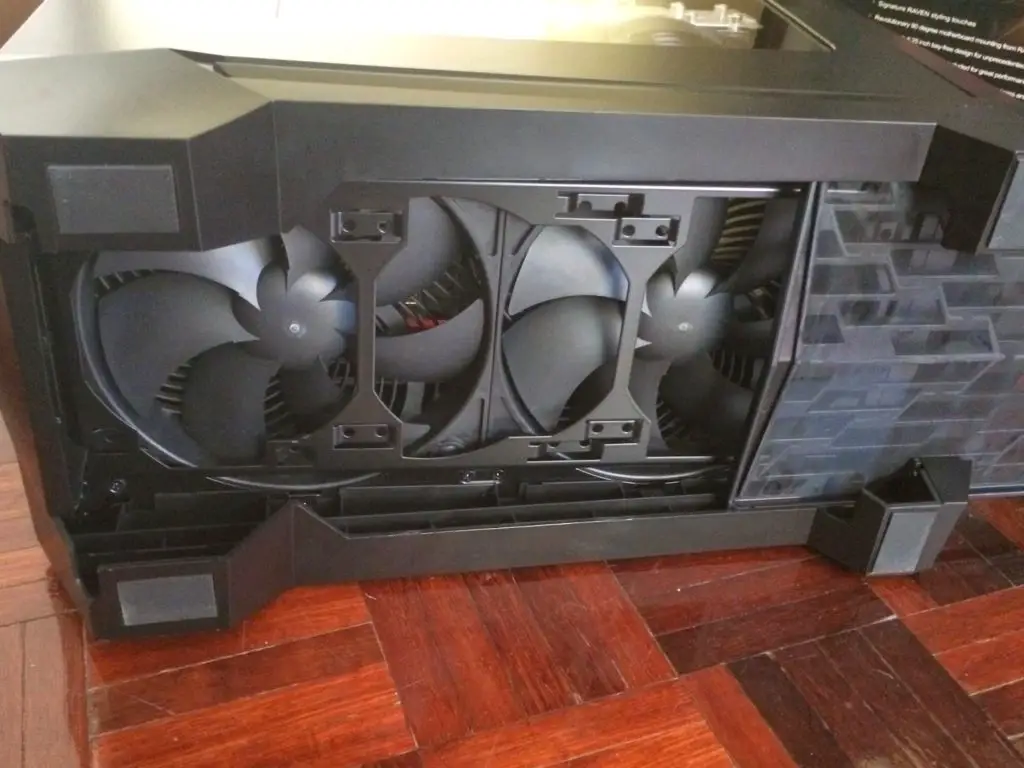
With the dust filter off, the dual AP181 fans can be seen along with a bracket that also allows for installation of tripple 120mm, dual 140mm fans or 360mm / 280mm radiators for watercooling.
Four rubberised feet provided the much needed elevation for the dual AP181 fans.

There are no thumbscrews to hold the side panels. Instead, you’ll need to press the buttons found at the sides to release the latch.

Like so and pull straight up. The mechanism allows the Raven 05 to look very sleek on the exterior.

Removing both side panels might be tricky at first try, but it’ll be a piece of cake once you get the hang of it.

The window on the side panel is easily removable, glad that Silverstone kept this feature.

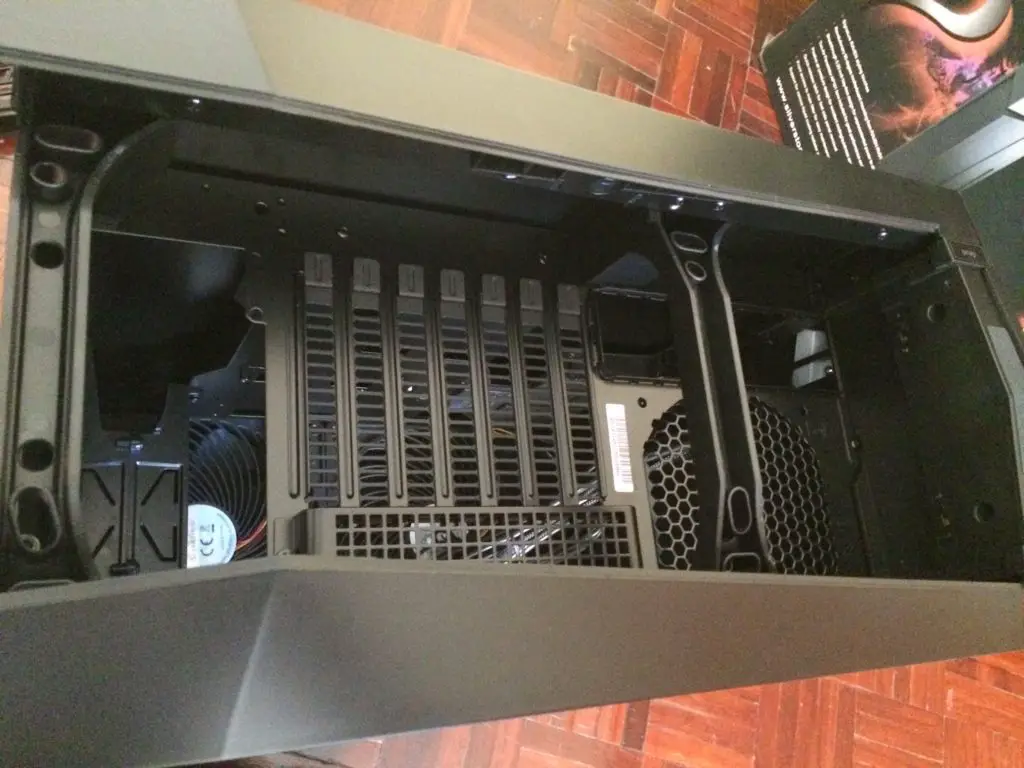
Take a step back, and here is the Raven 05 with all the panels off. Notice that the there is hardly anything to be called a motherboard tray so do exercise caution if you’re planning to install a huge air cooler.

With that, you might be able to get away with smaller heatsinks with the inclusion of the dual AP181 fans at the bottom which are known for their great cooling capabilities.
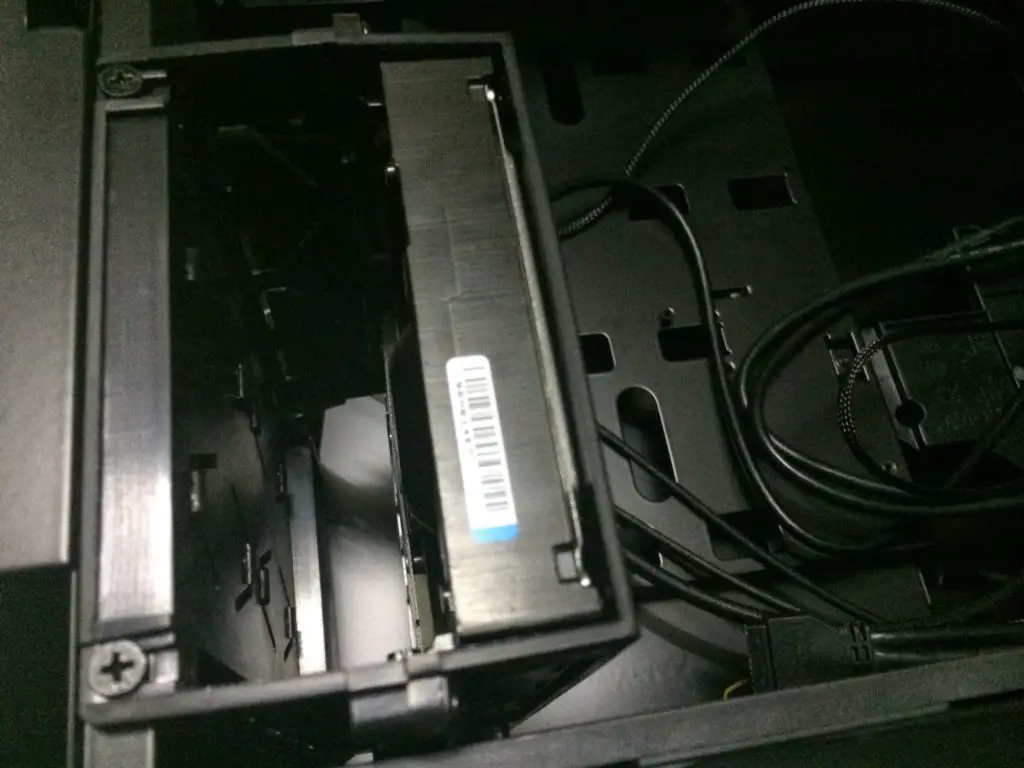
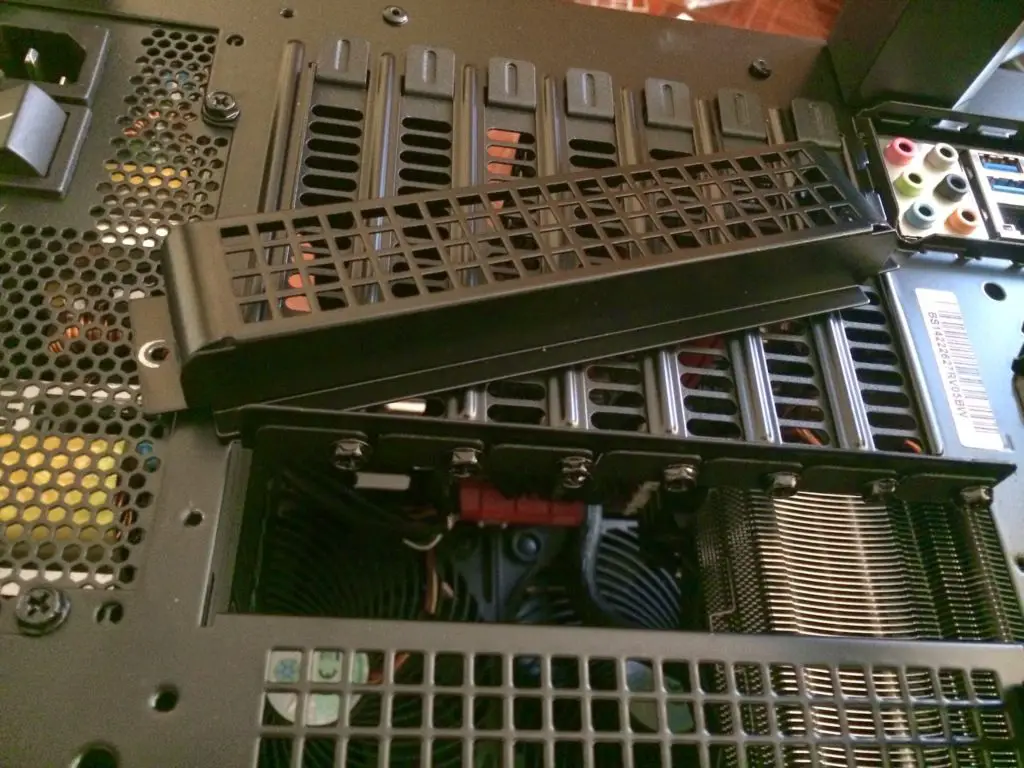
The hard drive cage is rather small and it’ll only fits the maximum of two 3.5″ hard drives. Unlike most chassis that uses rails, we find things are a lot easier with the Raven 05 as all you have to do is just slide in your 3.5″ drive and you’re done!
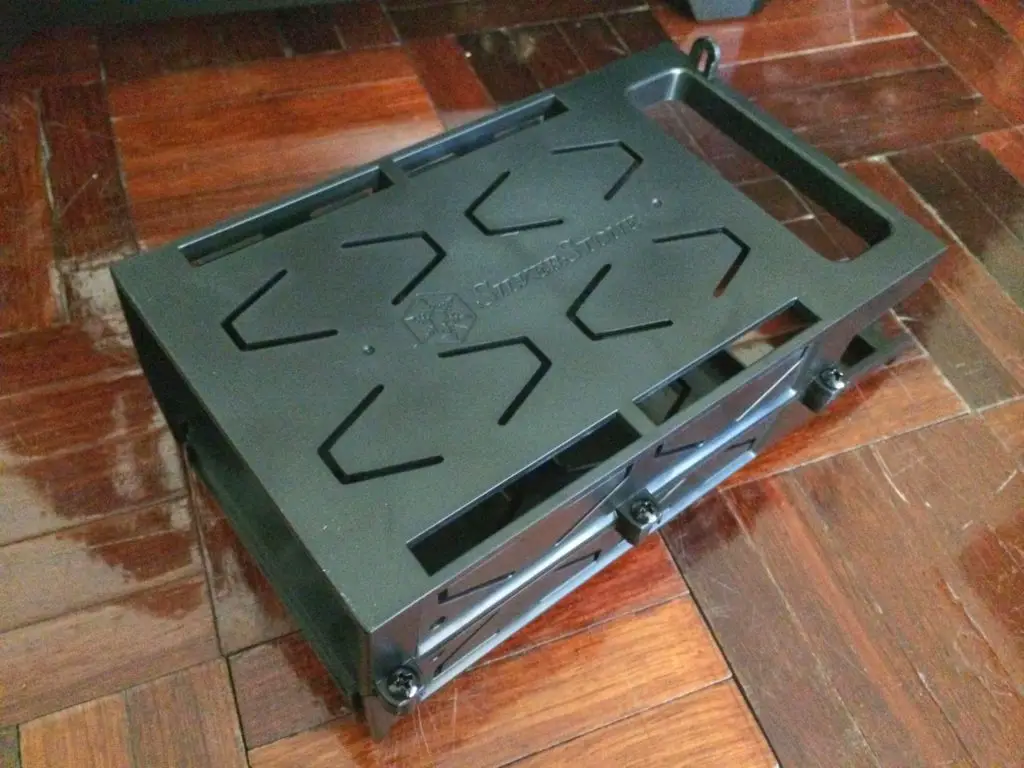
Here’s the hard drive cage taken out, the V shaped design on each of the sides is what’s providing the clamping force to drives installed.


Drives can be secured with the thumb screws that is included, preventing the drive from sliding out in case the sides of the hard drive that provide that extra clamping force worn out overtime.

As the hard drive cage is located right below the PSU mounting slot, you might need to be extra careful with the choice of power supply to avoid any unwanted obstruction. PSU longer than 160mm in length may have some trouble with clearance, unless you opt to remove the 3.5″ drive cage completely from the Raven 05.

It’s a great challenge for cable management as there isn’t much of a motherboard tray to hide the cables. I strongly recommend getting at least a semi-modular power supply for better and easier cable management.

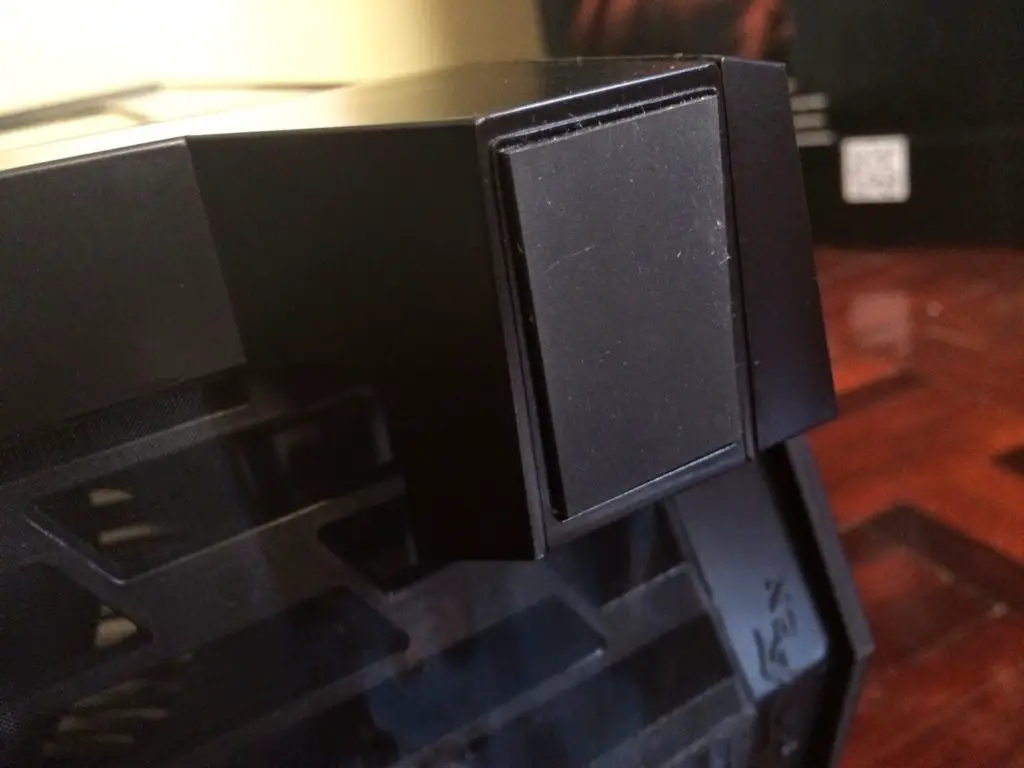
It’ll takes quite awhile to figure out what exactly is this thing if I didn’t check it out from the user’s manual. This is a slim type optical drive bay mount for a single slim slot-loading optical drive and Silverstone just happen to have one in their product list, known as the SOD02.
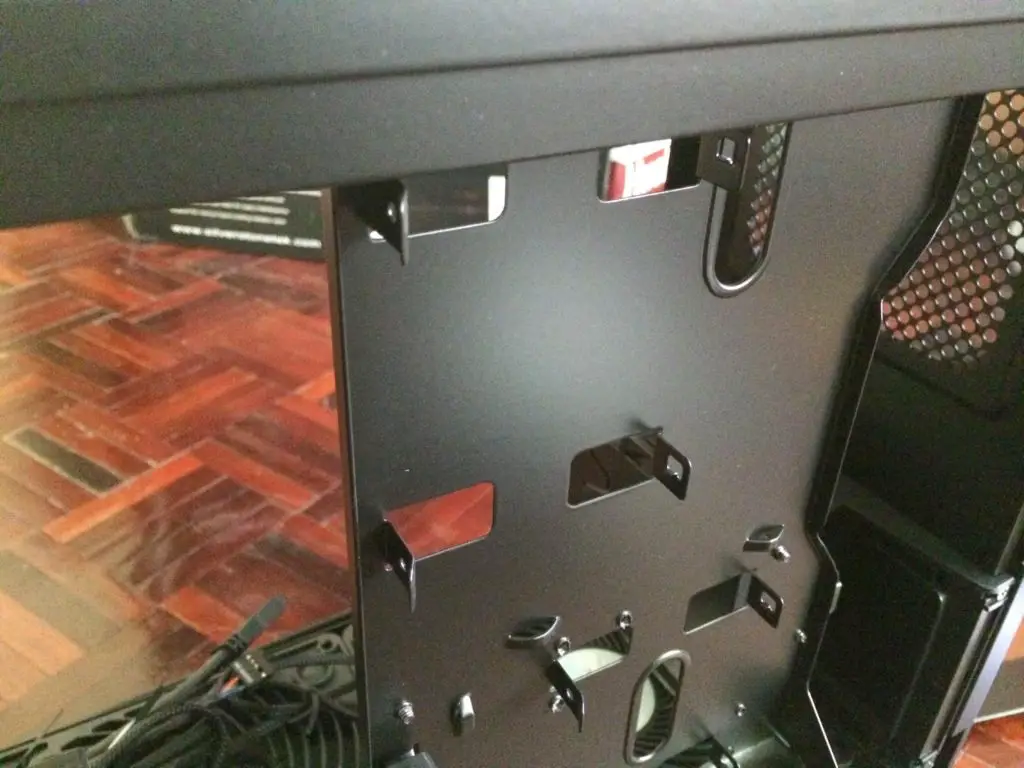

There are two 2.5″ drive mount behind the motherboard tray for SSD(s) or 2.5″ hard drive installation.

This is the reason why a minimum of semi-modular PSU is required, to make your life easier and less painful.
Due to the limited cable tie mounts, I’d recommend the use of velcro straps to keep the cables tidy.

Glad to report that long graphics card like the ASUS R9 290X Matrix Platinum fits. SLI or Crossfire setup with up to 3 graphics card should fit without any issue as well.

And here’s the final outcome, simply gorgeous.
Performance Test
Test Rig Configuration | |
CPU Cooler | be quiet! Shadow Rock Slim |
CPU | I7 4790K |
Motherboard | ASUS Maximus Gene VI |
Memory | Corsair Vengeance Pro 4GB x 2 |
Primary Hard Drive | Crucial M500 120GB |
Power Supply | Cooler Master V1200 Platinum |
Chassis | SilverStone Raven 05 |
Graphics Card | ASUS R9 290X Matrix Platinum |
The test conducted consists 4 different scenario:
- Without side panel
- With side panel + Maximum fan speed
- With side panel + Medium fan speed
- With side panel + Minimum fan speed
Our room temperature throughout the test is 30 ºC in average and the stress test is repeated for several times in order to get a stable and consistent temperature reading. The final result is presented in the graph as below:

With the Raven 05’s excellent directed airflow design paired with the dual AP181 fans running at maximum speed, we’re able to achieve a pretty impressive result of 2ºC lower in CPU temperature and 3ºC lower in GPU temperature during full load compared to having the side panels removed. Even when the fan is set to minimum speed, there’s still a decent amount of air movement going on. The temperature difference is only around 1ºC ~ 2ºC compared to the when the side panel is taken off.
Final Thoughts
Aside of the hardware compatibility, the cooling performance is excellent, especially when both AP181 fans is at its maximum speed, although it can be quite noisy as well. You may opt for watercooling setup to achieve better cooling performance, but it requires the removal of both AP181 fans and it’s sad to see a pair of good fans wasted in such way – the choice is yours.
Pros
- Good packaging
- Excellent air cooling performance from two AP181 fans with adjustable fan speed
- 90º rotated motherboard tray helps to reduce the risk of getting a bent PCB on your graphics card
- Compact in size and good hardware compatibility for motherboard, graphics card and ablet o fit a 280mm/360mm radiator
- Comes with two 2.5″ drive mount at the back of the motherboard tray to mount 2.5″ drive
- Included dust filters are easy to install and remove for cleaning
Cons
- Tricky cable management due to limited space, requires at least semi-modular PSU
- A lot of screws, almost everything is not tool-free and certain screws requires a long screw driver to unscrew
- Limited support of two 3.5″ hard drive, PSU not more then 160mm in length and installation of 280mm/360mm radiator requires the removal of both AP181 fans
By taking consider of both pros and cons of the features, performance and value of the SilverStone Raven 05, it’s worthy of to be given our Tech-Critter Silver and Recommended Award.


