Specifications

Packaging
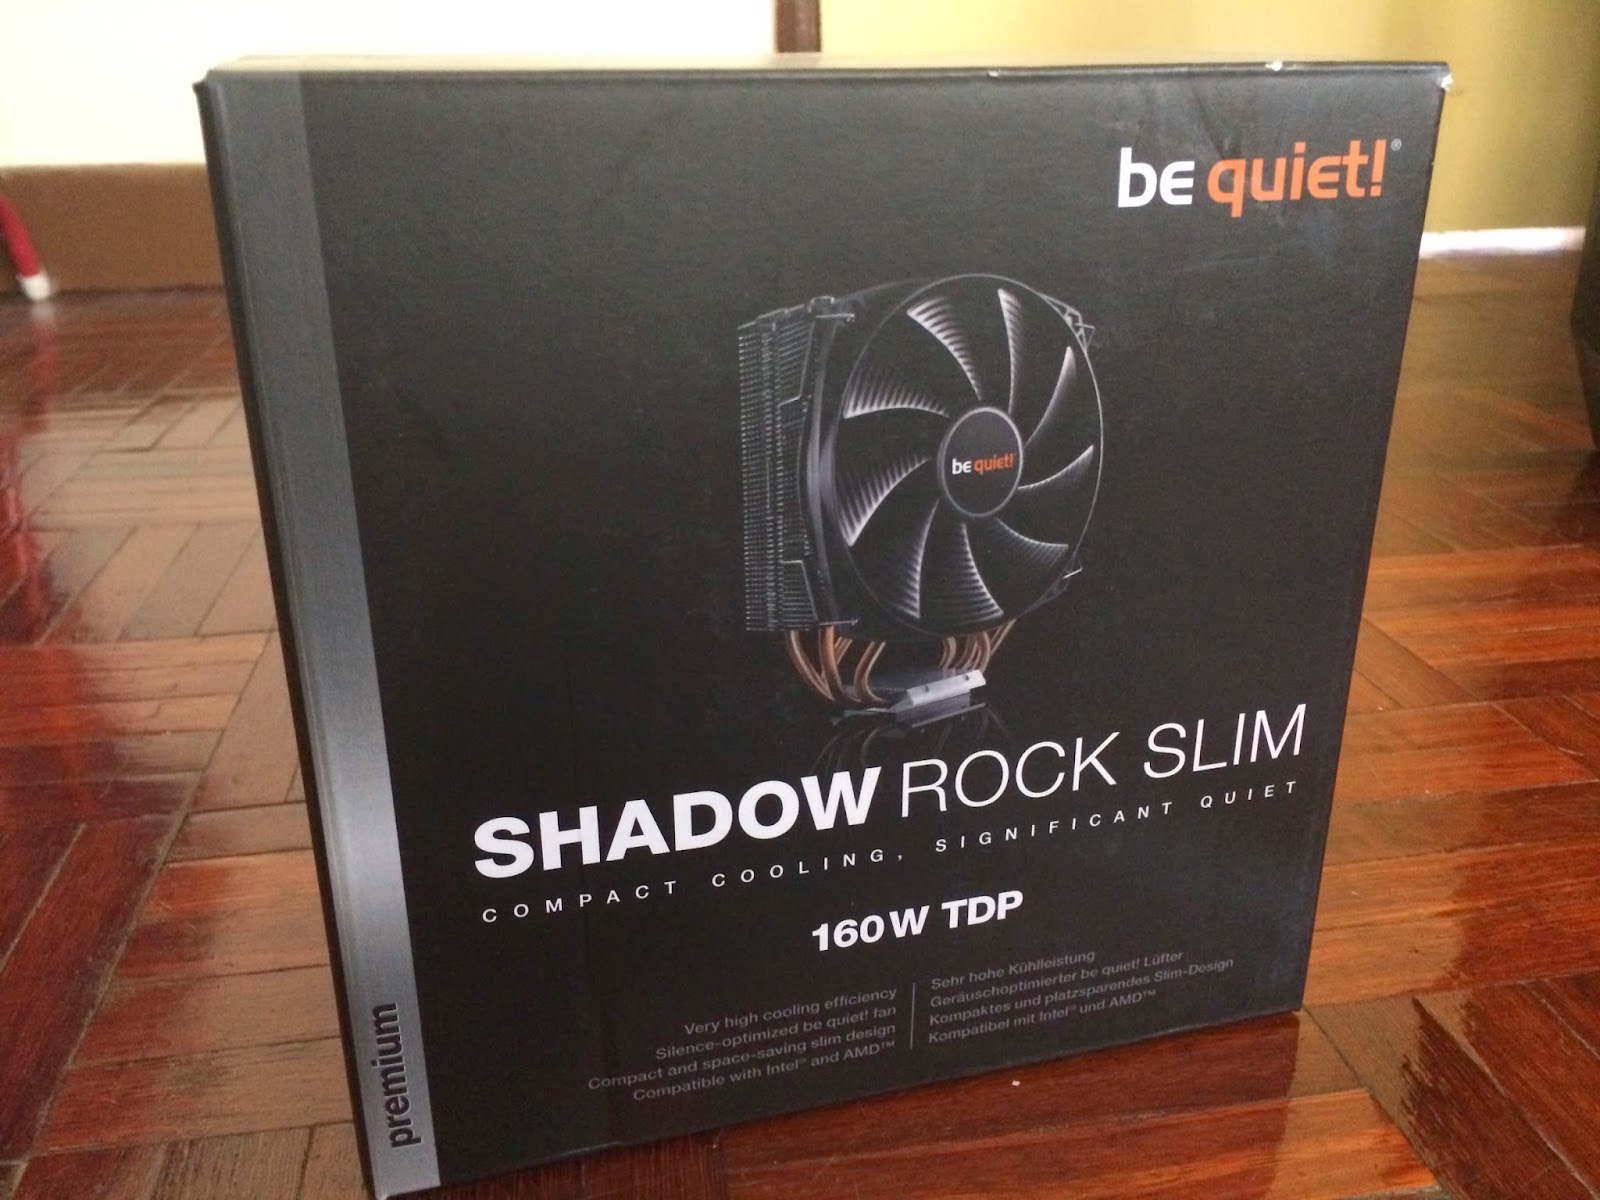
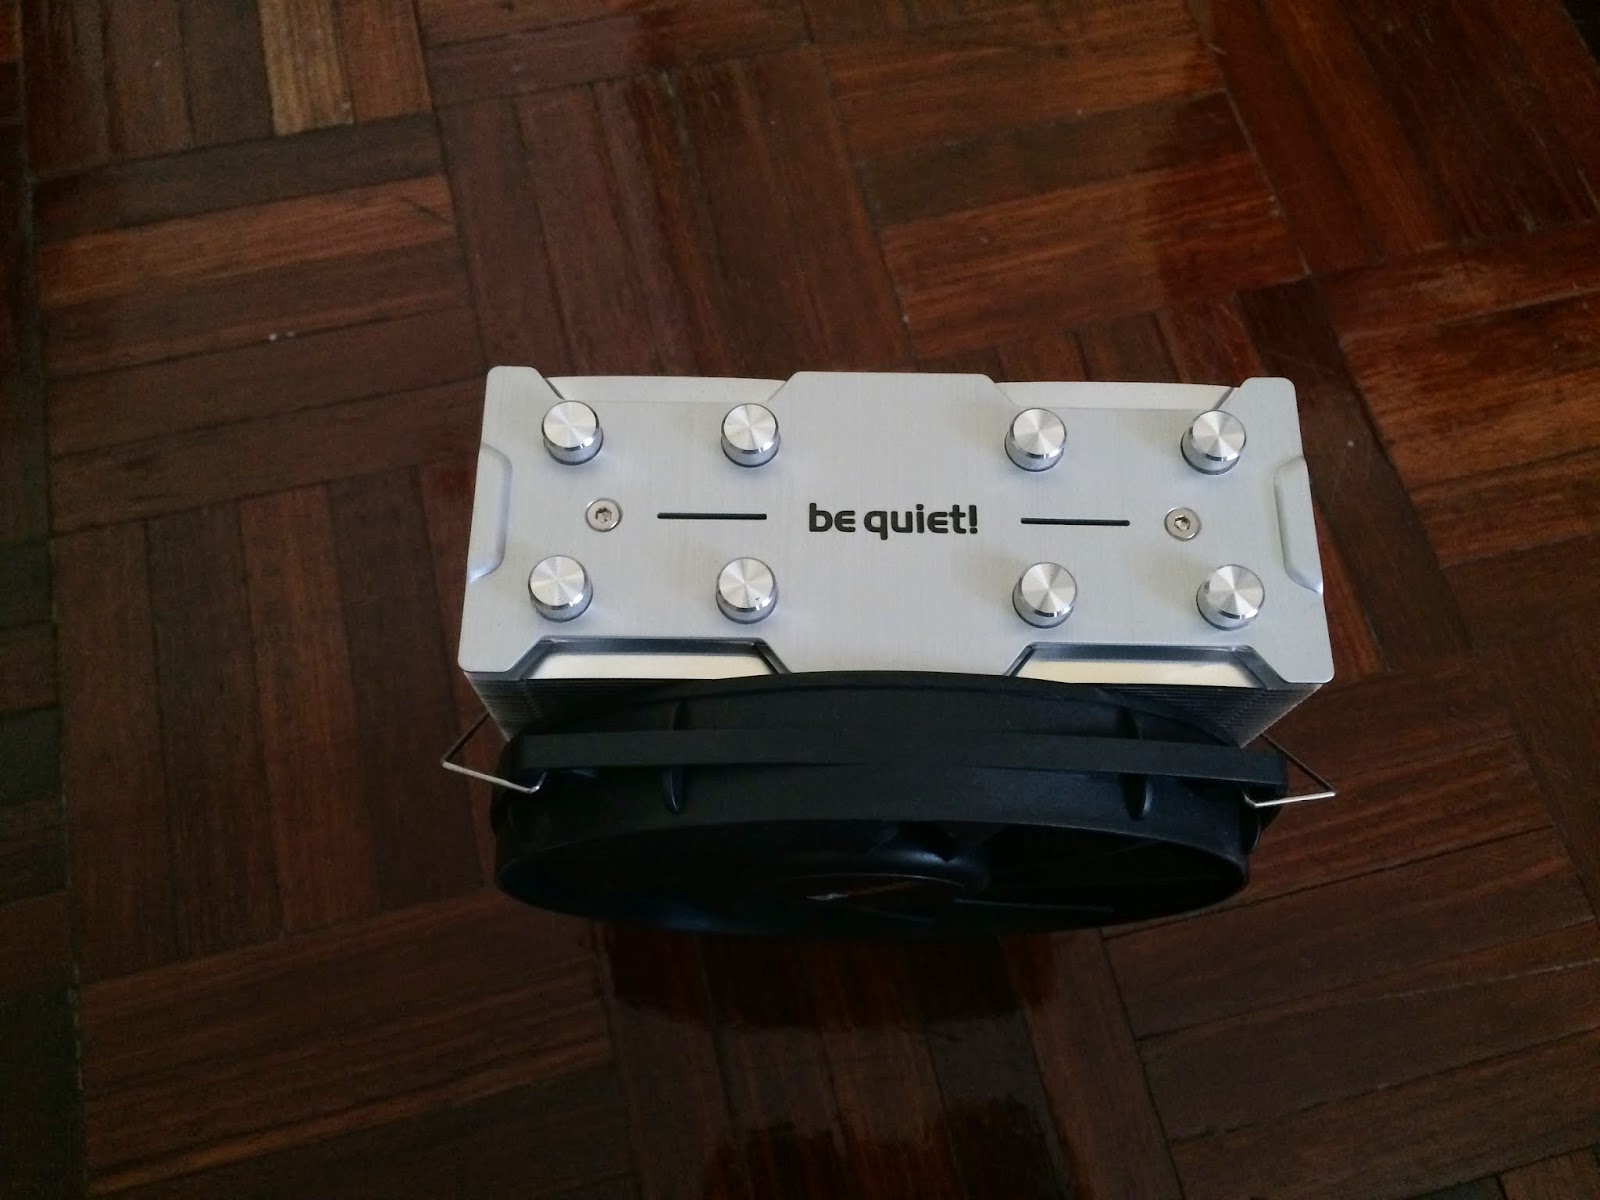
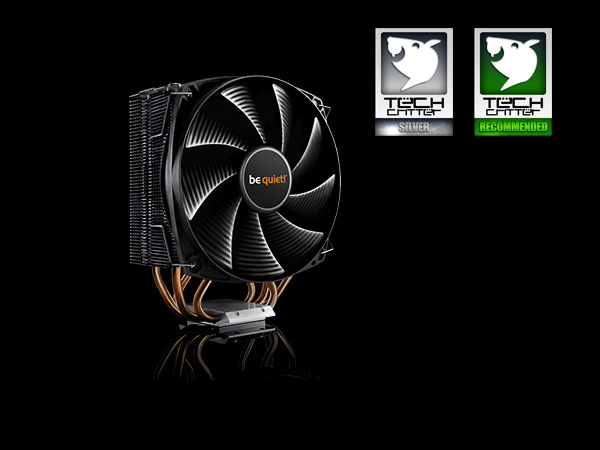
The dark themed box ‘minimalistically’ displayed the be quiet! branding on the top right, a small image of the Shadow Rock Slim in the middle with the bottom part displaying the name, theme and some features. be quiet! has this cooler categorized as a premium product as displayed on the silver-strip at the side.
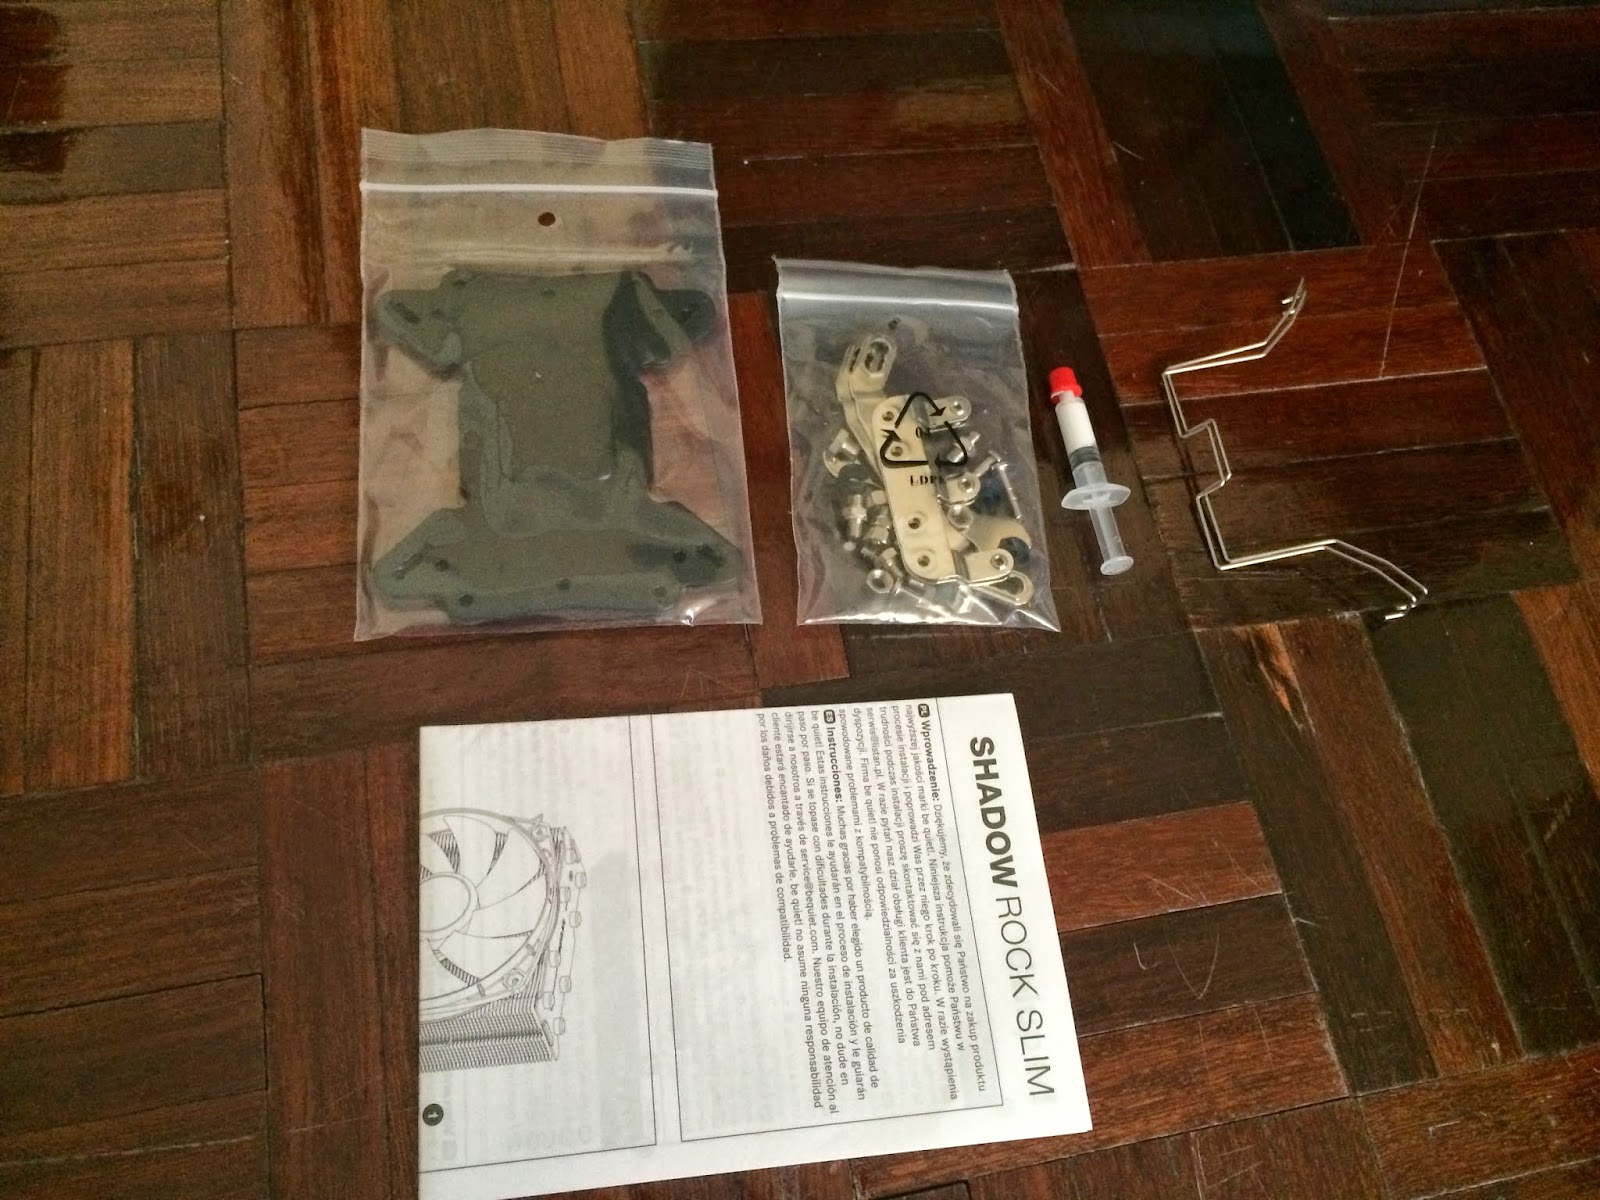
Accessories package is very straightforward. You’ll get a backplate, some mounting screws and accessories, a small tube of TIM, an extra pair of fan clips and an installation guide.

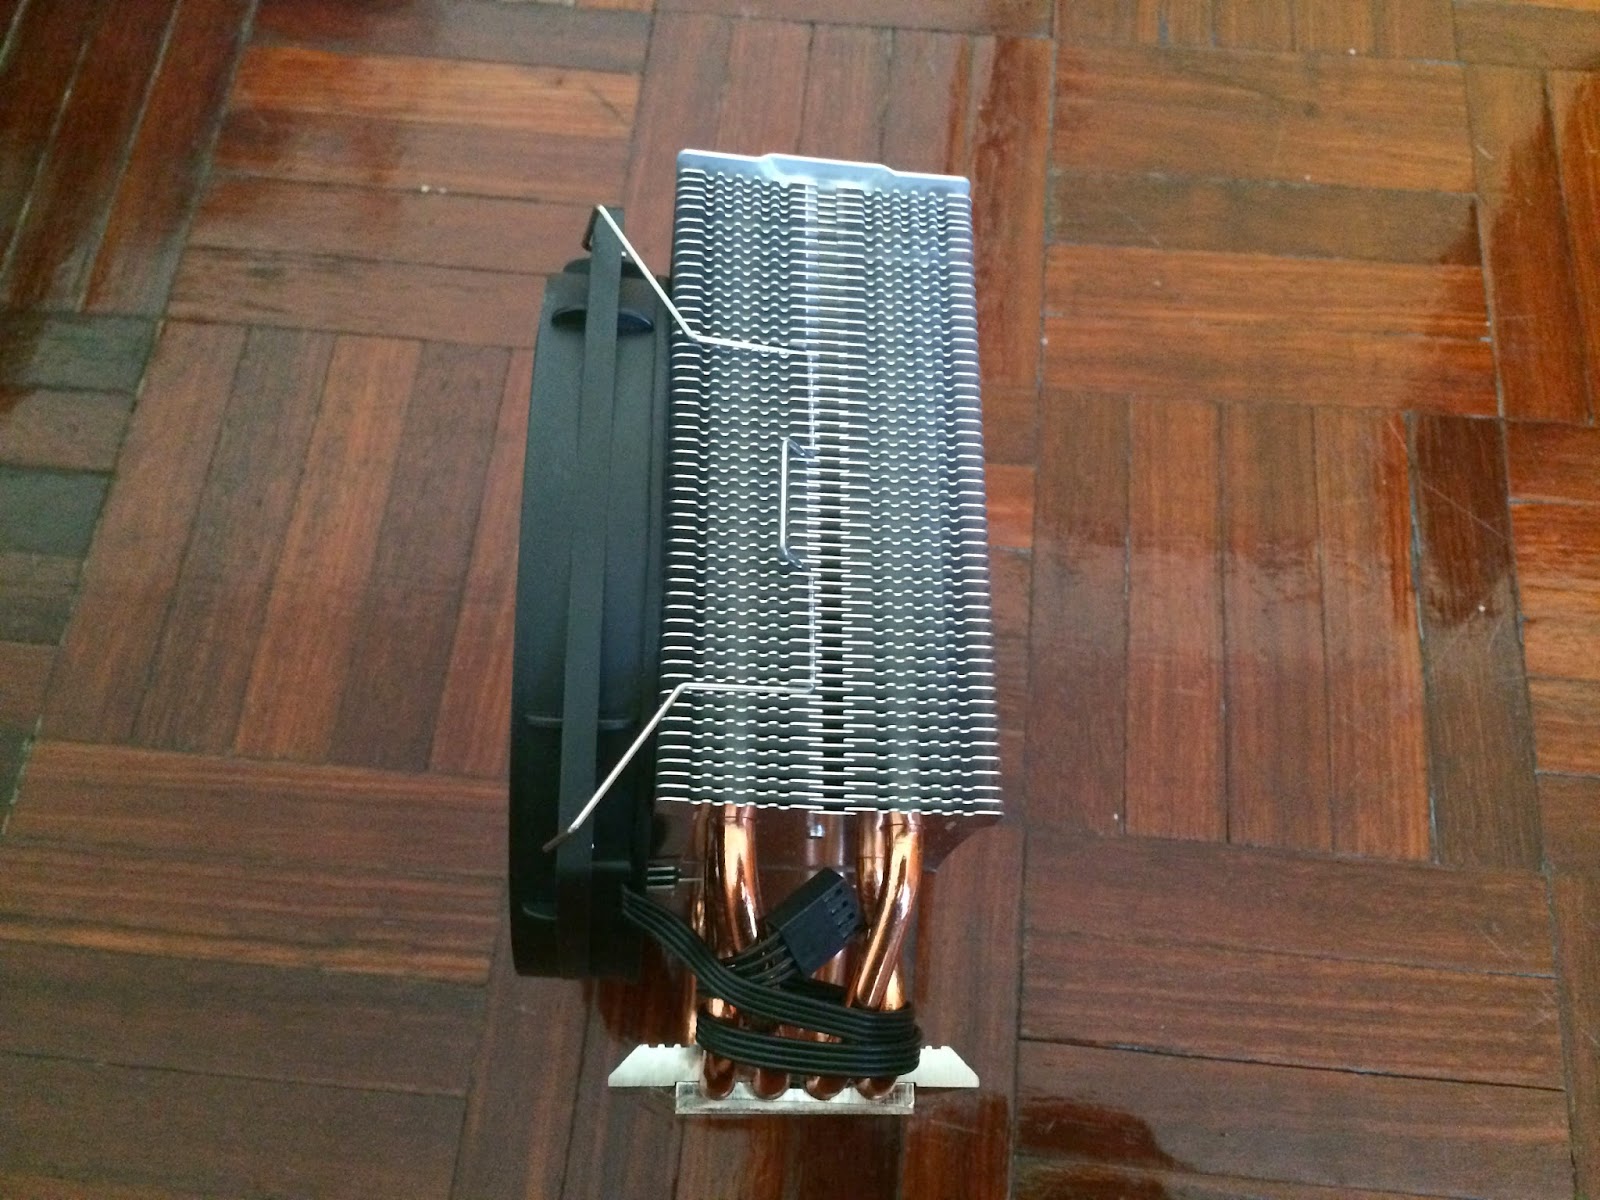
You can see that the fins at the side has a little jagged design to it.
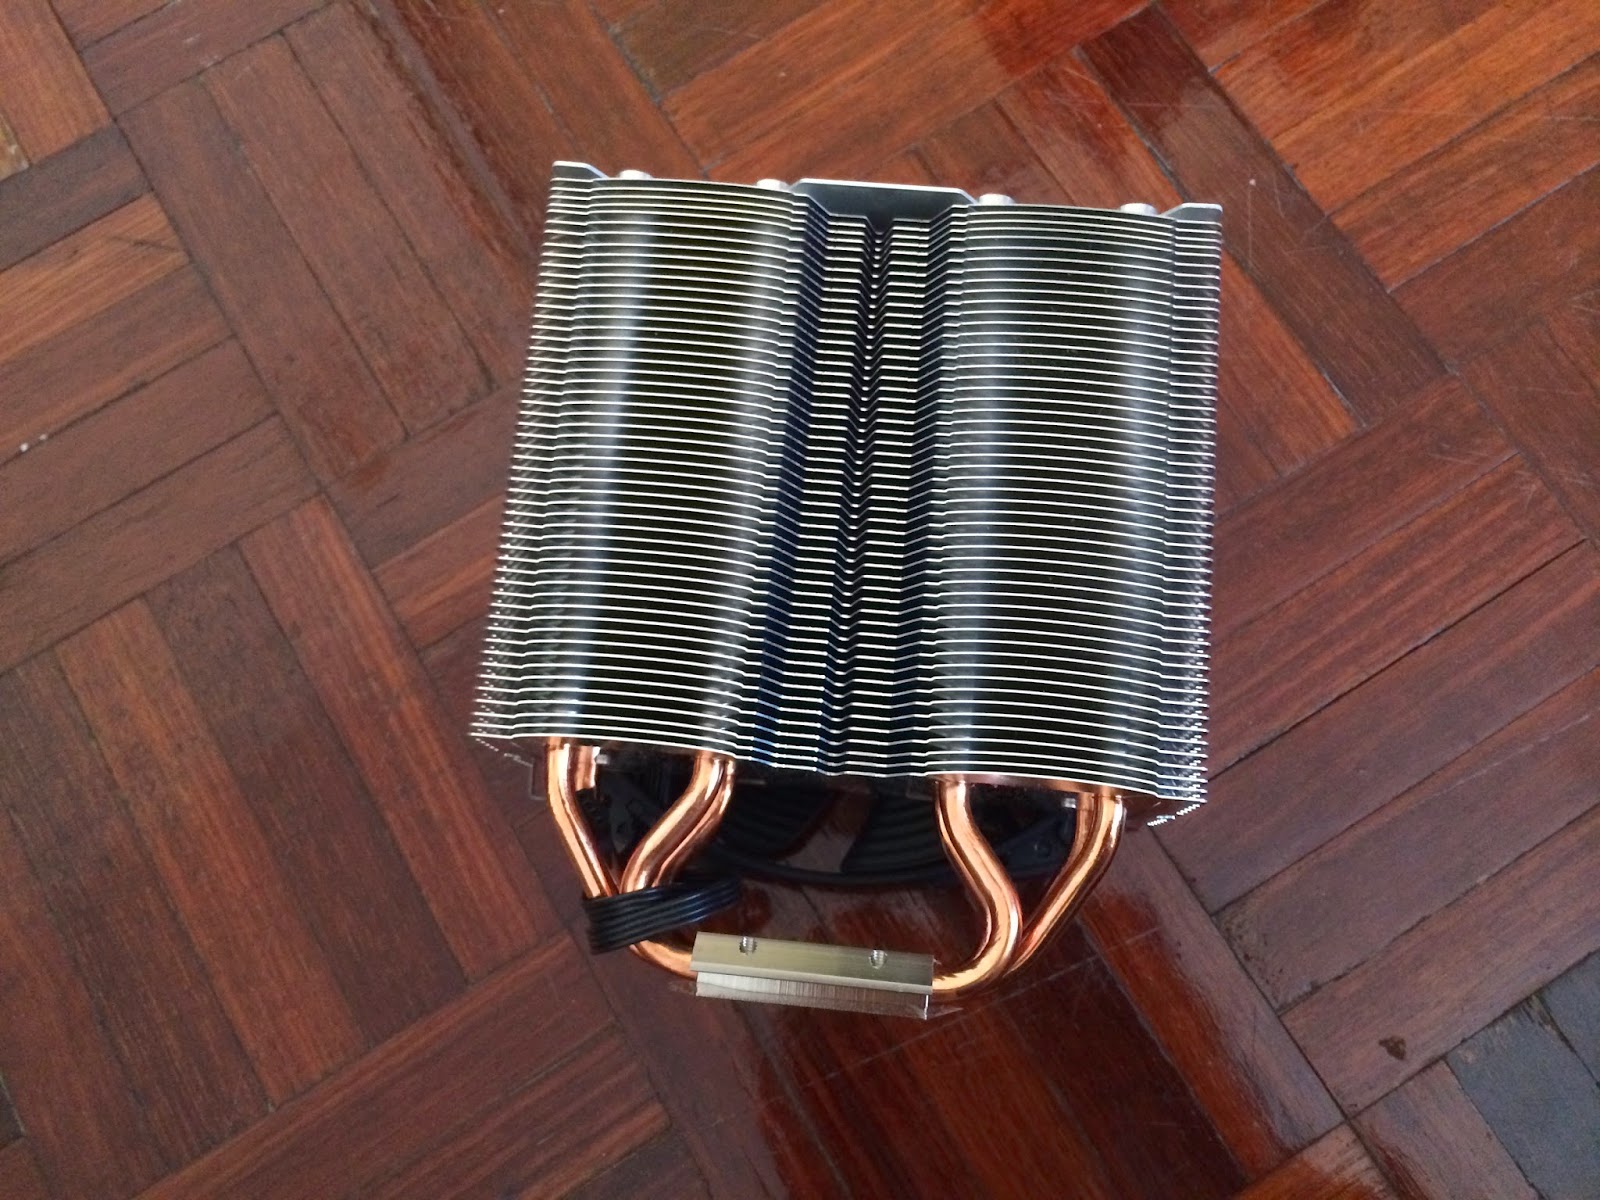
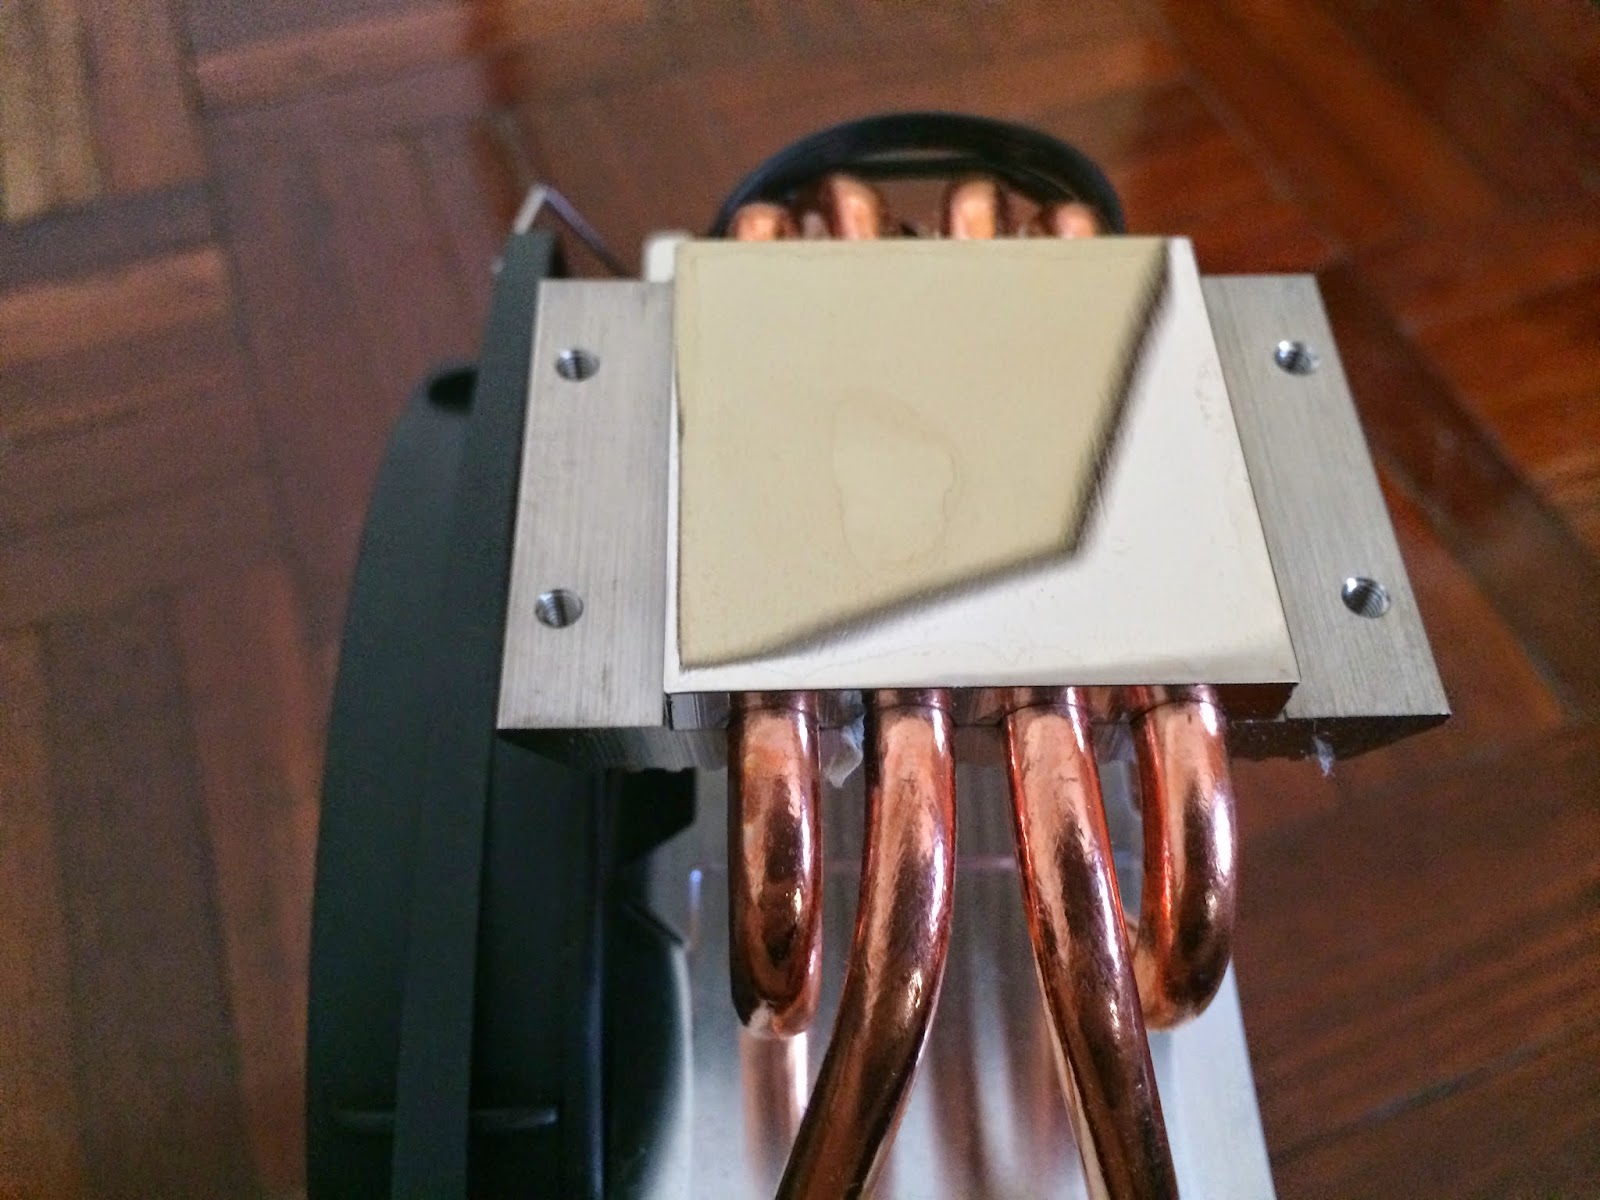
From the back, we can see the arrangement of the quad 6mm heatpipes that takes away the heat from the middle of the contact block to the outermost area of the fins, while the other two is bent back towards the middle part for an even spread through the fins.
Mounting the Cooler
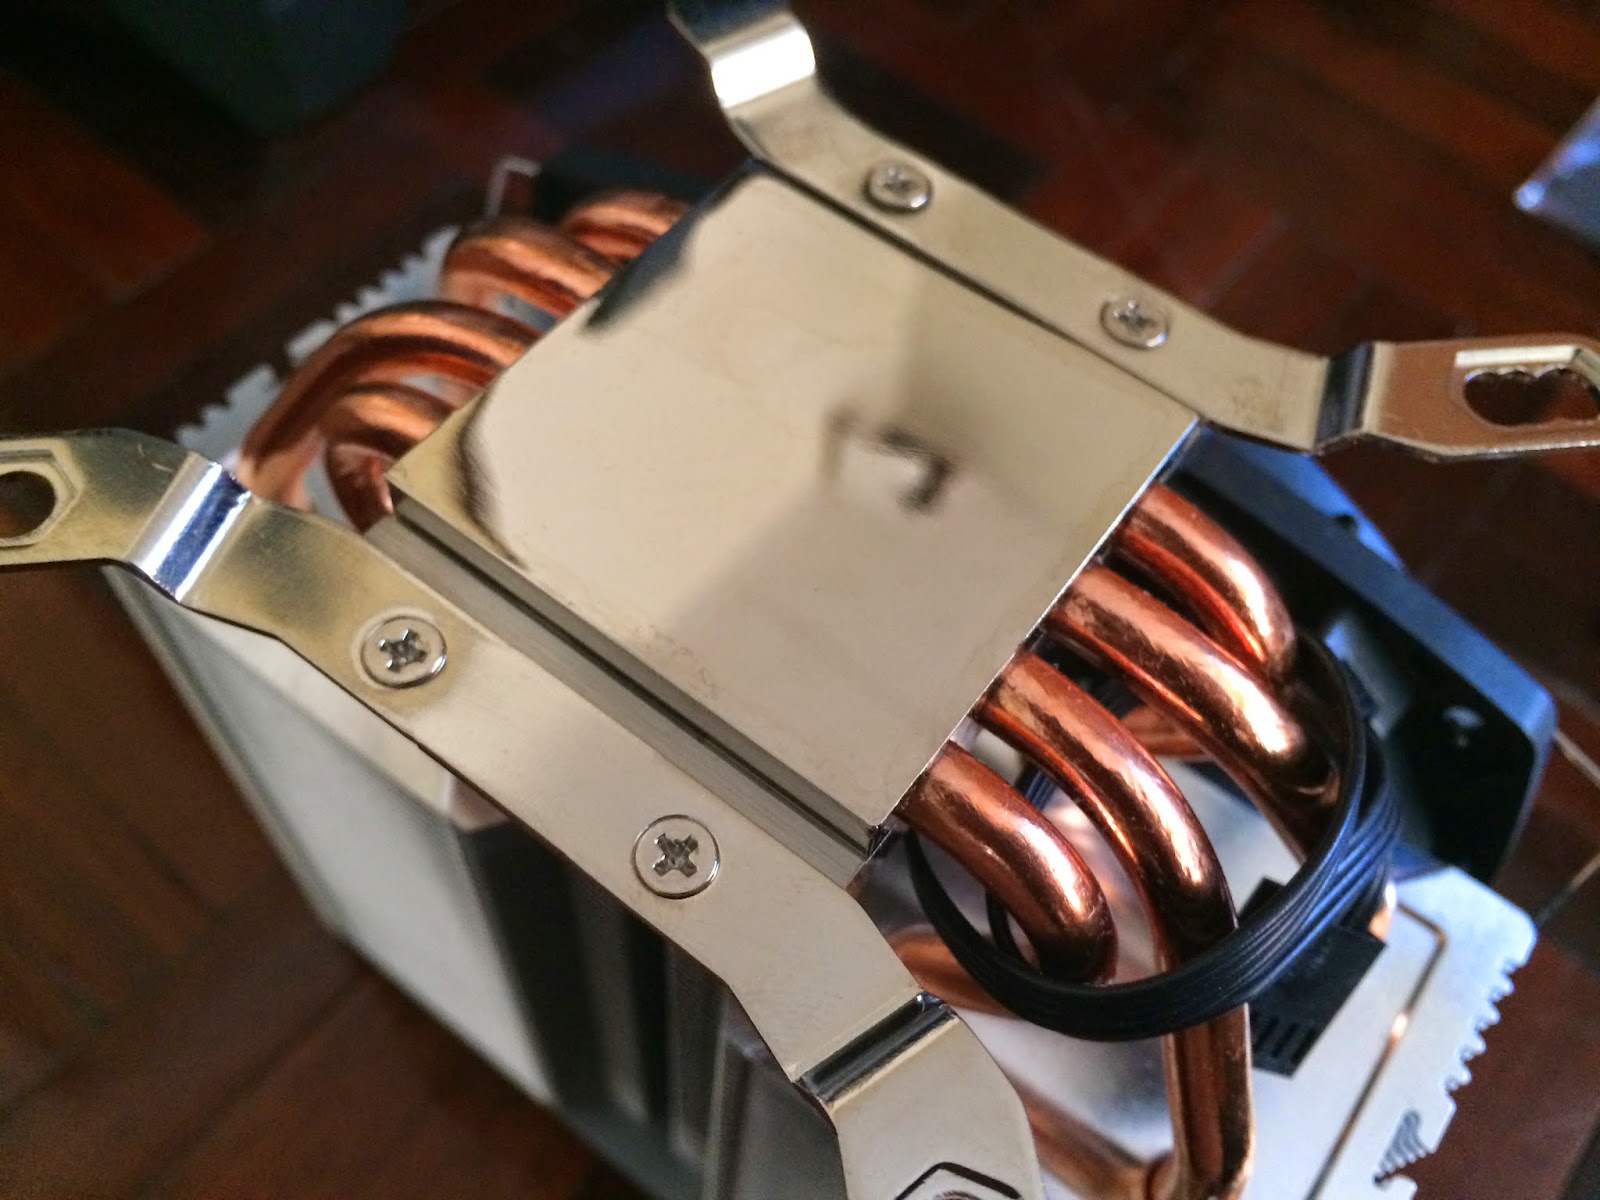
The mounting is basically the same as be quiet!’s higher end Dark Rock Pro 3, which can be rather tricky to install. We’ll start off by first securing the mounting bracket to the cooler itself with the screws provided.
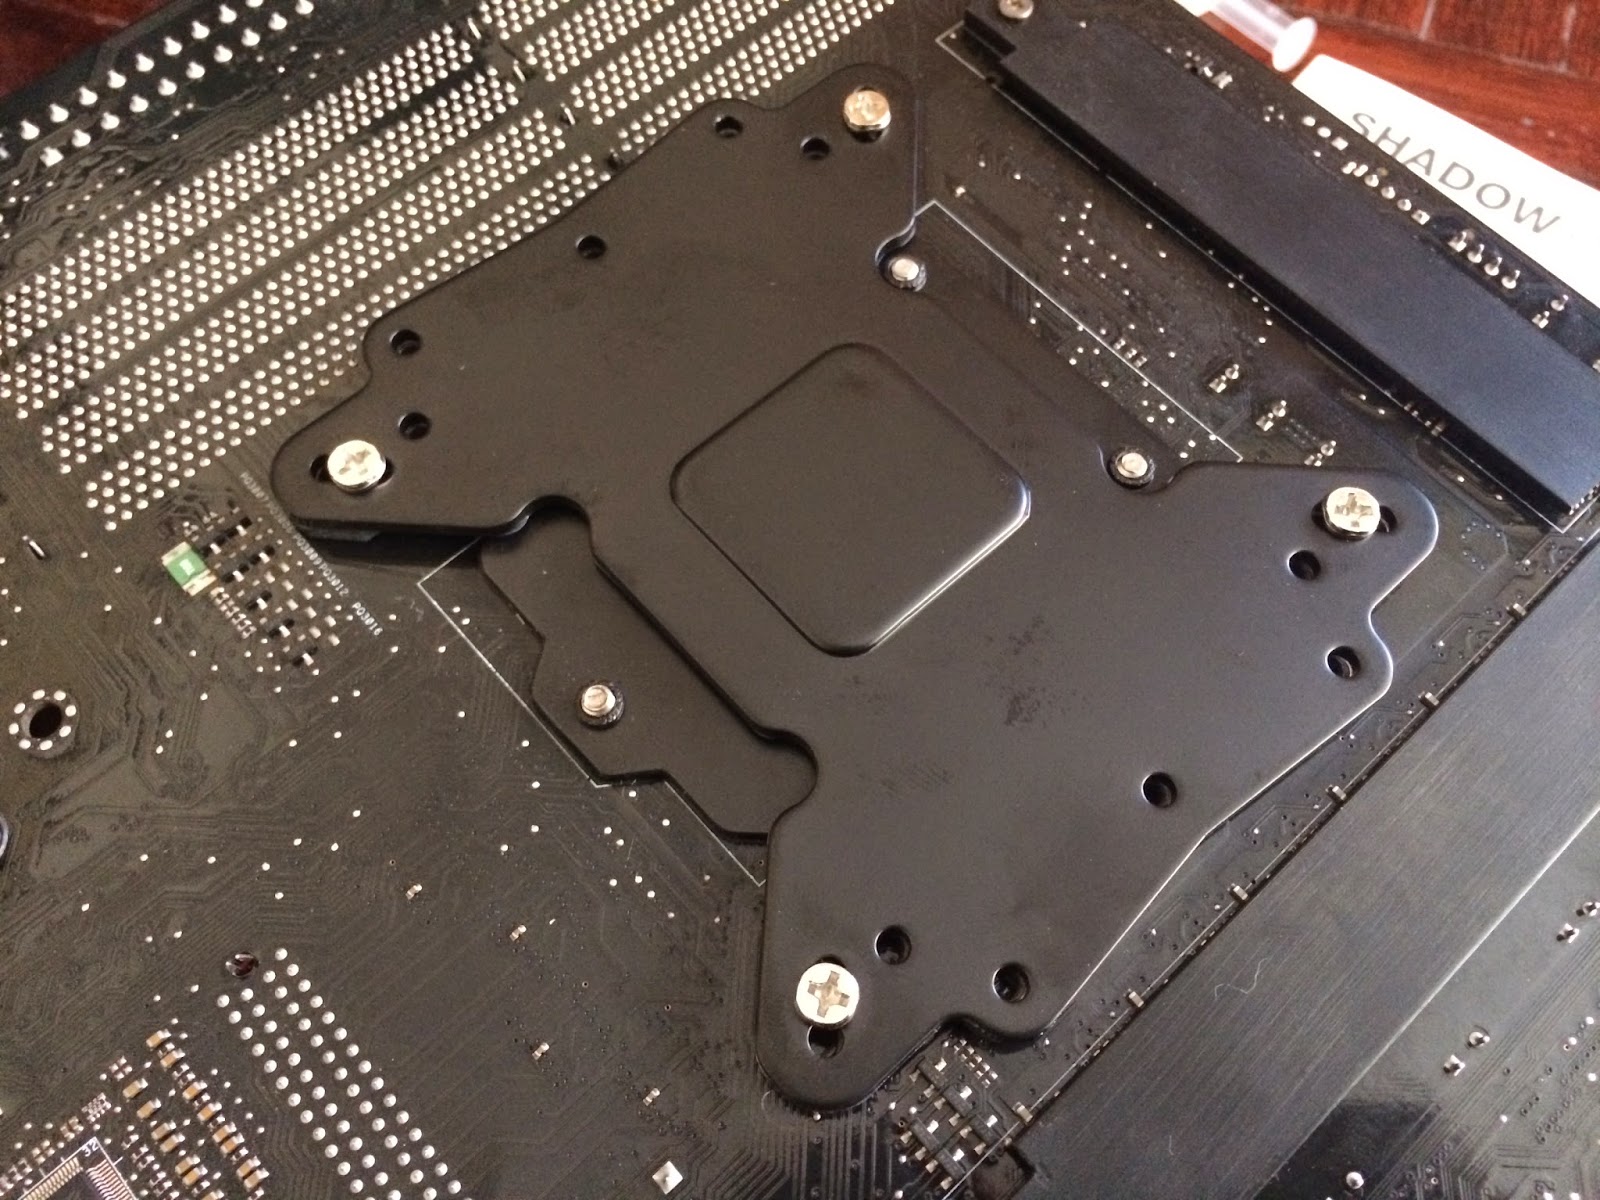
The back plate is then mounted at the back of the motherboard, threading the screws through the correct socket holes.
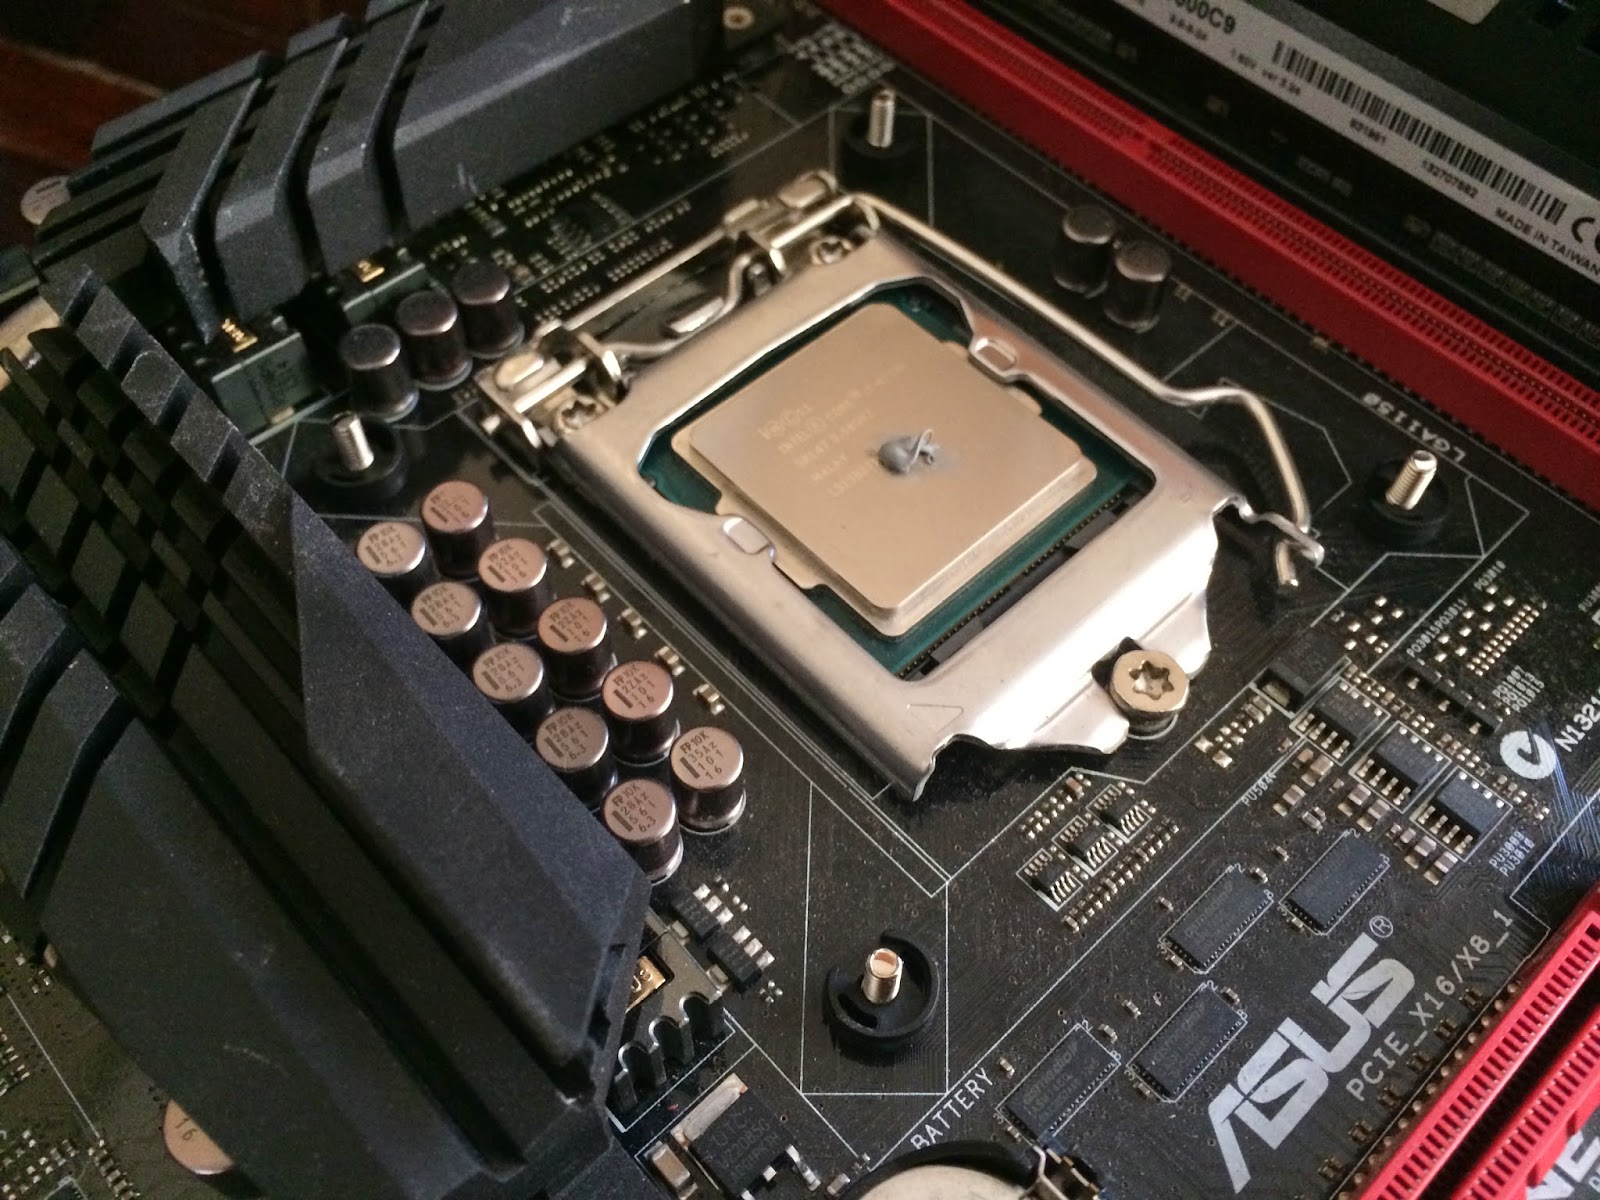
The screws are then secured with the plastic clips on the opposite side and not forgetting a small portion of thermal paste on the CPU’s IHS for better contact point for the best heat dissipation as possible.
So here comes the trickiest part, the cooler must be held in place with the bracket aligned correctly to the screws and tightened from behind of the motherboard. Which is why there wasn’t an image of the process as I’d need a third hand to hold the camera.
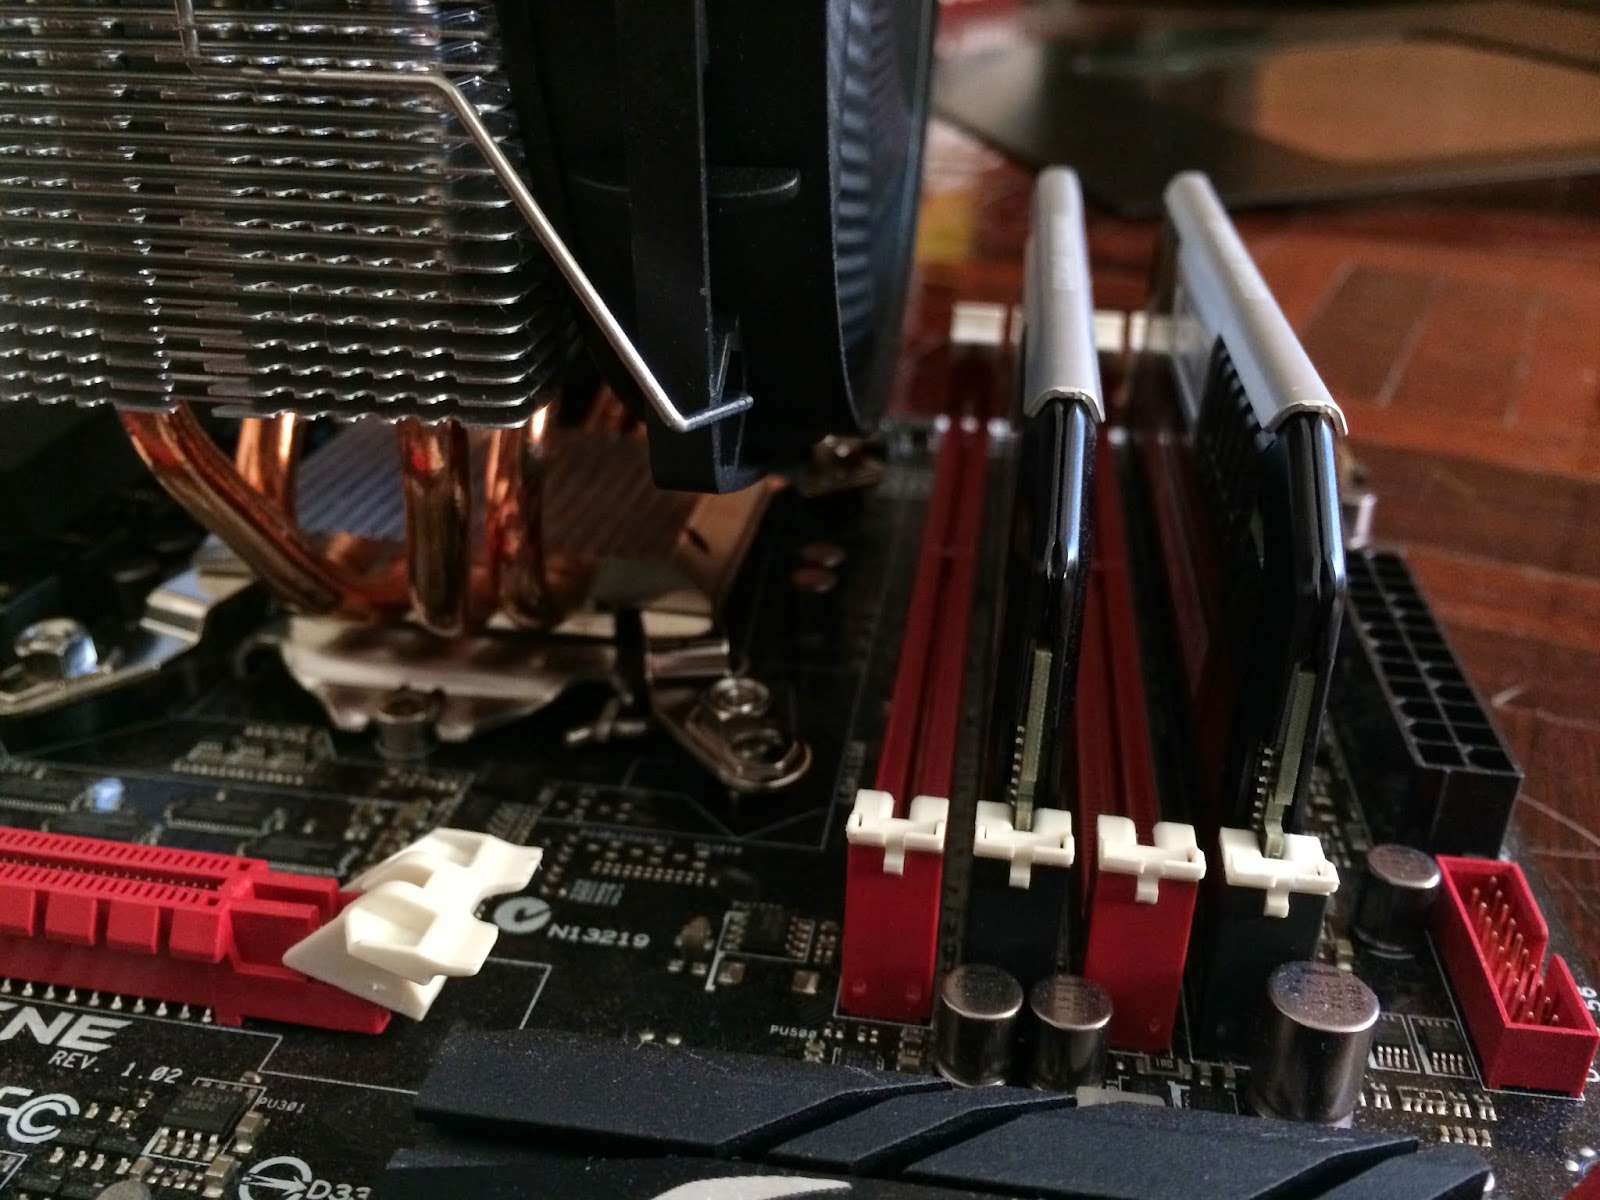
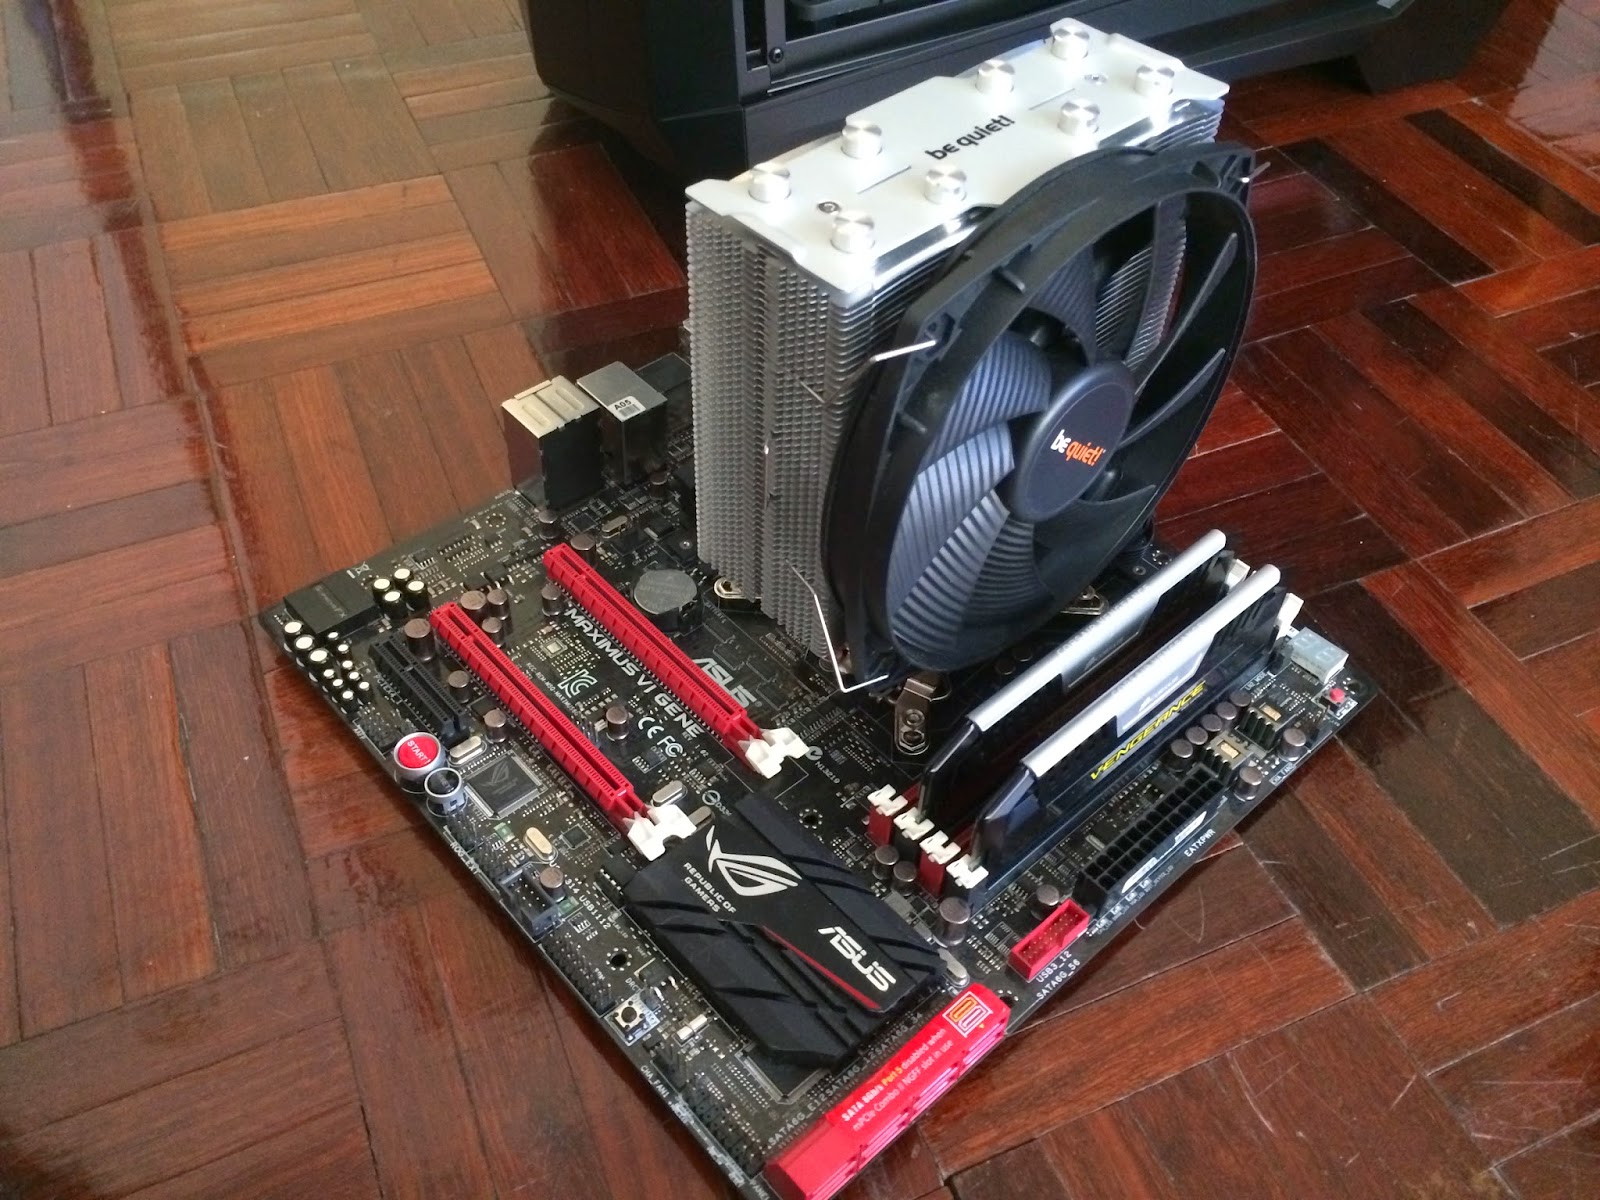
Checking out for the RAM clearance, it’s perfect. Even with the fan mounted, it’s not obstructing any of the RAM slots and so it wouldn’t be any issue even with 4 stick of tall RAMs installed.
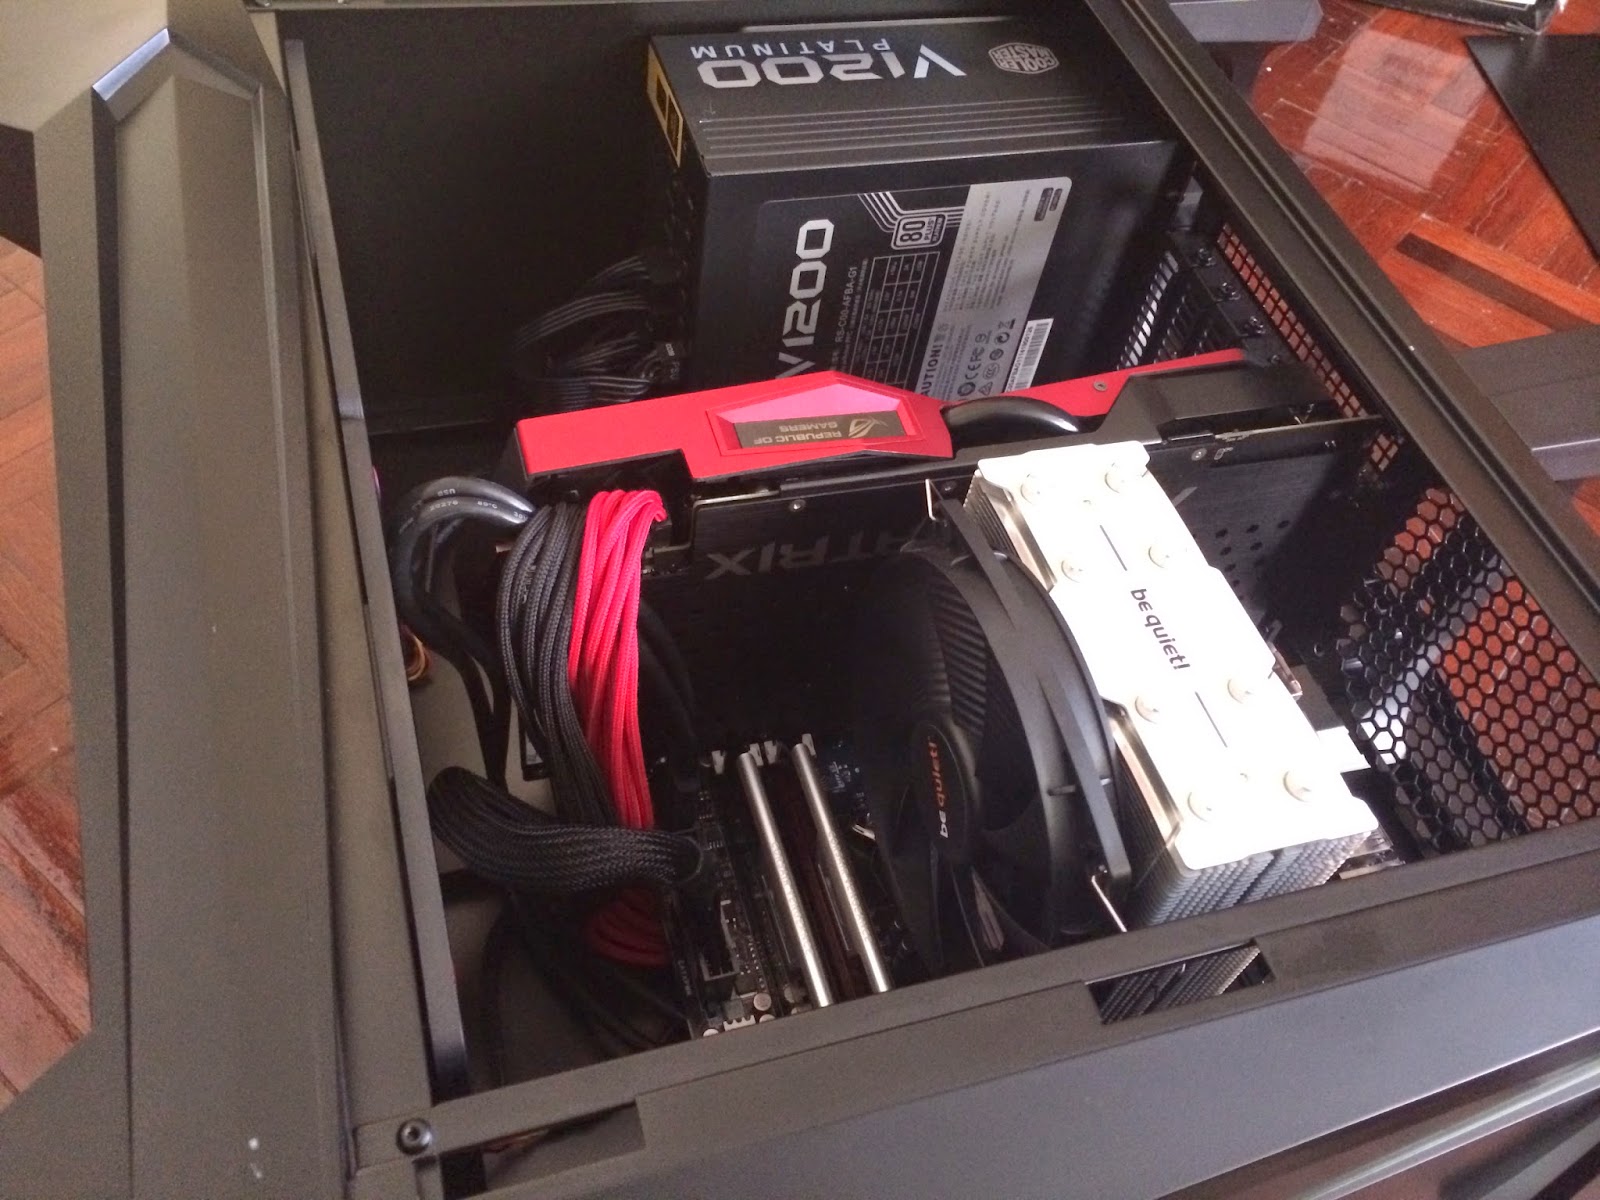
Just make sure that your chassis can support the 161mm height of the Shadow Rock Slim. The chassis used in this shot is SilverStone Raven 05.
Performance Test

With everything set to go, here’s a complete list of the parts used for our test rig used for this review: Test Rig Configuration CPU Cooler be quiet! Shadow Rock Slim CPU I7 4790K Motherboard ASUS Maximus Gene VI Memory Corsair Vengeance Pro 4GB x 2 Primary Hard Drive Crucial M500 120GB Power Supply Cooler Master V1200 Platinum Chassis SilverStone Raven 05 Graphics Card ASUS R9 290X Matrix Platinum
Moving on to the performance test, we ran the CPU stress test utility Prime95 with the option ‘In-place large FFTs’ for maximum heat from the CPU with 3 single tower CPU cooler for performance comparison: - be quiet! Shadow Rock Slim
- Deepcool Gamer Storm Lucifer
- Thermalright Archon SB-E X2
Our room temperature throughout the test is 30ºC in average and the stress test is repeated for several times in order to get a stable and consistent temperature reading. The final result is presented in the graph as below:
Performance Test

With everything set to go, here’s a complete list of the parts used for our test rig used for this review:
Test Rig Configuration | |
CPU Cooler | be quiet! Shadow Rock Slim |
CPU | I7 4790K |
Motherboard | ASUS Maximus Gene VI |
Memory | Corsair Vengeance Pro 4GB x 2 |
Primary Hard Drive | Crucial M500 120GB |
Power Supply | Cooler Master V1200 Platinum |
Chassis | SilverStone Raven 05 |
Graphics Card | ASUS R9 290X Matrix Platinum |
- be quiet! Shadow Rock Slim
- Deepcool Gamer Storm Lucifer
- Thermalright Archon SB-E X2
Our room temperature throughout the test is 30ºC in average and the stress test is repeated for several times in order to get a stable and consistent temperature reading. The final result is presented in the graph as below:
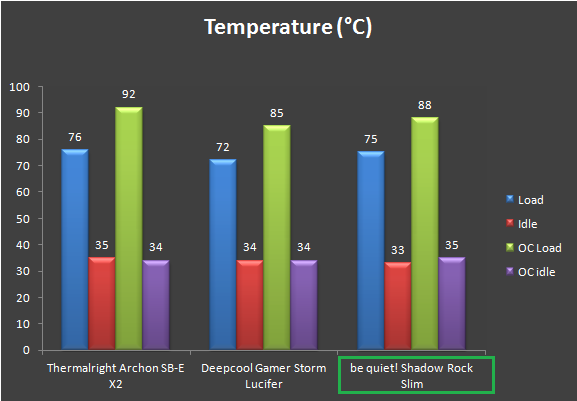
Being in the same category for single tower air cooler, the be quiet! Shadow Rock Slim did fairly well with the stress test on stock speed, being on par to the Thermalright Archon SB-E X2 and slightly 3ºC behind the Deepcool Gamer Storm Lucifer.
When things got heated up a bit with our i7 4790K overclocked to 4.6GHz, a more significant difference in temperature is observed. The Deepcool Gamer Storm Lucifer still takes the lead but the be quiet! Shadow Rock Slim is doing pretty well in keeping the temperatures below 90ºC and is even 4ºC cooler than the Thermalright Archon SB-E X2 which it was running on par with earlier.
Conclusion
Great aesthetic appearance, near silent operation and decent cooling performance are what we can describe the be quiet! Shadow Rock Slim. With all aspects taken into account, the be quiet! Shadow Rock Slim fits comfortably in between both cooler that we’ve tested – the best performer (Deepcool Gamer Storm Lucifer) has RAM clearance issue while the other one with an excellent RAM clearance (Thermalright Archon SB-E x2) doesn’t seem to perform as well when we ramped up the i7 4790K to 4.6GHz.
The only short comings we see here is that the be quiet! Shadow Rock Slim is quite tricky to install compared to the other two and the fan clips that would probably fit only the fans from be quiet!, but it’s still pretty good overall and we wouldn’t hesitate to recommend it to those who seeks for a good looking CPU cooler with decent performance and most importantly, good RAM clearance.
Pros
- Aesthetically pleasing to look at
- Solid build quality
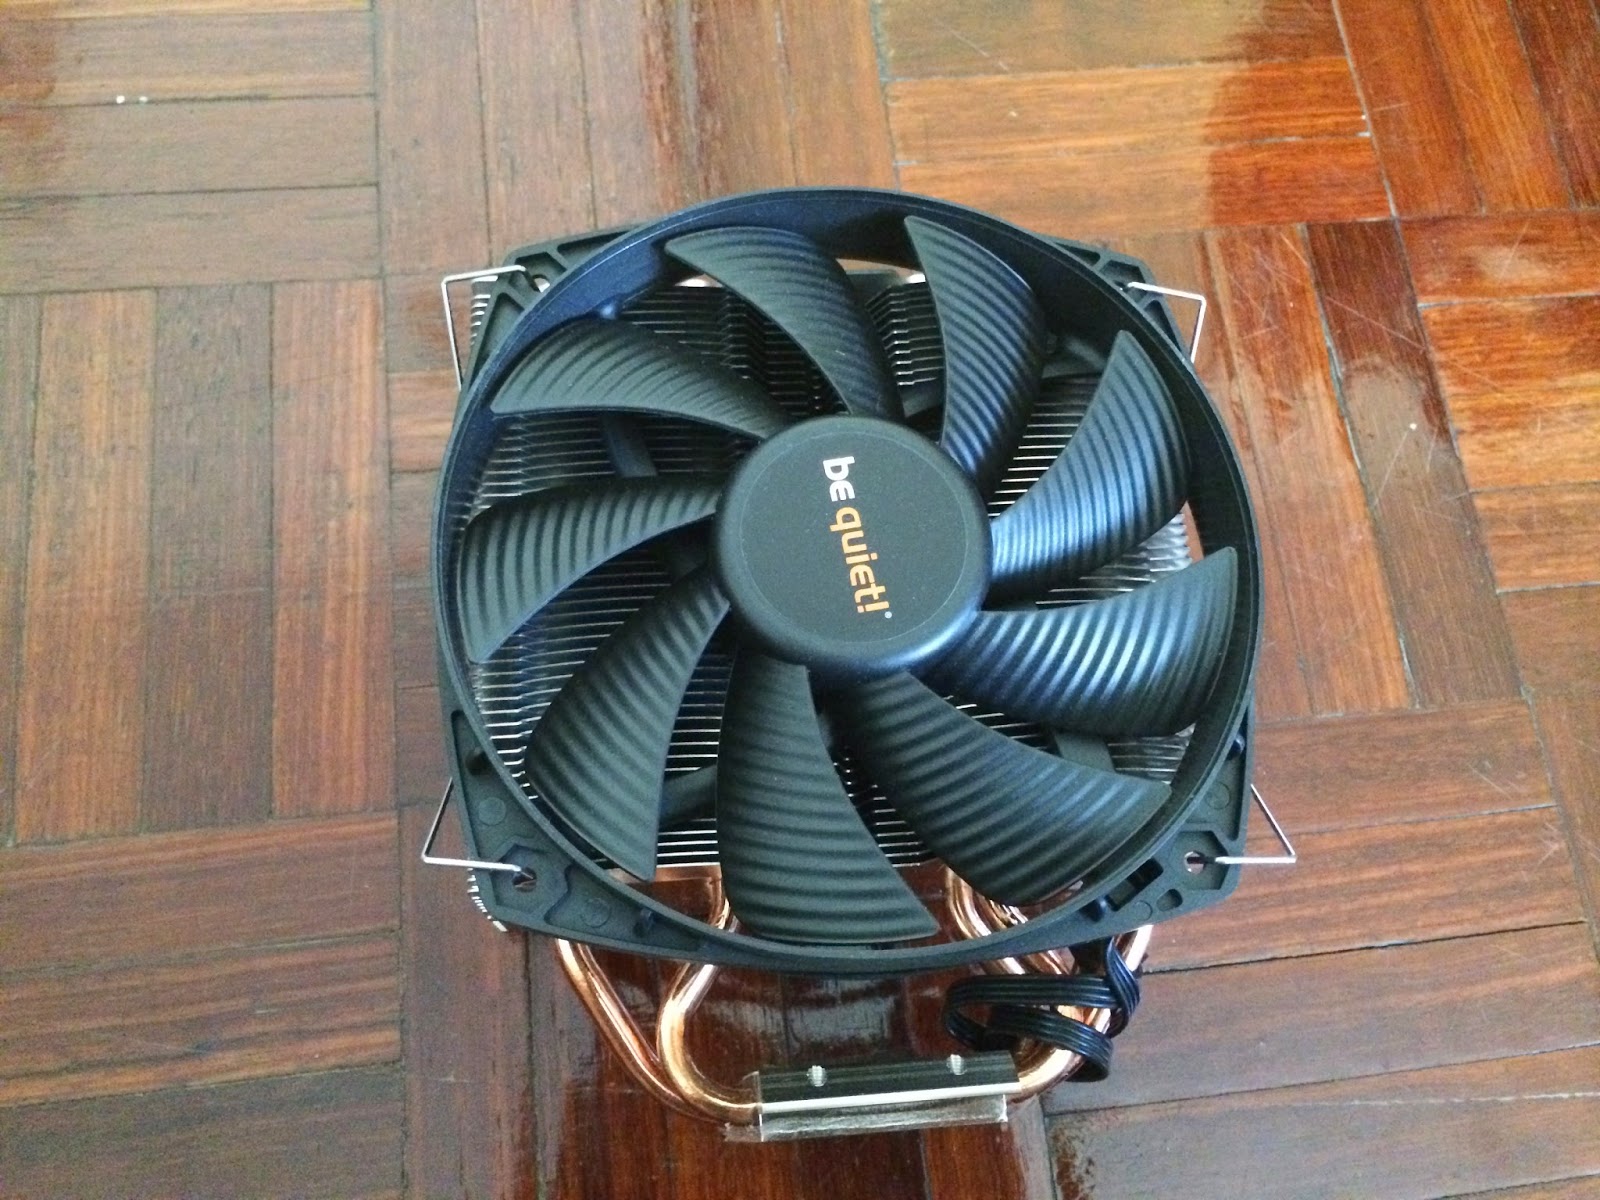
- Pre-installed with a 135mm SilentWings PWM fan
- Excellent RAM clearance
- Near silent operation
Cons
- Fan clips do not fit other 25mm thick fans
- Tricky to install
- Not designed for overclocked CPU
With the decision made, we hereby award the be quiet! Shadow Rock Slim with a Silver and Recommend award badges of www.tech-critter.com.


2 thoughts on “Unboxing & Review: be quiet! Shadow Rock Slim”
This blocks two Ram slots if you have an AMD CPU, but you can fit most styles of ram underneath the cooler. My g-skill ram has 1-2 mm of clearance.
Hi Greene, thanks for the input 😉
Comments are closed.