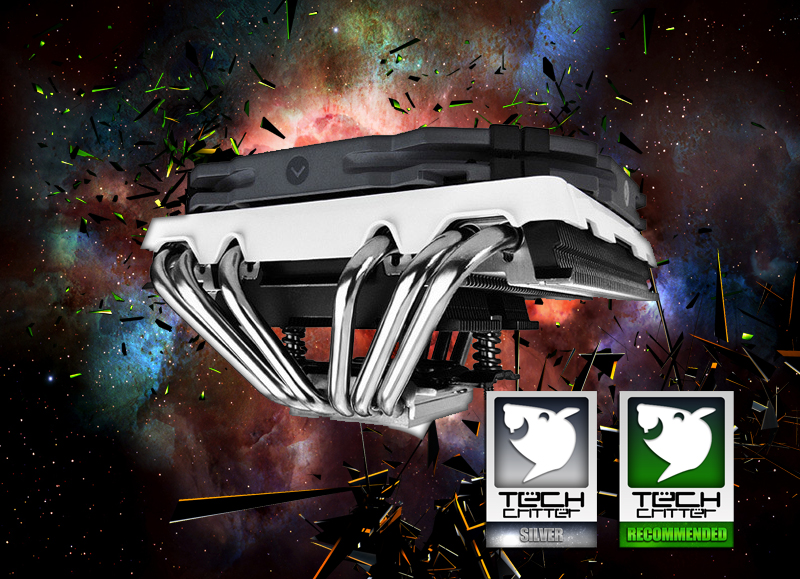
CRYORIG may be a new comer in the high end CPU cooler market, but the fact that they delivered surprisingly good high performance CPU coolers, it’s as if they’ve been on the market for years. It first caught our attention back in 2014 when the CRYORIG C1 is announced, mainly because of its unique name and design.
Great thanks to CRYORIG and IdealTech in provision of the CRYORIG C1 CPU cooler for today’s review. The SRP is yet to be decided while we prepare this article, so let us proceed with the review and see what the CRYORIG C1 is capable of.
(SRP of the CRYORIG C1 is at RM249 and can be purchased from your trusted gaming rig builder Ideal Tech.)
Specifications

Packaging
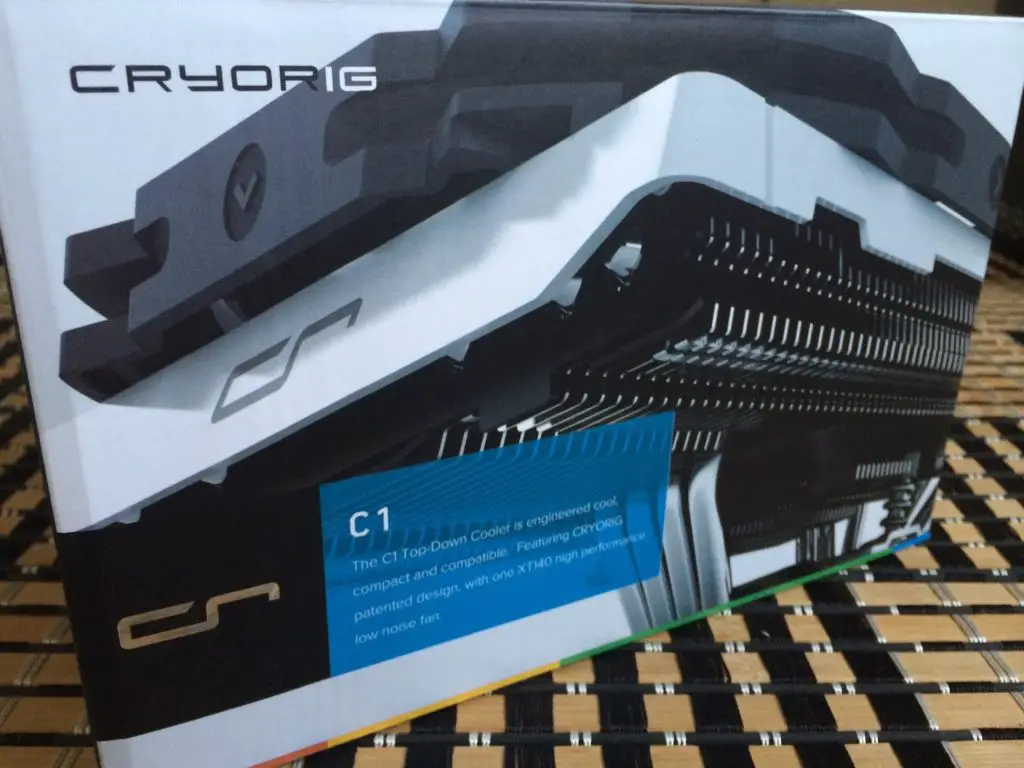
CRYORIG has everything made to be the best, even the packaging itself packs pure awesomeness.
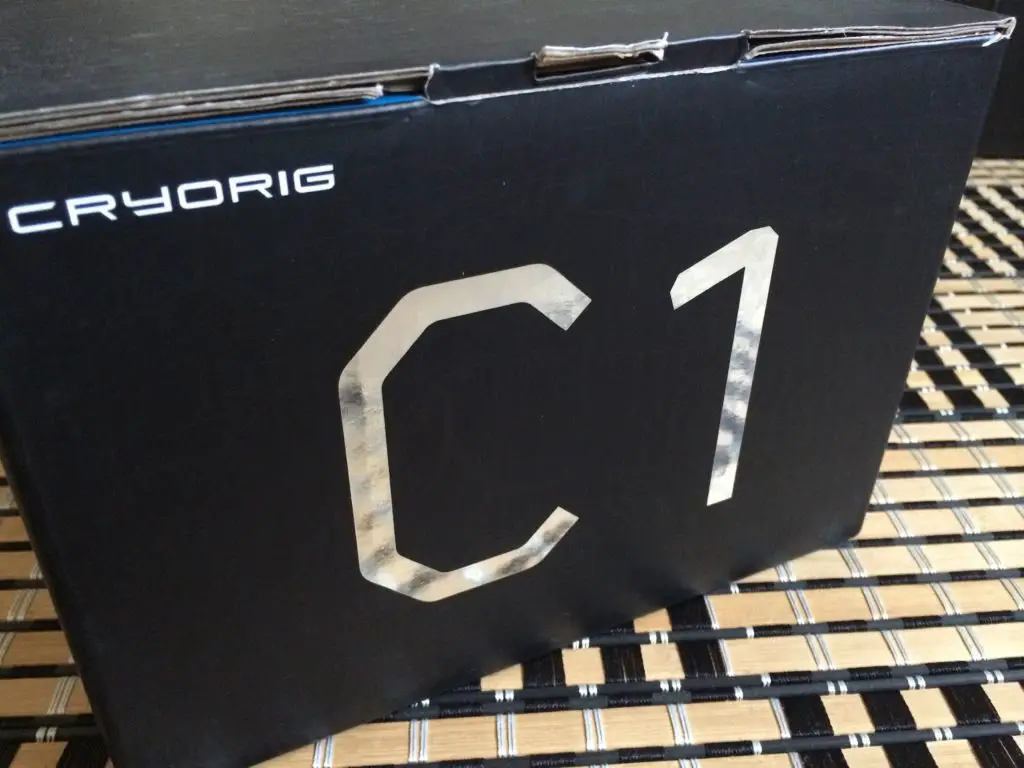
The model name is printed with reflective material.
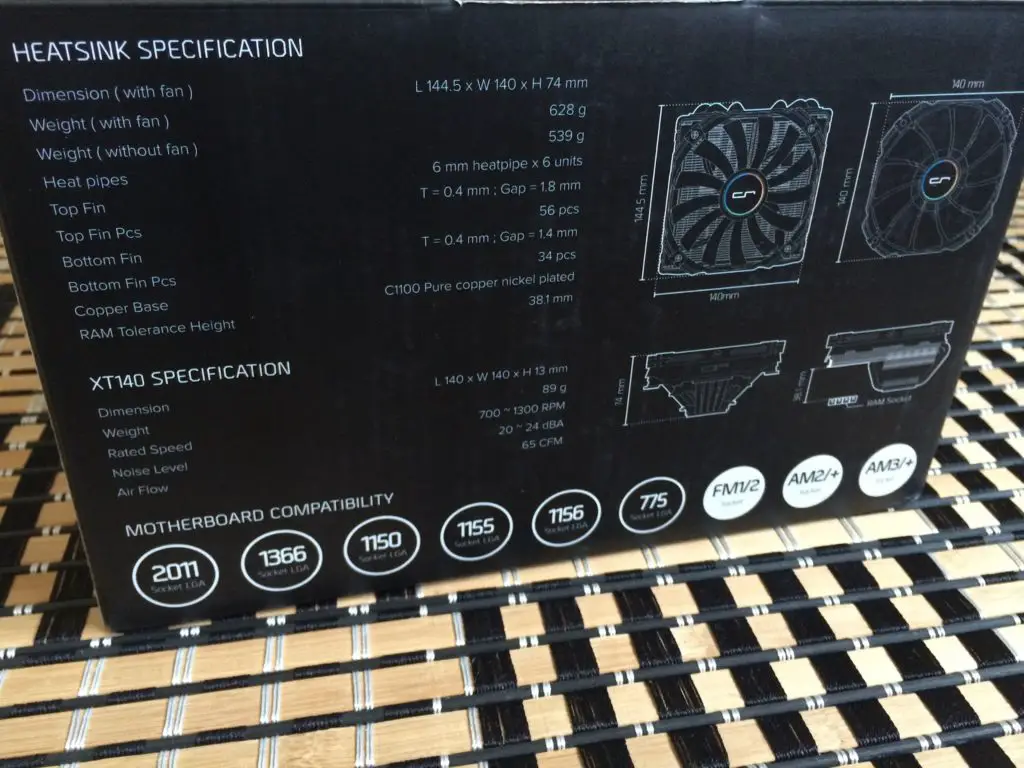
Both specifications of the heatsink and XT140 fan is briefly described at the left side of the box.
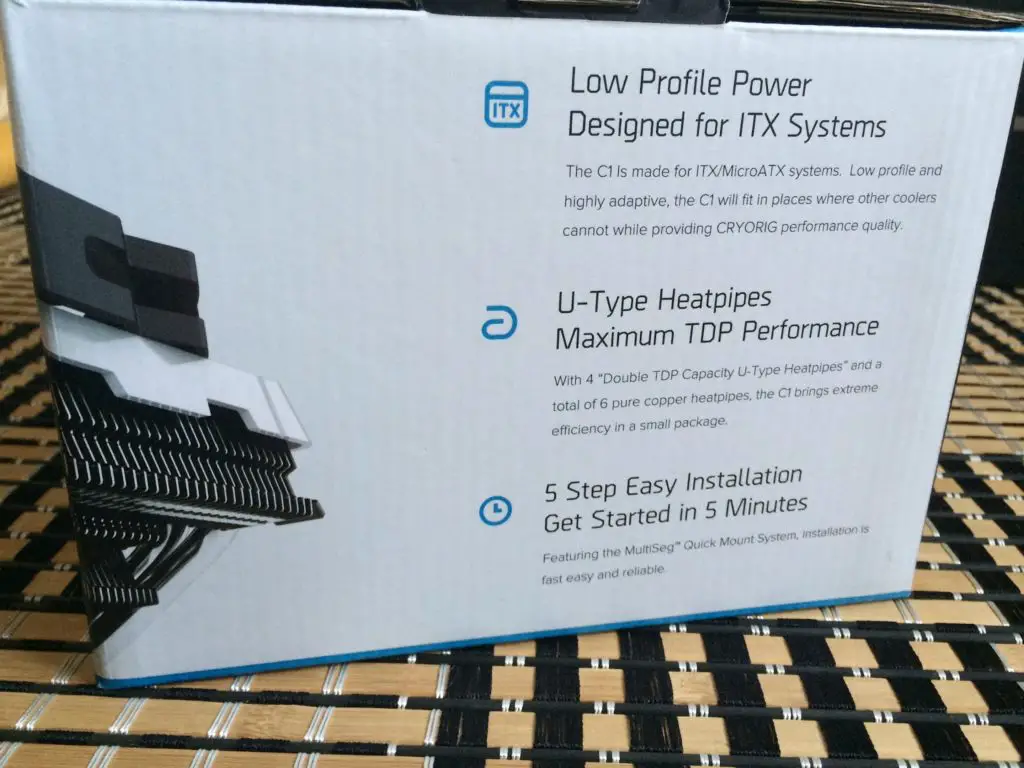
At the right side of the box you’ll find some highlighted features of the cooler.
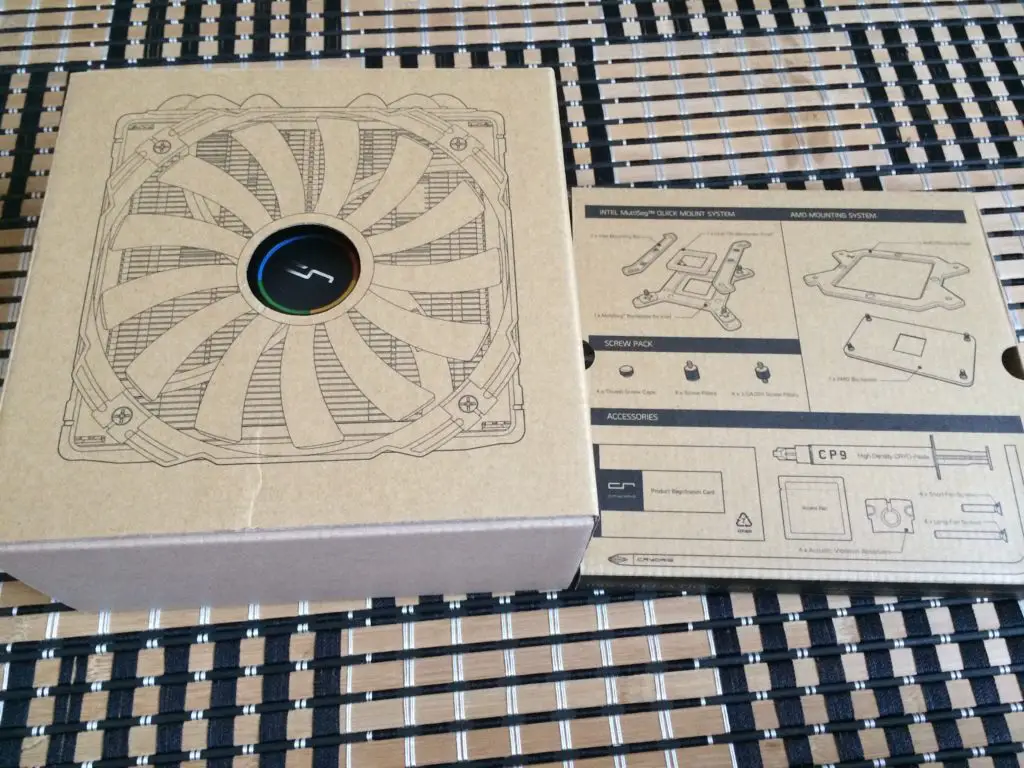
The cooler and accessories is packed separately in 2 individual boxes.
Accessories
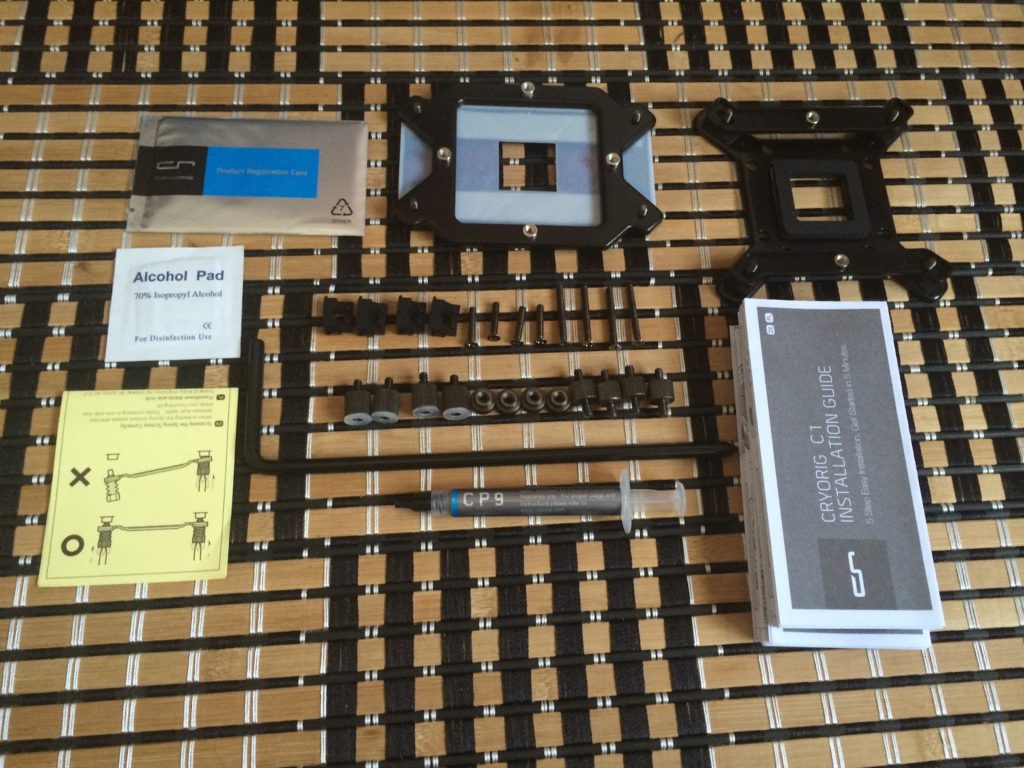
The content of the accessories box:
- Product registration card
- Alcohol swab
- Installation guide
- CRYORIG CP9 thermal paste
- Mounting bracket for Intel socket 775/115x/1366/2011 and AMD FM1, FM2/+, AM2/+, AM3/+
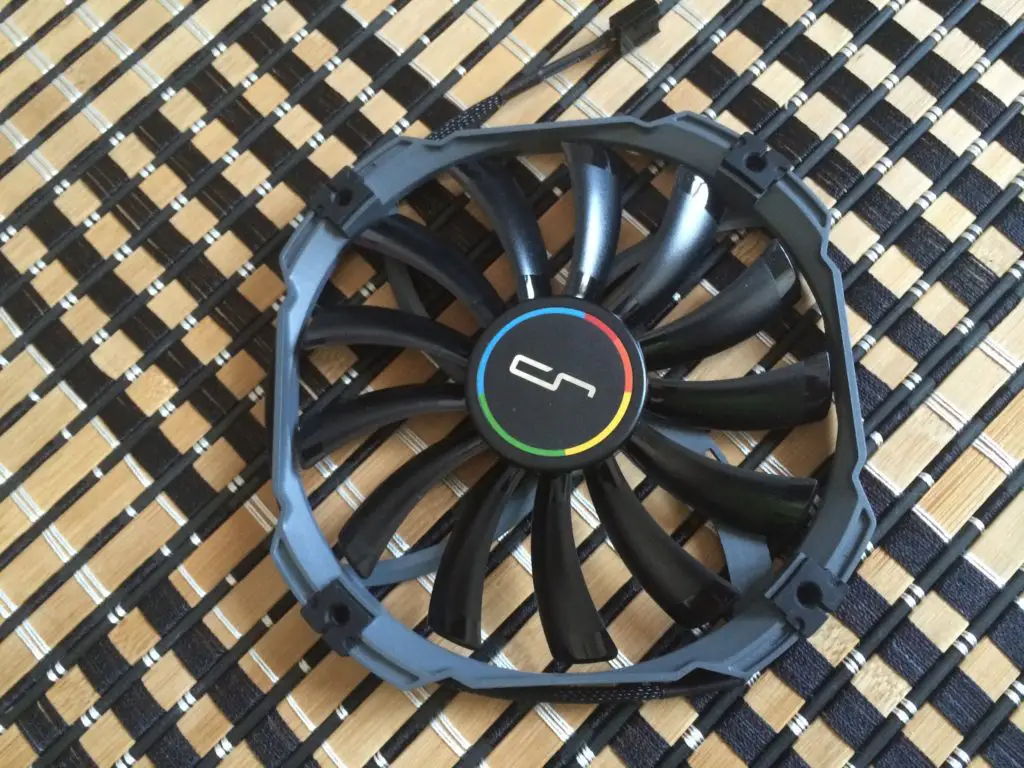
The included XT140 fan is a 140mm slim type fan, it does somehow reminded us of the Prolimatech USV14 140mm slim type fan that we reviewed earlier.
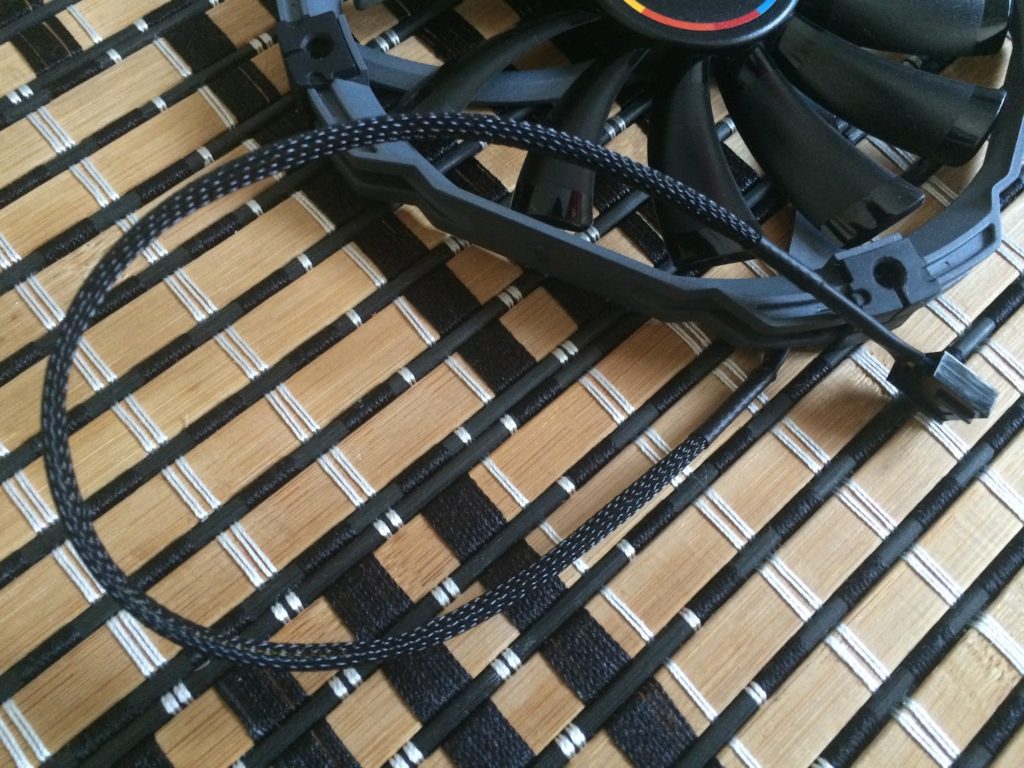
Sleeved cables gives not only a touch of premium to a cooling fan, but also offers easier cable management.
There’s even rubber pads on the edges to help absorb vibrations generated by the fan itself for better acoustic performance.
Closer Look
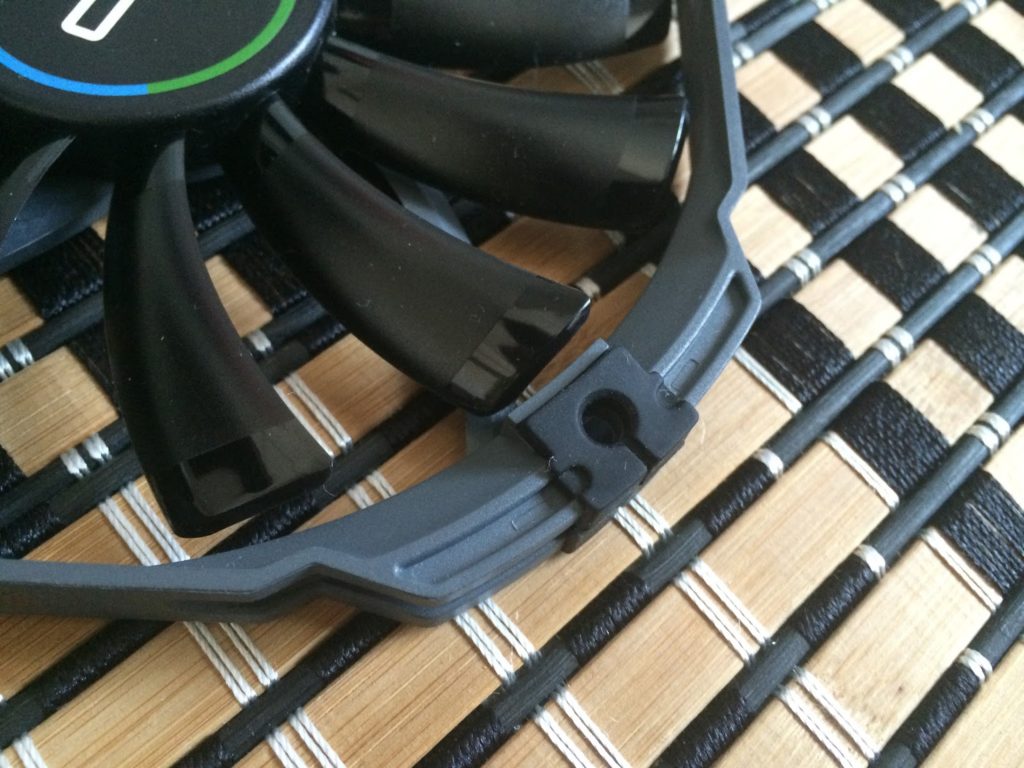
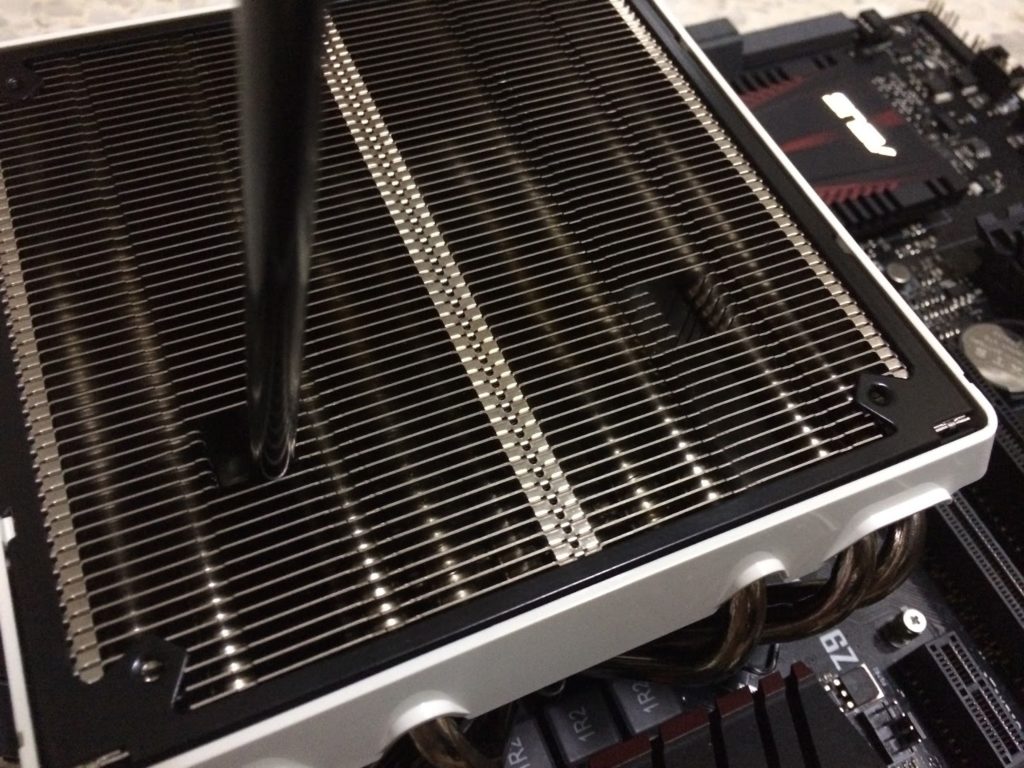
At only 74mm tall, the CRYORIG C1 is made highly compatible with almost any chassis out there. Notice that at the side of the white colored frame, you’ll find curves which is specially made for mounting fans with CRYORIG fan clip in the best position.

As fan clips doesn’t actually comes with the cooler, the cooling fan is to be installed with the screws provided.

As installation has to be done with securing the screws from the top, you’ll have to save the fan installation for the last.
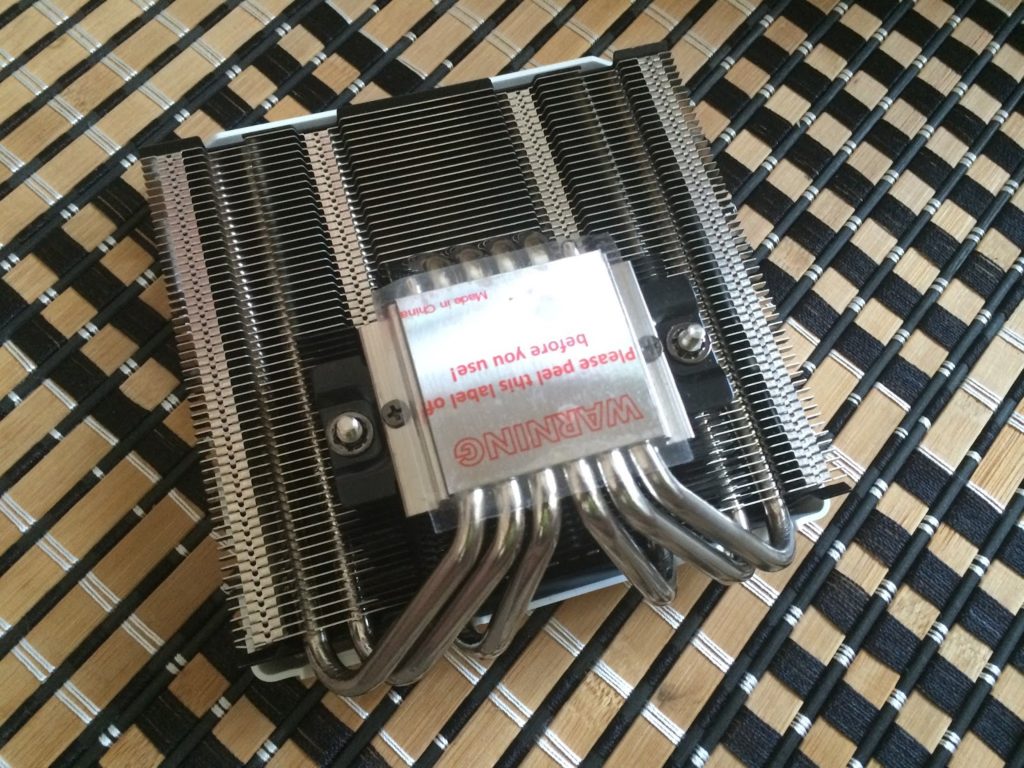
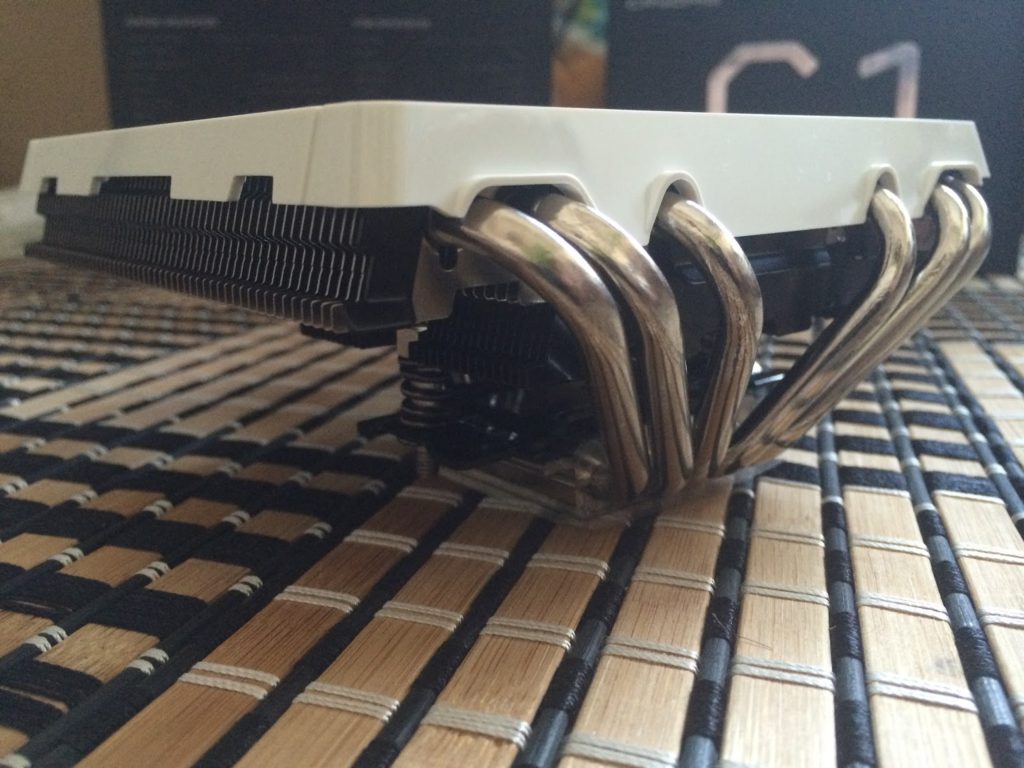
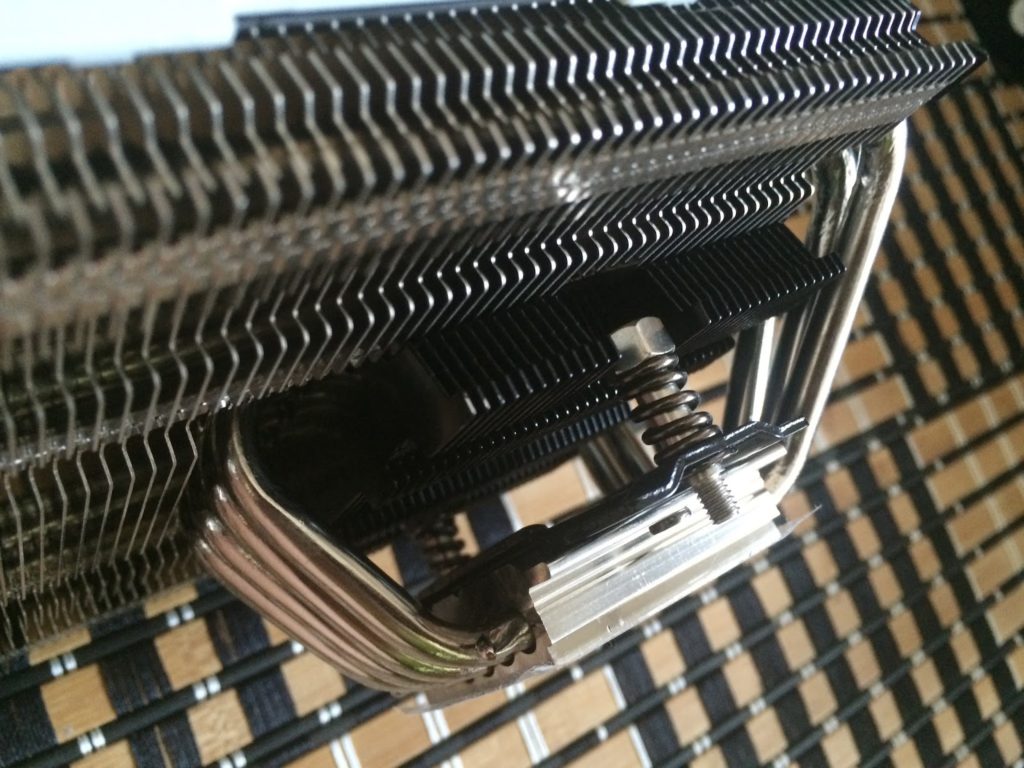
Traits of high end CPU coolers can be seen from the bottom of the cooler that featured a nickel plated copper base with 6 nickel plated copper heatpipes protruding from it. This is CRYORIG’s cooling formula for the CRYORIG C1 – let’s hope that it will perform just as good as well.
Installation
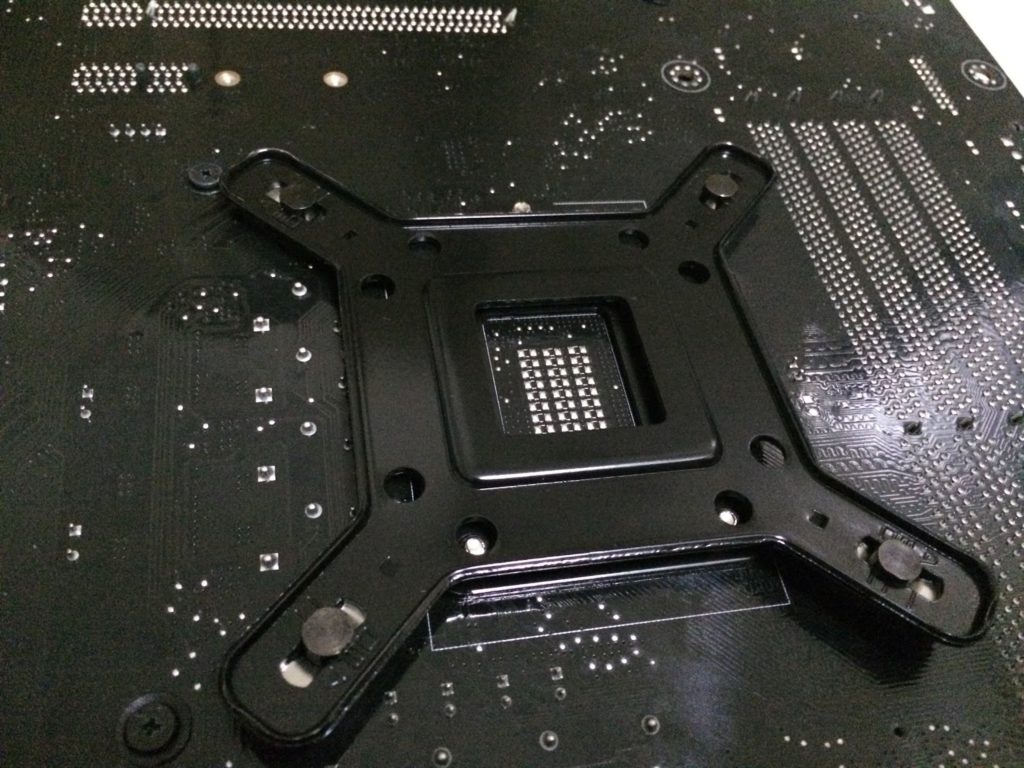
Start off by aligning the screws on the backplate to the intended socket size.

Once the backplate is ready, secure the standoffs screws to the screws from the backplate to keep it in place.
Place the retention bracket through the standoffs screws and secure it with the included thumb nuts. That’s pretty much it for the retention, now to mount the cooler onto the CPU!
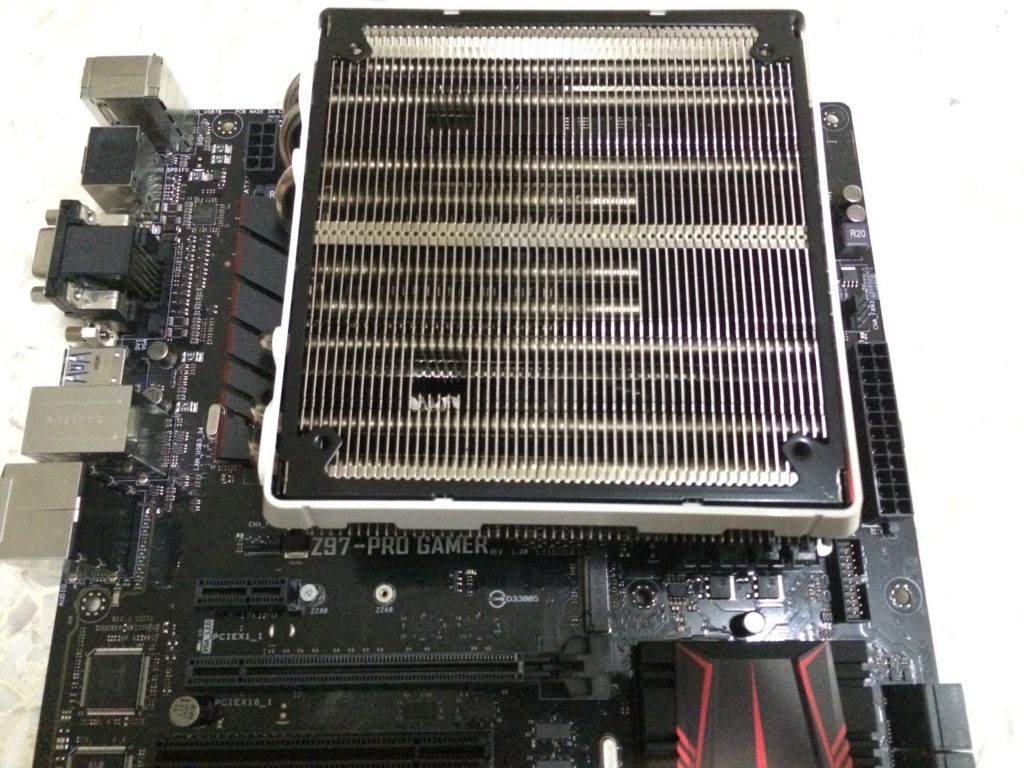
You can mount it either way, with the heatsink fins on top of the memory slot (low profile memory kit) or the other way around (tall memory kit).
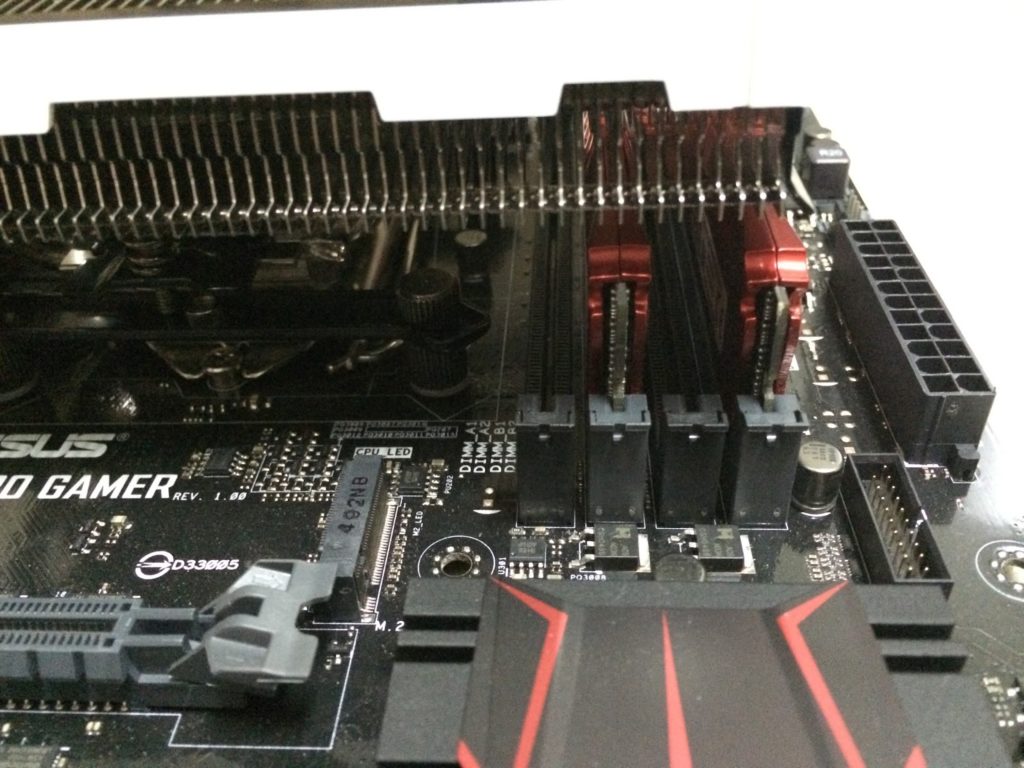
The spaces in between is just about right if you’re using low profile memory kit. The low profile Kingston HyperX Savage fits this setup just right.
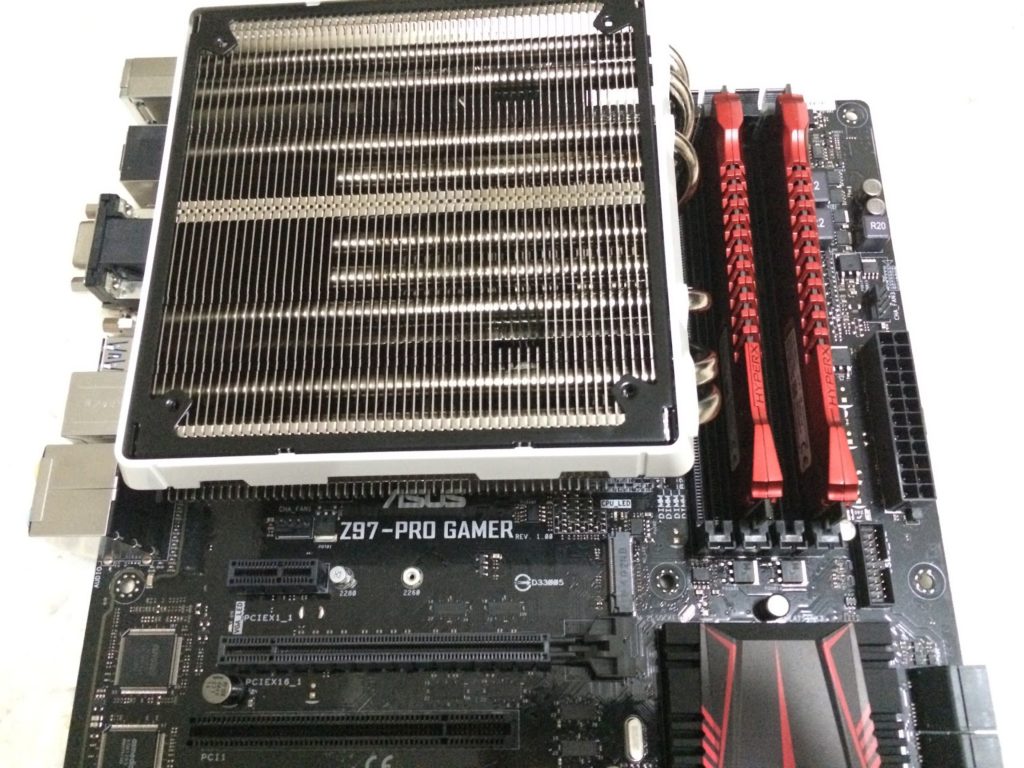
If you’re using tall memory kits, you can install the heatsink in the opposite direction for the tall heatsinks to fit.

The clearance seems fine at this point and you can have tall memory kit installed without any issue.
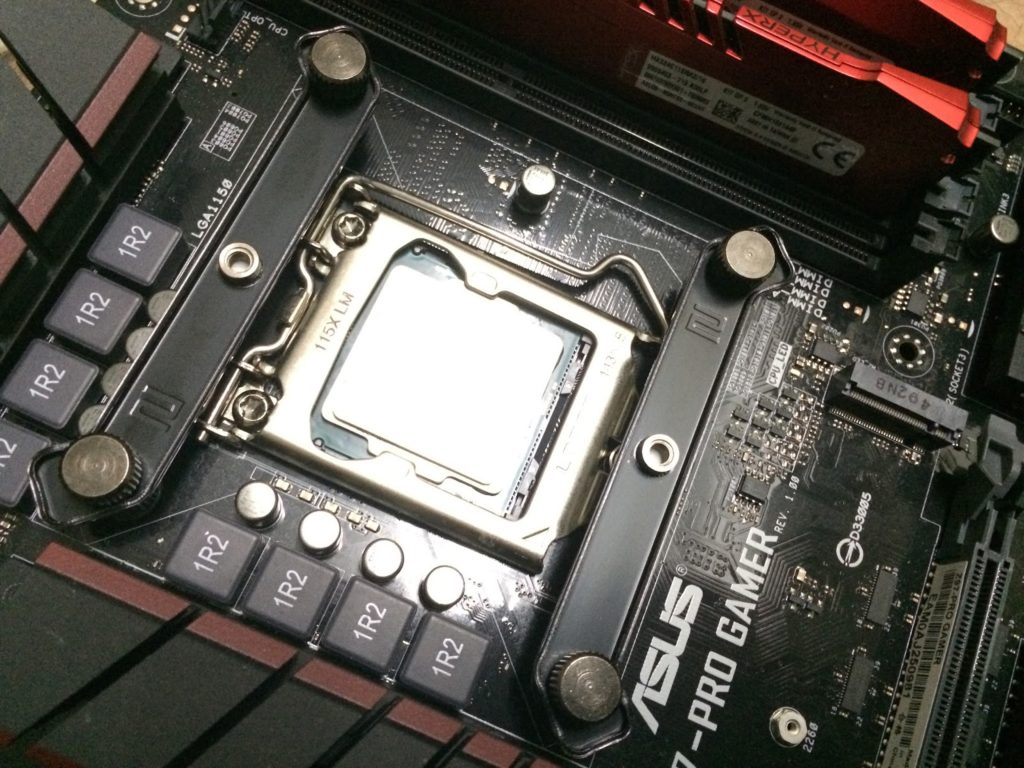
Once the mounting screws is aligned, you can secure the screws with the screw driver included in the accessories box, but do be extra careful to not to over tighten the screws as it might damage your CPU, socket or even lead to a no POST condition.

Once the heatsink is secured, you’re ready to install the fan and get your system kicking.
Performance Test
Test Rig Configuration | |
| CPU Cooler | CRYORIG C1 |
| CPU | Intel Core i7 4790K |
| Motherboard | ASUS Z97-Pro Gamer |
| Memory | G.Skill TridentX @2400MHz |
| Primary Hard Drive | Crucial M500 120GB |
| Power Supply | be quiet! Straight Power 10 600W |
| Chassis | Bitfenix Shadow |
Moving on to the performance test, we ran the CPU stress test utility Prime95 with the option ‘In-place large FFTs’ for maximum heat from the CPU. Our room temperature throughout the test is 30ºC in average and the stress test is repeated for several times in order to get a stable and consistent temperature reading. The final result is presented in the graph as below:

The performance looks good from the start, as our i7 4790K cooled by the CRYORIG C1 peaked at 73°C, 13°C cooler compared to the Intel stock cooler which peaked at 86°C. When we heated up our Intel i7 4790K by raising the clock to 4.6GHz (which is the limit for our CPU before hitting TJMAX), the Intel stock cooler failed almost in an instance with temperature peaked at 98°C. The CRYORIG C1 on the other hand, survived the test with peak temperature of 86°C.
Verdict
Installation was a breeze, especially for the retention bracket that can be easily installed without any use of tools. The only step that requires a tool is to secure the heatsink to the retention bracket and mounting a cooling fan to the heatsink. RAM clearance scored a perfect 10 out of 10, as switching the orientation of the heatsink itself will allow pretty much any type of RAM to fit without any issue.
Performance wise, the CRYORIG C1 did a pretty good job in shaving away that extra 12°~13°C from our overclocked i7 4790K (4.6GHz) compared to the result from the Intel stock cooler. Although we’re not using a SFF / HTPC chassis for this test (which the CRYORIG C1 was actually meant for), the Bitfenix Shadow’s lower airflow will behave nearly as same.
If you’re planning go for a low profile CPU cooler for that extra draft of air towards the motherboard of your small form factor / HTPC rig, we would recommend to consider the CRYORIG C1 – a very capable low profile cooler that perform just as good as it looks.
Pros:
- Great clearance for tall RAM
- Quiet operation even on load
- Easy to install
- Excellent build quality
- Provides extra down-drafts to motherboard
Cons:
- Costly