Since Intel first launched their first generation Core-i processors, the TUF series motherboard from ASUS earns its reputation of outstanding reliability and durability, the iconic thermal armor and a promising 5 year warranty that no other motherboard manufacturers will do. Throughout the years, TUF series motherboards has gained quite an amount of loyal followers and still counting – be it Intel or AMD platform.
The celebrity of today’s review is no doubt a TUF series motherboard, huge thanks to ASUS for providing us with a review sample of the TUF Series Sabertooth X99. The Sabertooth X99 make its debut as the highest end of motherboard in the TUF series based on Intel X99 chipset and support for Intel 2011-v3 socket CPU. SRP of the ASUS Sabertooth X99 is set at RM1,660 but first, let us take a quick look on what’s new!
Specifications
| Model | ASUS Sabertooth X99 |
| Warranty | 5 Years |
| Form Factor | ATX |
| Supported CPU | Intel® Socket 2011-v3 Core™ i7 Processors |
| Chipset | Intel X99 |
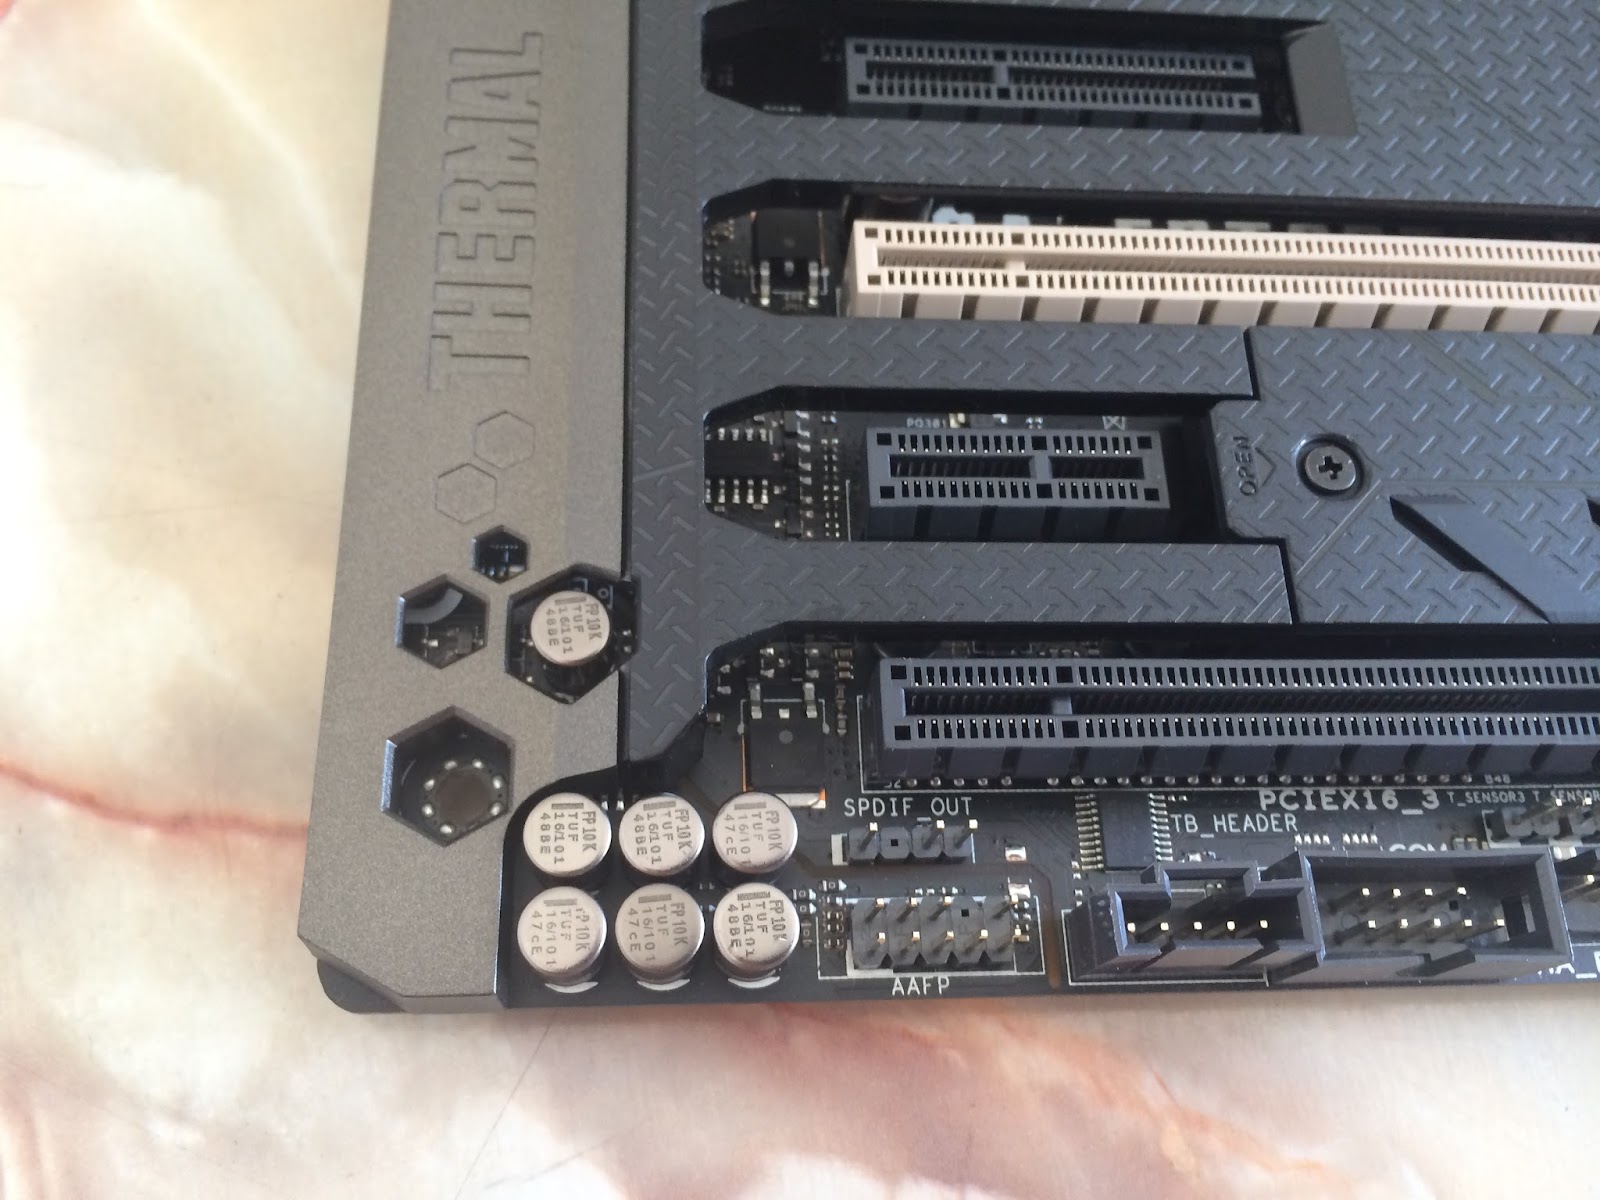
| Expansion Slots | 40-Lane CPU 3 x PCIe 3.0/2.0 x16 (x16, x16/x16, x16/x16/x8) *1 28-Lane CPU 3 x PCIe 3.0/2.0 x16 ( x16, x16/x8, x16/x8/x4) *1 1 x PCIe 2.0 x4 (x2 mode) 1 x PCIe 2.0 x1 |
| Memory Support | 8 x DIMM, Max. 64GB DDR4 2400/2133 MHz Non-ECC, Un-buffered Memory |
| Rear I/O Panel | 2 x LAN (RJ45) port(s) 2 x USB 3.1 (teal blue) 4 x USB 3.0 (blue) 4 x USB 2.0 1 x Optical S/PDIF out 5 x Audio jack(s) 1 x USB BIOS Flashback Button(s) |
| Internal I/O Connectors | 1 x AAFP connector 2 x USB 3.0 connector(s) support(s) additional 4 USB 3.0 port(s) (19-pin) 2 x USB 2.0 connector(s) support(s) additional 4 USB 2.0 port(s) 1 x SATA Express connector: gray, compatible with 2 x SATA 6.0 Gb/s ports 1 x TPM header 1 x COM port(s) connector(s) 1 x CPU Fan connector(s) (1 x 4 -pin) 1 x CPU OPT Fan connector(s) (1 x 4 -pin) 1 x CPU fan with PWM control 4 x Chassis Fan connector(s) (4 x 4 -pin) 5 x Assistant Fan connector(s) (5 x 4 -pin) 1 x S/PDIF out header(s) 1 x Thunderbolt header(s) 1 x 24-pin EATX Power connector(s) 1 x 8-pin ATX 12V Power connector(s) 1 x 4-pin ATX 12V Power connector(s) 1 x System panel(s) (Q-Connector) 1 x Chassis Intrusion connector(s) 1 x MemOK! button(s) 3 x Thermal sensor connector(s) 1 x Clear CMOS jumper(s) |
Package
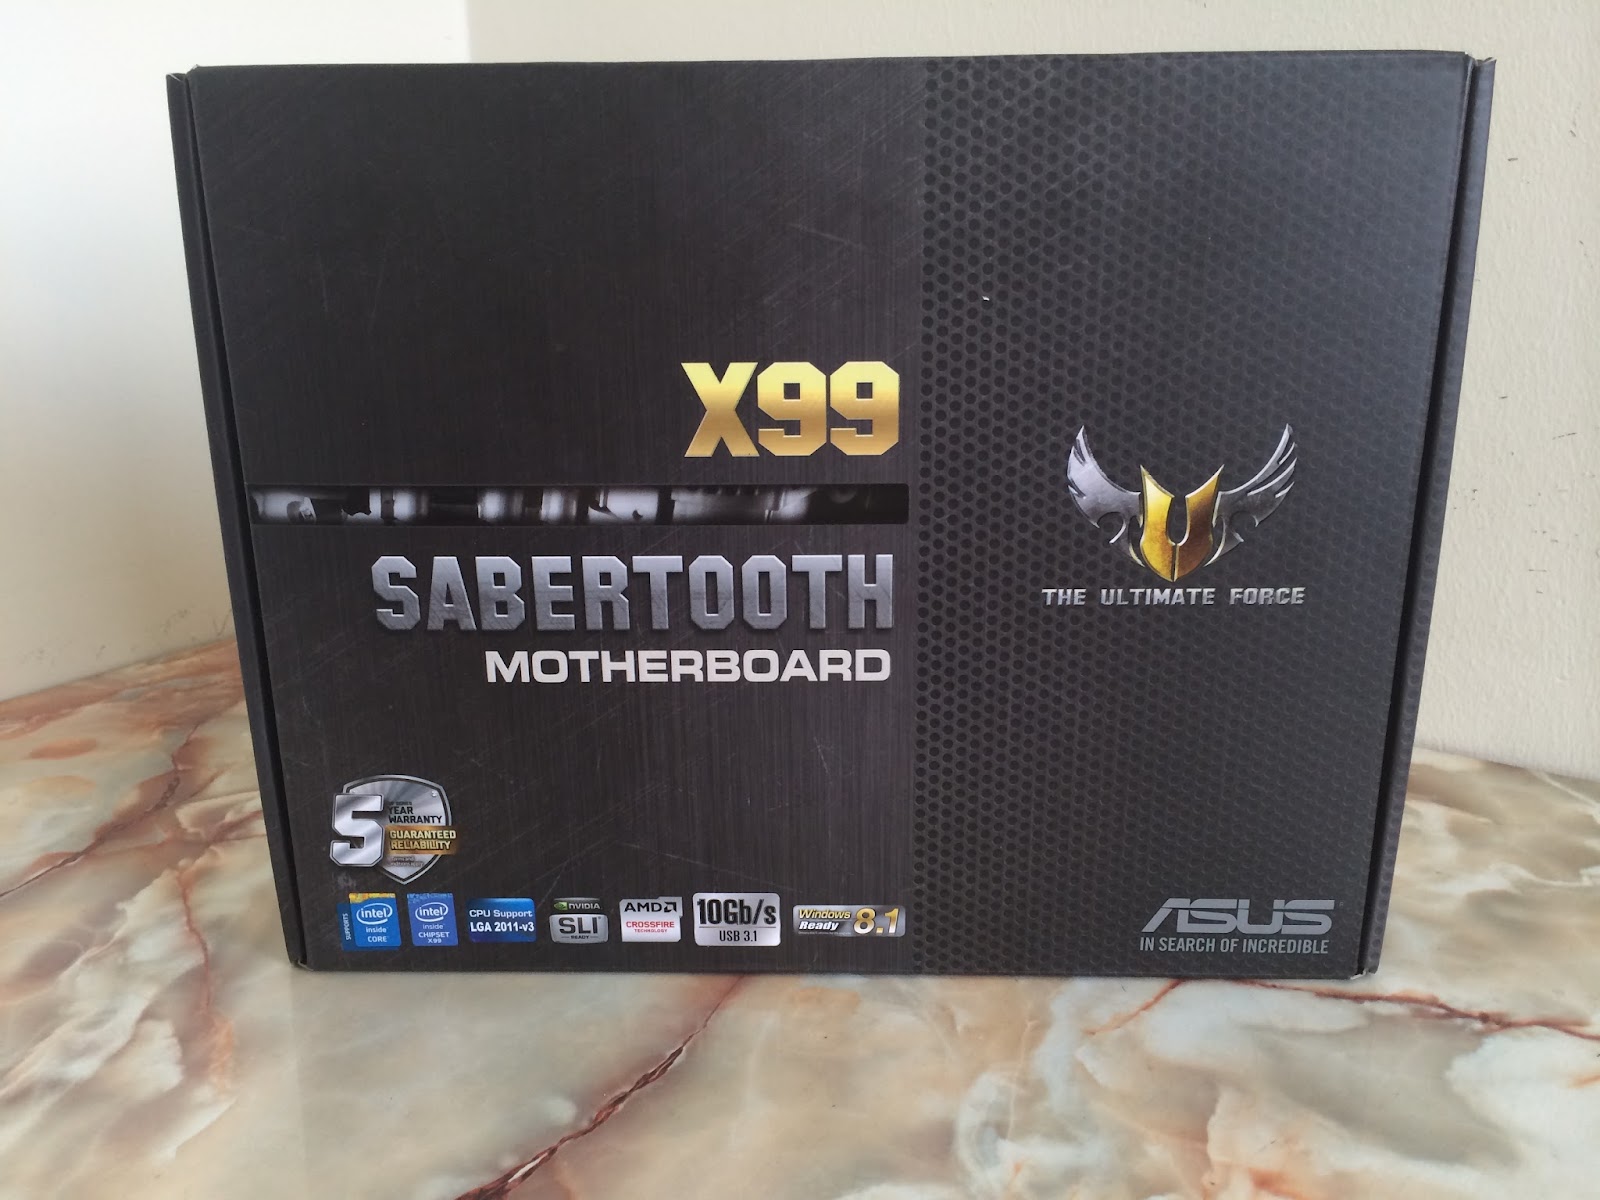
The box of the Sabertooth X99 comes in the same sleek design as the other TUF series motherboards i.e Sabertooth Z87, with the 5 years warranty badge still visible at the bottom left corner of the box.
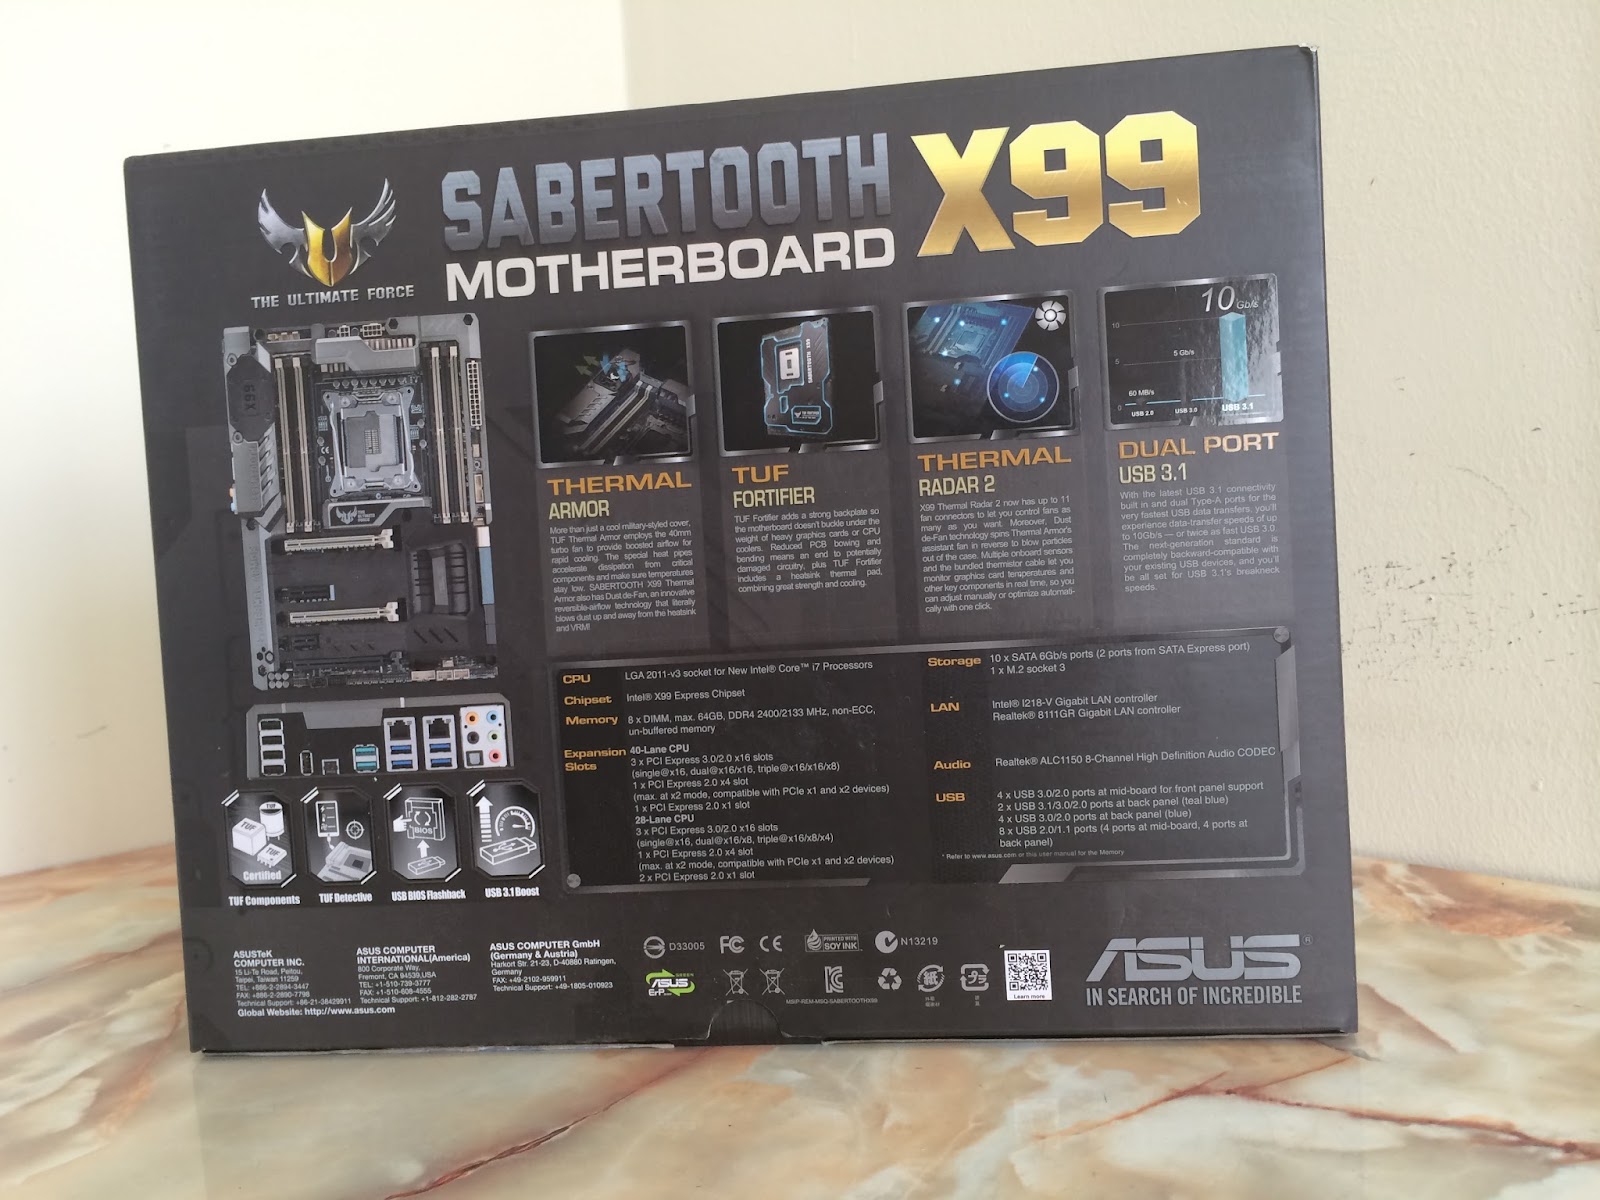
A preview of the motherboard and it’s prominent features such is the iconic thermal armor, TUF fortifier,etc is mentioned at the back of the box.
Accessories

Paper documents and accessories included:
- User’s manual
- Accessory Guide
- ASUS Q-Shield
- 6 x SATA 6Gb/s cable(s)
- 1 x ASUS 2-Way/3-Way SLI bridge
- 1 x Supporting DVD
- 1 x Q-connector(s) (2 in 1)
- 1 x Assistant Fans(40mm)
- 1 x TUF Certification card(s)
- 1 x TUF 5 Year Warranty manual(s) (by region)
- 1 x TUF Inside sticker(s)(white)
- 1 x STAY COOL BE TUF sticker(s)(white)
- 2 x PCIe x16 slot dust cover(s)
- 4 x DRAM slot dust cover(s)
- 1 x PCIe x1 slot dust cover(s)
- 1 x PCIe x4 slot dust cover(s)
- 3 x Thermistor cable(s)
- 1 x connector dust cover collection(onboard USB 3.0, LAN)
- 2 x On board USB 2.0 connector dust cover(s)
- 11 x back I/O USB 2.0 connector dust cover(s)
- 9 x On board SATA connector dust cover(s)
- 1 x SATA Express conector dust cover(s)
- 5 x Audio connector dust cover(s)
The ASUS Sabertooth X99

A good news to the TUF fans – After all these years, ASUS has finally decided to give the highest end offering of the TUF series motherboards the full armor that it should have gotten since long time ago.

The TUF Fortifier (aka back metal frame) is included as well for enhanced rigidity.

Memory wise, the Sabertooth X99 supports up to a total of 64GB DDR4 with frequency of 2133MHz to 2400MHz – Of course, you can still overclock your RAM to a higher frequency as what we have achieved; 3000MHz with a pair of Kingston HyperX Predator 16GB 2400MHz DDR4 memory kit.
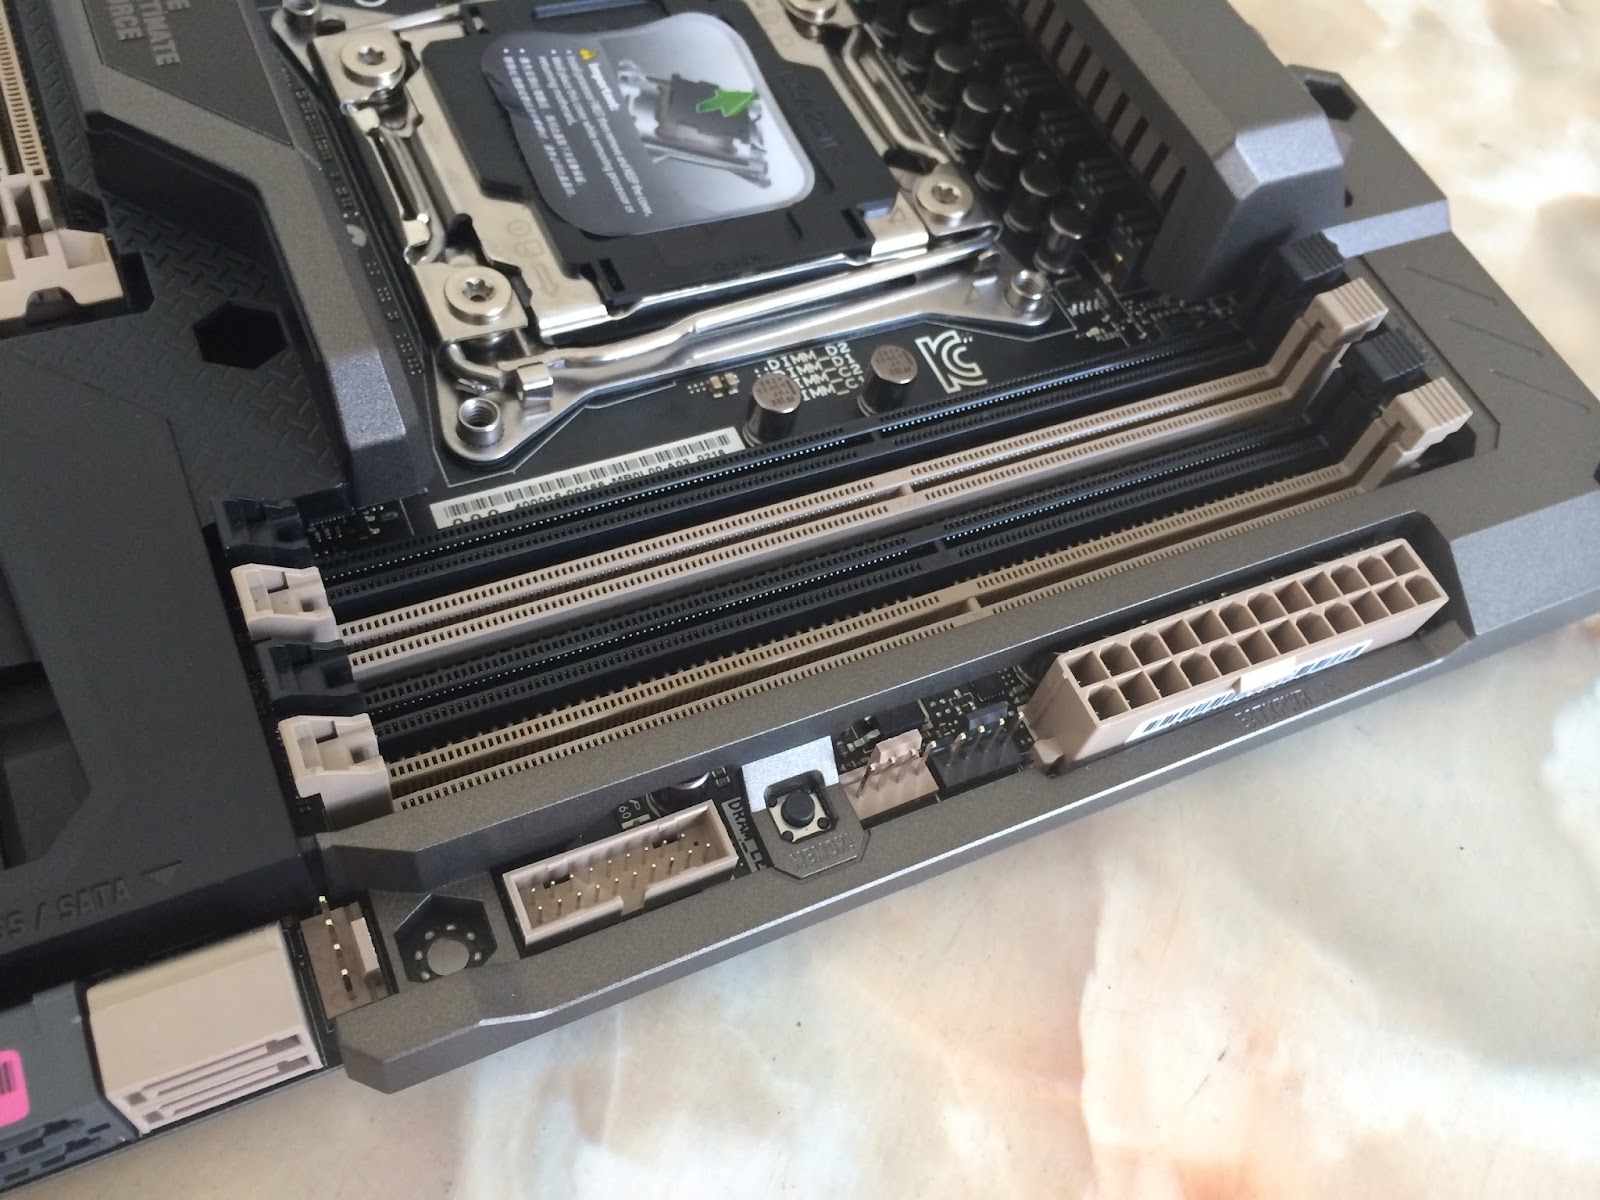
The MemOK button ensures the memory boot compatibility, a very useful feature for the enthusiasts who does a lot of tweaking especially on the memory.

The TUF components; UF Capacitors, Chokes and MOSFETs which ASUS boasts on its superior life-span even under the most demanding conditions.
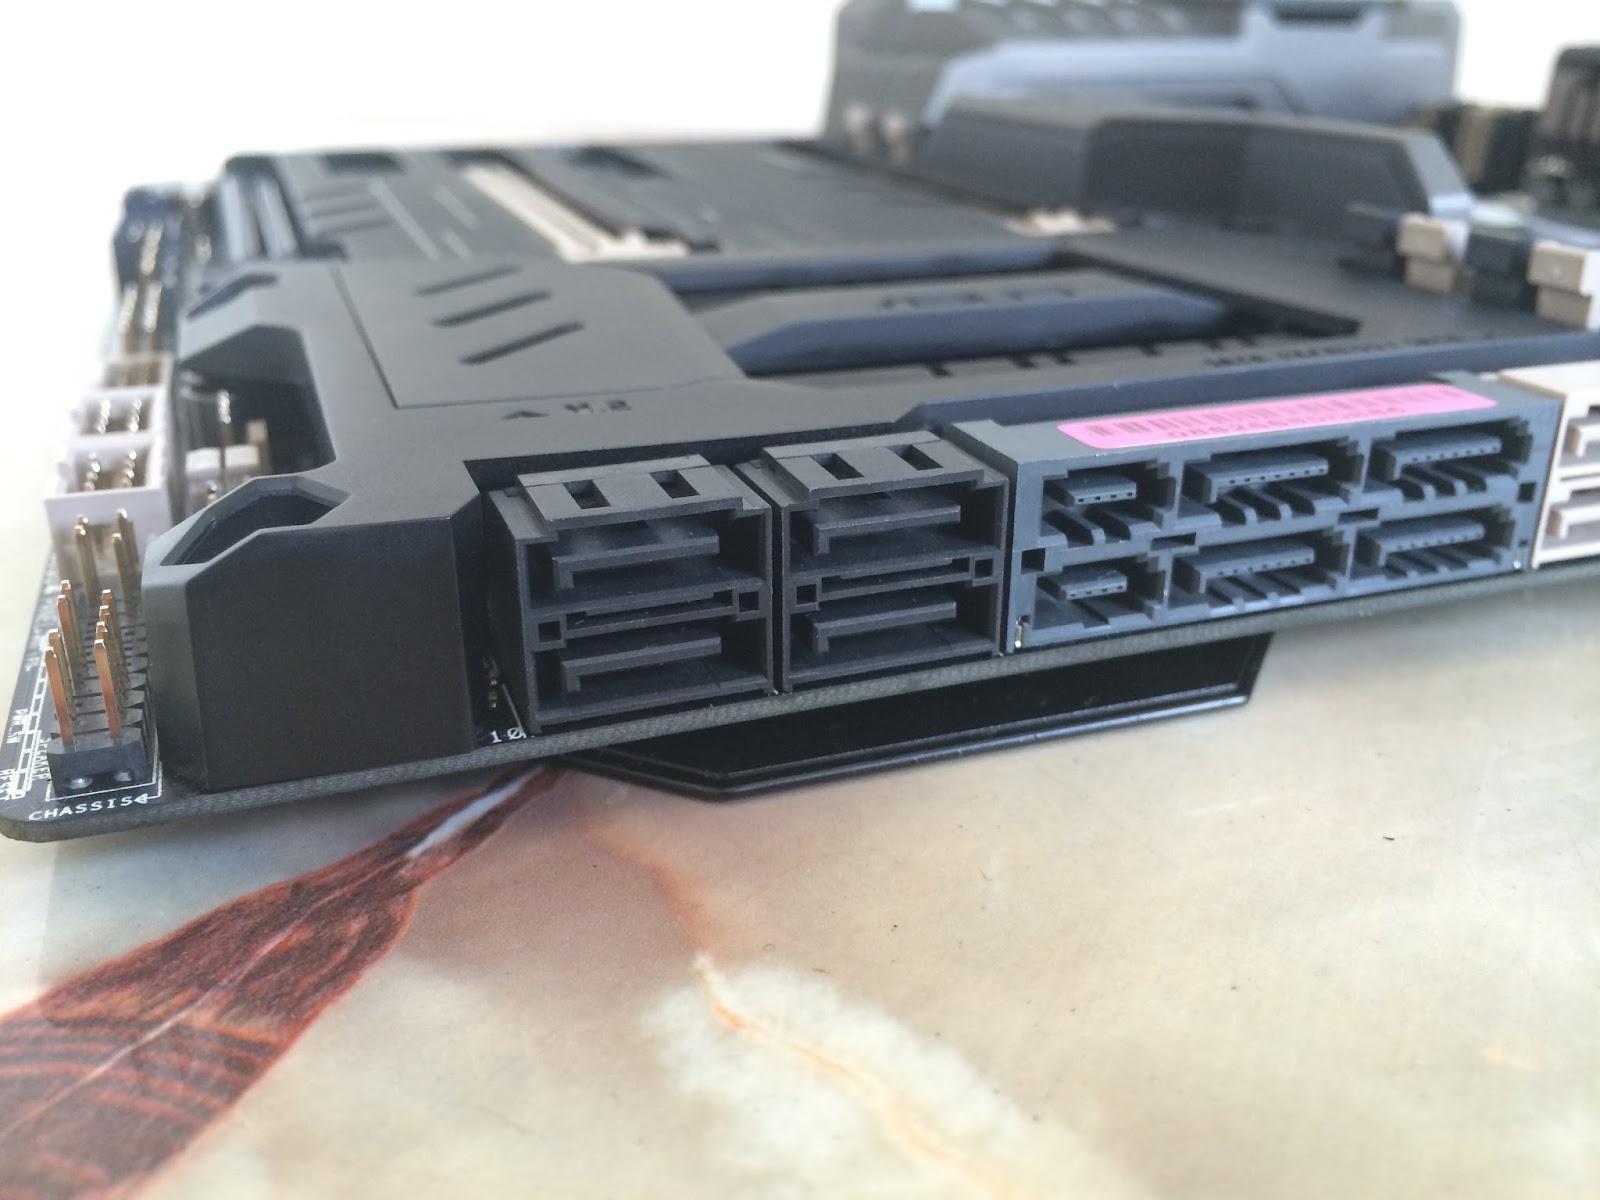
The Sabertooth X99 comes with 2 x SATA Express port, 6 x SATA III port.

The chipset heatsink matched the new thermal armor of the Sabertooth X99 pretty well.

The Ultimate Force (aka TUF) emblem on the thermal armor.

At the bottom right of the motherboard you’ll find few

Removing the cover at the bottom of the thermal armor, you’ll find a hidden M.2 SSD slot located just above the most bottom PCIe that comes with variable length support and the CMOS battery slot.
The TUF Audio Design that comes with the following features:
Audio Shielding
Ensures precision analog/digital separation and qreatly reduced multi-lateral interference.
Unique de-pop circuit
Reduces start-up popping noise to all audio outputs.
Audio amplifier
Enhance the highest quality sound for headphone and speakers.
Special layout design
Separate layers for left and right channels to guard the quality of the sensitive audio signals
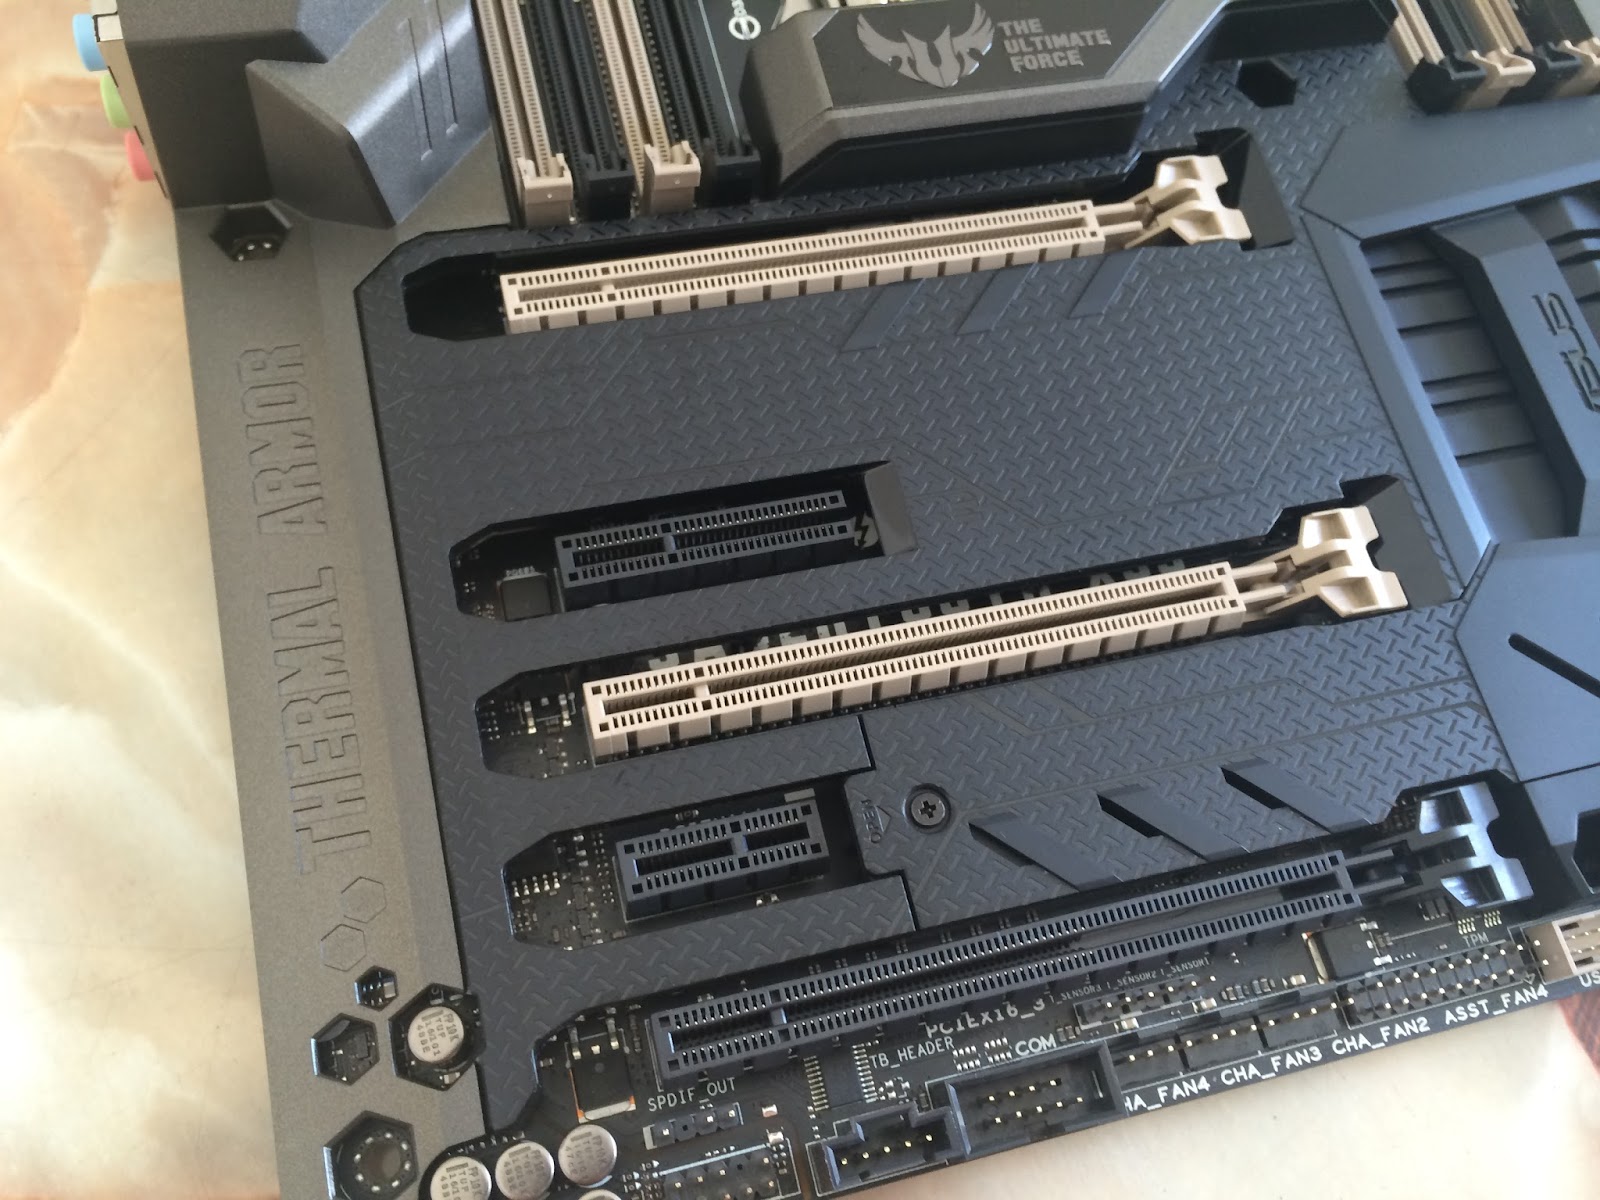
The expansion slots consists of 2 x PCIe 3.0 x16 slots, 1 x PCIe 2.0 X4 slot for multiple GPU setup (AMD Crossfire / NVIDIA SLI), 1 x PCIe 3.0 x1 slots.

The X99 engraved cover can be removed to install the assistant fan given.

The included assistant fan to pair with the Thermal Armor air channeling design to focus that extra airflow to the crucial areas which ASUS claims to be able to reduce temperature by up to 10°C.
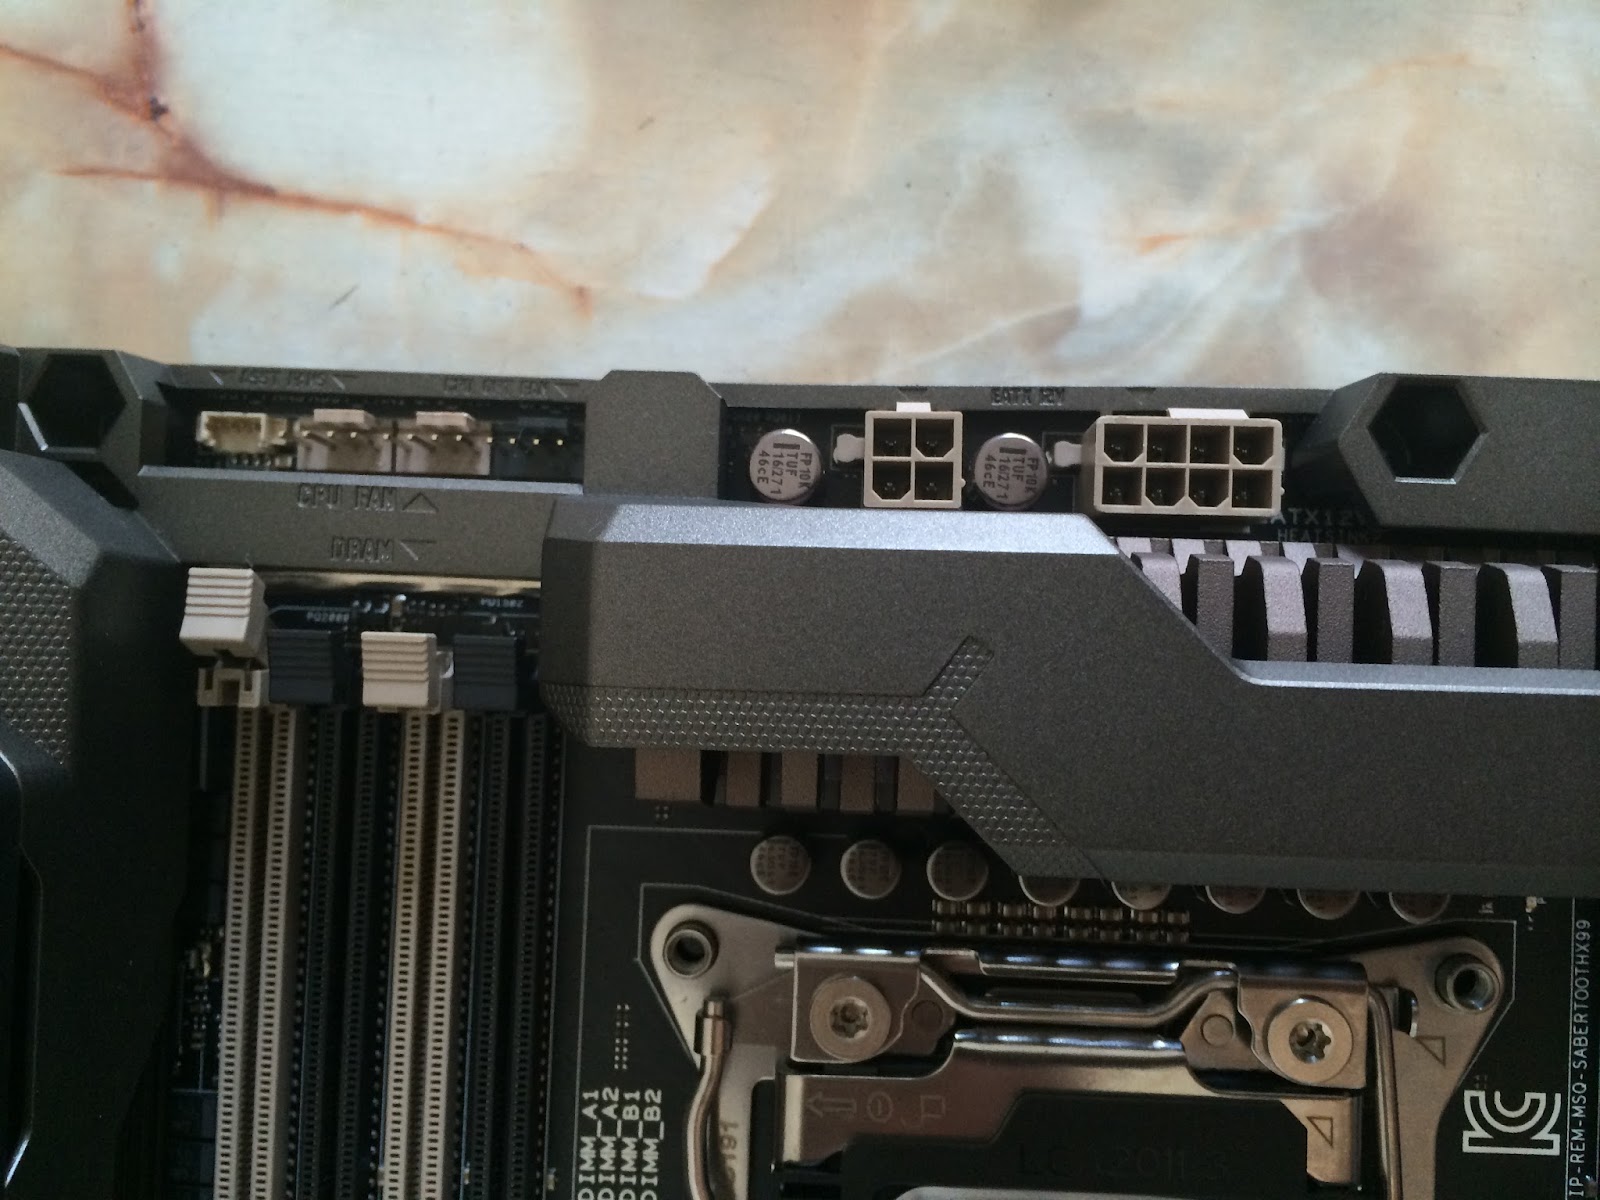
The Sabertooth X99 comes with a 4pin and 4+4pin CPU power connector design for that enhanced power delivery to ensure the best efficiency and stability of the TUF series motherboards.

The rear I/O panel:
- 2 x LAN (RJ45) port(s)
- 2 x USB 3.1 (teal blue)
- 4 x USB 3.0 (blue)
- 4 x USB 2.0
- 1 x Optical S/PDIF out
- 5 x Audio jack(s)
- 1 x USB BIOS Flashback Button(s)
UEFI BIOS The interface of the UEFI BIOS appears to be no difference from the latest Sabertooth Z97 Mark 1 / Mark 2 / Mark S but here’s a brief overview of the UEFI BIOS itself. EZ Mode

Accessing it the first time will lead you to the Ez Mode interface that has all the basic functions to allow quick and easy system optimization even to entry level users. Pressing F7 allows you to access more tweaking options to enhance your overall system performance.
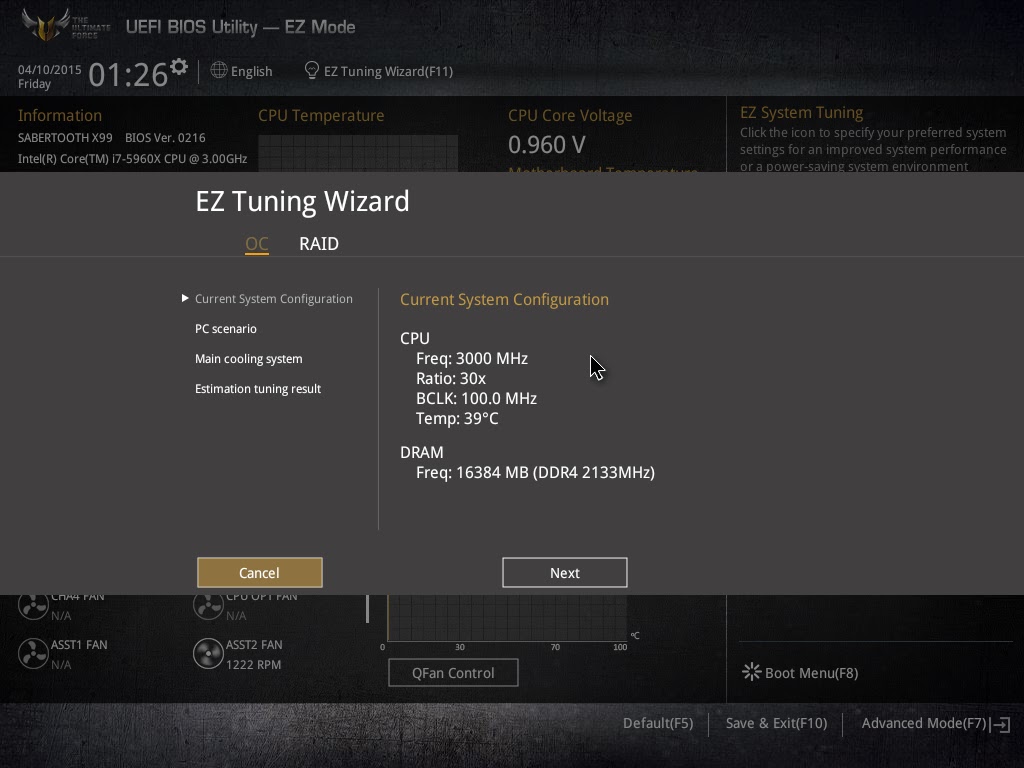
The new EZ Tuning Wizard is a simple to use utility that offers quick and easy system over-clocking and RAID configuration with a single click.

You can select the scenario of what you’ll be doing mostly with your system for better accuracy in auto tuning.

You can even select the type of cooling option so that the auto tuning will not result in any overheating issues.
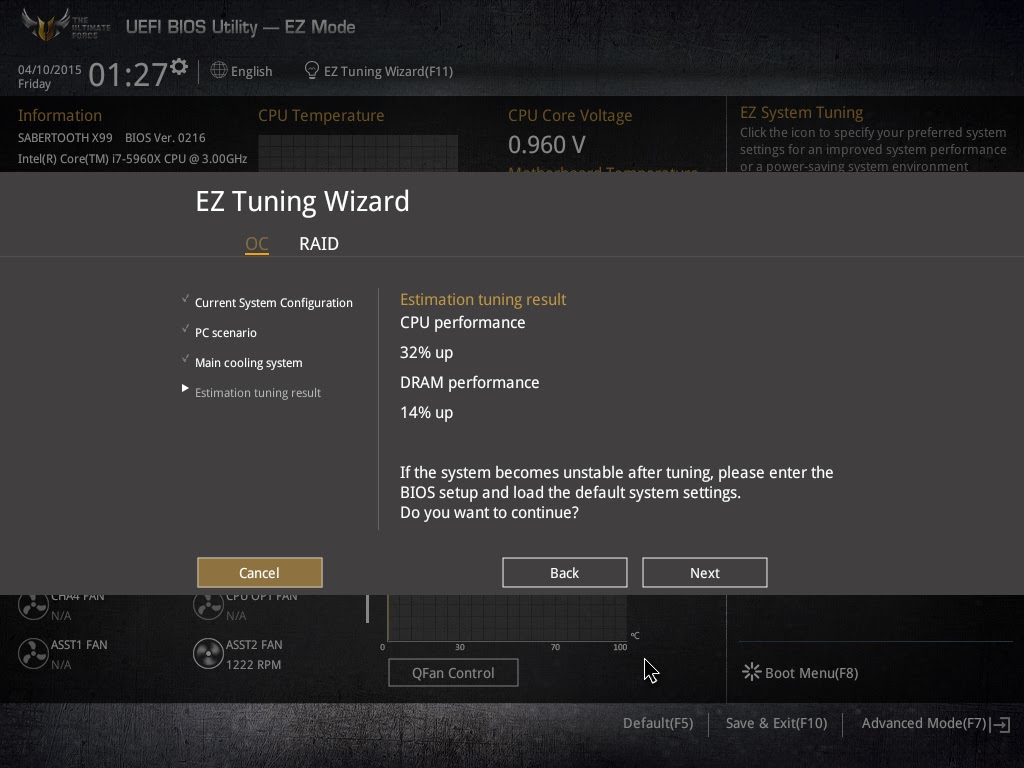
After selecting all the choices, the system will proceed with the auto tuning and it’ll take just awhile for the system to achieve its optimal settings as determined by the system itself.

The Q-Fan Control function is an easy to use function that allows you to configure the fans to behave according to temperature straight from the motherboard. This can be accessed by pressing F6 key. Advanced Mode
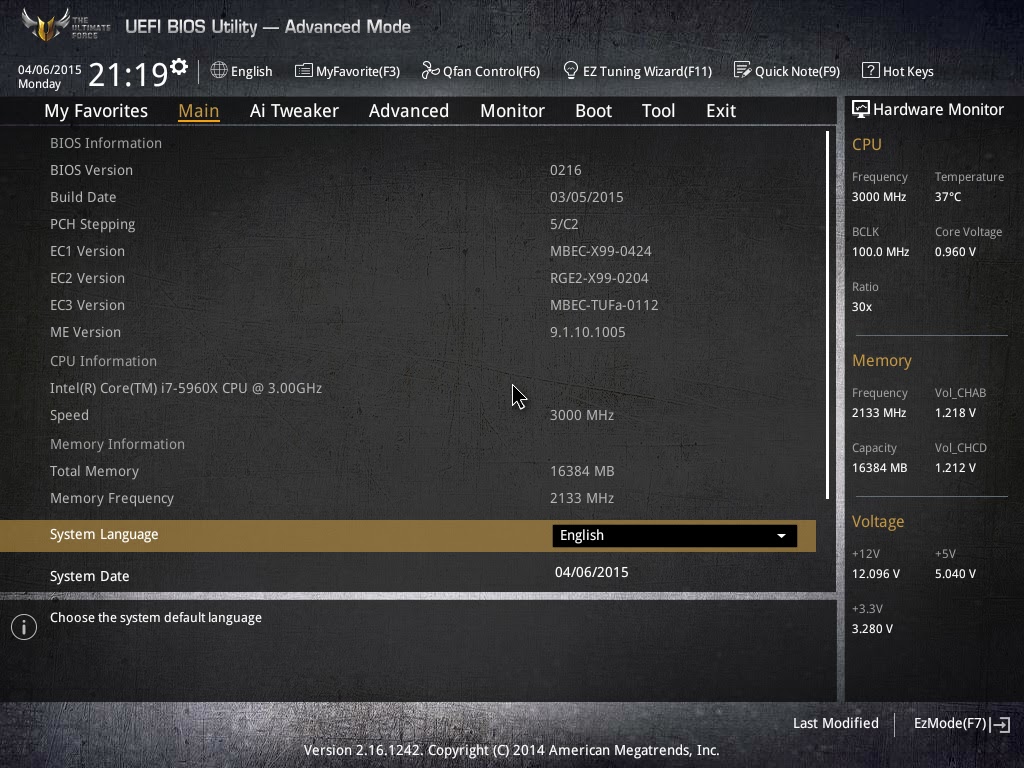
Pressing F7 allows you to access the Advanced Mode for more tweaking options and pressing F7 again will revert you back to the Ez Mode. The main tab basic details of your system and also the option to adjust your system date, time and language.
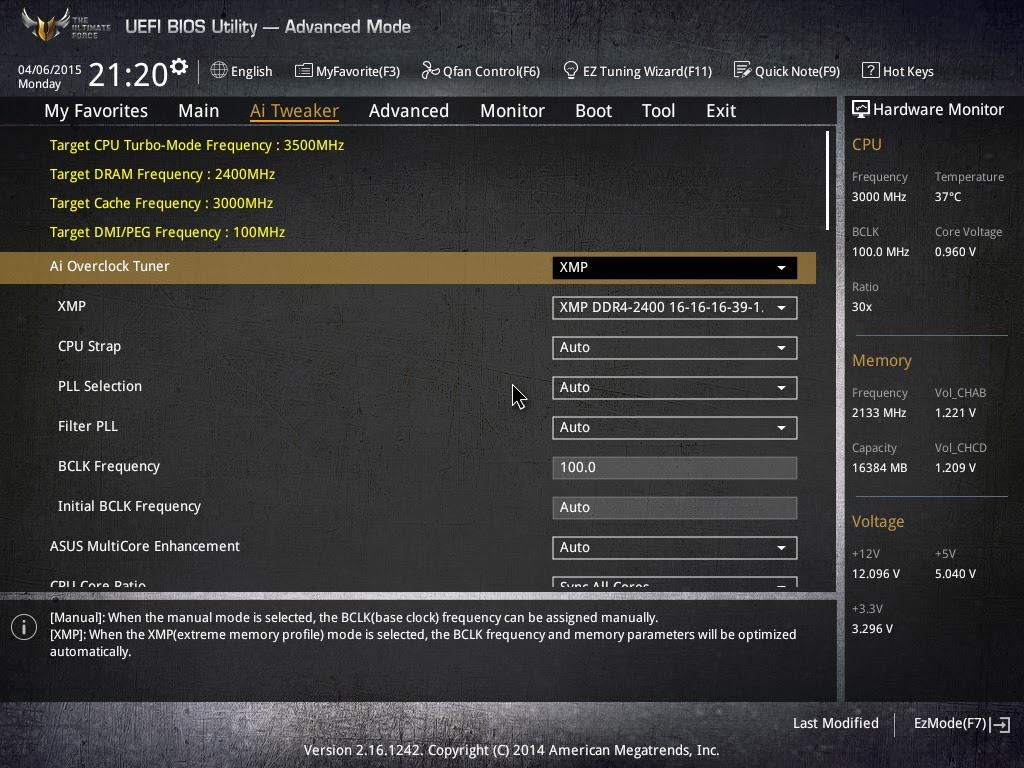
The Ai Tweaker is where advanced users will spend vast amount of time to tune their system clock speed, voltage, strap, etc. Highlighted in yellow are the brief details on the targeted outcome of the current system tuning.
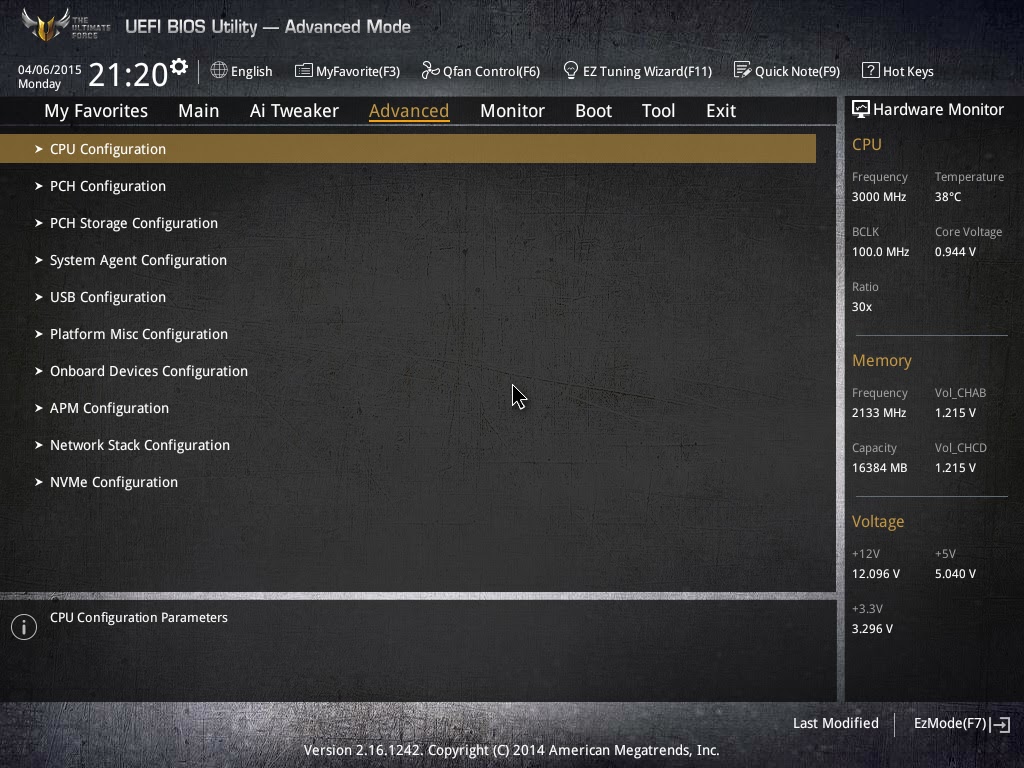
At the Advance tab, users can further adjust the settings of CPU, storage devices, USB ports, On-board Devices, APM, Network Stack, Platform Misc and so on.
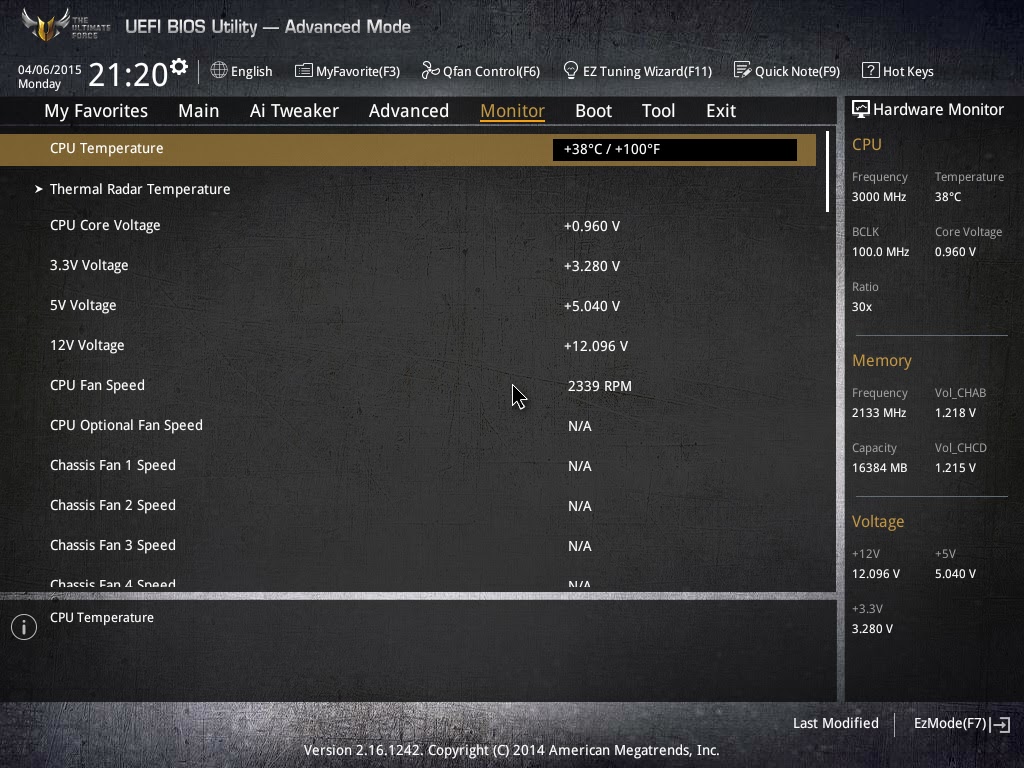
Monitor tab allow users to monitor components temperature and fan speed, adjust fan speed with profiles so the fans will behave accordingly.
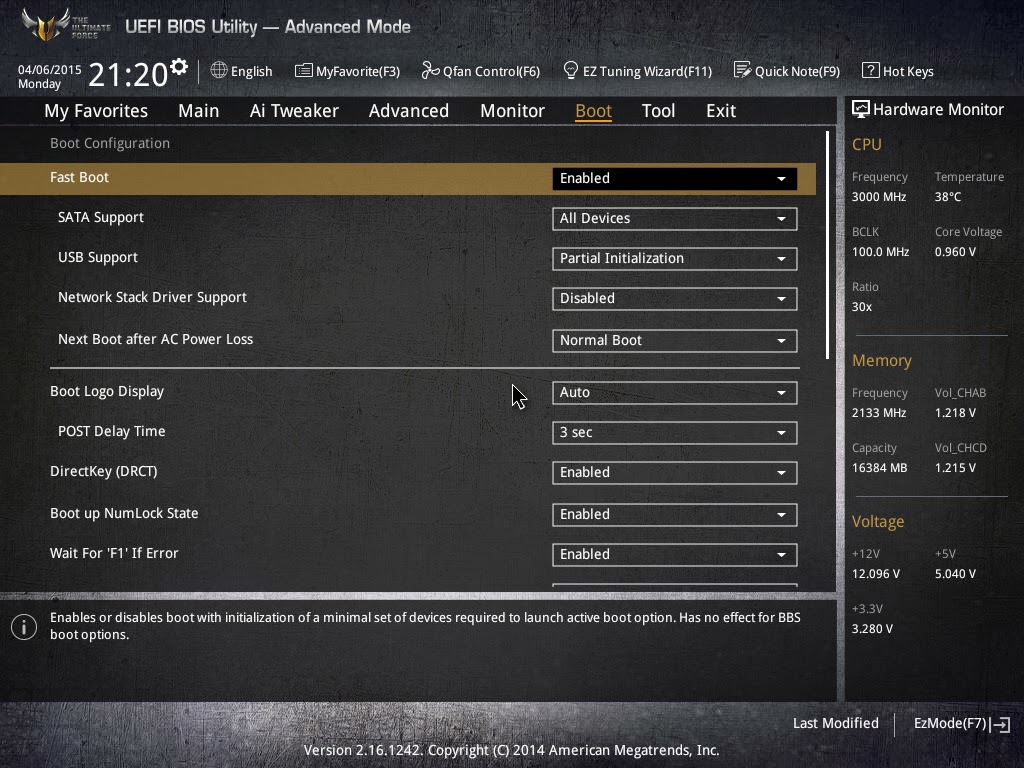
The Boot tab allows you to adjust both boot options and POST options. One notable option here is the DirectKey that allow the system to boot directly into the BIOS when the DirectKey pin on the motherboard is activated.
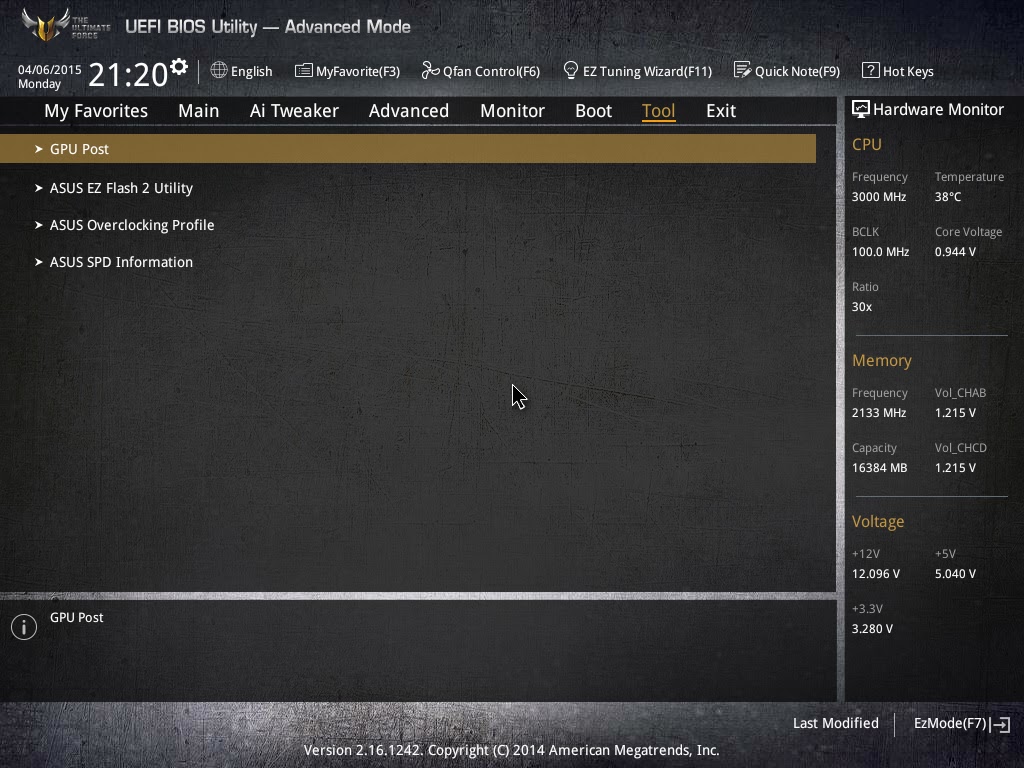
The Tool tab comes with some useful function such as the ASUS EZ Flash Utility for BIOS update via flash drive (similar to the BIOS flashback button) and the ASUS Overclocking Profile to backup your stable over-clocking profiles.
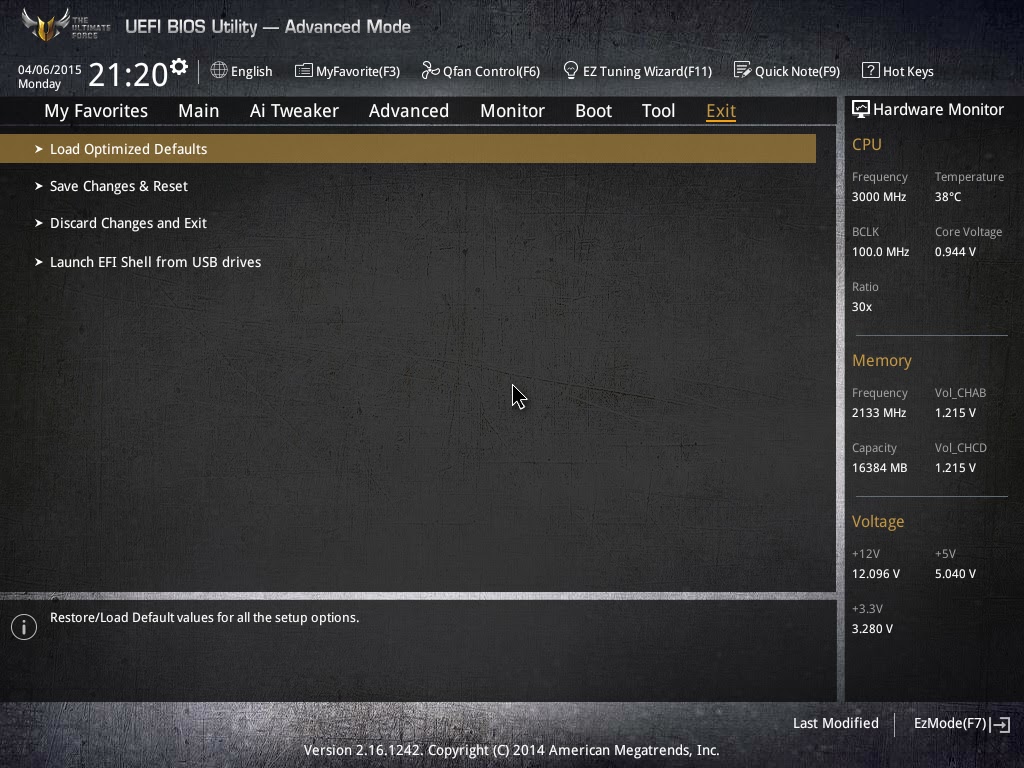
The functions in the Exit tab is pretty common but still worth to mention.
- Load Optimized Defaults – Basically this will restore the changes done to the factory default settings.
- Save Changes & Reset – This will save the changes done and restart your system.
- Discard Changes & Reset – This will save the changes done and restart your system.
Both option 2 and 3 can be accessed without the need of accessing the exit tab as user will be prompted with a confirmation message when exiting the BIOS via the Esc key.
Software – ASUS AI Suite 3

Thermal Radar 2
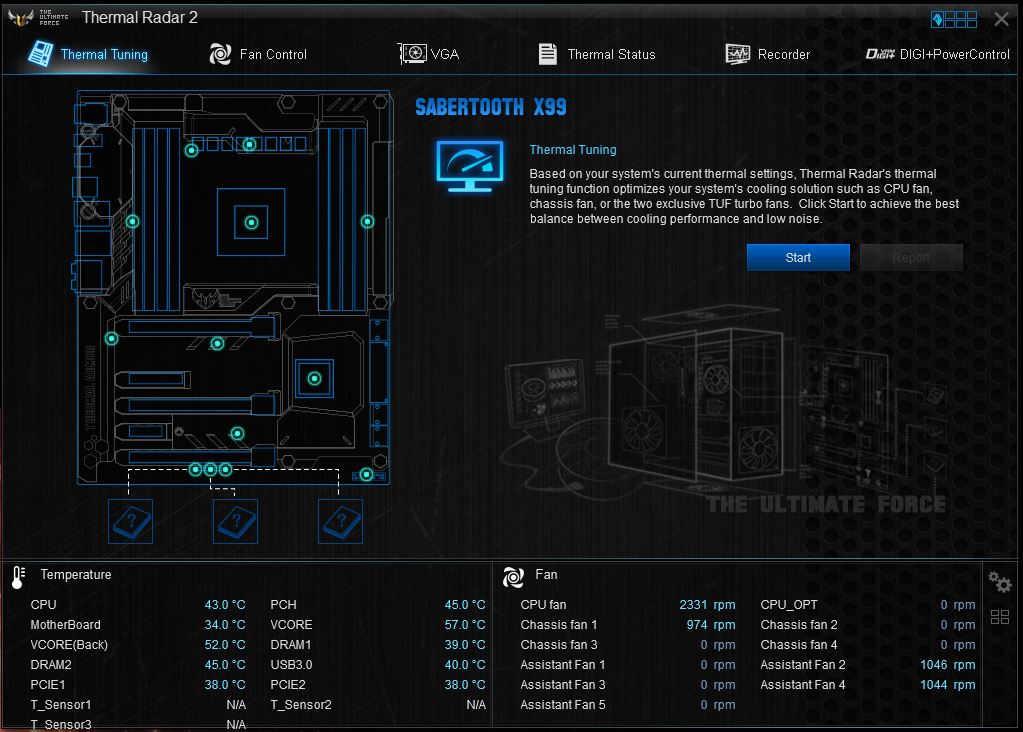
Thermal Radar 2 is a feature that allows you to easily optimize your overall system cooling with the help of the TUF ICe that controls the system cooling fans.

Upon clicking start, you’ll be guided to the screen that allows you to check on the cooling fans installed and adjusting the it’s best to have your fans positioned as the same in the picture given to achieve the best cooling result.

If you’re not satisfied with the result from thermal tuning, there always fan control to allow you to configure the system fans to behave according to your own preference.
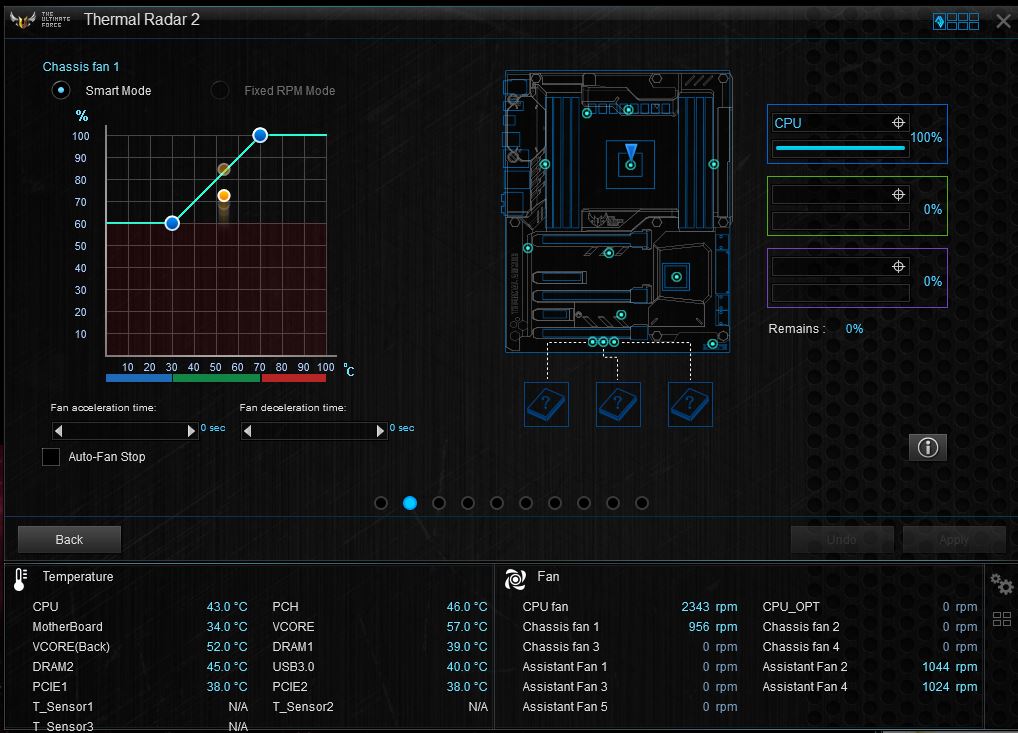
You can configure a selected system fan to either fixed RPM mode or Smart Mode that ramps up according to the temperature.

You can even configure the fans on your graphics card under the VGA tab and first, the samrt mode that ramps up the fan speed according to the temperature curve.

RPM fixed mode is somewhat similar to Manual mode which can be found on the ASUS GPU Tweak to set the fan to run at a fixed speed.

As for Auto mode, the fans will run at it’s default factory settings.

Thermal status monitors the area where most of the heat in your system came from: GPU and CPU. You can run the assessment to check on the heat dissipation on both area and perform necessary changes if required.

Assessment result will show

Up next is the recorder, a function that allows you to monitor the temperature, voltage and fan speeds to see how your system reacts under idle and load. There is also an option to record the reading form the graph for your future reference.

DIGI+ Power Control here allows you to control the power phase for both CPU and Memory (DRAM) for a balanced thermal and power performance.

There’s a wide variety of adjustments can be done to the CPU, even for thermal control that keeps your CPU at a designated temperate range to prevent overheating.

The Memory adjustments comes a little lesser, but there’s still option to control the current capability and voltage frequency for the best thermal condition and performance.
AI Charger+

Enabling this option will shorten the charging time when your iPod, iPhone and iPad is connected to the USB port. We have personally tested the AI Charger+ with an iPhone and it seems to work as described.USB 3.1 Boost

USB 3.1 is the new USB standard which is 2 times faster than the current USB 3.0 (more info can be found at ASUS’s microsite) and USB 3.1 Boost allows both standard & UASP enabled devices to display significant improvement in terms of transfer speed.
EZ Update

The EZ Update is a BIOS update utility that automatically checks for the latest BIOS updates from ASUS official and BIOS update can be done easily with a single click on the update button after the latest BIOS file is selected.

Once you’ve selected the BIOS file you would like to update to, simply click on flash and wait for the progress to finish.
System Information

System information utility allow users to navigate the details of their motherboard, CPU and Memory – similar as the CPU-Z often used by advanced users during over-clocking session.USB BIOS Flashback

A very handy feature, the USB BIOS Flashback will automatically checks for the latest BIOS and save it to a designated USB storage device. User can easily recover from boot failure by pressing the BIOS flashback button on the motherboard with a guaranteed successful recovery – the USB storage device with the BIOS file must be plugged into your USB port.
USB Charger+

USB Charger+ offers the same USB quick charging as the Ai Charger+ for your smartphones and Tablet PC. It requires extra steps to detect the device to be charged but the it comes with a sweet option to enable USB charging even after the system is in sleep mode or has been shut-down.
Push Notice

Push Notice is an utility that notify you on selected event via mobile devices so you will always be updated with your system status when you’re few miles away from it.
Version Viewer

No function that affect any of the system performance, the version viewer only display the version of the programs in the AI Suite 3.
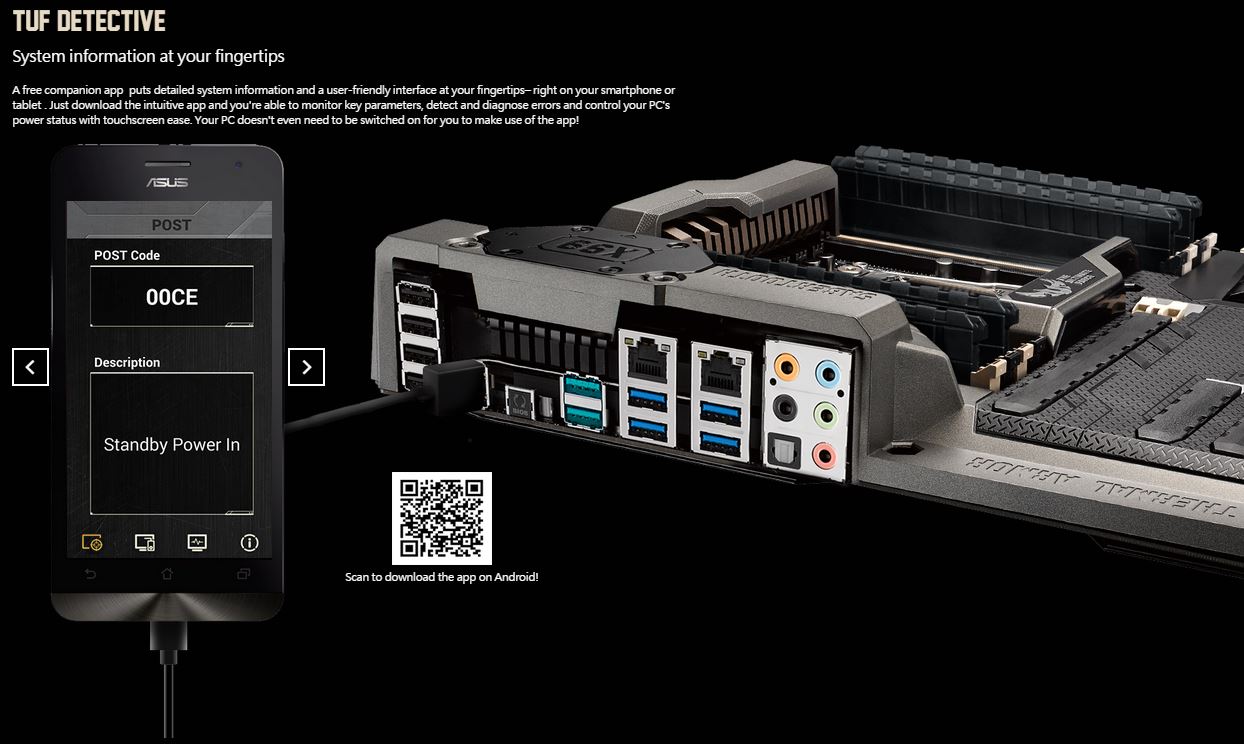
The TUF Detective, a user-friendly smartphone app that displays your system information, POST code and more – all that you ever need.
Testing Methodology
| Test Rig Configuration | |
| CPU Cooler | Corsair Hydro Series H100i |
| CPU | Intel Core i7 5960X |
| Motherboard | ASUS Sabertooth X99 |
| Memory | Kingston HyperX Predator 16GB |
| Primary Hard Drive | Crucial M500 120GB |
| Power Supply | Cooler Master V1200 |
| Chassis | Vector Benchcase |
Moving on to the testing methodology, we will conduct several test to determine the performance and capability of the Sabertooth X99 with the test bench configuration as above.
CPU Overclocking Test

| Overclocking | Manual Overclocking (Ratio) | Manual Overclocking (Ratio + BLCK) | EZ Tuning |
| Ratio | 45 | 36 | 39 |
| Base Clock | 100 | 125 | 102 |
| Clock Speed | 4500 | 4500 | 3978 |
We’ve tried overclocking the CPU with EZ Tuning Wizard and Manual Overclocking, the result is shown in the table above. As the EZ Tuning Wizard takes temperature reading into account, it only manage to push the CPU to 3.978GHz. Using the manual overclocking method, we’re able to achieve 4.5GHz and survive through AIDA64 system stability test for 4 hours.
Memory Overclocking

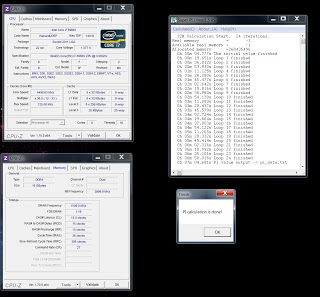
We’ve managed to overclock our Kingston HyperX Predator DDR4 from its stock 2400 MHz (via XMP) with timing of 16-16-16-39-2T to 3000 MHz with timing 15-15-15-36-2T that is able to survive through various benchmarks without any issue.
USB 3.1 Performance Test
Anvil’s Storage Utilities
By far the most complete SSD Benchmark utility available. The Anvil’s Storage Utilities not only comes with the standard SSD Benchmark function, it also includes other functions such as endurance testing and threaded I/O read, write and mixed tests and option to configure the compressibility of the test data.

Before applying ASUS USB 3.1 Boost.

After applying ASUS USB 3.1 Boost.
CrystalDiskMark
Developed by a Japanese coder that goes by the nickname Hiyohiyo, CrystalDiskMark is one of the most frequent used SSD Benchmark utility to measure SSD’s read and write performance. There’s 2 option for the test data used, compressible (0 fill) and incompressible (1 fill).

Before applying ASUS USB 3.1 Boost.

After applying ASUS USB 3.1 Boost.
ATTO Disk Benchmark
The most frequently used benchmarking utility by many manufacturers for performance specification. As ATTO Disk Benchmark uses compressible data rather than compressible data, it results in higher benchmark scores. We’ve ran the benchmark with transfer size ranged from 0.5KB to 8192KB and total length of the test to be 256MB.

Before applying ASUS USB 3.1 Boost.

After applying the ASUS USB 3.1 Boost.
Verdict
Overclocking wise, the Sabertooth X99 doesn’t takes much effort as what we’ve expected due to the absent of Q-code display. CPU and Memory overclocking is fairly easy compared to both Sabertooth Z97 Mark 1 and Mark S, especially for the 3000 MHz memory overclocking result.
As for aesthetics aspect, ASUS’s implemenation of the Thermal Armor on the Sabertooth X99 is definitely the best decision ever as we’ve been seeing the high end TUF boards gone naked since the Sabertooth X58. Not only that it looks good, the thermal armor functioned as a shield for the motherboard to reduce dust intake with additional assistant fan to provide sufficient ventilation to keep the components at a comfortable operating temperature. Another great feature that we really like is the TUF Fortifier (metal backplate) that strengthens the PCB to overcome bending caused by heavy CPU coolers.
In terms of usability, ASUS did a fine job with the Thermal Radar 2 that is made specifically for TUF series motherboards is a good and easy to use thermal management utility that works intelligently with the TUF ICe microchip to achieve optimal heat dissipation of your current system with just a single click. With USB 3.1 support and the presence of both M.2 and SATA Express support, the ASUS Sabertooth X99 is a fully equipped tank that will last you long enough for a couple of years.
Pros
- 5 year warranty
- Aesthetically pleasing
- Very solid and rigid
- Good overclocking potential
- User-friendly UEFI BIOS
- Easy thermal management with Thermal Radar 2
- Comes with MemOK button to ensure successful boot during overclocking session
- ASUS AI Suite III has many useful features gathered in a single piece of software
- Support new SATA Express devices
- Support for latest USB 3.1 devices
Cons
- Troubleshooting boot failure takes more effort with the absent of Q-code display
- Clearance issue for large CPU cooler due to the thermal armor design
- Extra effort in cleaning as thermal armor have a tendency to building up dust over time