
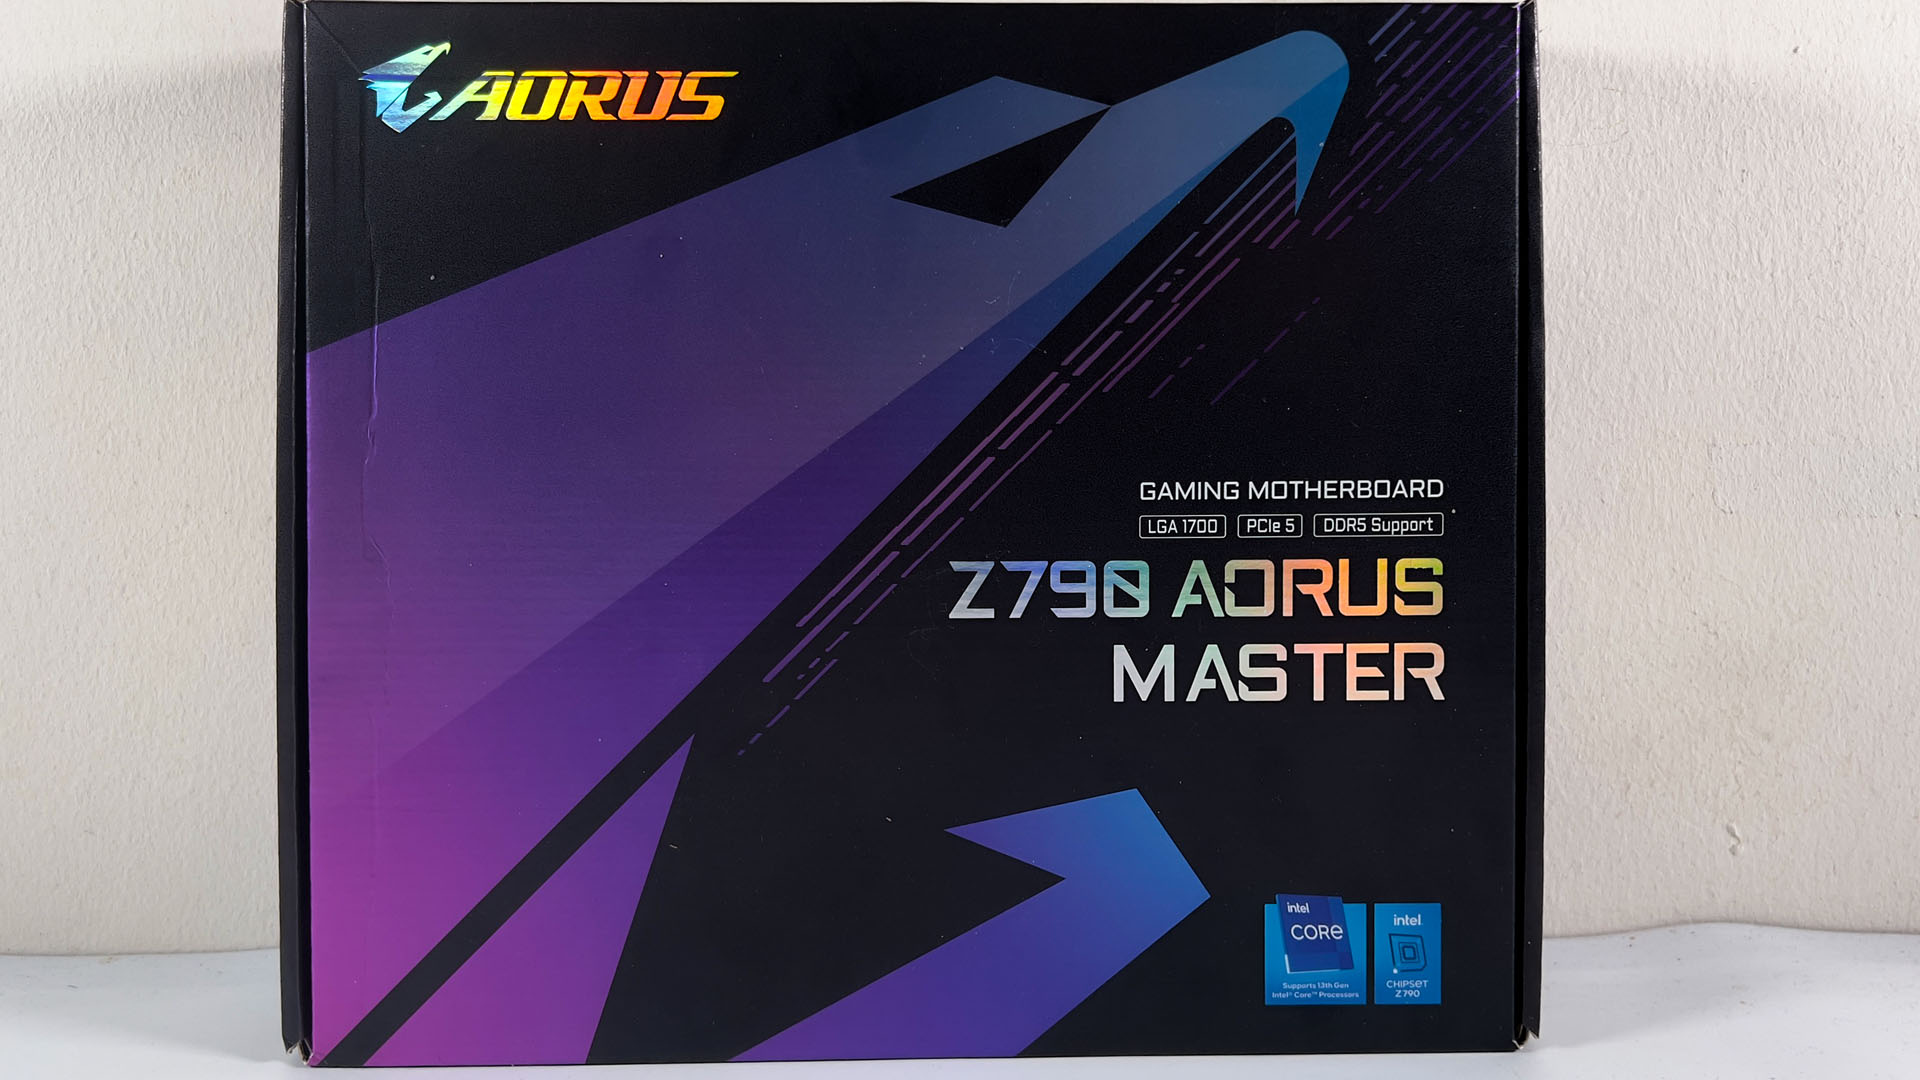
Intel 13th-gen Core processors are finally here and you can expect to see all the Z790 motherboards from the board partners all over the internet by now. Joining the Z790 review bandwagon, we’re looking at one of the Z790 motherboards from Gigabyte this time, the Z790 AORUS Master.
Specifications
| CPU |
|
| CPU Socket |
|
| Chipset |
|
| Memory Type |
|
| Memory DIMMs |
|
| Expansion Slots |
|
| SATA / M.2 |
|
| SATA RAID | RAID 0, 1, 5, 10 |
| LAN | Intel 10GbE LAN (10 Gbps/ 5Gbps/ 2.5 Gbps /1 Gbps / 100 Mbps) |
| Wireless | Intel Wi-Fi 6E AX210 |
| USB |
|
| Audio |
|
| Form Factor (mm) | E-ATX (305 x 269 mm) |
* Full specifications can be found on the main product page.
Unboxing
Packaging-wise, we’re seeing the same design this time as its AMD counterpart with nearly zero hints of the orange-black accent that we usually see on an AORUS-branded motherboard. One thing I did notice is that the AORUS eagle logo is getting bigger than ever?
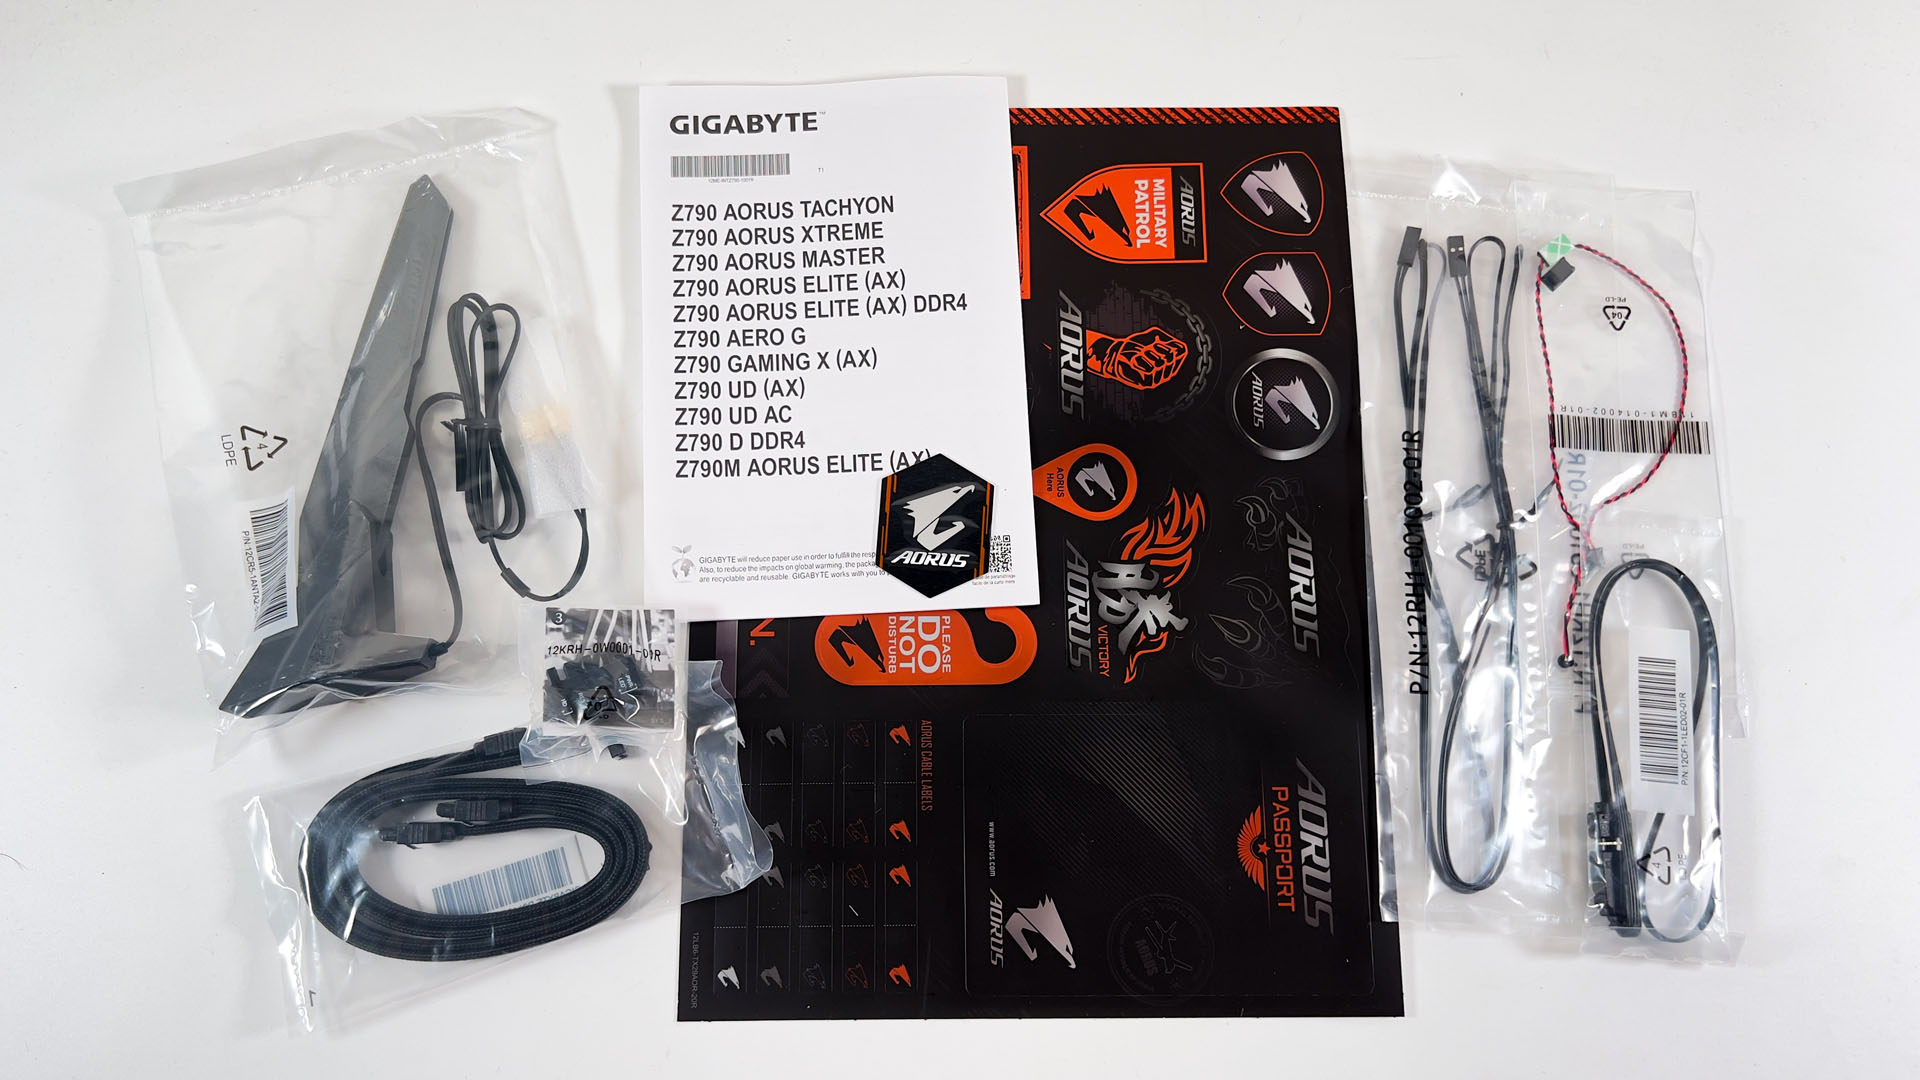
As for the accessories, you’ll find a sheet of AORUS label sticker, some thermal probes, a tiny buzzer speaker, RGB cable, SATA cables, an AORUS case badge, a seemingly universal user manual, and a wifi antenna with a magnetic base.

The Z790 AORUS Master is an EATX form-factor motherboard just like its predecessor, it’s big. The layout is pretty much the same as the previous gen but as we take a closer look at it, we did notice quite a few improvements in the QOL features.

While it still packs a lot of useful features that enthusiasts will appreciate, we did notice a slight downgrade on the VRM heatsink. Instead of going full Aluminum fins array like what we’ve seen on the past AORUS Master motherboards, one part of the heatsink is now an Aluminum block.
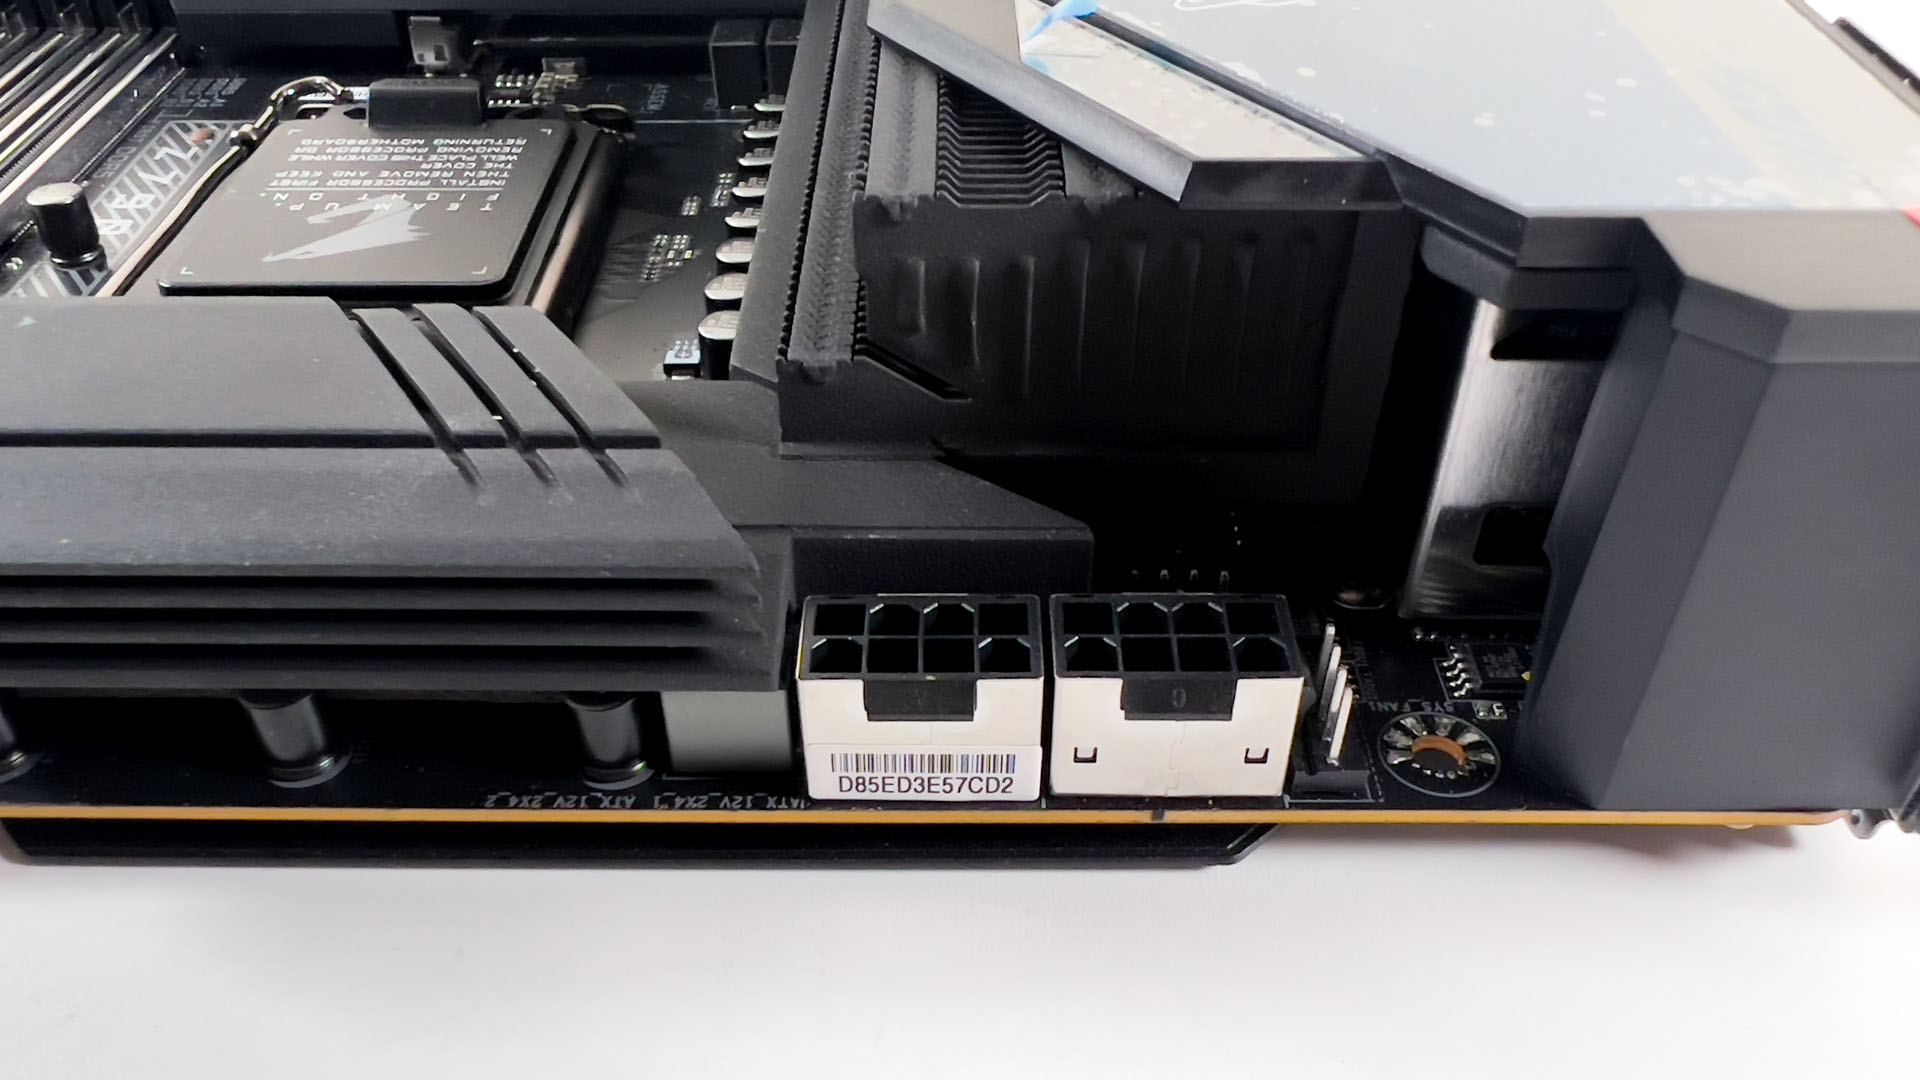
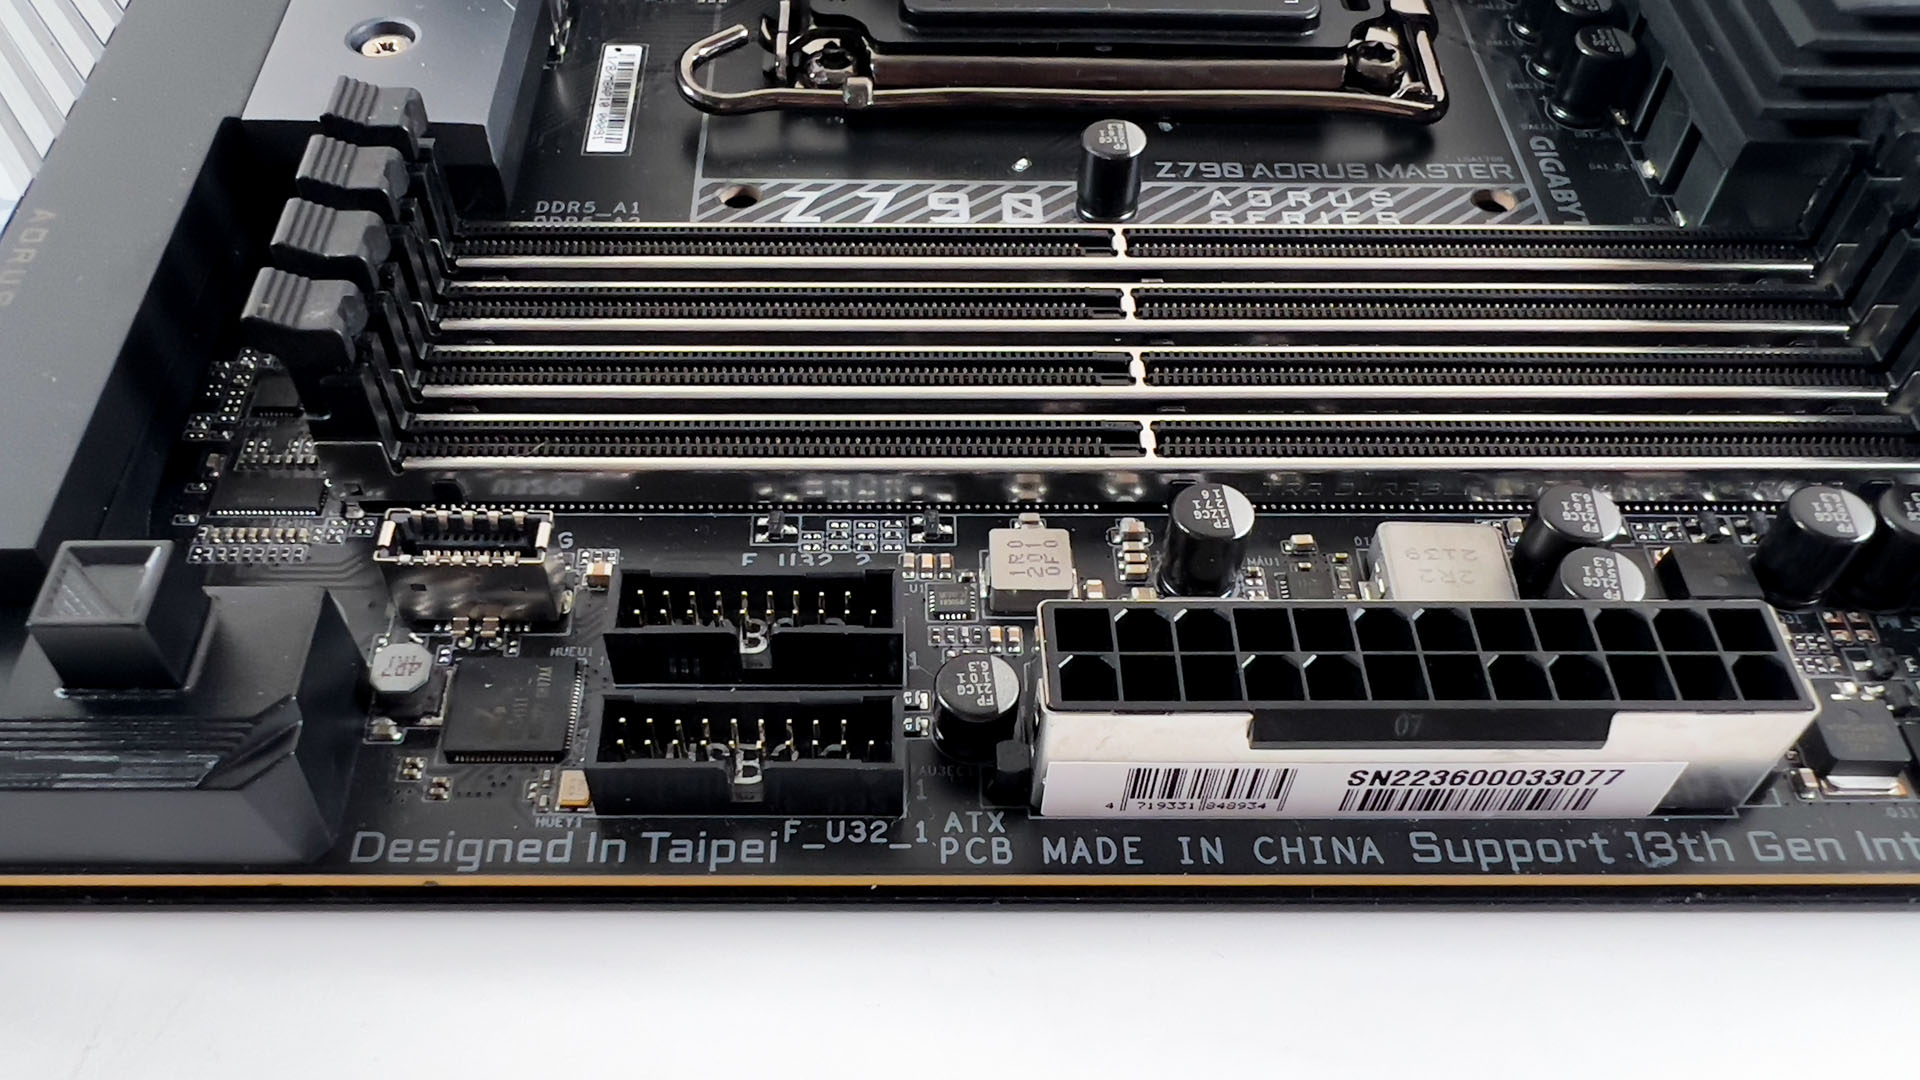
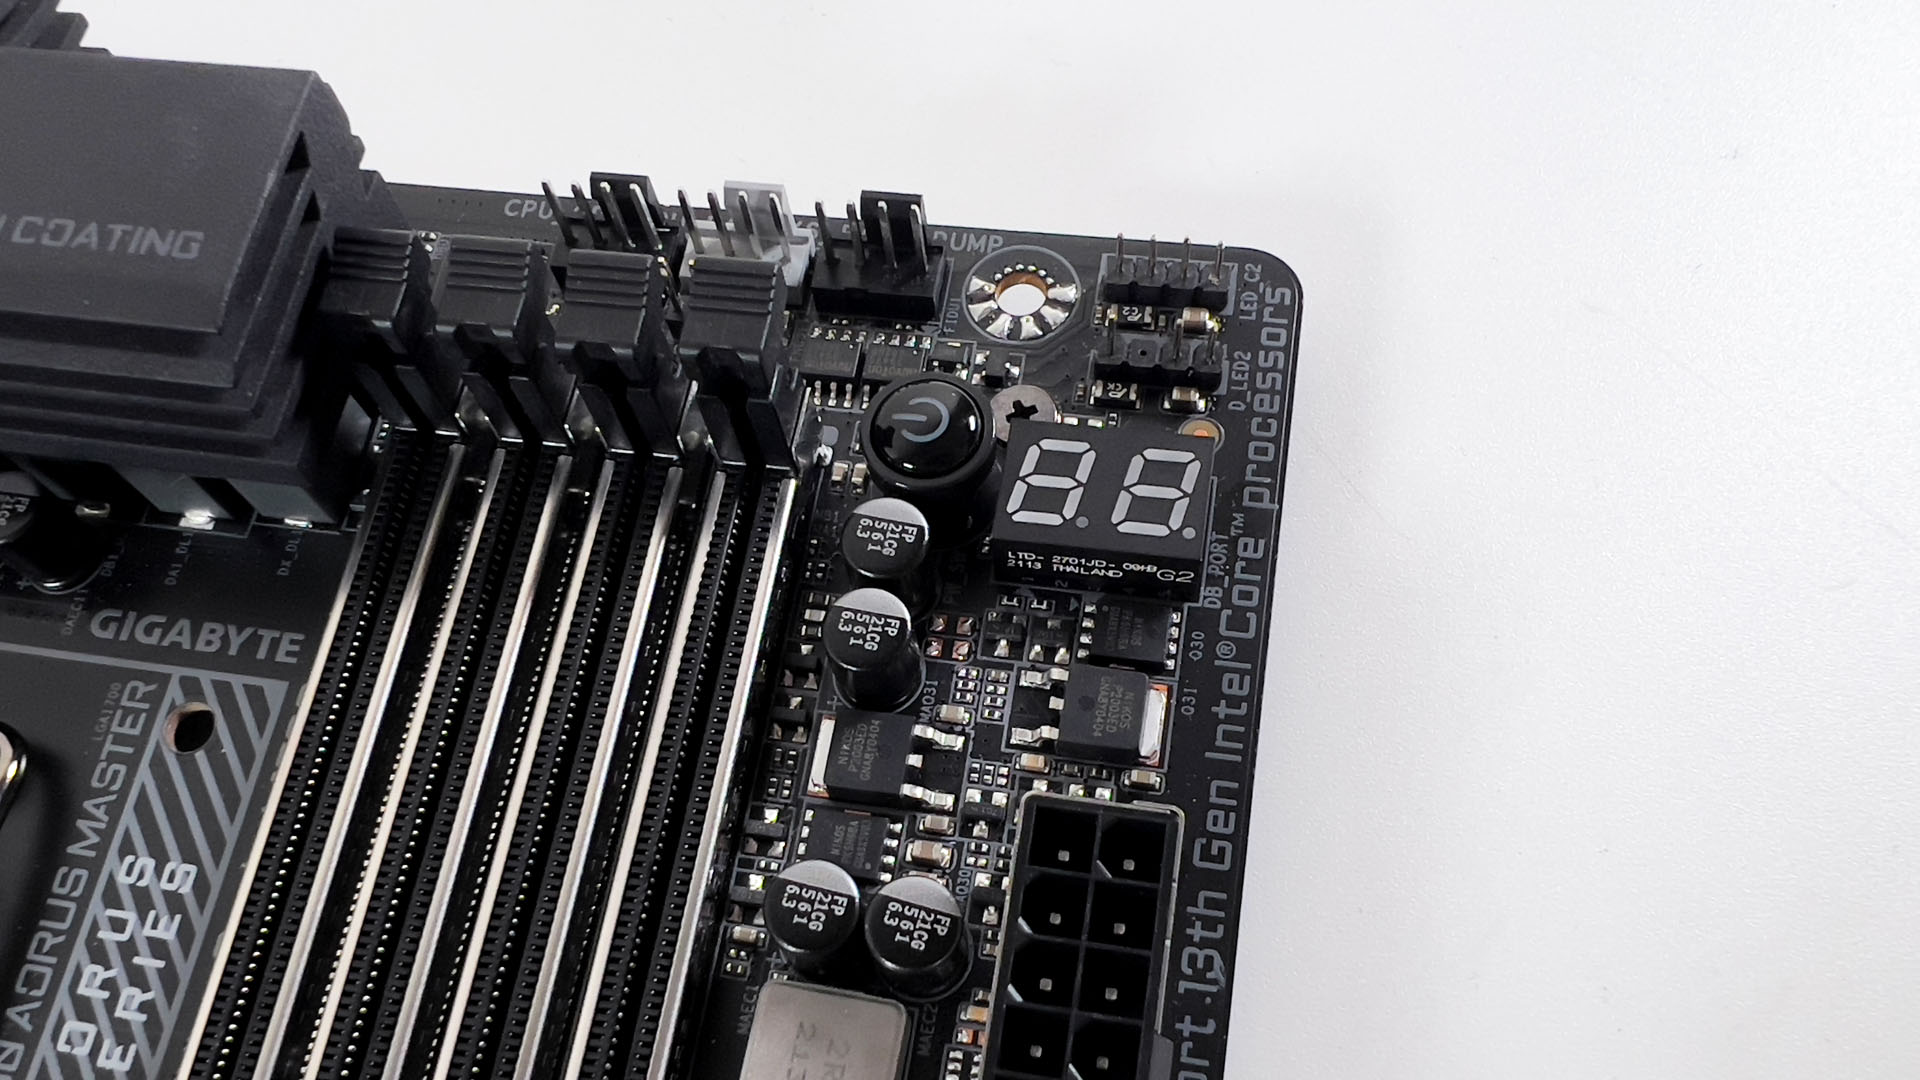
As mentioned earlier, the Z790 AORUS Master inherited many of to good properties from its predecessor. The metal shielding on the 8-pin EPS socket, DIMM slots, and PCIe slots for one is still present on the Z790 AORUS Master and that will improve the longevity of these frequently used connectors and slots as compared to those that don’t come with the extra protection.

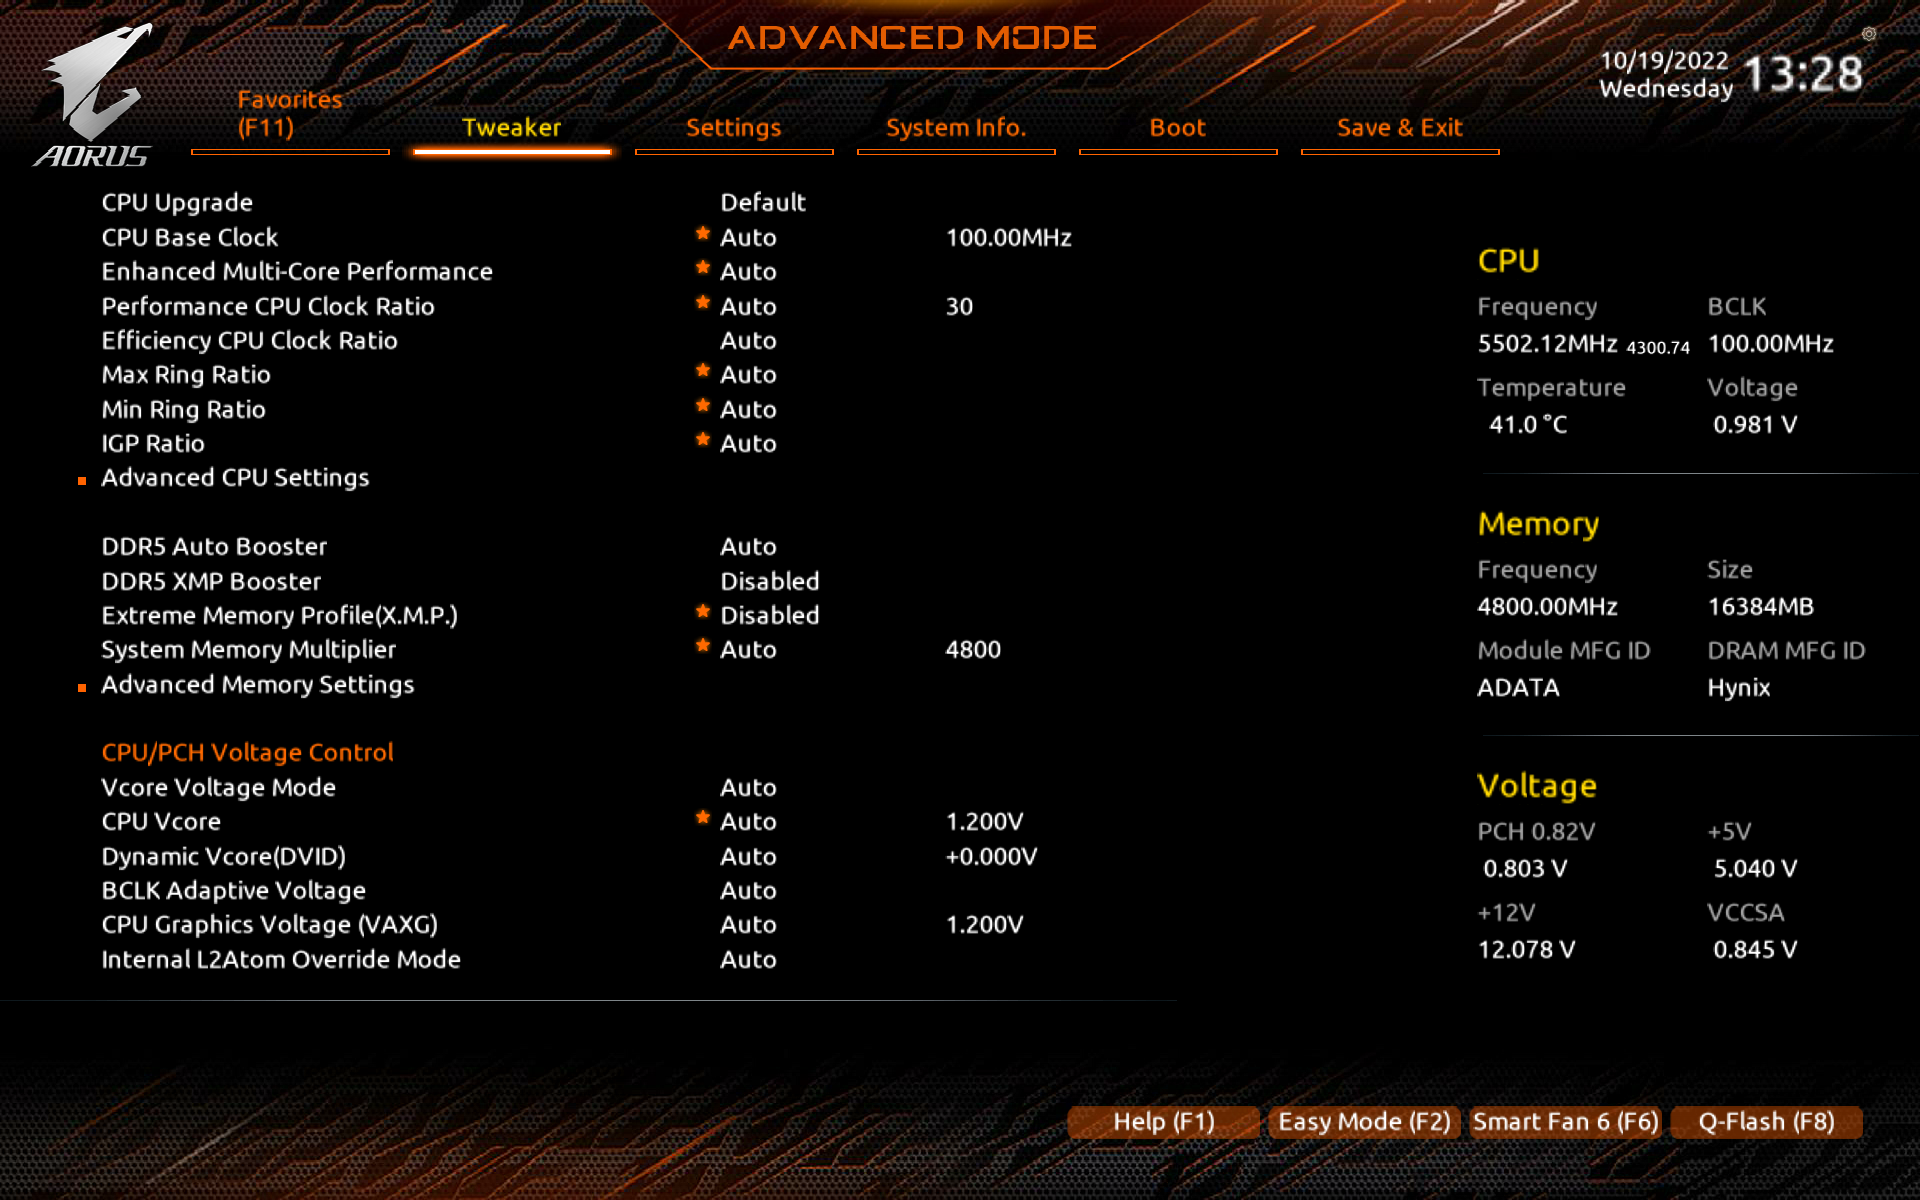
According to the specs, the Z790 AORUS Master is able to support up to DDR5-8000 and with more DDR5-7000+ memory kits showing up recently, we can see that DDR5 memory is more mature now as compared to early this year when it’s still a fairly new thing with the Intel Z690 chipset motherboards and 12th-gen Core processors. We don’t have any DDR5-7000+ memory kits with us at the moment so our focus will be on the existing DDR5 memory kits we have for now.

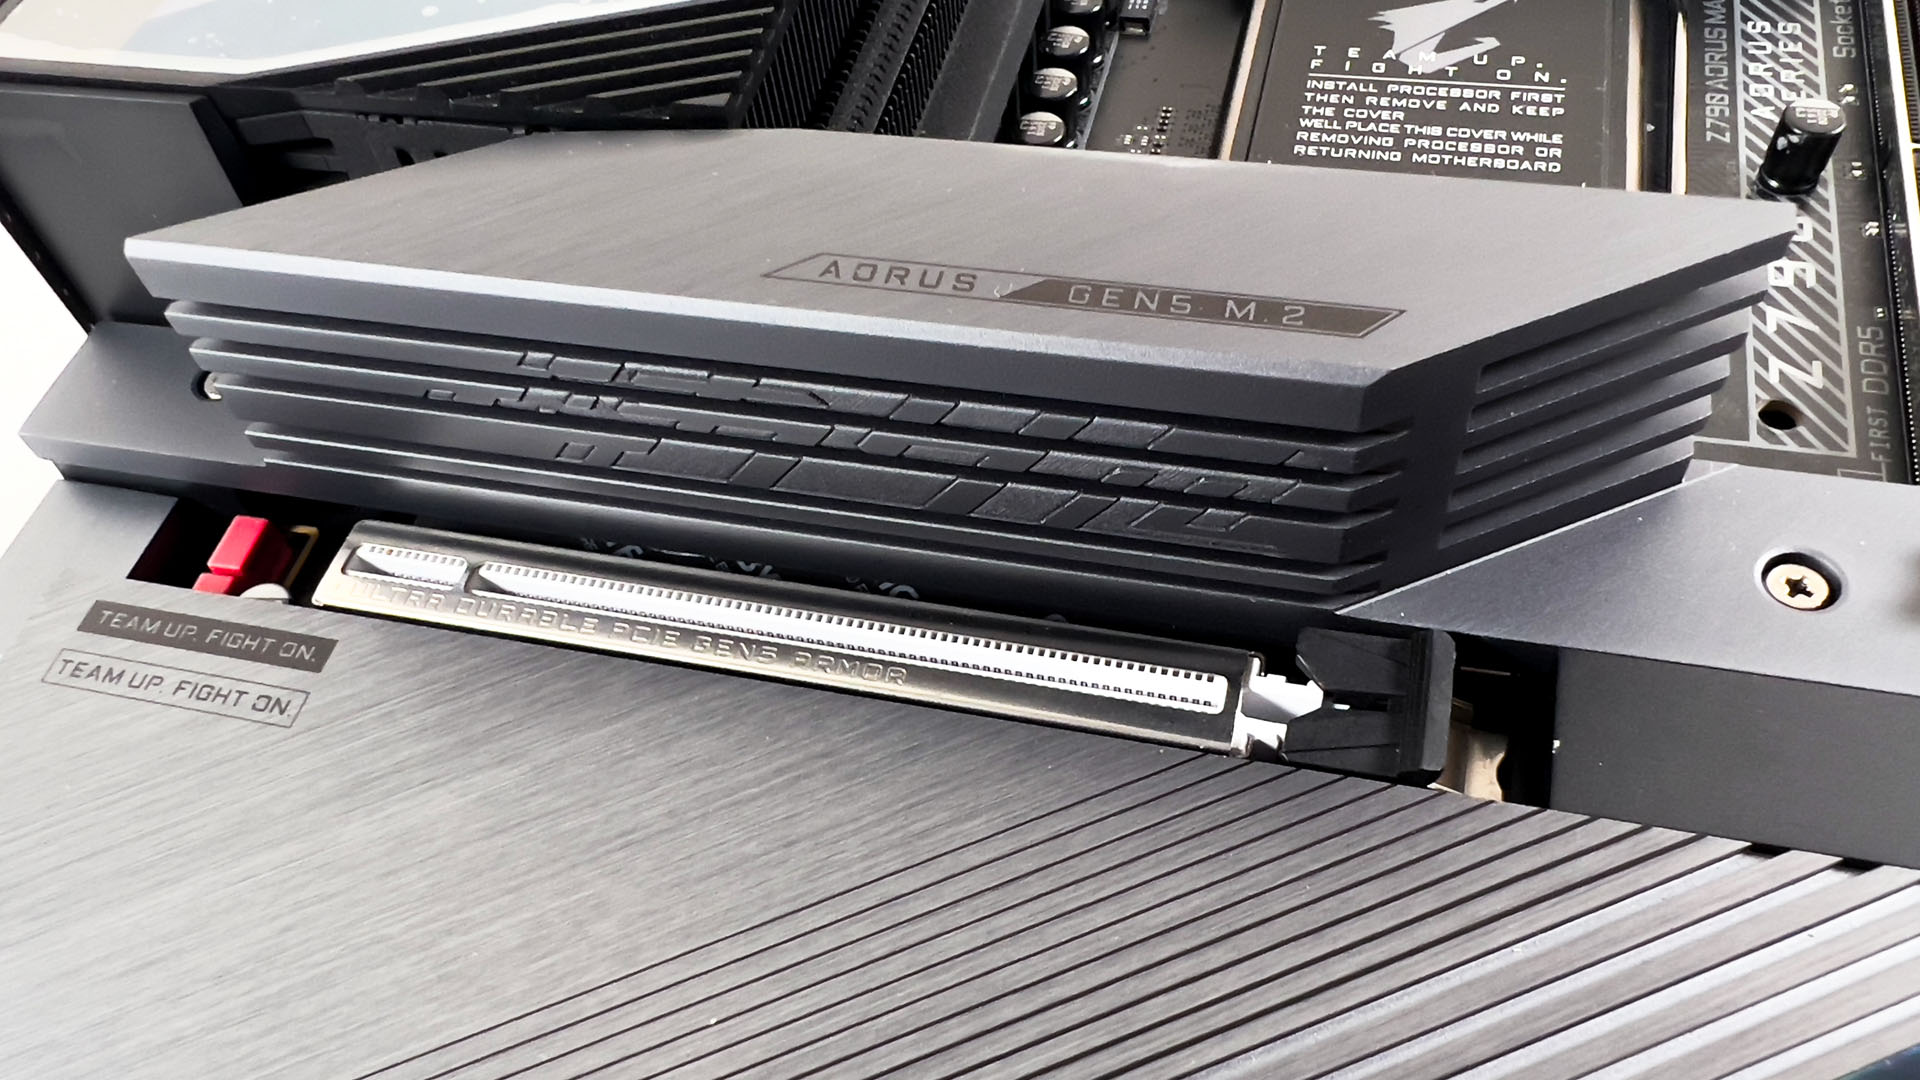
Here’s another QOL feature that I really appreciate, it’s been present on the recently released X670E AORUS motherboards and it’s good to see that Gigabyte has also included this feature here to make removing graphics cards a lot easier.

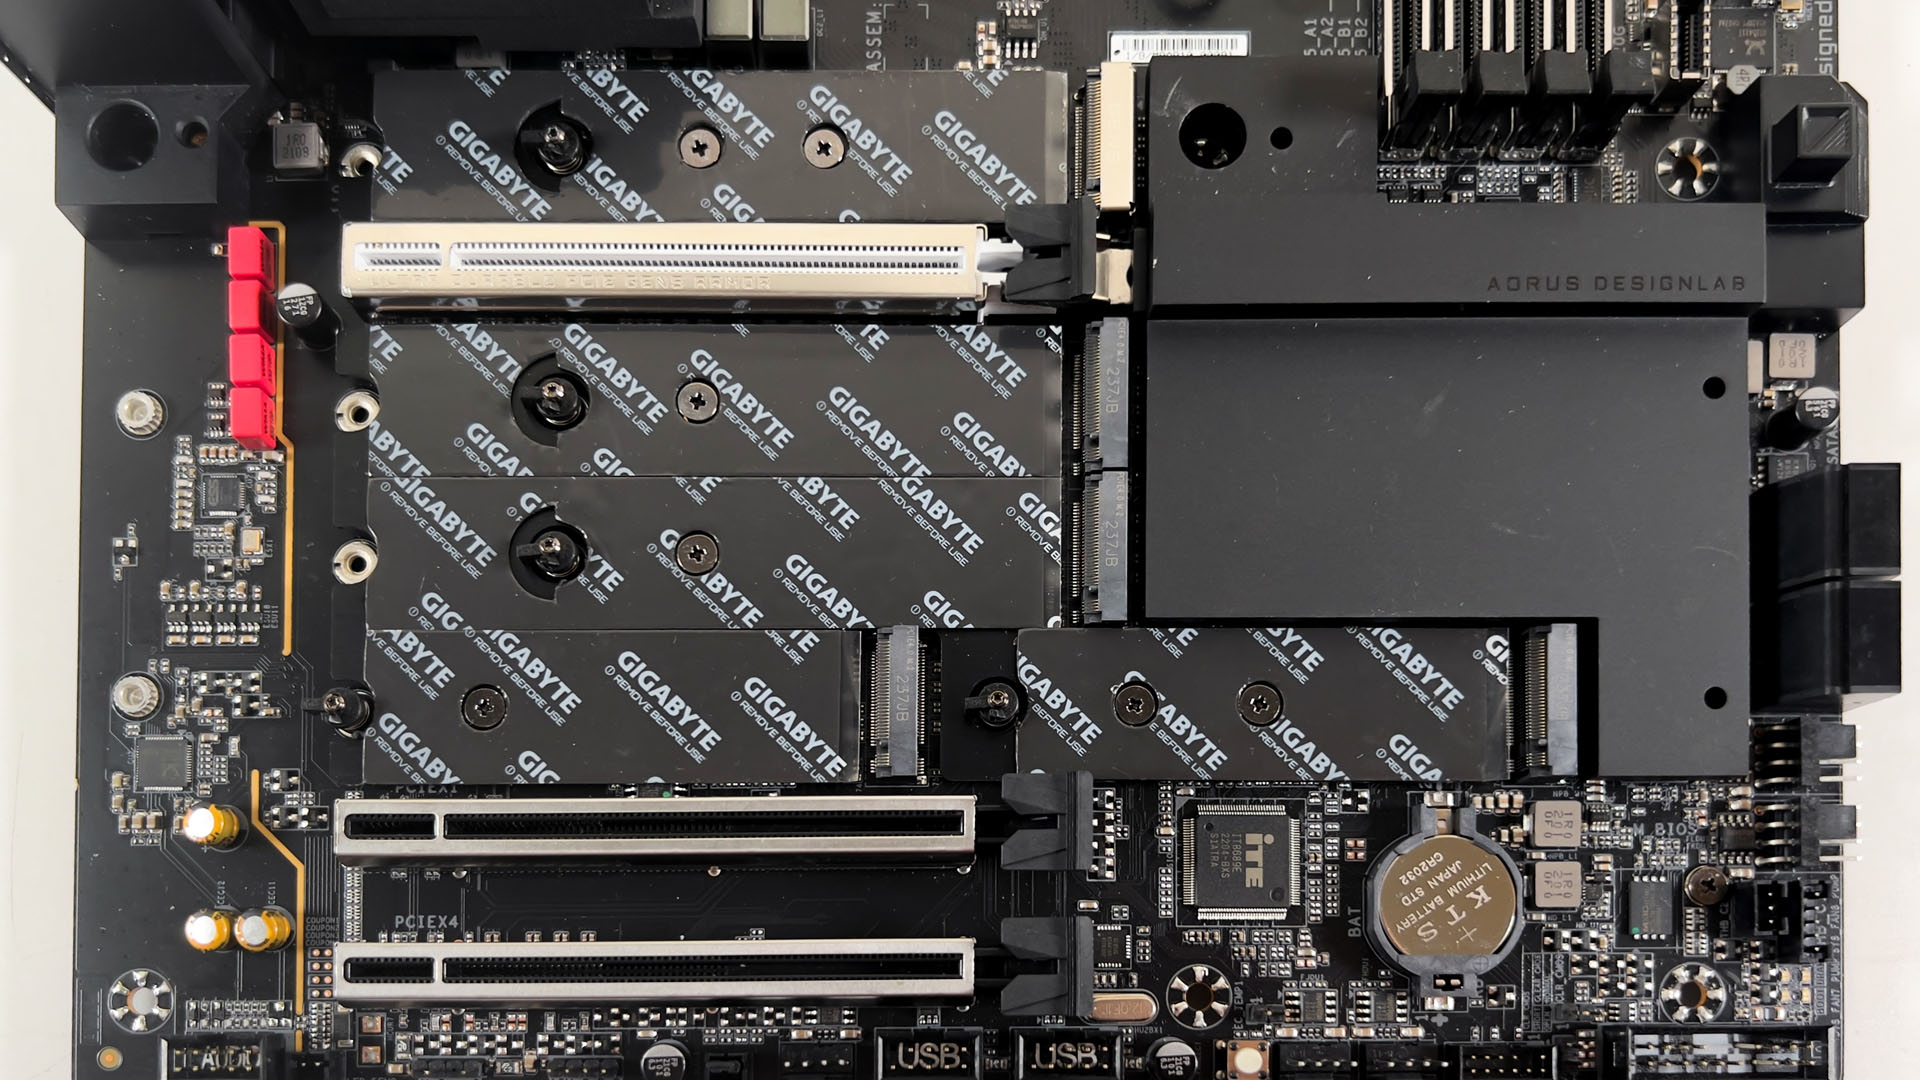
For the storage part, Gigabyte has equipped the Z790 AORUS Master with a handful of M.2 slots that will satisfy pretty much all of your high-speed storage needs. My only issue with the M.2 slots is probably the thermal pads, which will leave behind an unpleasant residue and it takes a bit of effort to clean it off your SSD.
The M.2 heatsink can be easily aligned with the screw holes this time and the number of screws you need to unscrew before you can remove the heatsink is also significantly lesser. The same spring-loaded latch can be seen pre-installed on all the M.2 slots, which is also another QOL feature you’ll find on the motherboard.

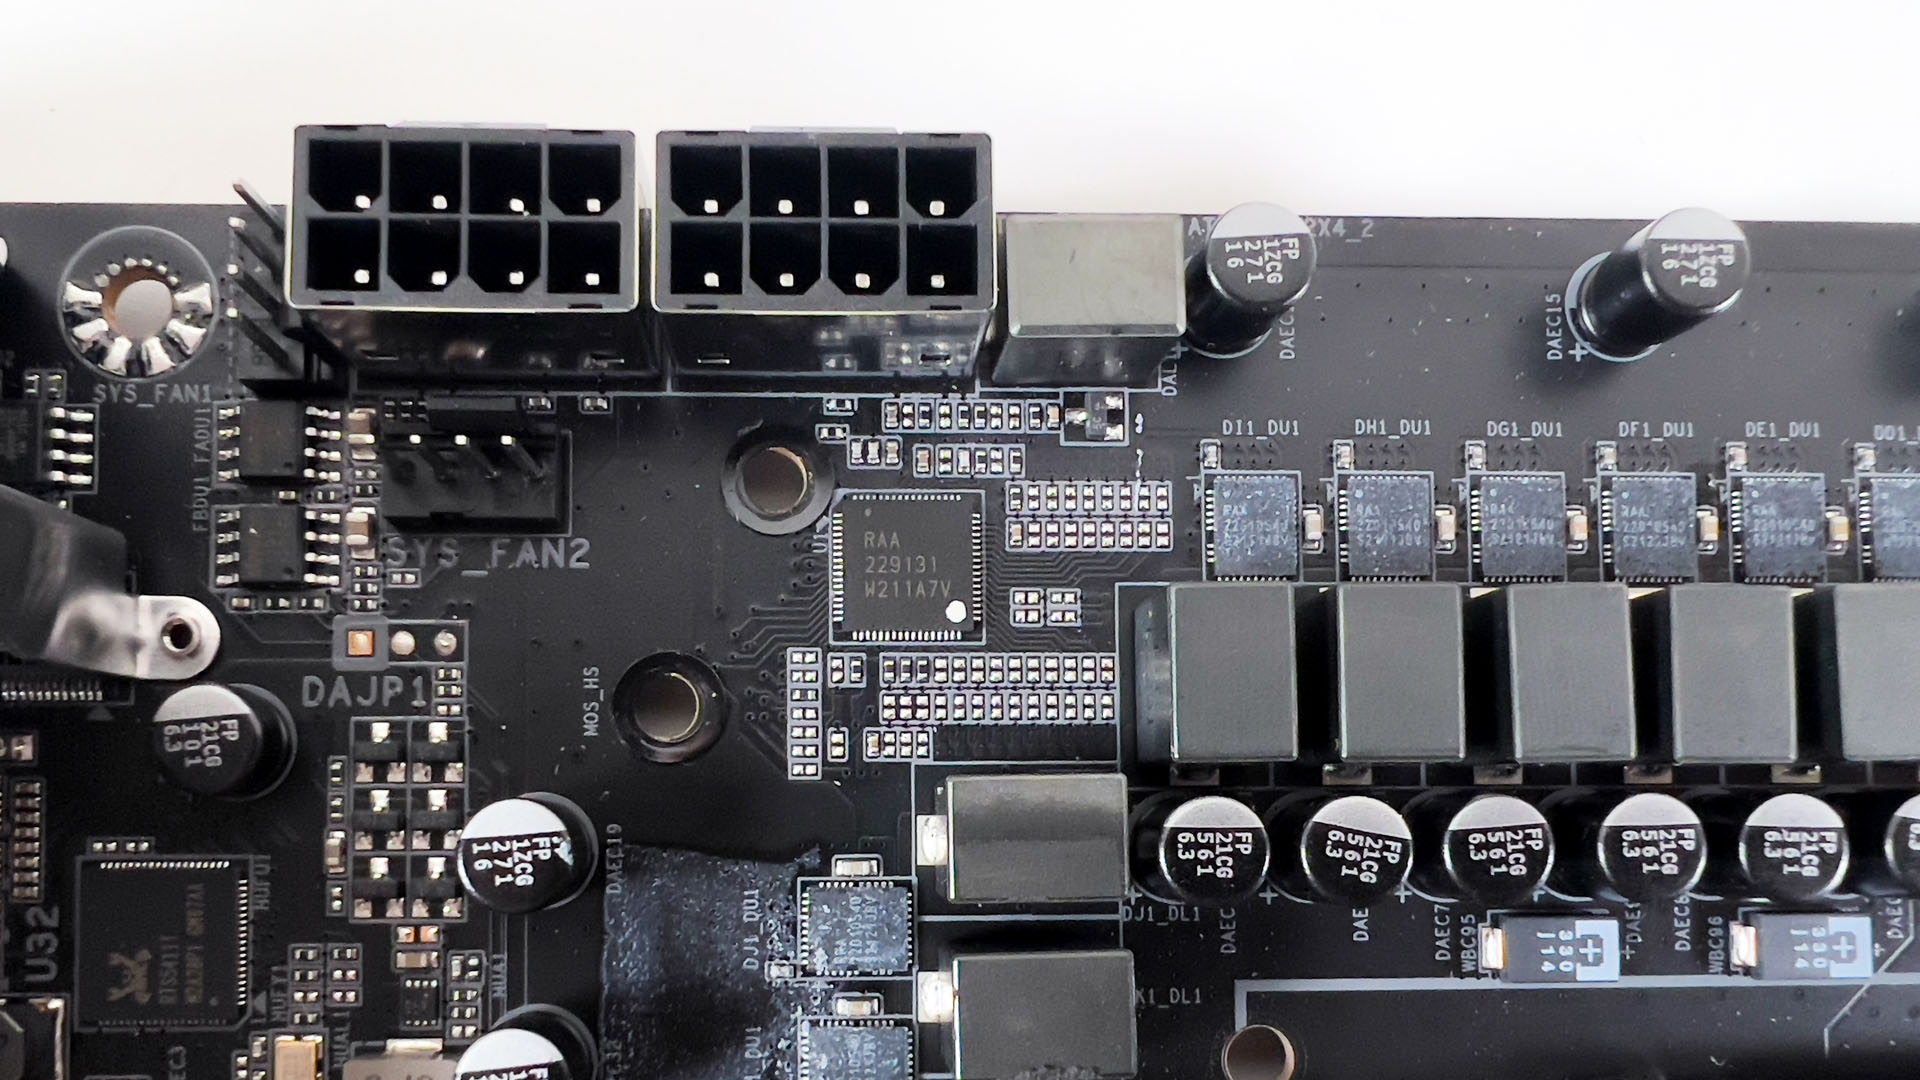
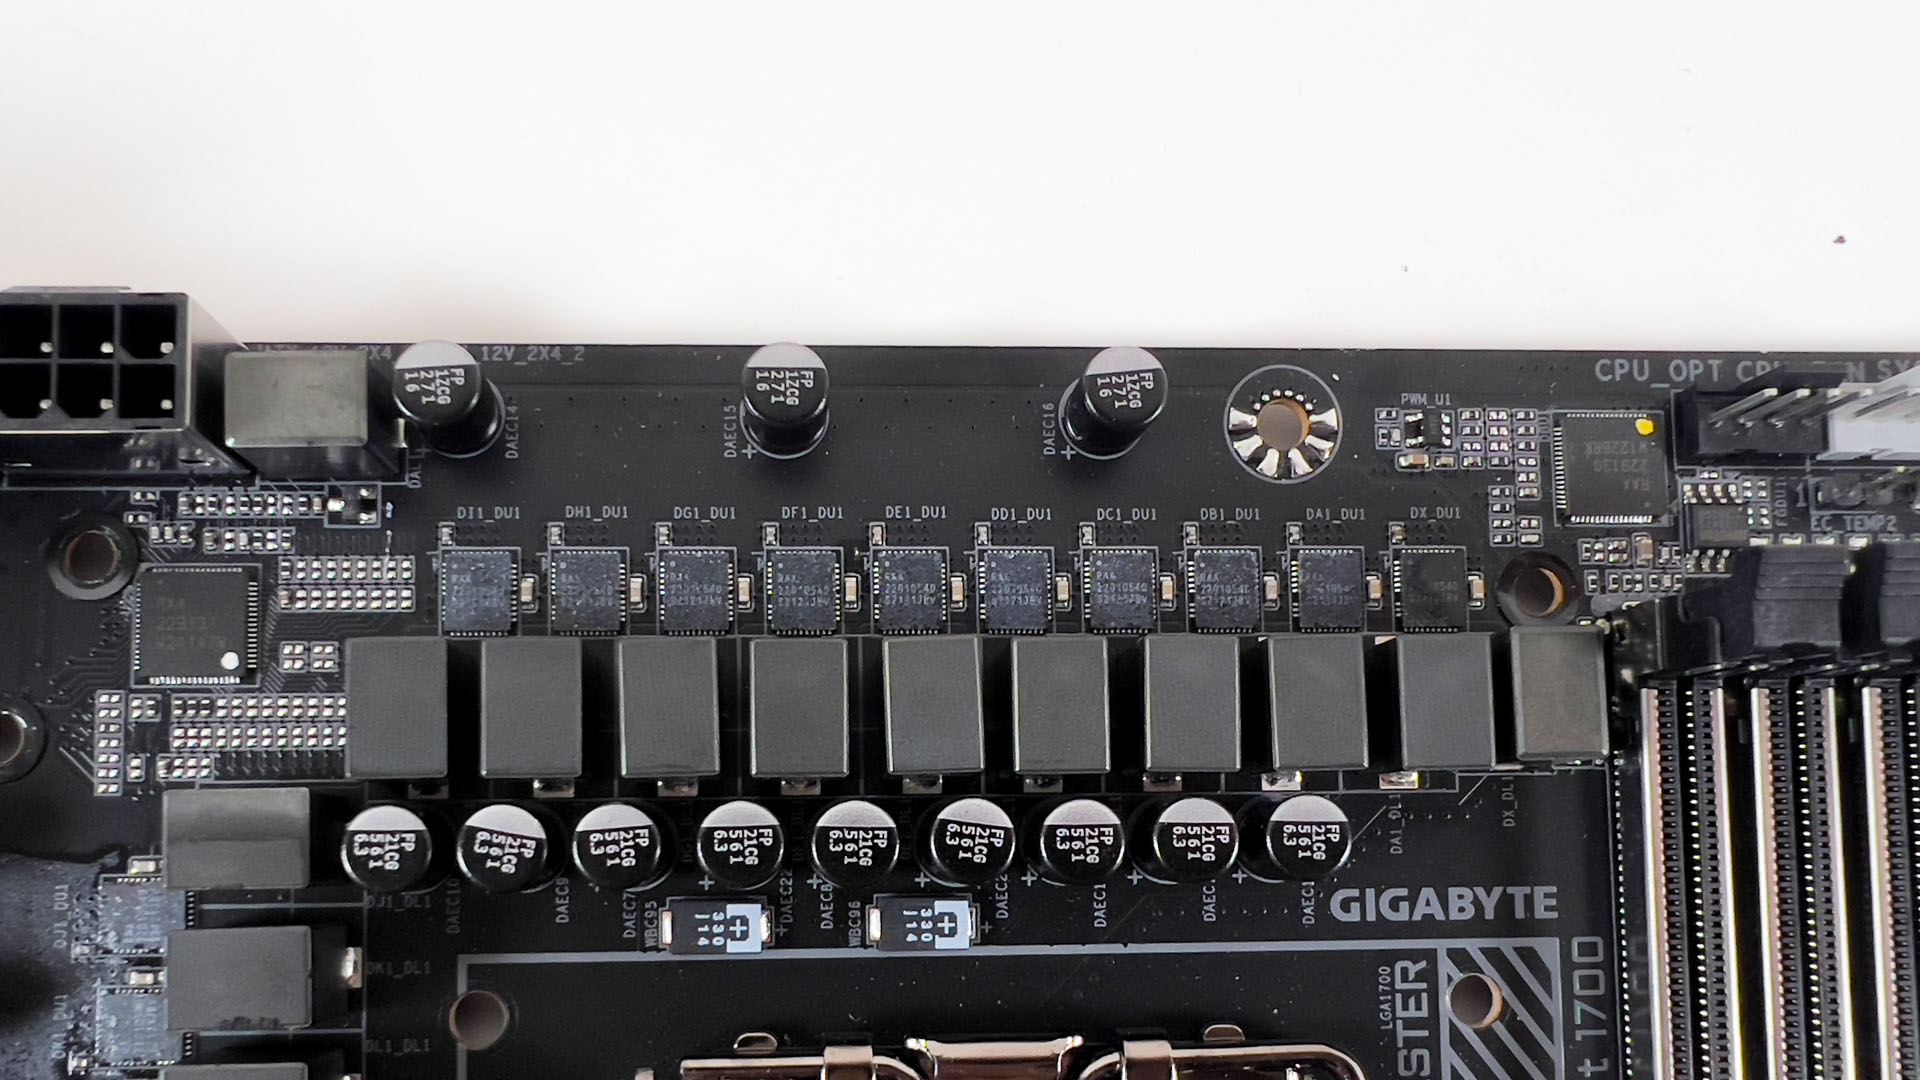
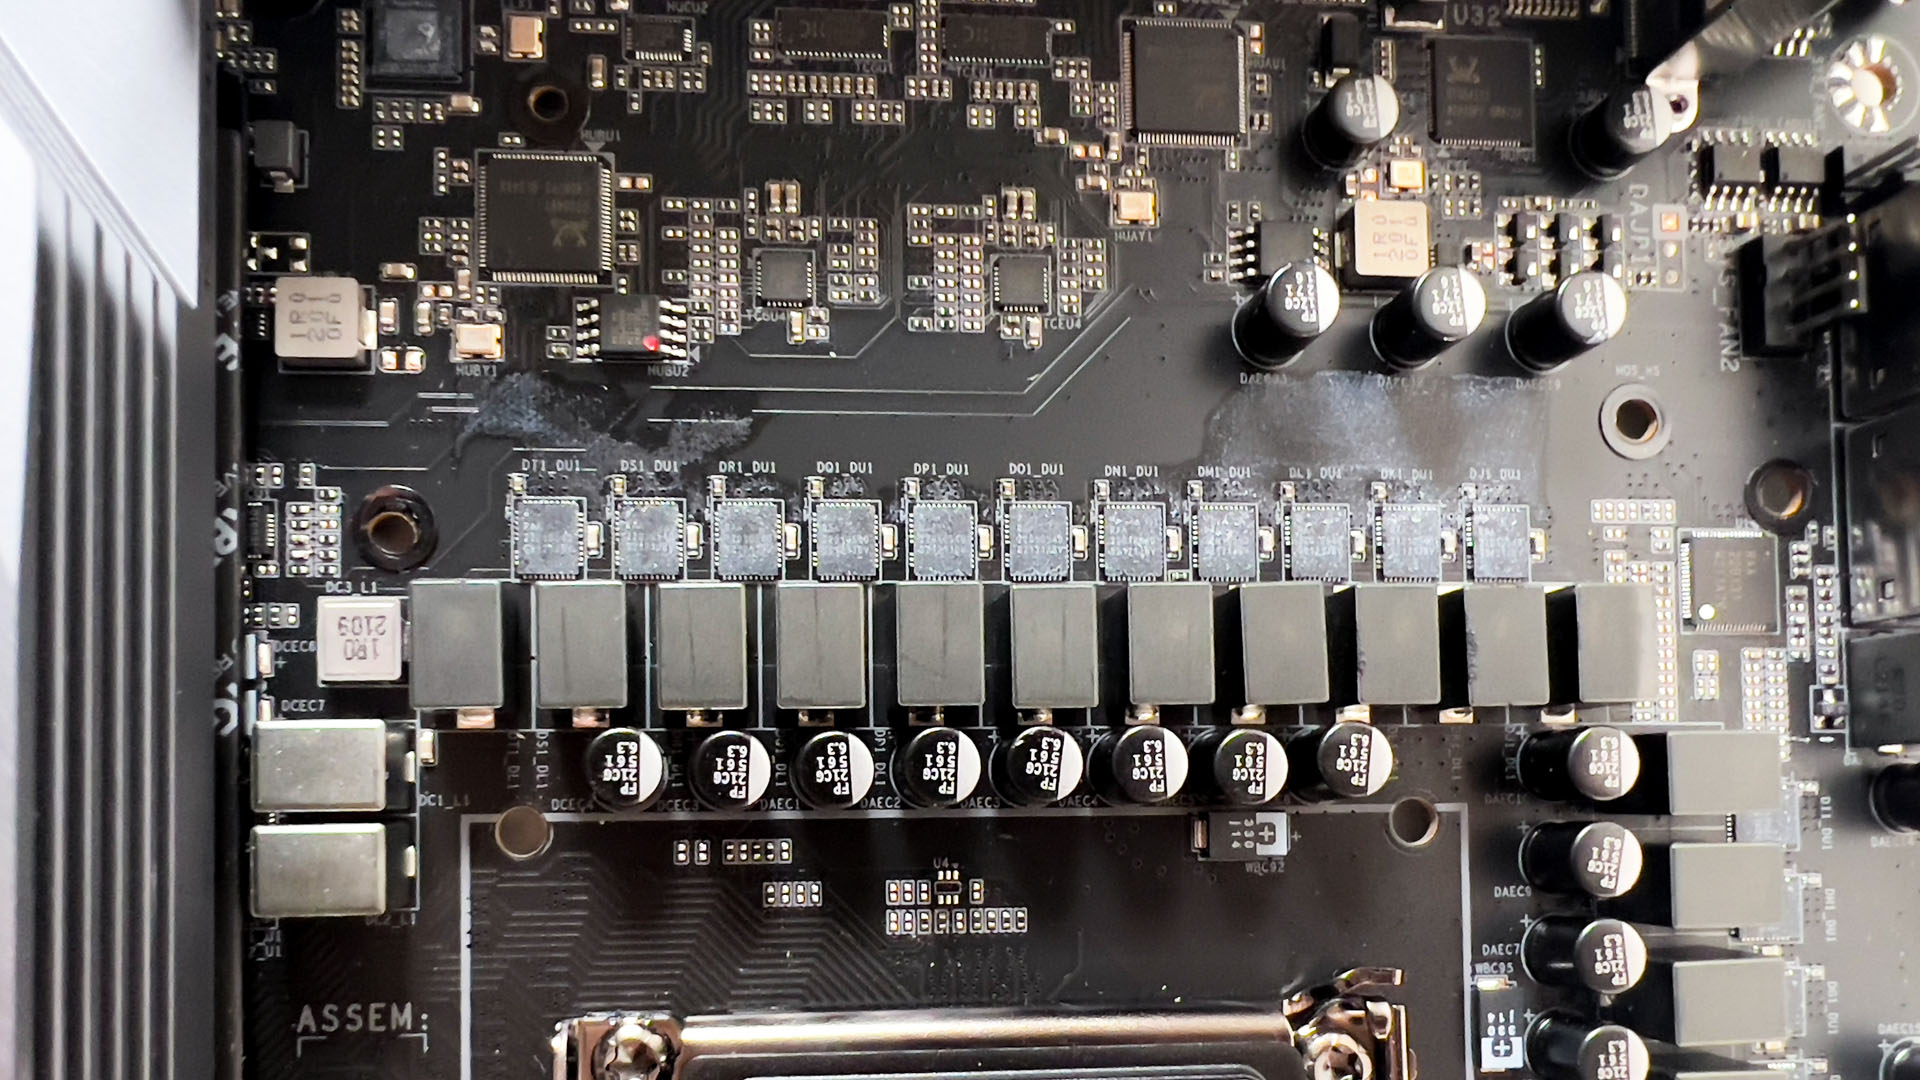
For the power design, the Z790 AORUS Master features a beefy direct 20+1+2 phase similar to the previous gen Z690 AORUS Master. The power design consists of MOSFETs rated at 105A each and the RAA229131 PWM controller from Renesas, which is also similar to what we’re seeing on the Z690 AORUS Master. Since Gigabyte has somewhat downgraded the VRM heatsink this time, we’re actually curious to know what kind of temperature will we be seeing when the CPU is on load.

And for the rear I/O, we can see a handful of USB ports, the handy clear CMOS and Q-Flash Plus buttons, 10GbE LAN and Wi-Fi 6E module for network connectivity, a S/PDIF port, and audio jacks. The number of USB ports is especially great I must say, 10 x USB type-A ports and 3 x USB type-C ports are just what I really need for all my devices and I don’t have to rely on any USB hubs with this.
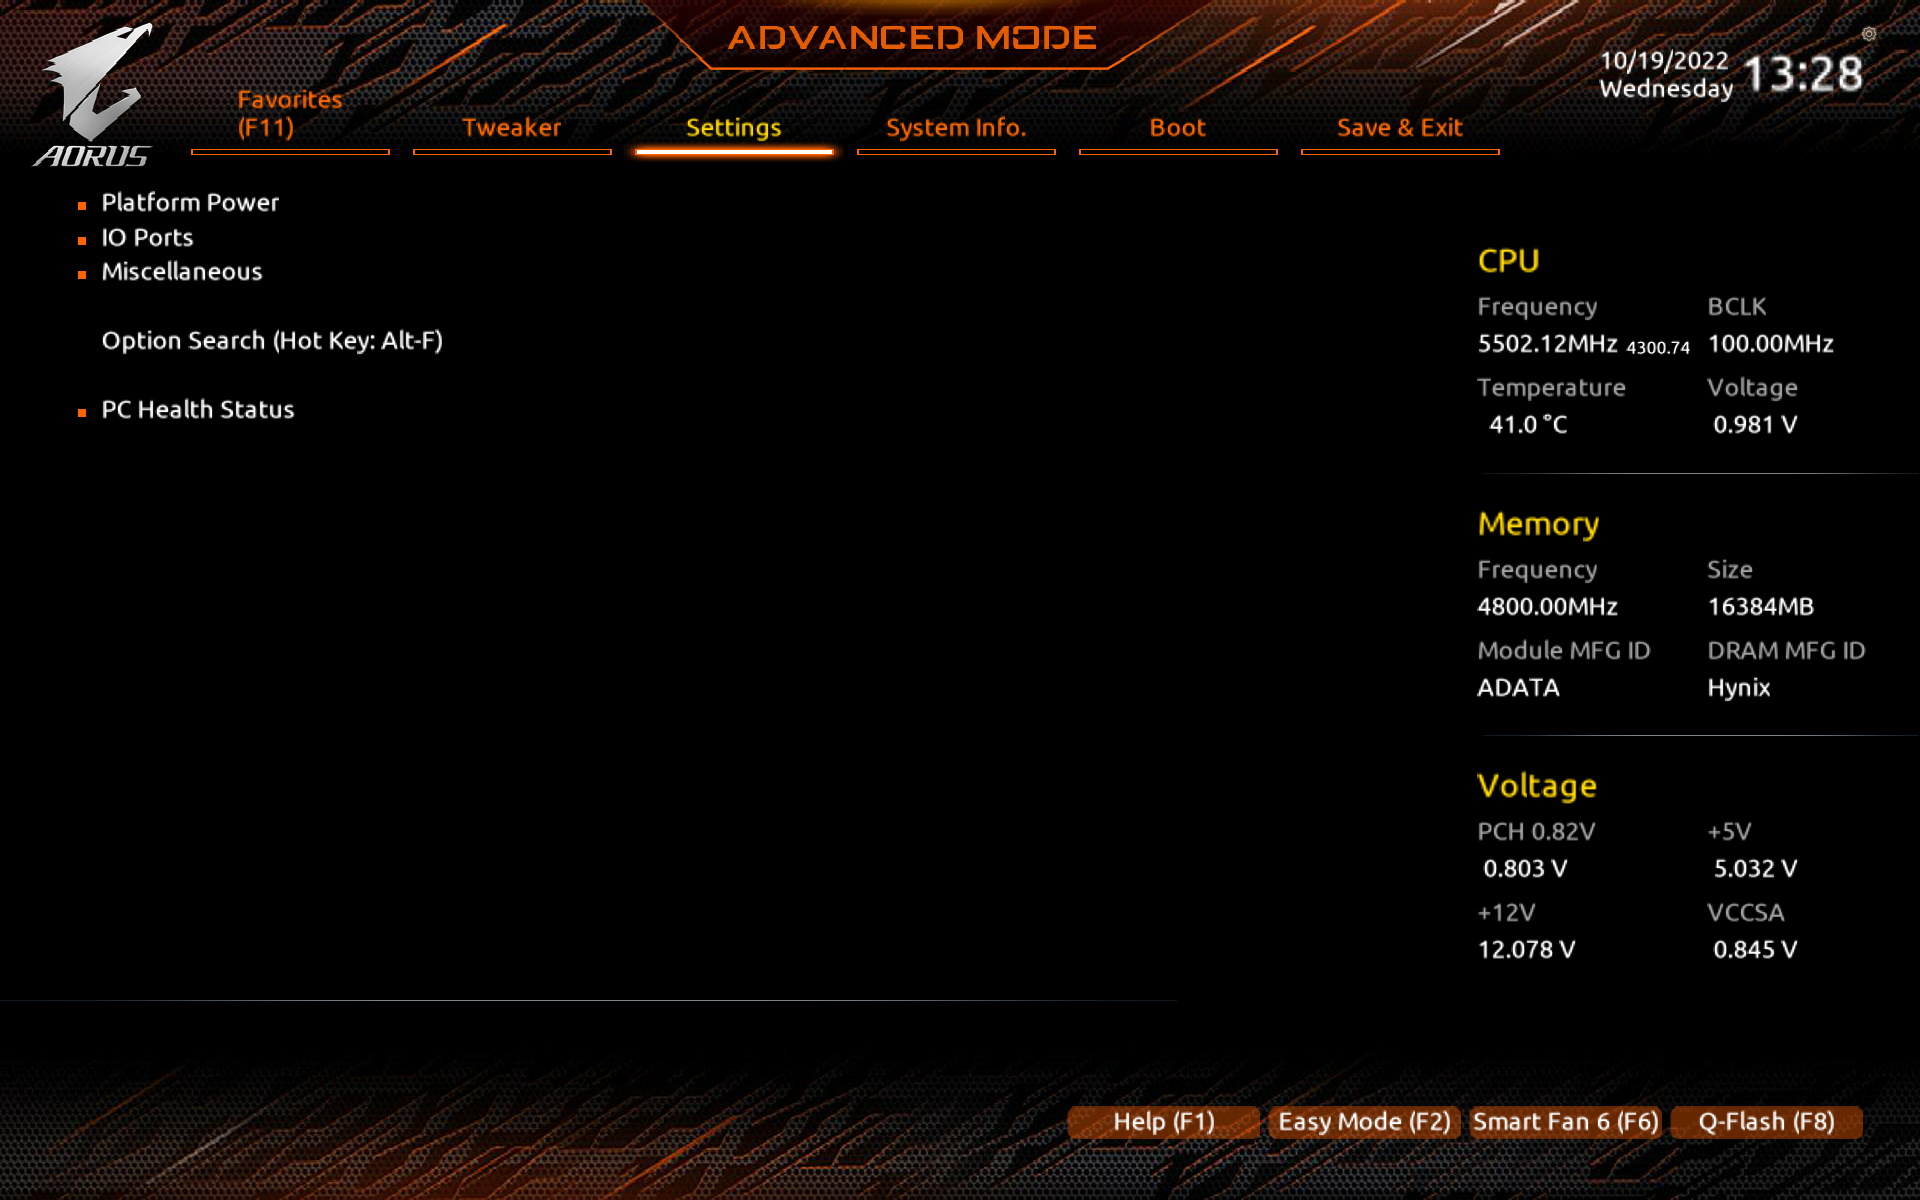
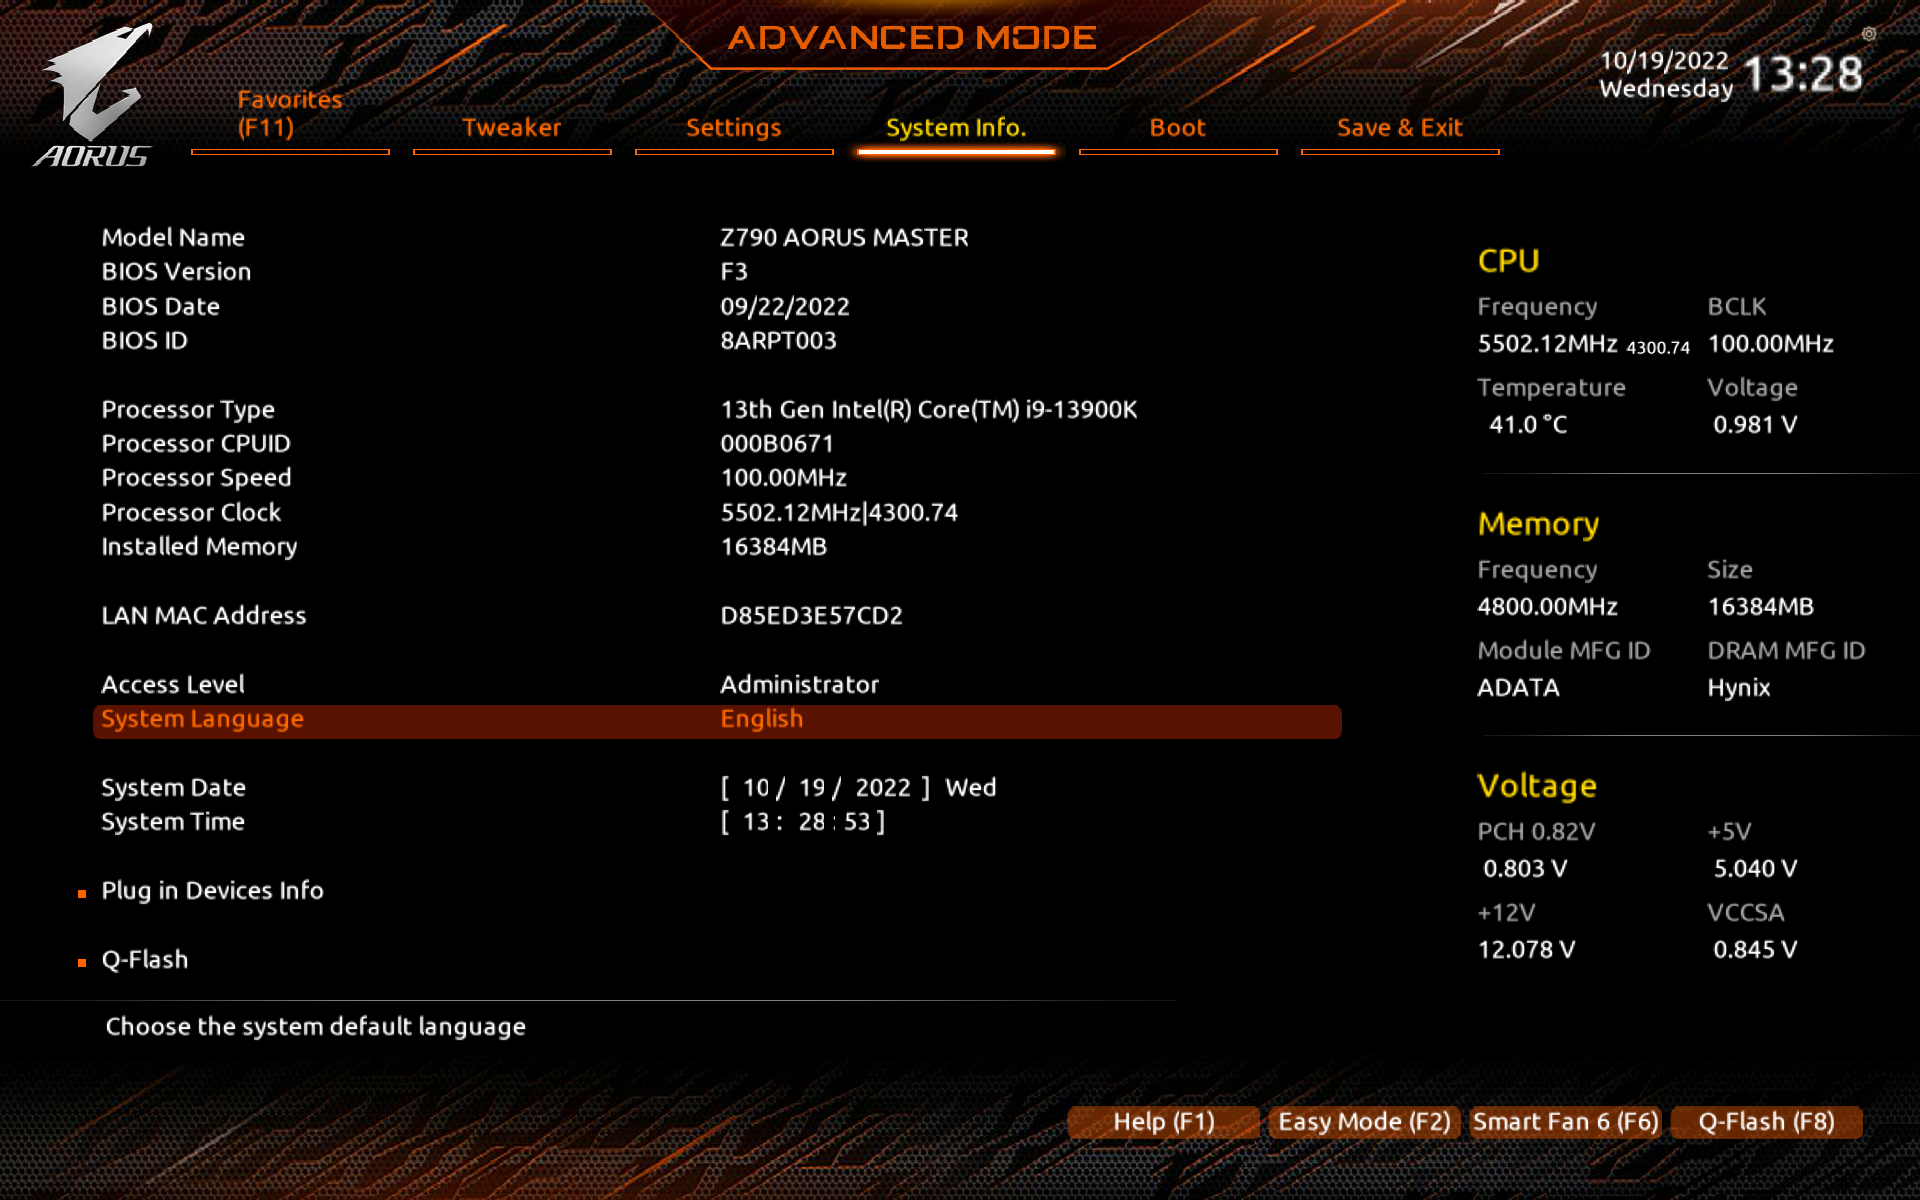
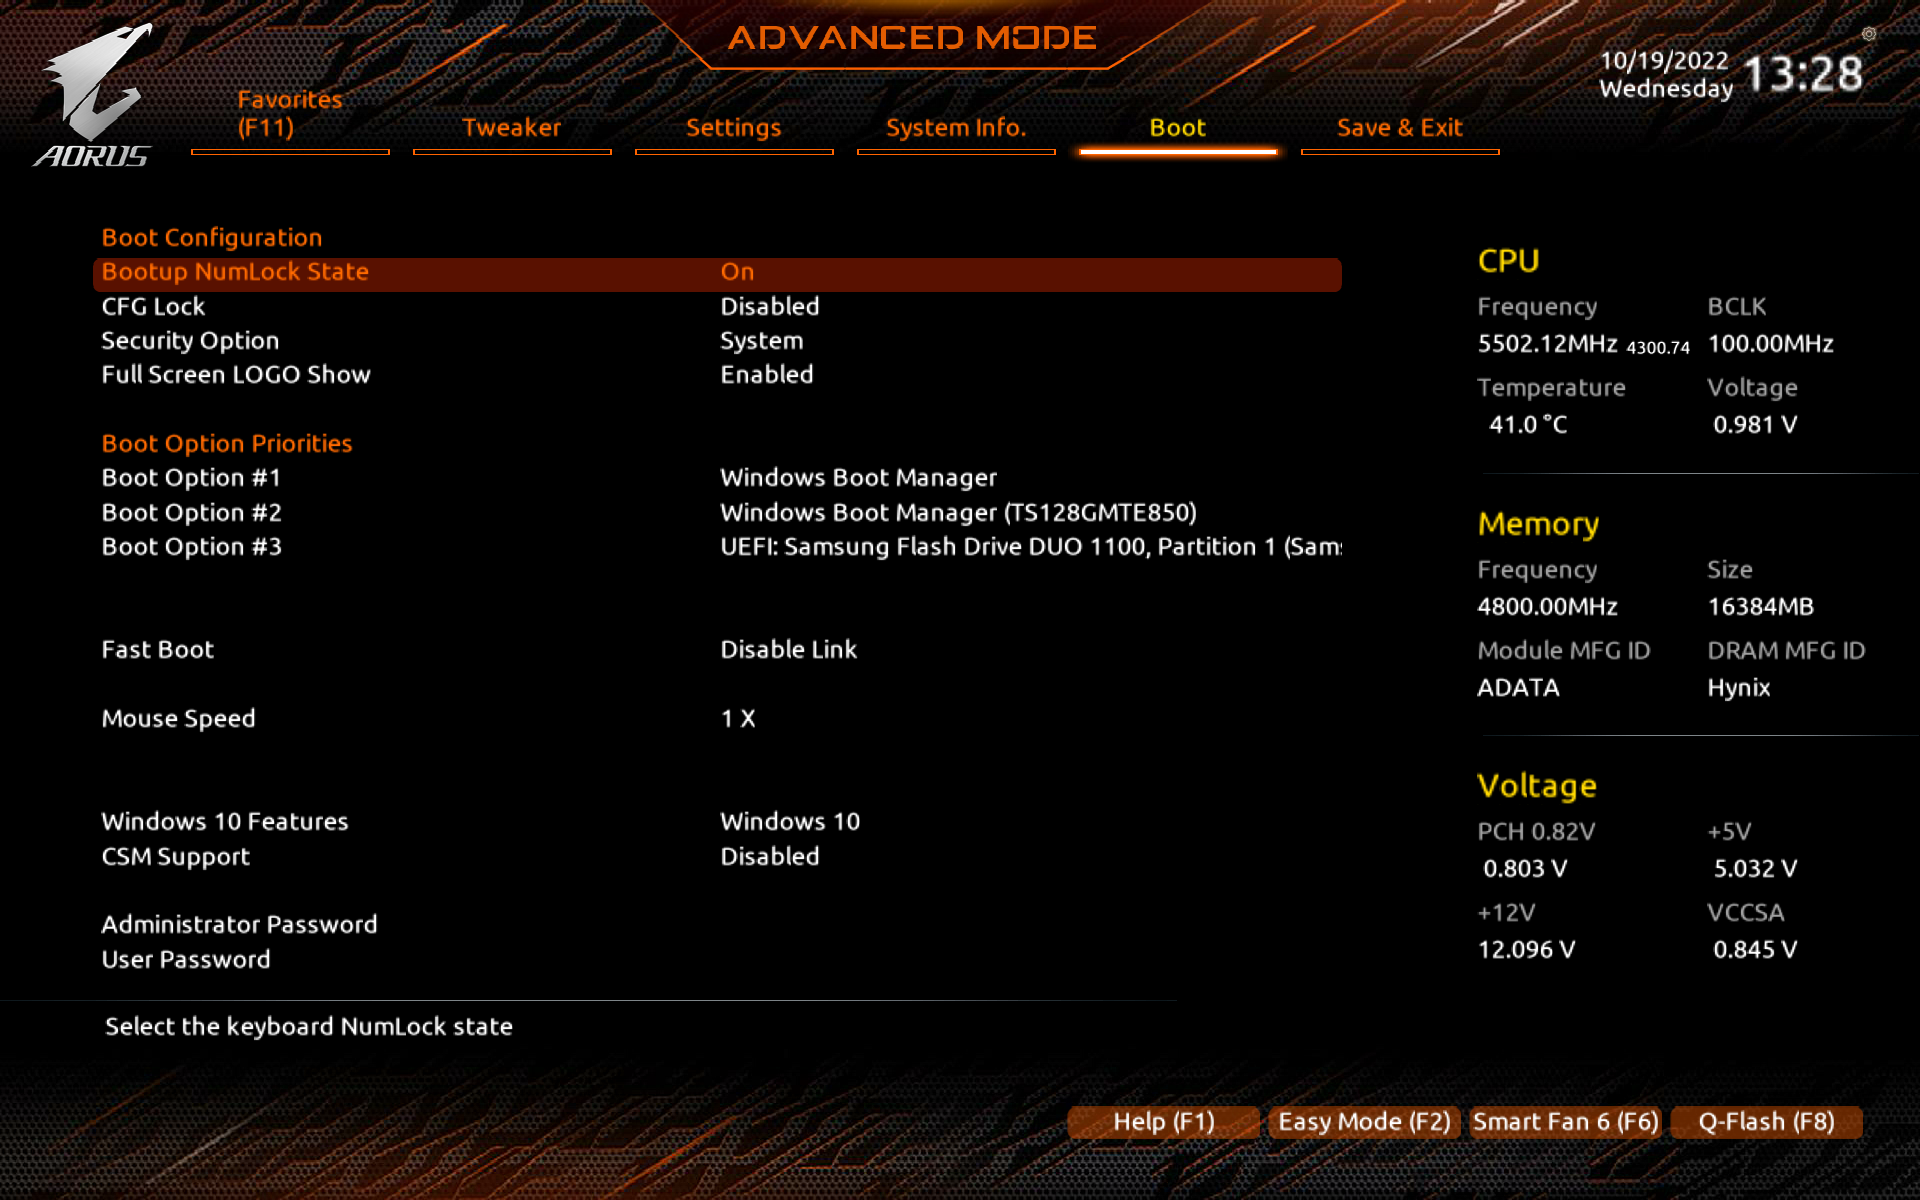
BIOS Interface

Test System Setup
| CPU | Intel Core i9-13900K |
| Motherboard | Gigabyte Z790 AORUS Master |
| Memory | ADATA XPG Lancer RGB DDR5-6000 CL40 |
| Graphics Card | GeForce RTX 3080 |
| Power Supply | Cooler Master M2000 Platinum 2000W |
| Primary Storage | Kingston KC3000 2TB |
| CPU Cooler | Cooler Master MasterLiquid PL360 FLUX |
| Chassis | Streacom Open Bench Table |
| Operating System | Windows 11 64bit |
CPU Load Test and Thermals
In this test, we can confirm that the Intel Core i9-13900K is actually too much for our current cooler to handle as it easily hits 100ºC in just a matter of seconds as soon as we started the CPU load tests, and this is with everything running on stock settings. Lowering the power limit to 170W doesn’t seem to help much with the CPU load temperature as well, so we’ll just leave it as it is for now.

The VRM and chipset, however, run at a reasonable temperature of 52ºC and 43ºC respectively after we have the load test going on for some time. So it seems that the VRM heatsink that we initially thought was a downgrade from the previous-gen design is still capable of handling the VRMs with the CPU running on stock settings.
Overclocking
Moving on to overclocking, since our current CPU cooler is incapable of handling even the Core i9-13900K on stock settings, there’s no reason for us to overclock the CPU at all. Unless you’re going for a custom water cooling setup or a much more powerful AIO cooler that can actually handle the Core i9-13900K, I’d recommend running the CPU on stock settings all the time.

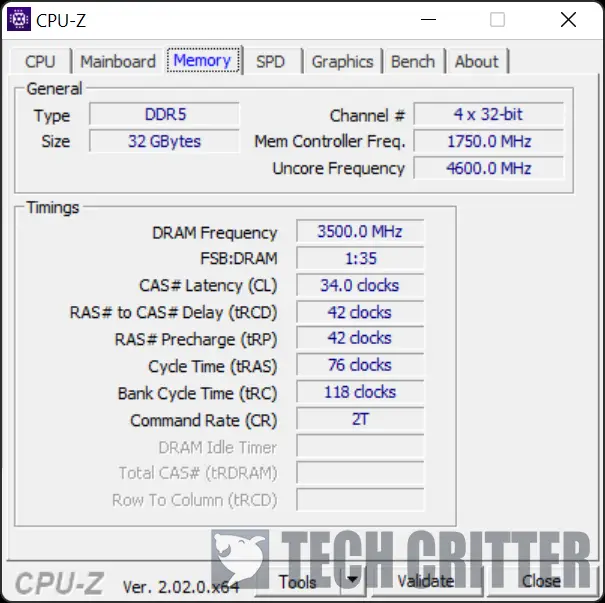
Memory overclocking is a bit more interesting with the 13th-gen CPU and Z790 AORUS Master this time around, as we’re able to achieve DDR5-7000 on our existing DDR5 memory kit without much effort. Going with 1T still seems impossible for now but we did notice that the voltage required on both the VDD/VDDQ for the memory and VDD2 for the memory controller is slightly lower on existing DDR5 memory kits with Hynix M die.
If you’re using a newer DDR5 memory kit with Hynix A die, you can expect even better results and significantly lower voltage. We manage to get our hands on a pair of JEDEC kits with the mentioned memory chips and even without an XMP profile, we’re still able to achieve DDR5-7200 easily and it only requires about 1.4V on both VDD/VDDQ and 1.3V on VDD2. So, do keep an eye on the new DDR5 memory kits if you’re planning to have some fun with memory overclocking on the 13th-gen Core processors and the Z790 chipset motherboards.
First Impression
From what I have experienced to date, the Z790 chipset motherboards are more of a revision of the Z690 chipset motherboards that address some of the shortcomings at the time. Apart from the 13th-gen Core processors being more difficult to cool now, the rest that I’ve seen are pretty much improvements here and there that make it much more justifiable to upgrade from an older platform like the intel 10th-gen or lower. If you’ve skipped 12th-gen because of the lack of PCIe 5.0 devices in the market or don’t feel like experiencing the early phase of DDR5 firsthand, this generation is probably worth your time to look into even if you’re still not ready for the jump.
While the MSRP of RM 3,031 is actually higher than the previous gen AORUS Master, the Z790 AORUS Master is still easily one of the enthusiast-grade motherboards that are still very justifiable with the features and build quality. To put it another way, it’s still a Z690 AORUS Master but much better in terms of features – the same beefy 20+1+2 phase power design, a reasonable cooling solution, lots more M.2 slots and USB ports, 10GbE LAN and Wi-Fi 6E for fast network connectivity, and a handful of QOL features. I’d recommend this board anytime if the price is right.
Pros
- Good aesthetics and solid build quality
- VRM runs cool even after long hours of stress tests
- Tons of USB ports
- 10GbE and Wi-Fi 6E
- Supports the upcoming PCIe 5.0
- Easy graphics card removal with PCIe EZ-Latch Plus
- Easy M.2 SSD installation with M.2 EZ-Latch Plus
- Better DDR5 memory modules support
Cons
- Thermal pads for M.2 SSDs leave behind residue that takes some effort to clean


