The AORUS Master has been one of the popular choices among PC enthusiasts and the latest X670E AORUS MASTER is no different. Packed with plenty of powerful features and great QoL design, the X670E AORUS MASTER is the latest offer from Gigabyte for those of you who are ready for the new Ryzen 7000 series desktop processors.
From the specifications and design alone, we can see that Gigabyte has done a lot of work to improve the AORUS Master design for this generation. So without any further ado, let’s take a quick look at it and see what kind of improvement and new features Gigabyte has done on the X670E AORUS MASTER.
Specifications
| CPU |
|
| CPU Socket |
|
| Chipset |
|
| Memory Type |
|
| Memory DIMMs |
|
| Expansion Slots |
|
| SATA / M.2 |
|
| SATA RAID | RAID 0, 1, 10 |
| LAN | Intel 2.5GbE LAN (2.5 Gbps/1 Gbps/ 100 Mbps) |
| Wireless | Intel Wi-Fi 6E AX210 |
| USB |
|
| Audio |
|
| Form Factor (mm) | E-ATX (305 x 269 mm) |
* Full specifications can be found on the main product page.
Box & Accessories


Gigabyte has apparently updated the box design again and this time, the design is a lot simpler than what we saw on the Z690 AORUS Master. The only highlights you’ll find at the front of the box are the new AM5 socket, support for PCIe 5.0 graphics and storage, and support for DDR5 memory modules, but you’ll find other information such as the new features and specifications at the back of the box.
The accessories that come with it are pretty straightforward: User Guide, AORUS Stickers, RGB extension cables, Q-connector, SATA cables, velcro straps, thermal probes, and the Wi-Fi antenna.
The X670E AORUS Master
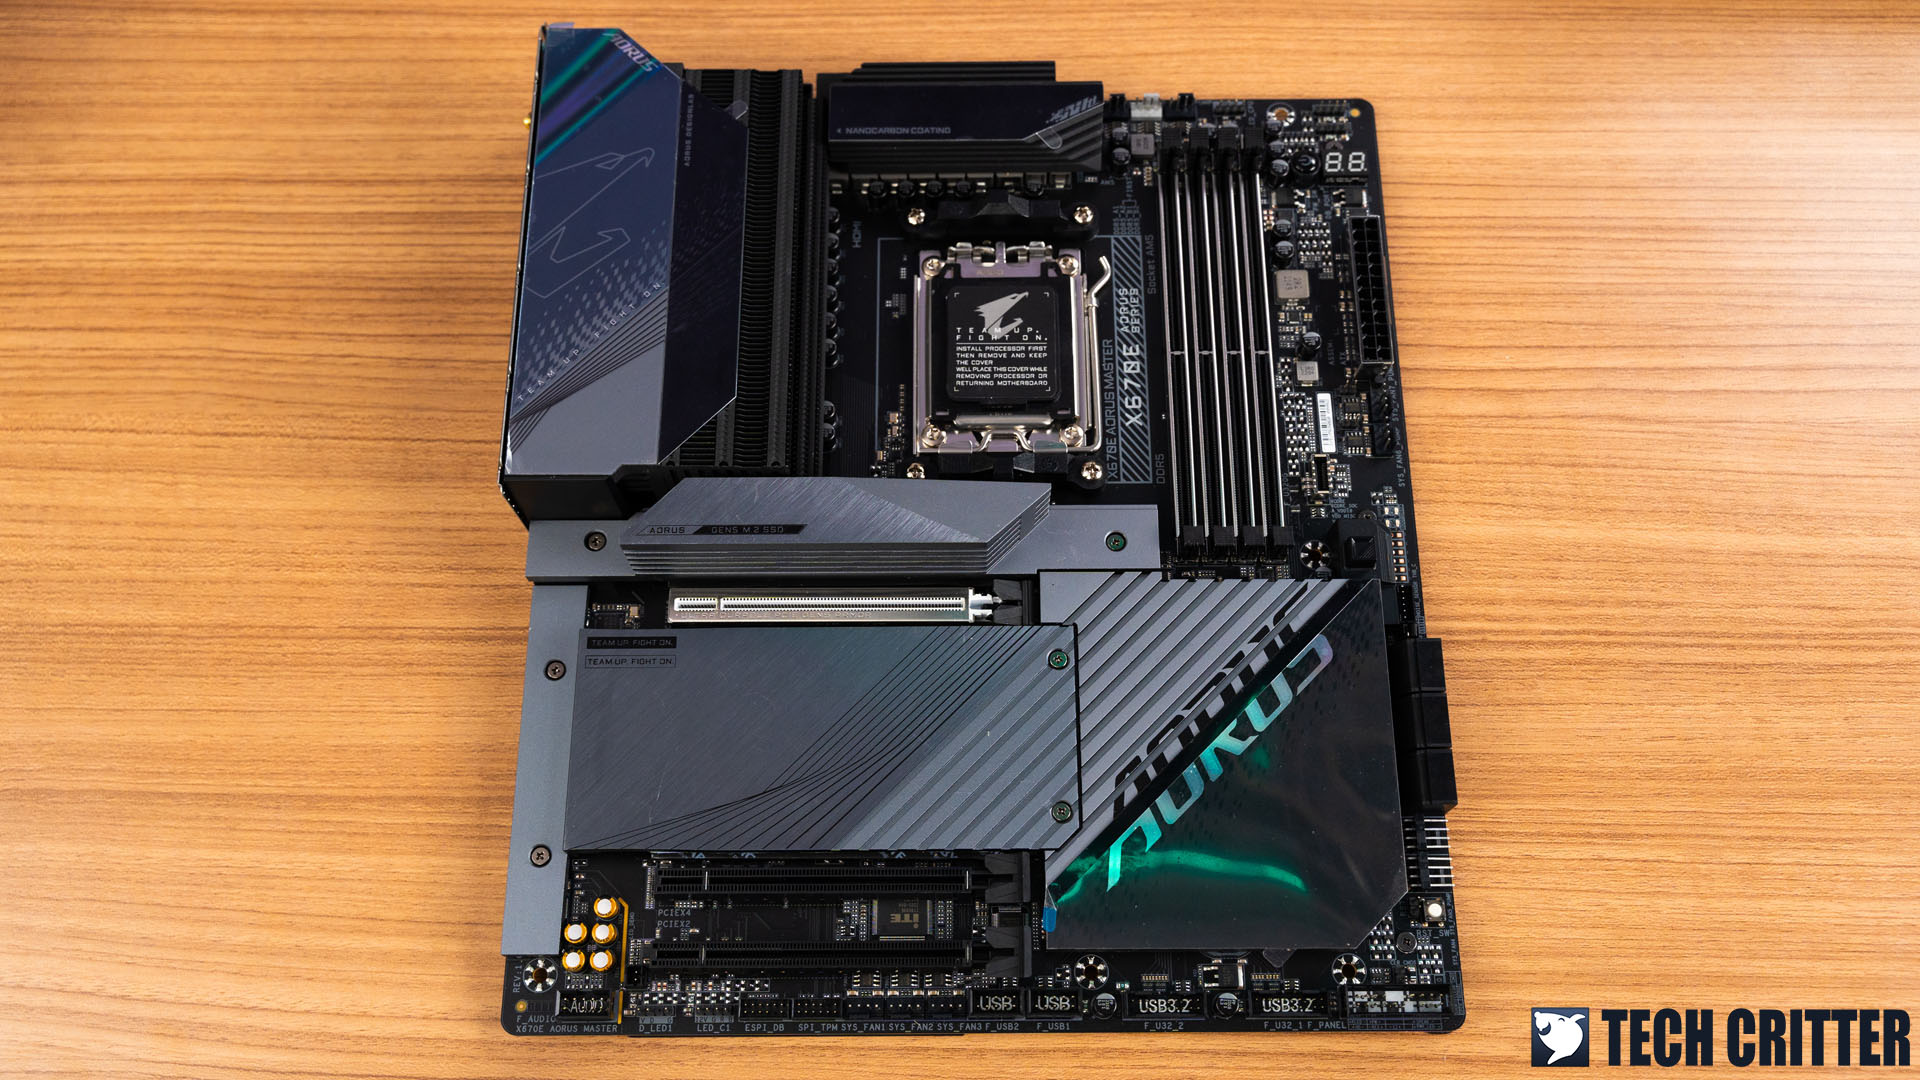
Starting off with the design, we can see that Gigabyte has revised the design quite a bit, having a smaller cover on the VRM heatsinks, a more modular design for the M.2 heatsinks that are specially cut with better alignment for ease of installation, PCIe slots that have been relocated to accommodate 3-slots graphics cards, and more. These are the improvement that I really appreciate and it’s good to see that Gigabyte has finally implemented them in this release.
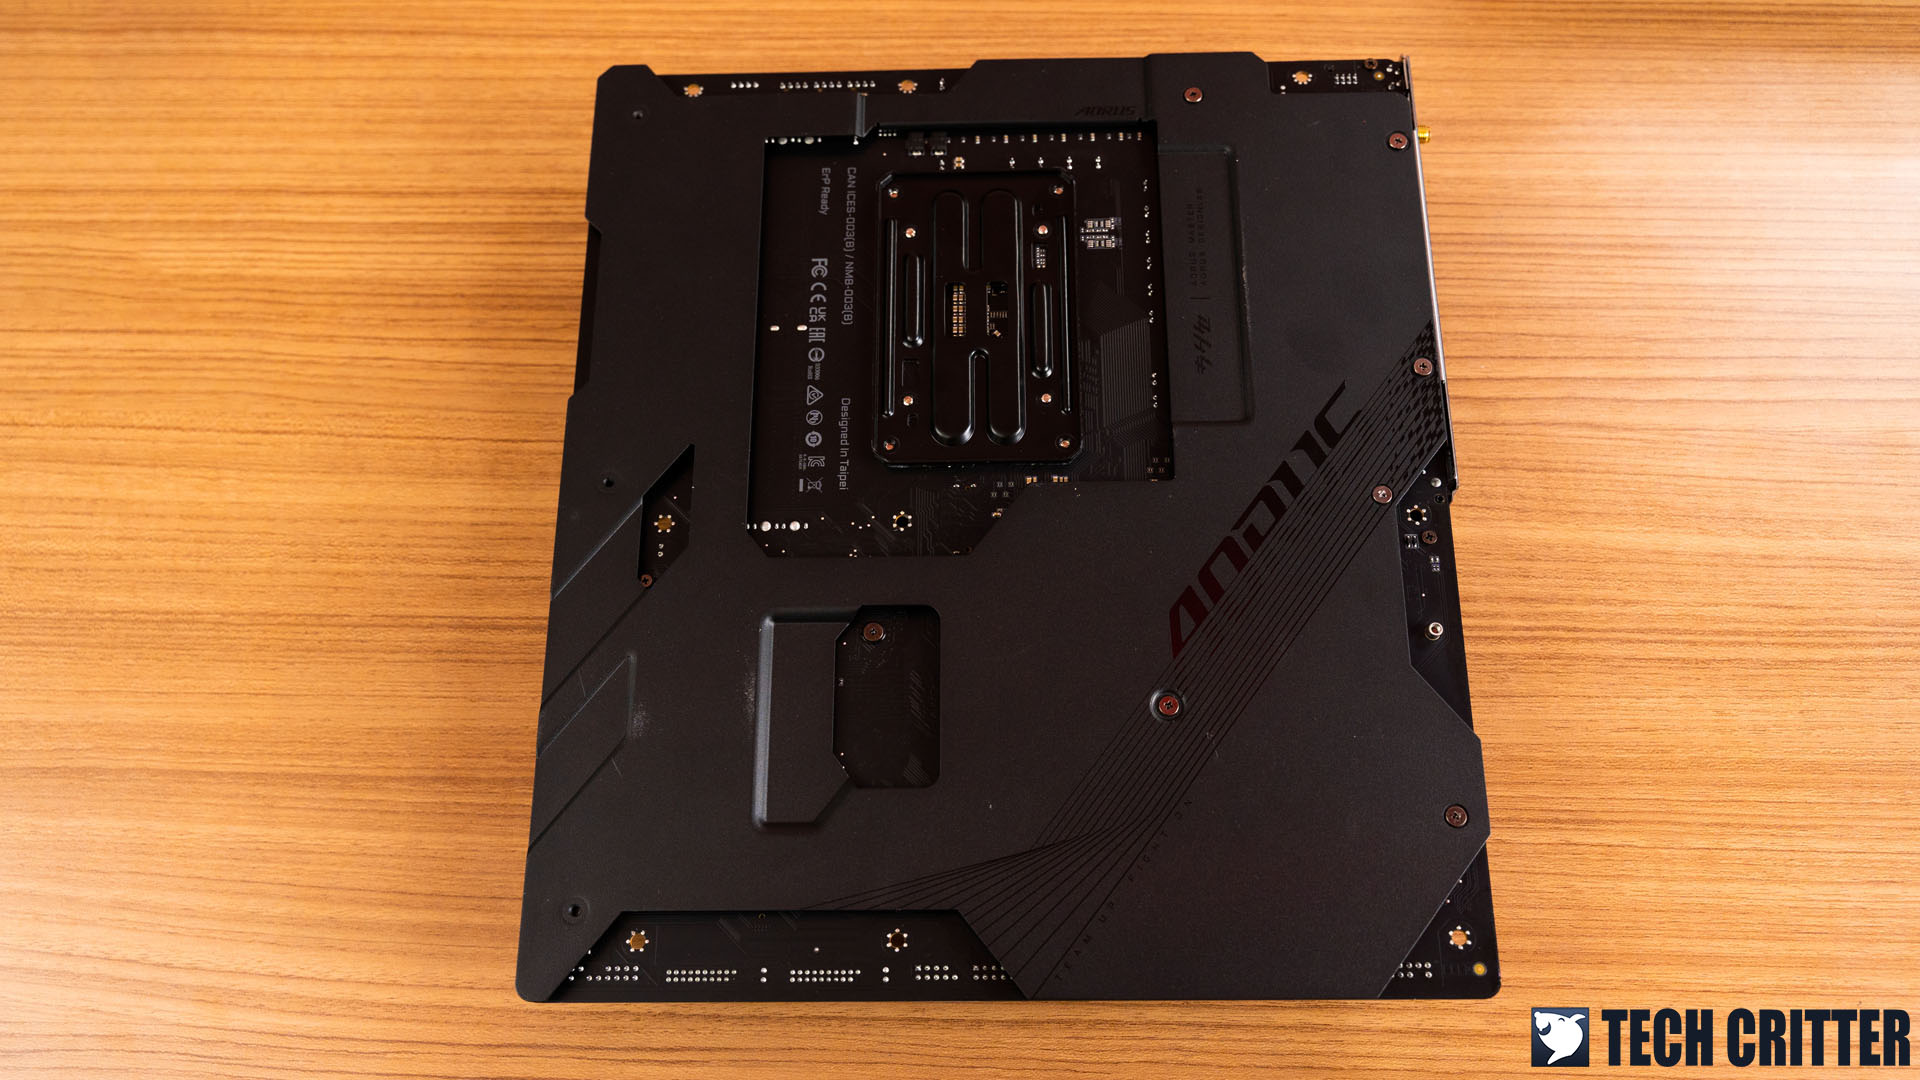
The backplate is there as usual but the cut-out for the CPU backplate area is a lot bigger now and I believe it’s done this way for any of the upcoming coolers that are specially made for the AM5 socket.
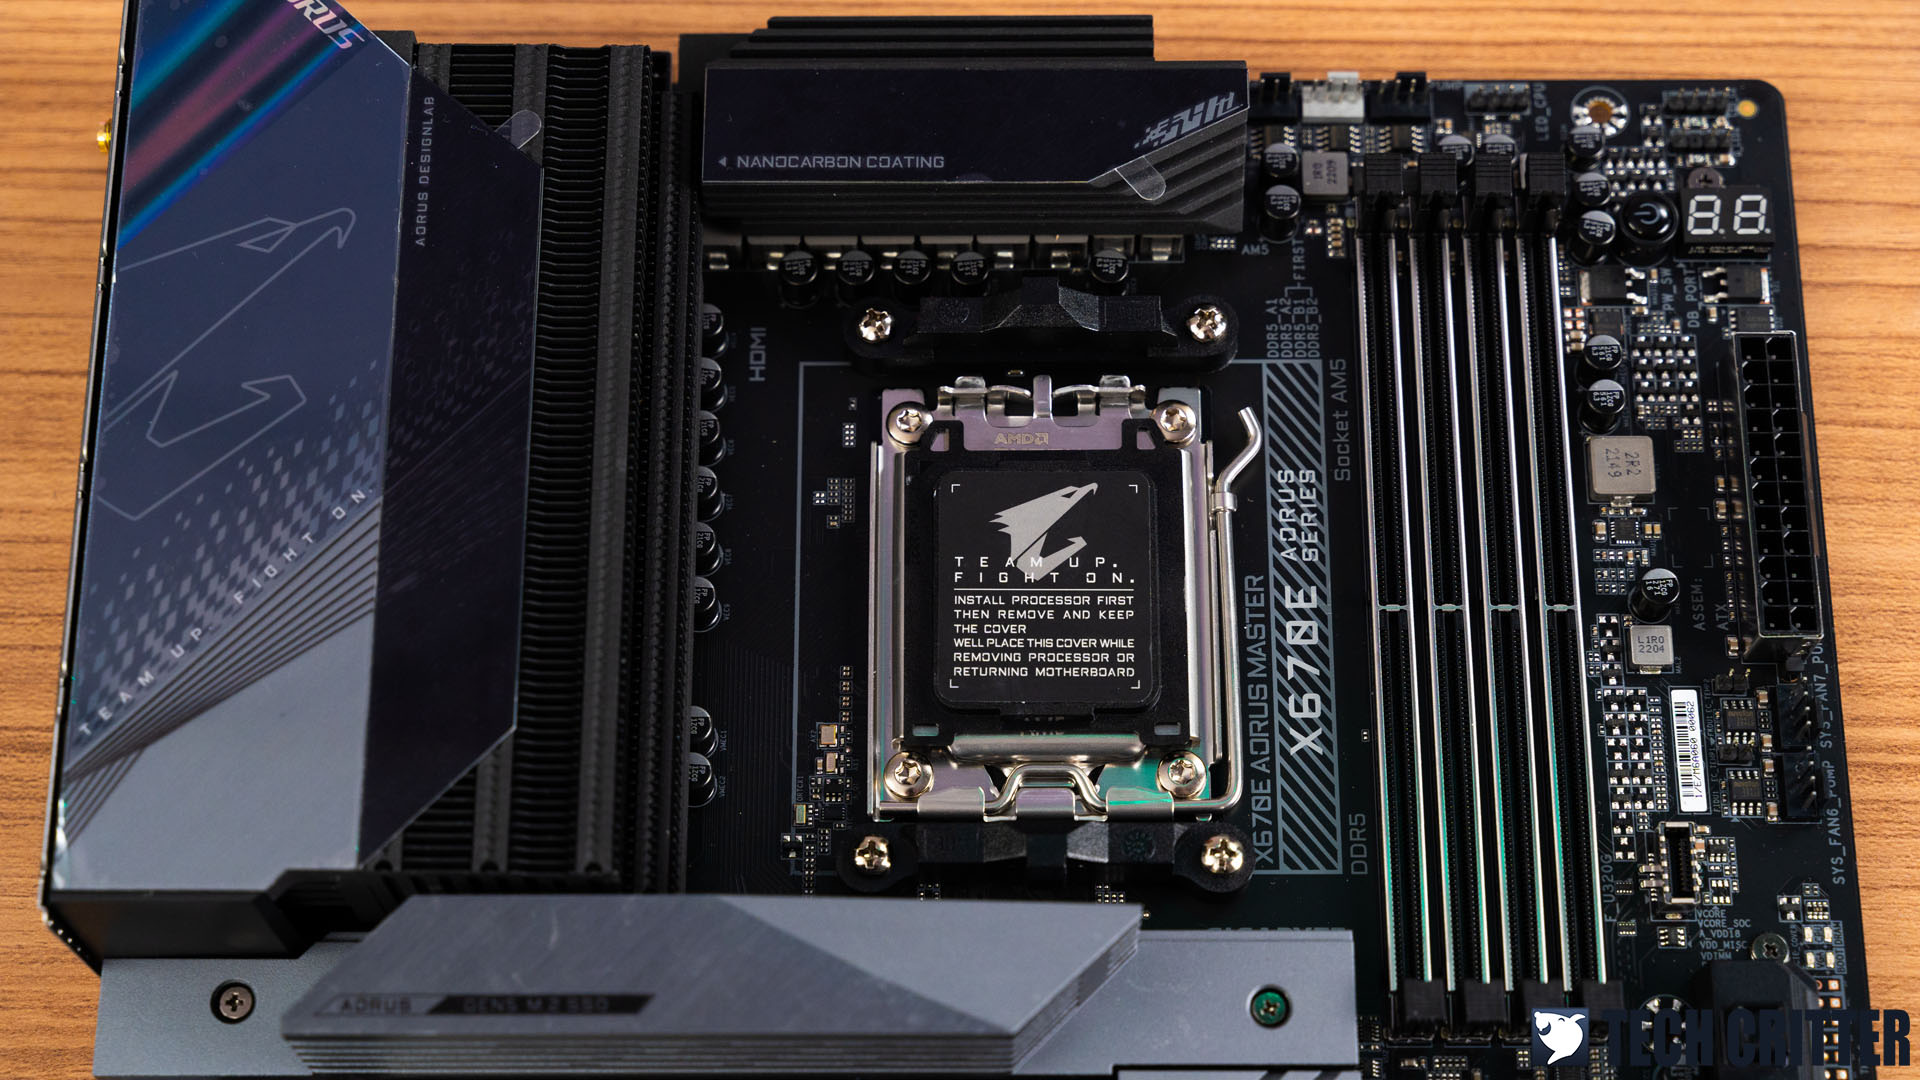

At the front, we can see that familiar-looking ILM but that’s just for the locking mechanism itself because the socket design is totally different from what we saw on Intel and you won’t be able to stuff any Intel LGA1700 processors on the AM5 socket. Since the AMD bracket is still the same as what we’ve seen on AM4, you can still use any existing coolers that utilize this bracket without any issues. Though the rather tall heatsink for the first M.2 slot will make cooler installation a pain, so it’s recommended to remove the heatsink while you install the CPU cooler.
It has four DIMM slots and supports up to 128GB with four DDR5 memory modules. While AMD states that using all four slots will result in a lower memory frequency of DDR5-3600, we’ve managed to get it up to DDR5-5600 easily which we’ll show you later. If you’re sticking to just two memory modules, you can easily go up to DDR5-6000 with any of the AMD EXPO certified memory kits.
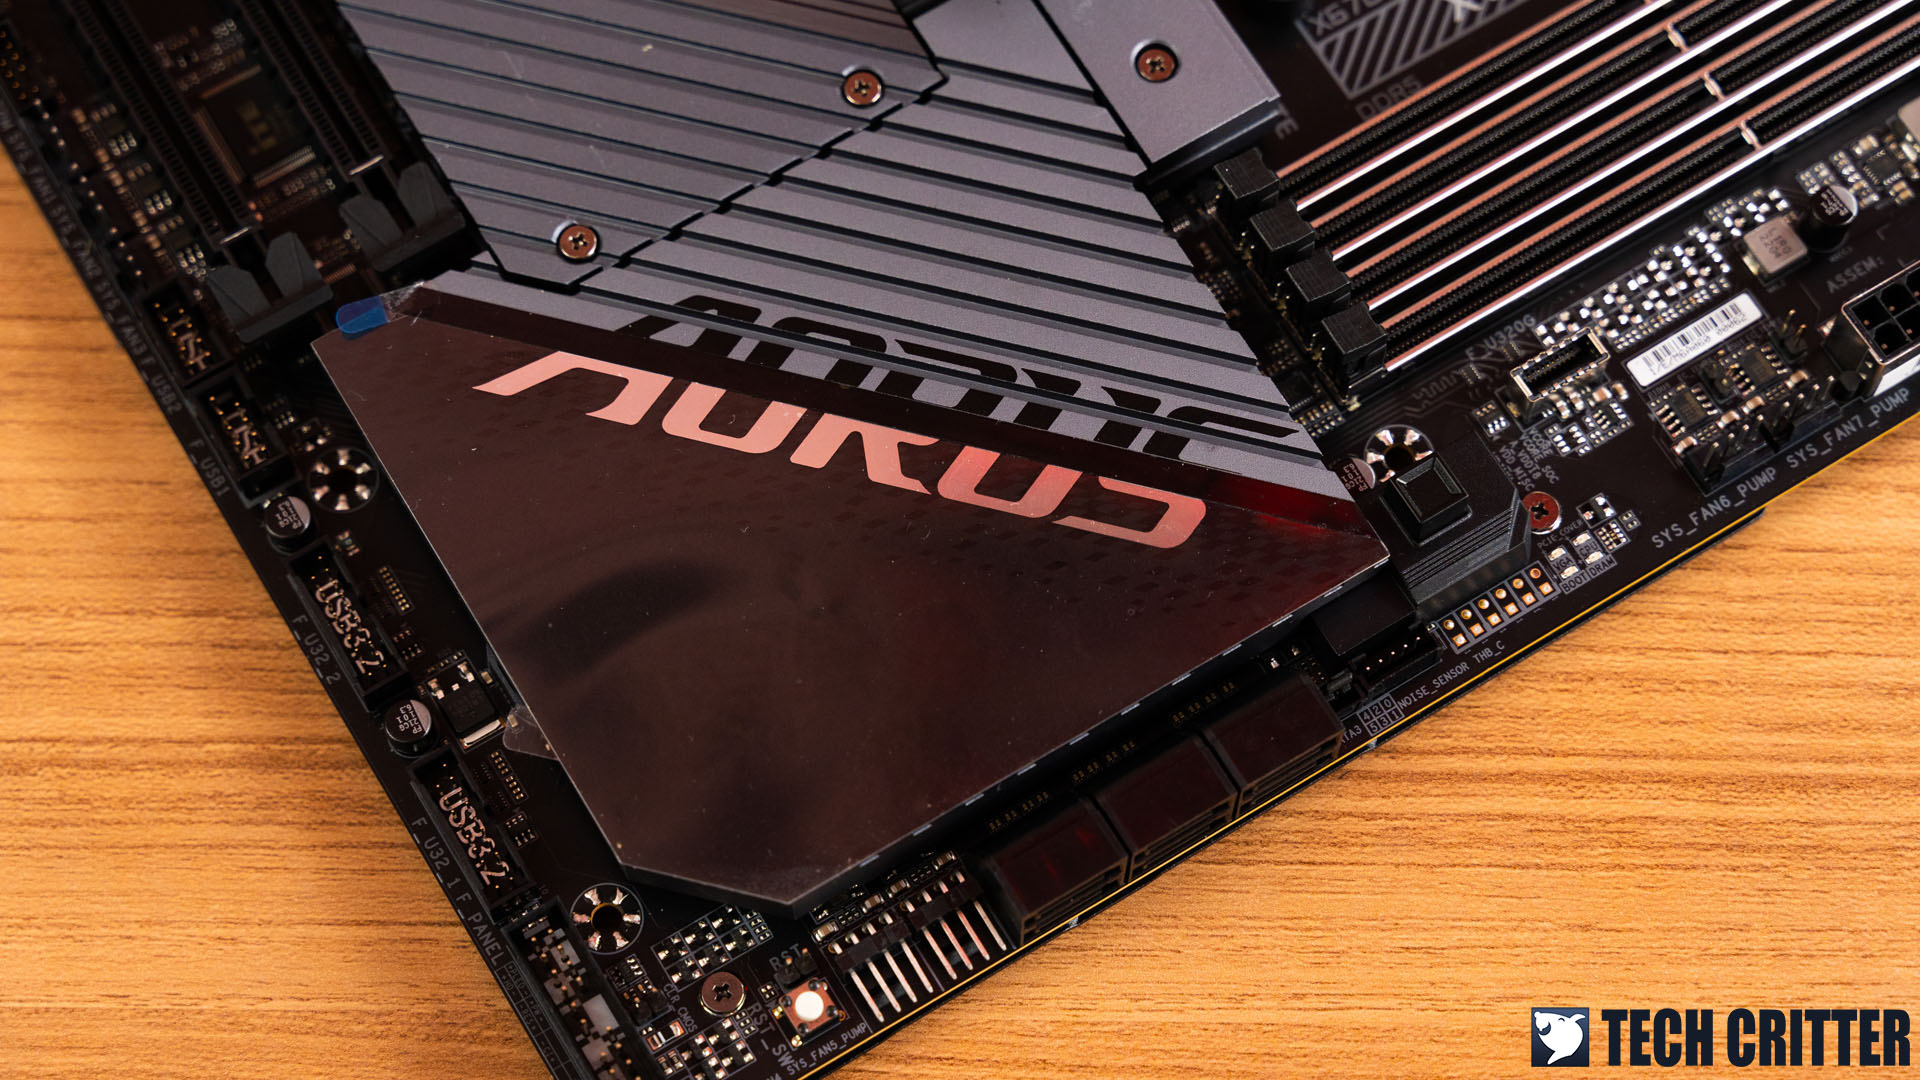
Next to the DIMM slots are the usual useful buttons and debug LEDs that come in really handy for troubleshooting system instability. The Q code LED and debug LED pair is a good inclusion that can help users quickly identify the issue and take necessary actions, but I’d prefer to still have the reset button in the same area for ease of use. Speaking of troubleshooting, I’m surprised that Gigabyte has decided to remove the Clear CMOS button at the back panel and your only way to access this feature is through the Clear CMOS pins located next to the reset switch.
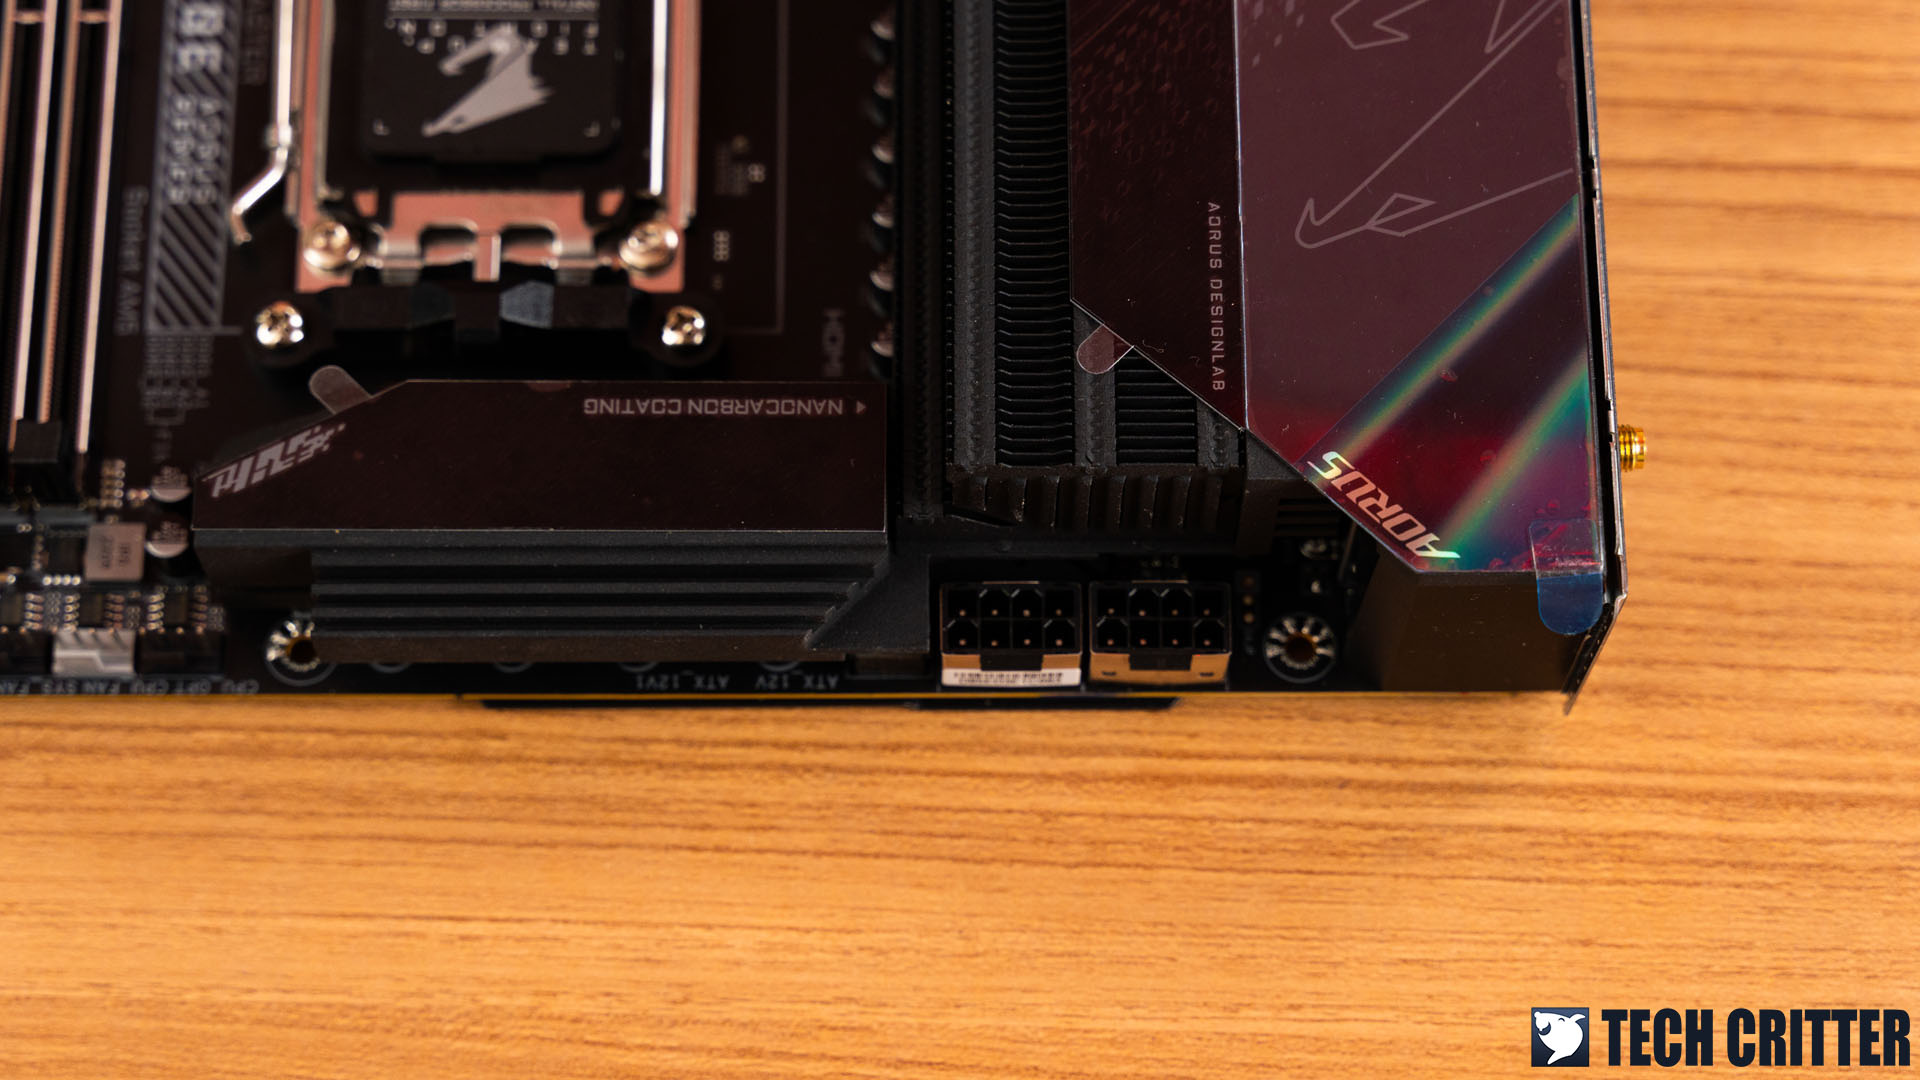

The X670E AORUS Master comes with 2 x 8-pin sockets for supplemental power, a very common design for enthusiast-grade motherboards nowadays. The metal shield or Ultra Durable Armor can be seen on the 8+8 pin CPU power connectors, 24 Pin ATX power connectors, DIMM slots, and the first PCIe X16 slots for extra durability.
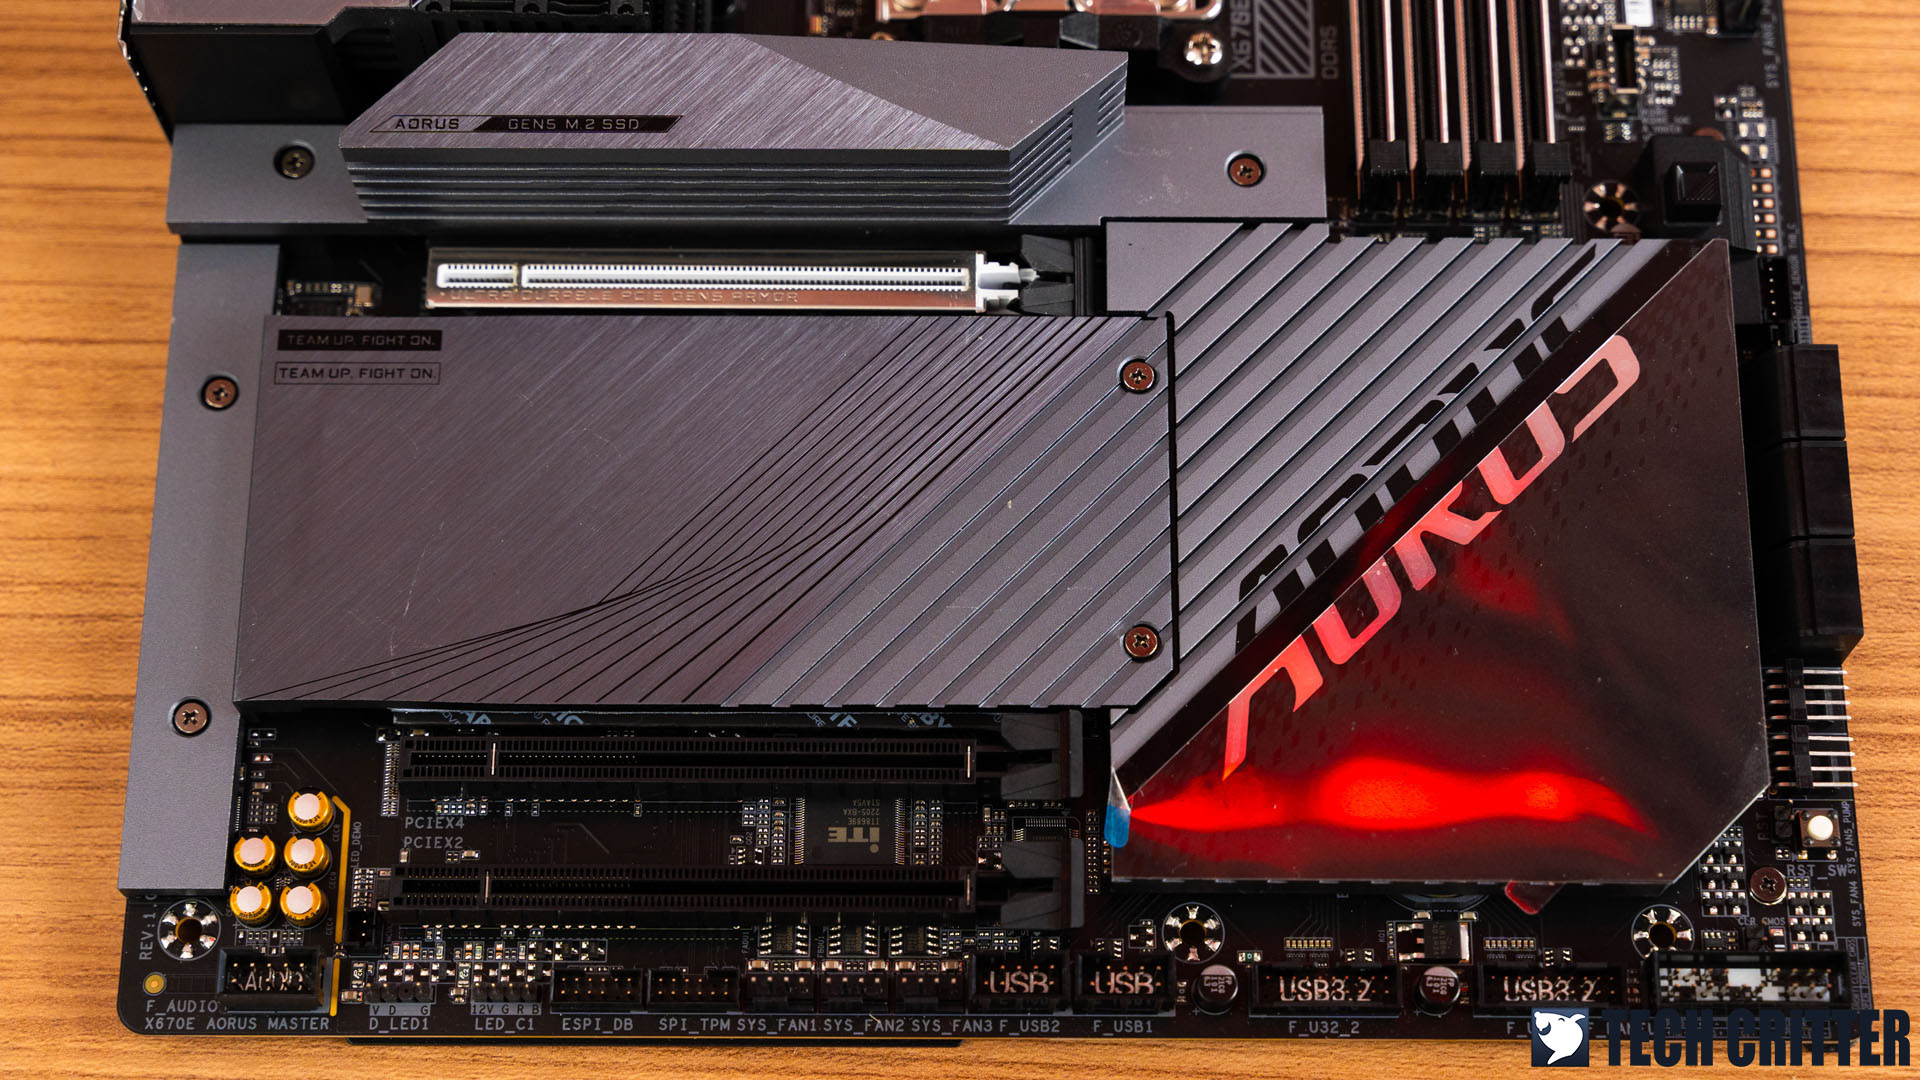
Moving on to the bottom part of the motherboard, Gigabyte has finally implemented its own QoL design for the first PCIe x16 slot and M.2 slots. With the PCIe EZ-Latch Plus, you can finally release the PCIe latch easily even if you have a crazy big or tall heatsink blocking the area, finally ending the pain once and for all. The M.2 EZ-Latch Plus is another good QoL feature but with a twist. Unlike most of the designs we’ve seen to date, this is probably the first that uses a spring lock to secure the M.2 drives.
Aside from the new features, Gigabyte has also equipped the X670E AORUS Master with a precisely-cut heatsink to make installation easier. For those who are always struggling with the heatsink screw alignment, this is the solution that Gigabyte has. So that’s another thumbs up to Gigabyte for the good effort to improve the user experience.

And for the power design, Gigabyte has equipped the X670E AORUS Master with a twin 16+2+2 phase VRM with a 105A power stage for each. Not much information is available at the moment but we’ll come back to this part as soon as we’re able to gather more information on the power design. Gigabyte has also equipped its new Fins-Array III heatsink to cool down the VRM, but we’re not really sure how much will these NanoCarbon Coating affects the overall cooling performance.

For the rear I/O panel, you’ll get plenty of USB ports that are well labeled and with different colors for easier identification. You’ll find one 2.5GbE LAN port and Wi-Fi 6E as the network connectivity option to get you ready for the high-speed network if you’re already equipped with those, but even if you don’t, it’s still backward compatible with the existing network devices.
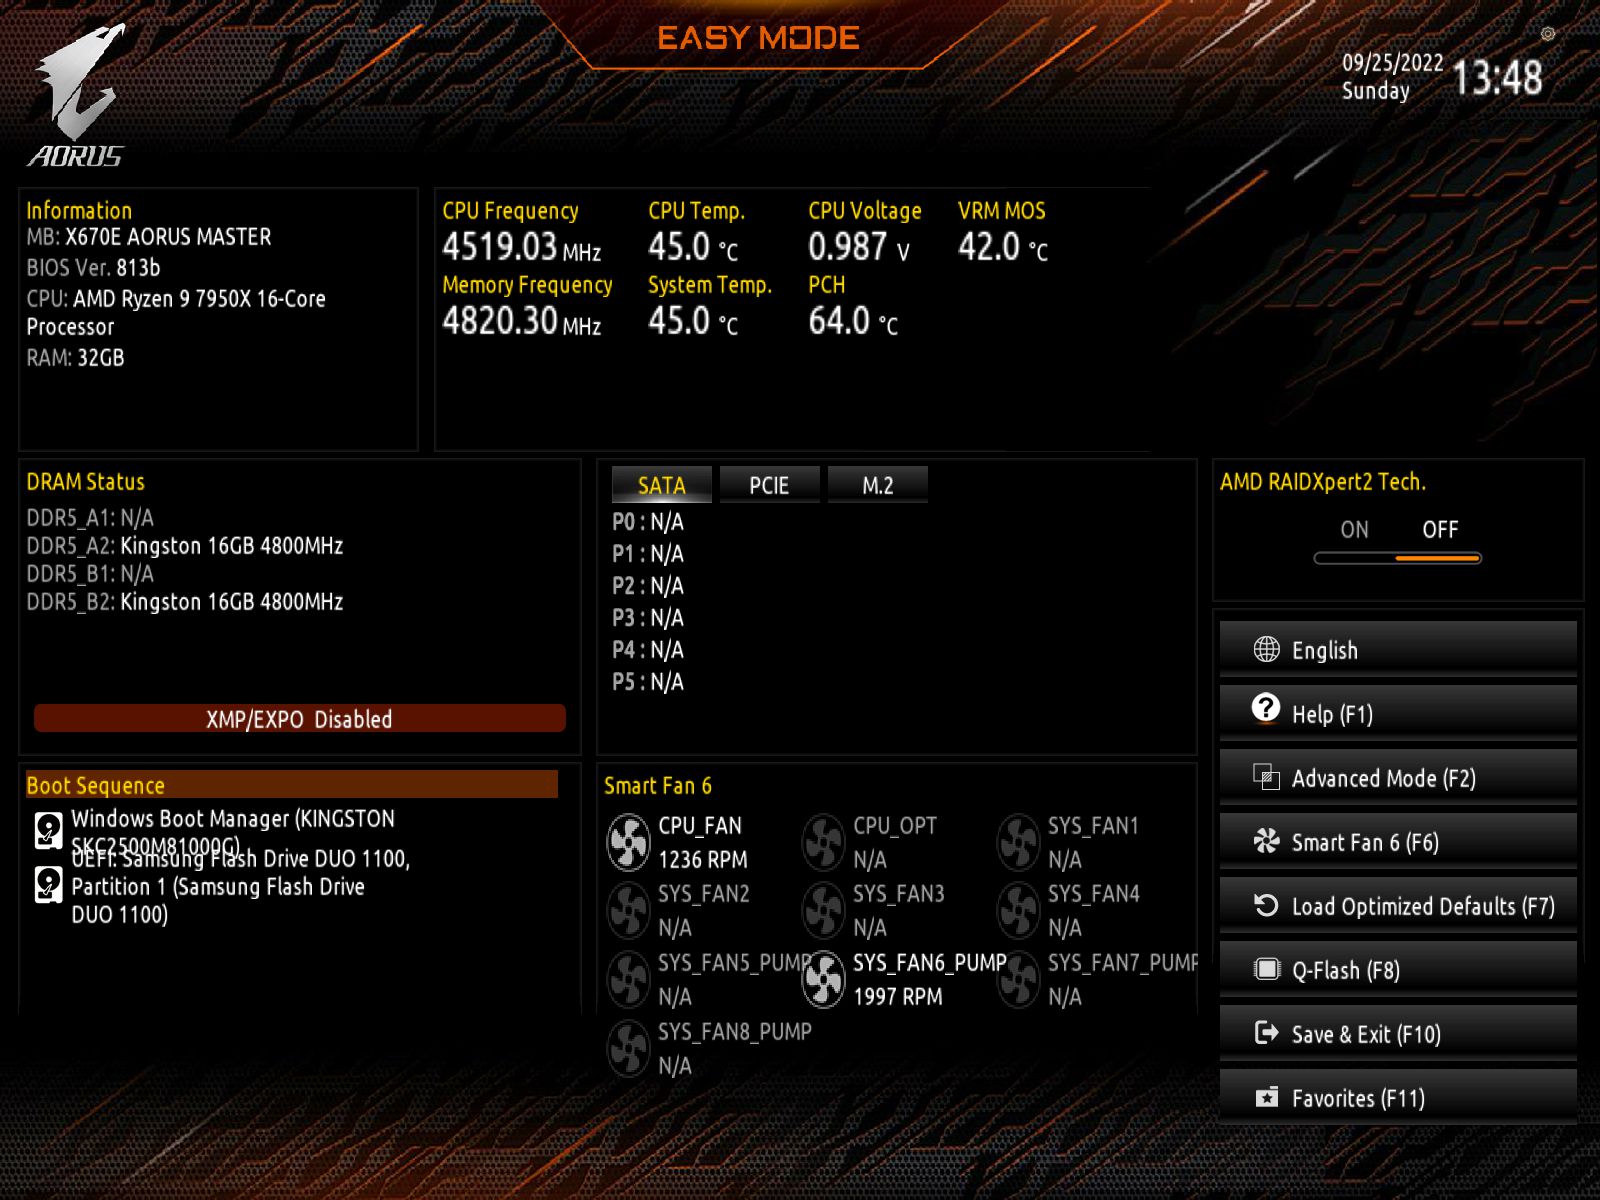
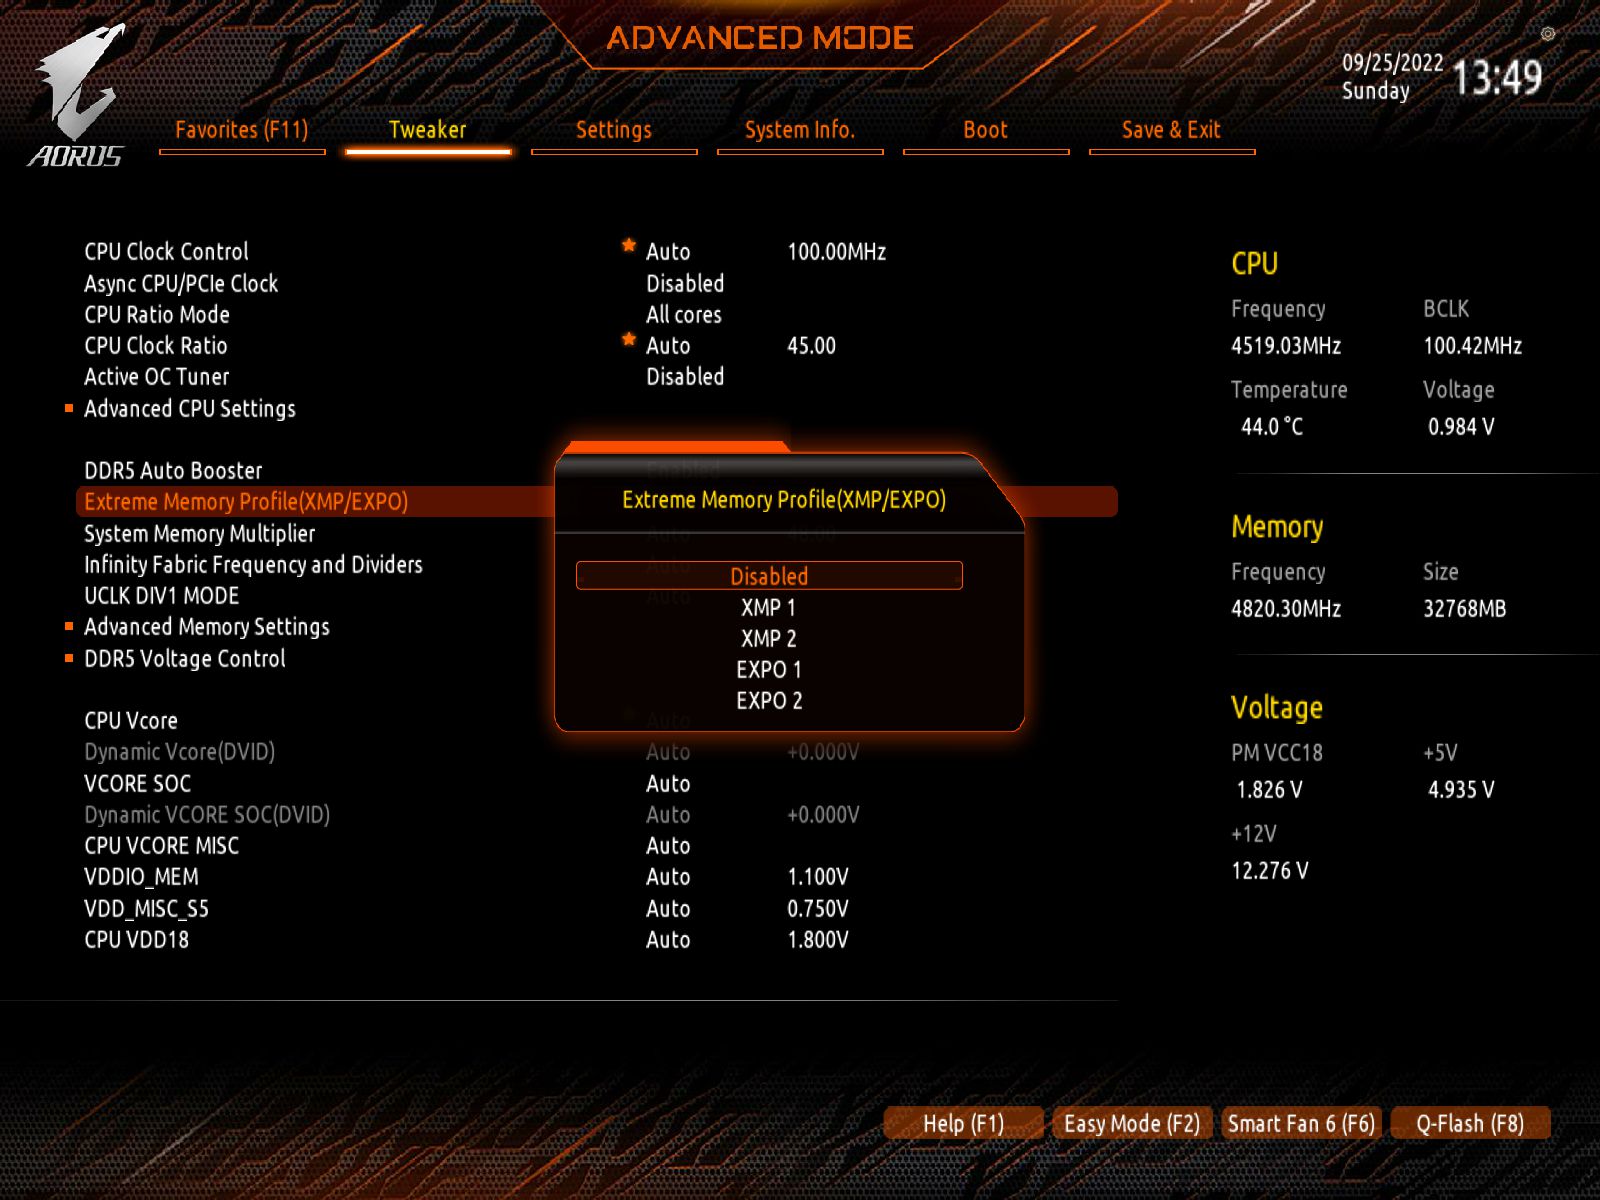
BIOS Interface


Test System Setup
| CPU | AMD Ryzen 9 7950X |
| Motherboard | Gigabyte X670E AORUS Master |
| Memory | Kingston Fury Beast RGB DDR5-6000 CL30 / G.Skill Trident Z Neo DDR5-6000 CL30 |
| Graphics Card | Radeon RX 6700 XT |
| Power Supply | Cooler Master V1200 Platinum |
| Primary Storage | Kingston KC3000 2TB |
| Secondary Storage | WD Black 6TB |
| CPU Cooler | Cooler Master MasterLiquid ML360R |
| Chassis | Streacom Open Bench Table |
| Operating System | Windows 11 64bit |
CPU Load Test and Thermals
As we only have a very limited time with the motherboard, we’re only focusing on the stock settings for the CPU but the stress test remains the same as how we usually do. With AMD setting the max temperature to 95ºC this time, the cooling capacity of the cooler you’re using will also decide how far you can go with the CPU, especially the sustained clock across all cores during load. If your cooler can handle the CPU well, the rest is up to the power design on your motherboard


For the load test with creative content and productivity work benchmarks, we can see that the VRM is doing very well, barely even hitting 50ºC throughout the entire session. The chipset, however, has a much higher load temperature that can go up to 77ºC. We didn’t notice any performance drop or instability during the test but I think that Gigabyte might want to look into this and improve the design for the chipset heatsink in the near future.
Memory Overview
Now for the memory overview, as AMD is fully committed to DDR5 this time, your only option for the Zen 4 is to go with the new DDR5 modules. Most of the existing DDR5 memory kits will work just fine with the JEDEC specs but if you’re going for a higher memory frequency and tighter timings, it’s best to go with an AMD EXPO certified kit.

With AMD EXPO kits, you can easily get a reasonable DDR5-6000 with the preset and get the 65ns memory latency just as what AMD has advertised. Though if you’re willing to spend a little time to slightly optimize the memory timings, you can reduce the latency a little further without much trouble. The highest clock we managed to get so far is at DDR5-6400 CL32 but you can just stick to the sweet spot configuration of DDR5-6000 and Auto:1:1 for FCLK:MCLK:UCLK if you don’t feel that adventurous with the memory settings.


If you’re going for four memory modules configuration like those builds you saw on TikTok PC build videos, DDR5-6000 is technically impossible with just the EXPO preset alone. Without any adjustments to the voltage and memory settings, DDR5-3600 CL30 is what you’ll find on the memory settings after the system boots up. We didn’t manage to get the system to run at DDR5-6000 using four sticks but DDR5-5600 is still possible and it only requires minimal adjustments on the memory-related voltages like the VDD, VDDP, and a bit on the VSoc.
First Impression
For the first impression, the X670E AORUS Master is a solid motherboard that is designed for enthusiasts who wants a powerful, feature-rich motherboard that they can have full control of. It’s build-ready to handle the Ryzen 7000 series desktop processors and with the improved QoL features, the X670E AORUS Master is a lot easier to deal with in most use cases. My only complaint for this time is the Q-Flash Plus button and Clear CMOS pins. It’s fine as long as you don’t bump into any issues that require you the reset the CMOS or worse, flash the BIOS all over again, which is almost impossible if you’re using it for benchmark purposes and I’m not a fan of these changes.
Aesthetically, it’s a fine-looking motherboard that is equipped with an actually reasonable heatsink for the VRMs. And by that, it means that even though Gigabyte has done a great job with the VRM cooling solution, the chipset load temperature is a bit on the higher side and I believe not everyone is going to feel comfortable with their chipset running at 77ºC during load. So that’s something Gigabyte might want to take a look into.
As for the price of RM 2399, it’s a bit cheaper than its Intel counterpart which is priced at RM 2499 at launch, but I’d say it’s still a pretty steep price for a motherboard alone because there are other costs that have to be taken into account if you’re going for the upgrade. Will I recommend this board? Well, if you can afford it and are ready to make the jump to Zen 4, this is probably one of the decent X670E motherboards you can go for right now.