Sharkoon has been around for years as one of the renown brand for PC chassis and cooling fans but to be frank, we don’t really see much of Sharkoon chassis around Malaysia compared to big competitors like Corsair, Cooler Master, NZXT, etc. However, things might be different this time as Sharkoon introduces a new member in its ATX chassis line up, the BW9000-W.
We have our thanks to Ideal Technology for supporting today’s review on the Sharkoon BW9000-W. Retails at RM299, does the Sharkoon BW9000-W have what it takes to be a chassis that worthy of that price?
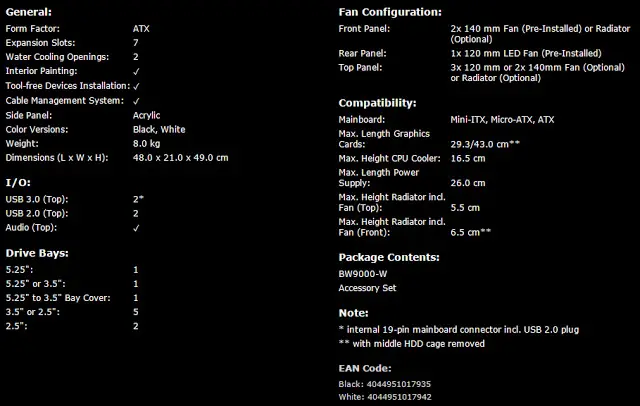
Specifications
Unboxing
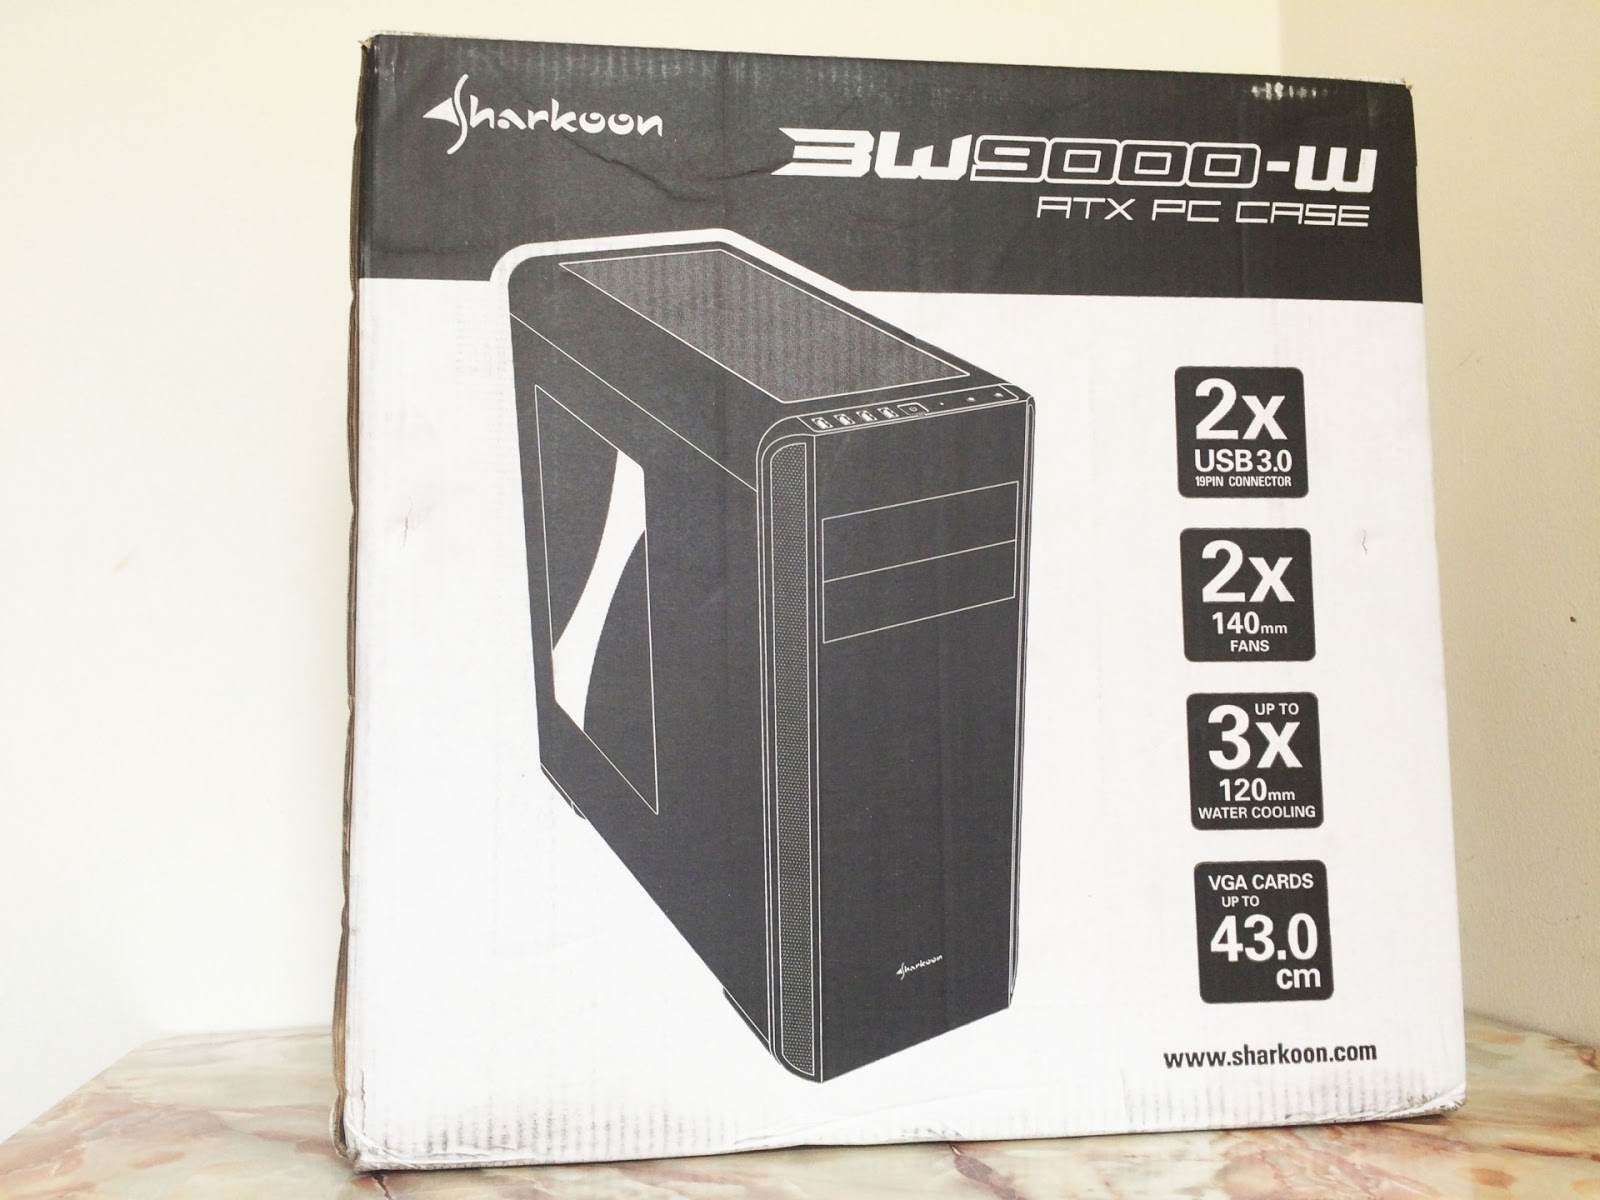
The packaging of the BW9000-W is pretty straight forward and simple, a cardboard box with the image of the BW9000-W printed on, along with the highlighted feature of the chassis.
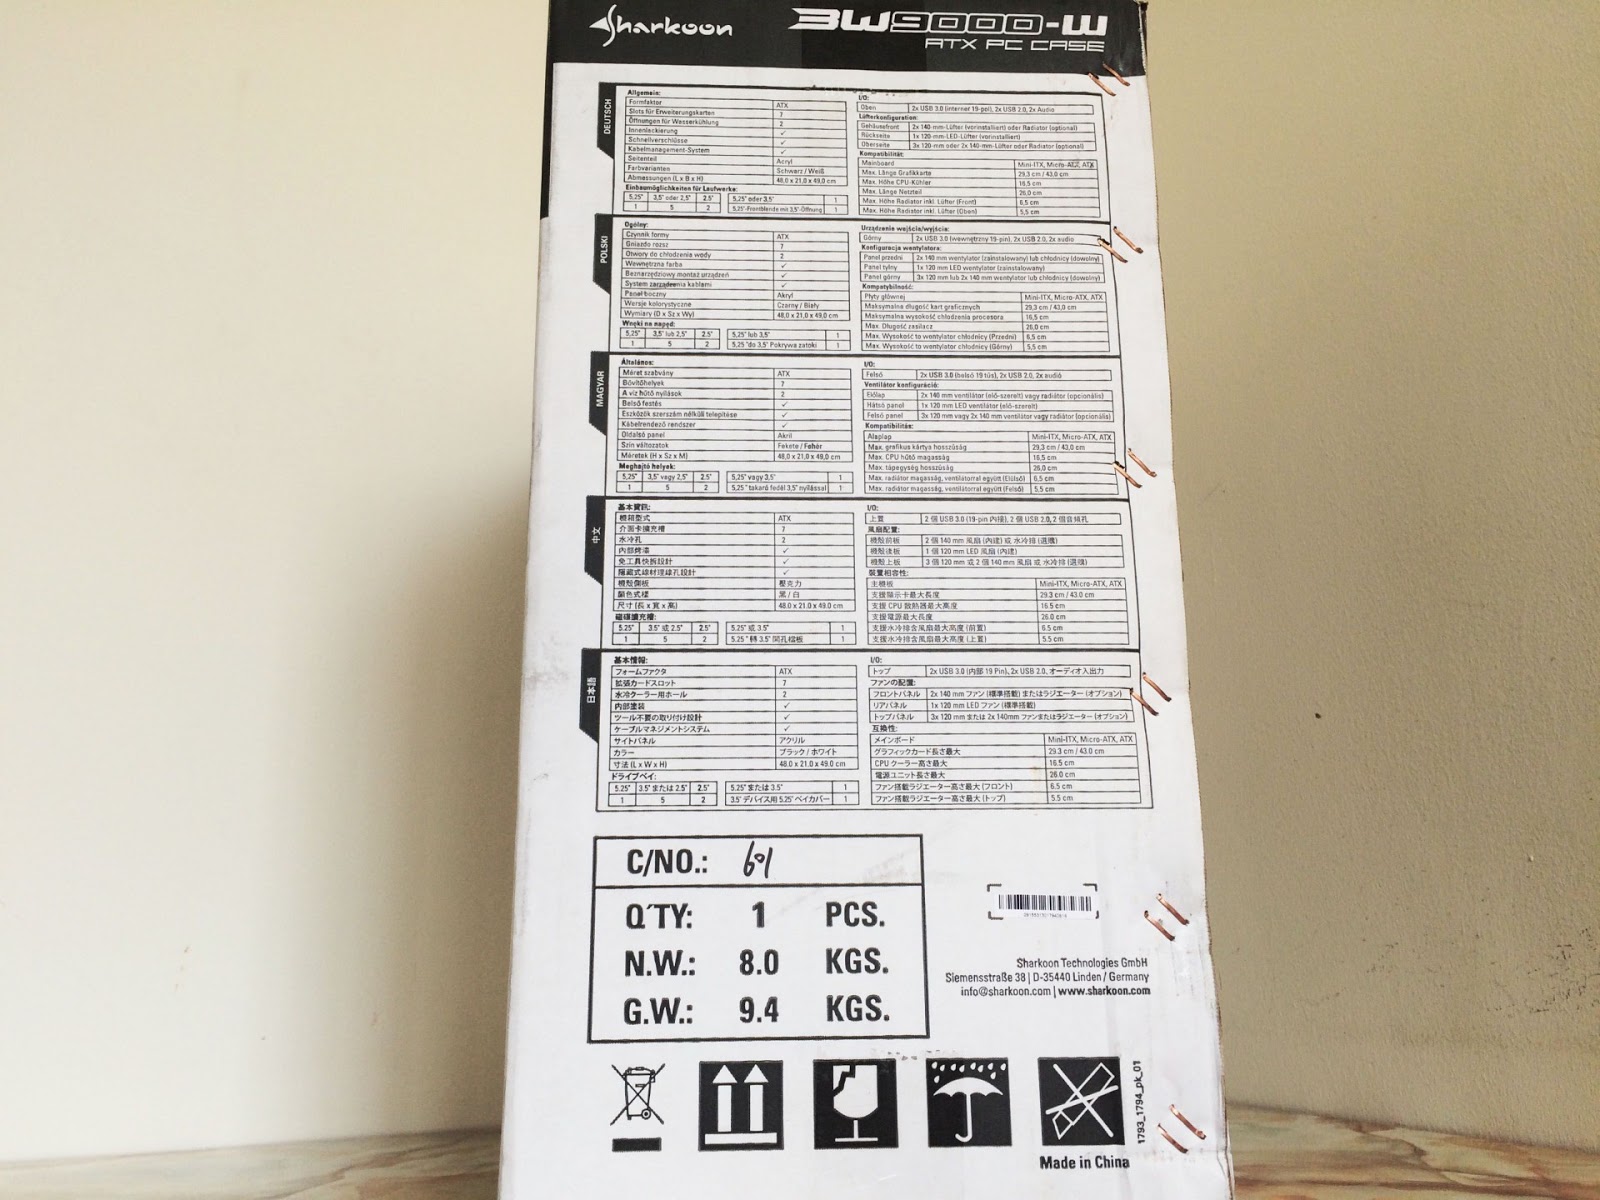
The specification of the chassis itself can be found on the side of the packaging, printed in various languages.

The accessories included are the screws for HDD installation, PSU installation, motherboard installation, speaker for troubleshooting, zip ties for cable management, user’s manual, etc.

Inside the box, we find the BW9000-W flanked in between 2 pieces of thick foam as a shock absorbent to minimize damage during transportation.
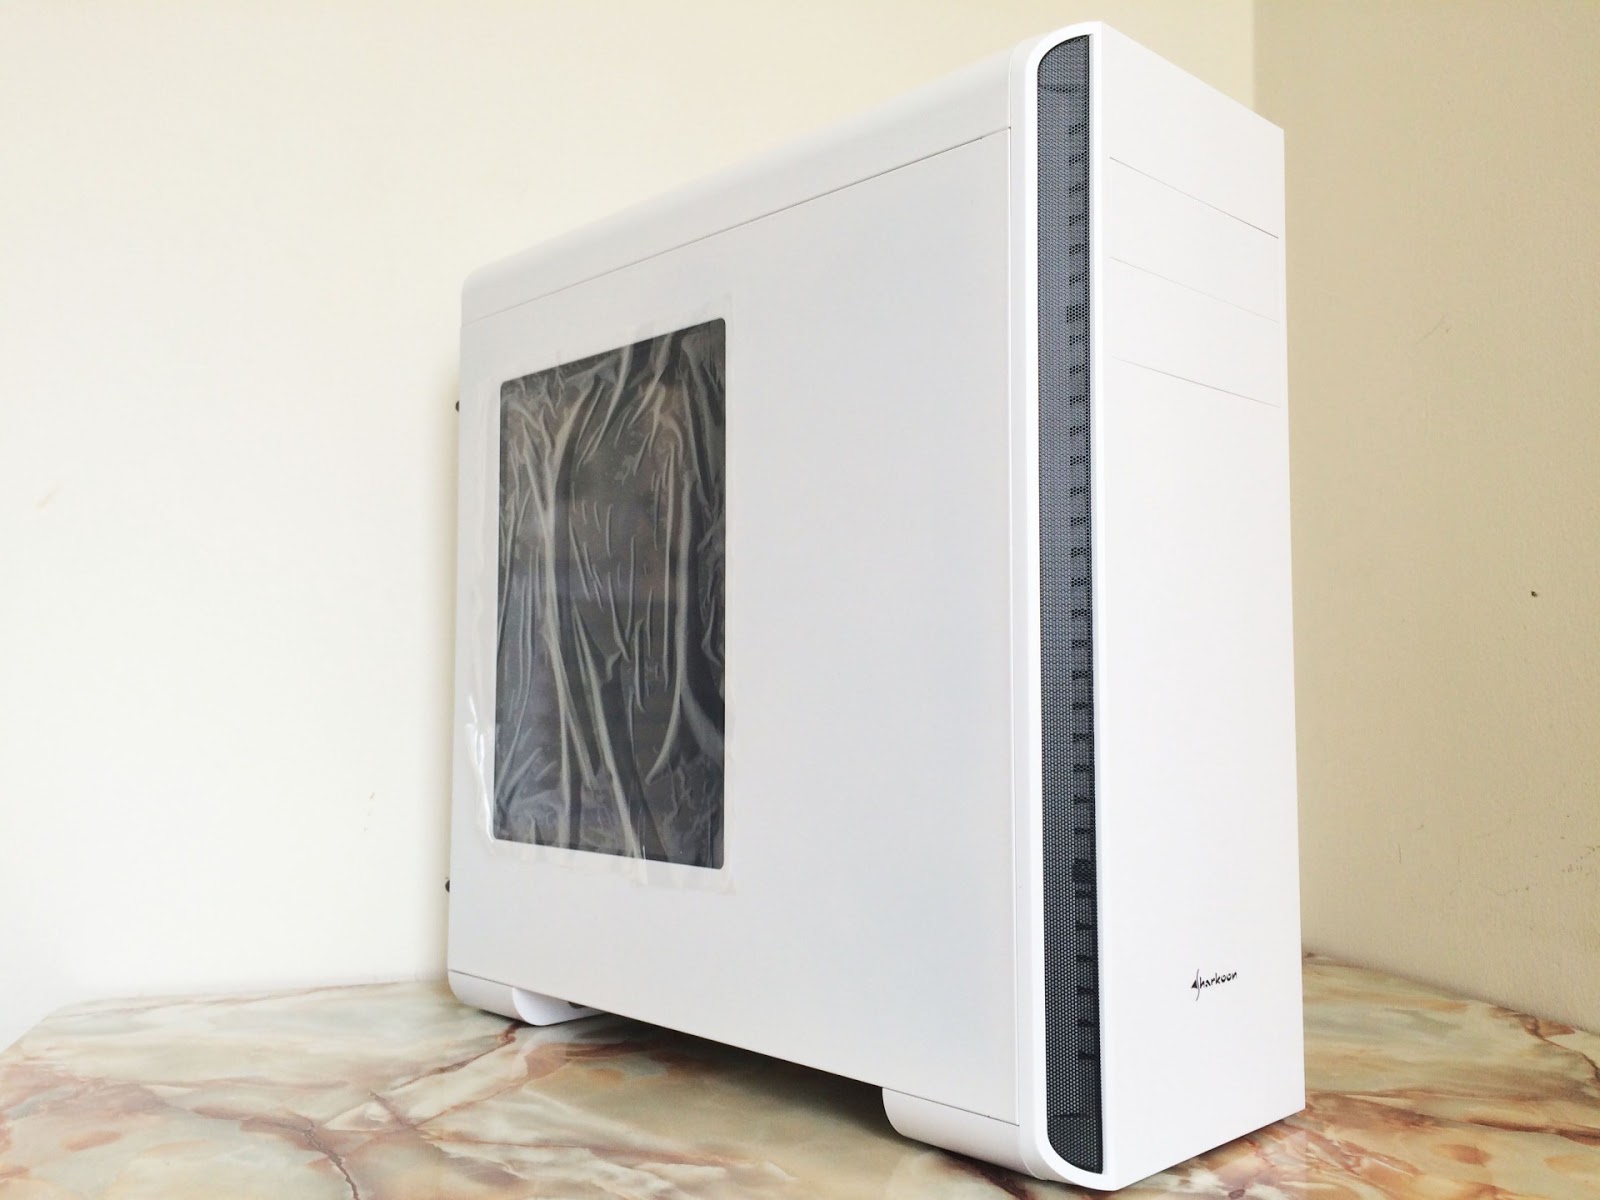
Our first look at the Sharkoon BW9000-W, its clean and simple design seems to be something that will attract the minimalist enthusiasts. Clean overall design, simple and minimalist, a side panel window that shows only the compartment where the motherboard and the graphics card is located for visual enjoyment.

The Sharkoon logo printed on the front panel.

The mesh at the side of the front panel allows air to flow through even though the front panel isn’t the kind of meshed design like most chassis with high airflow design.

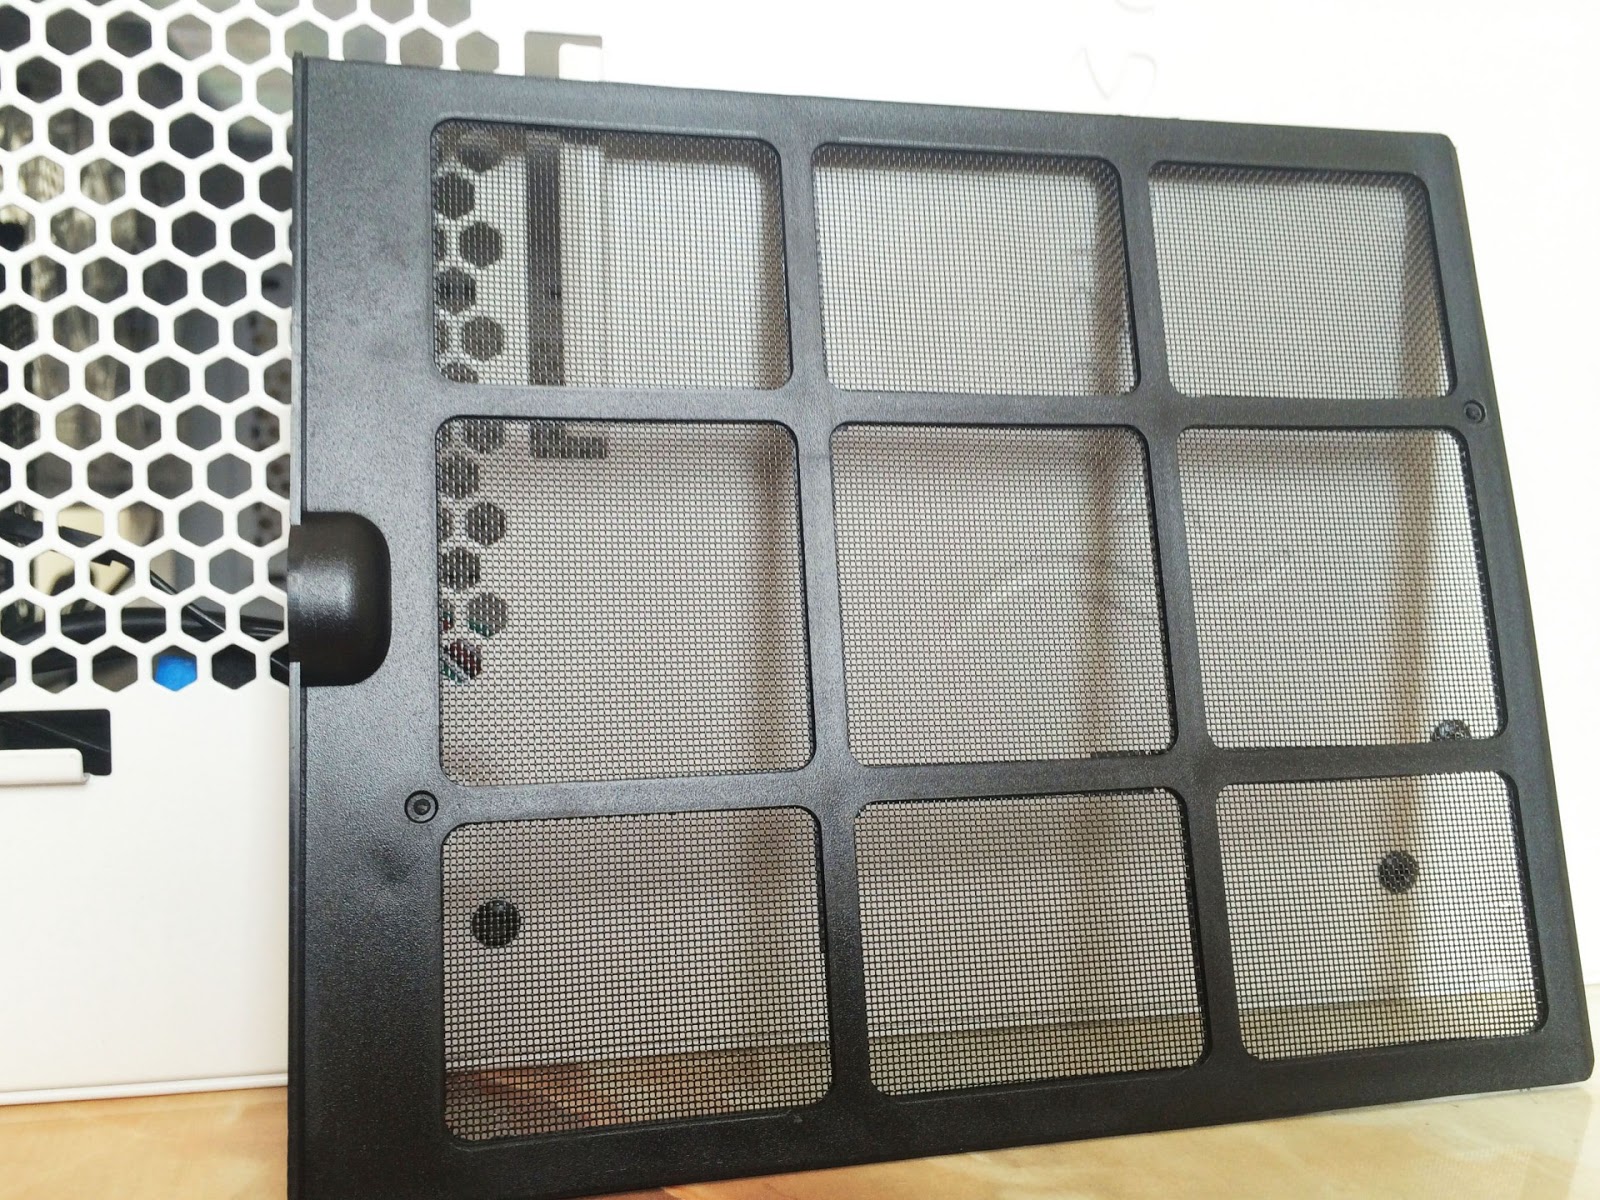
Removing the front panel, we find a large piece of dust filter at the front as well, but this isn’t the magnetic dust filter like the one on the top.
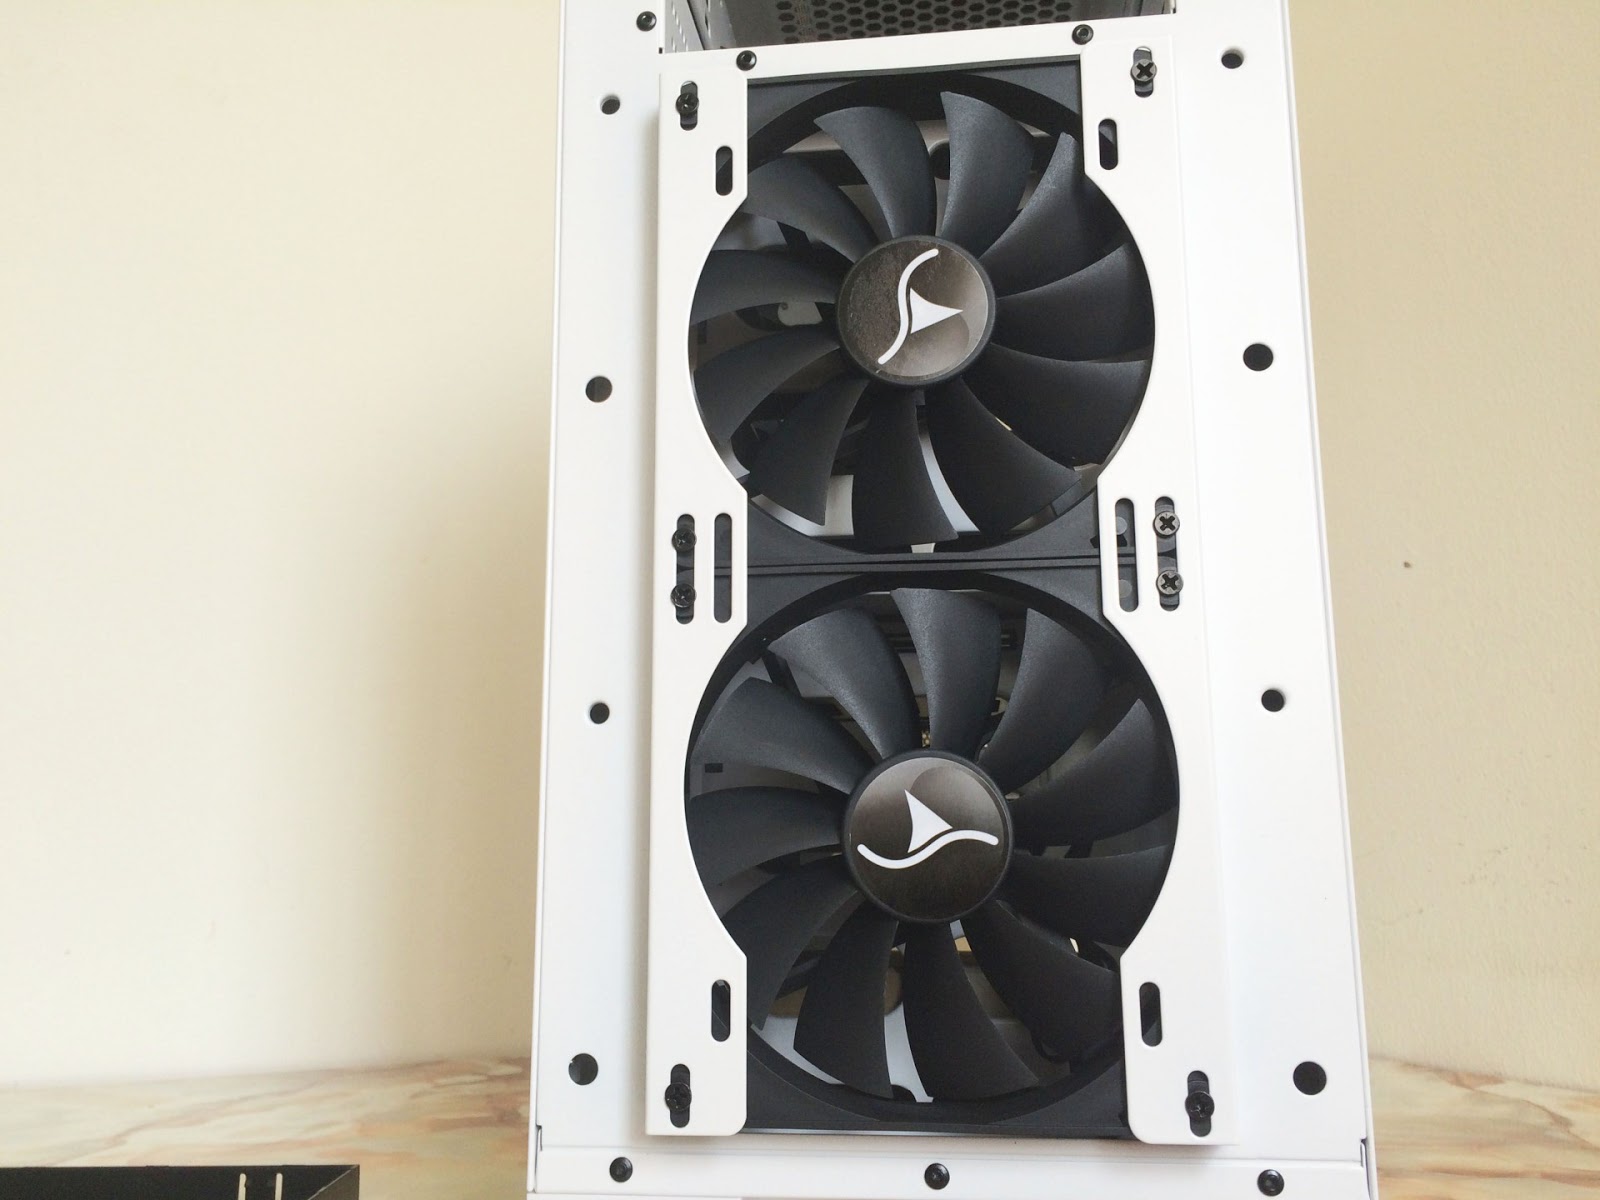
There are 2 pieces of 140mm fan at the front as the intake fan, but if you’re into custom water cooling setup, there’s just enough space for either a 280mm radiator / 360mm radiator.

The front I/O consists of 2 x USB 3.0, 2 x USB 2.0 and 2 audio jacks, which is pretty standard nowadays after USB 3.0 become more mainstream.
The BW9000-W looks really promising at this point, as it supports cooling solution such as 2 x 140mm fans, 3 x 120mm fans, 280mm radiator and even a 360mm radiator on the top of the chassis.

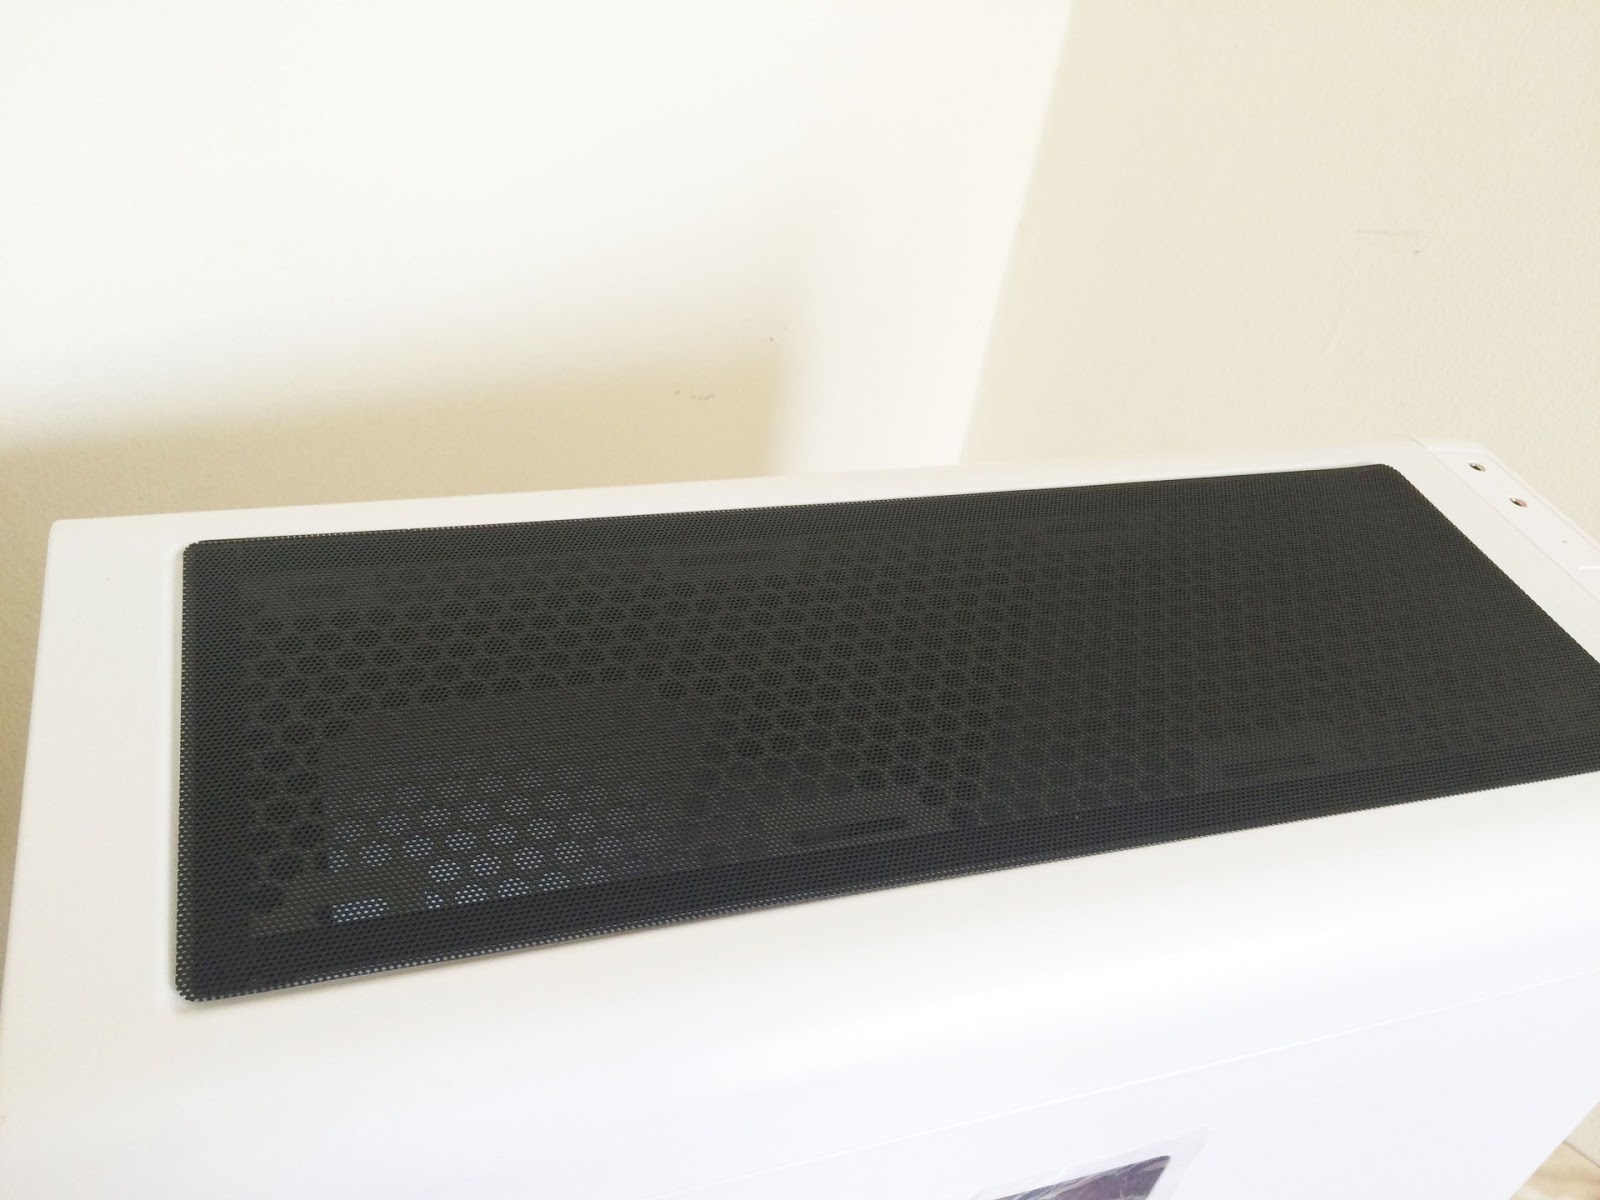
A flexible magnetic dust filter comes together with the BW9000-W, which helps not only to reduce dust intake to your system but also easier to clean.
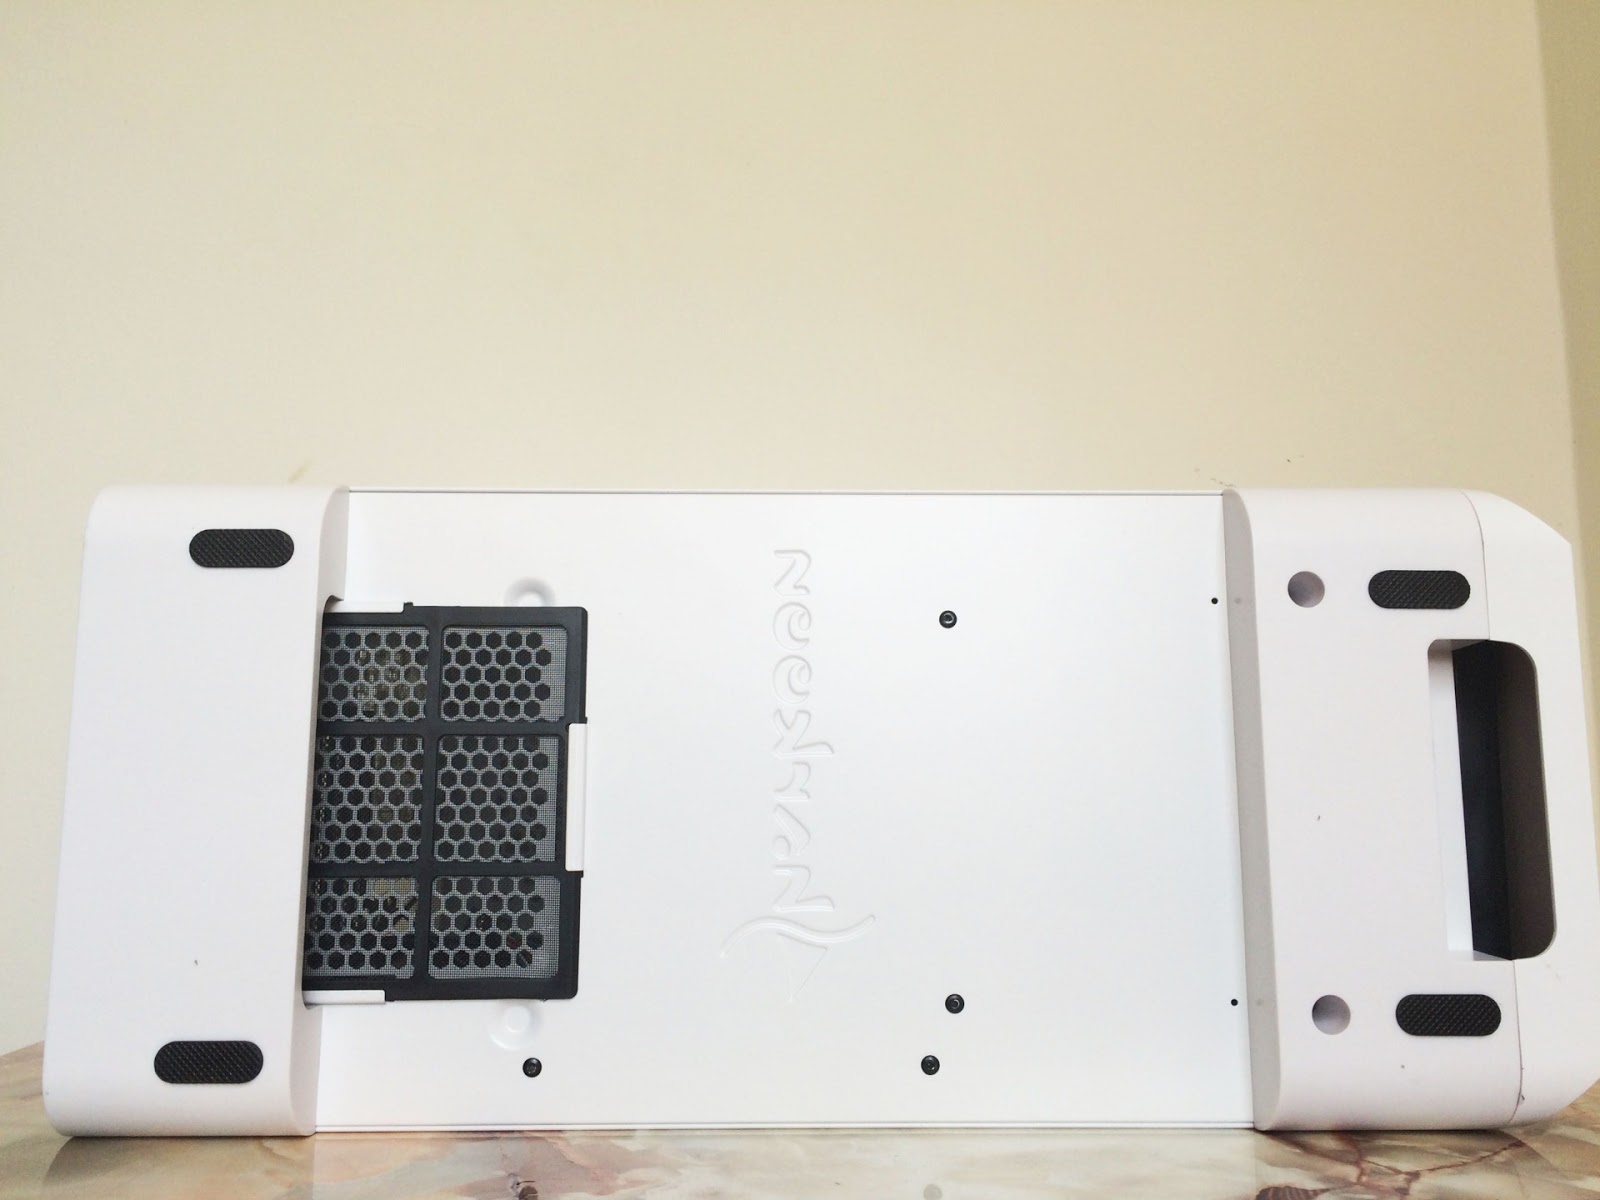
Moving forward to the bottom of the chassis, a rather unusual design it has. Instead of having case feet like most minimalist design chassis we’ve seen, the case feet of the BW9000-W is made up of the part of the chassis.
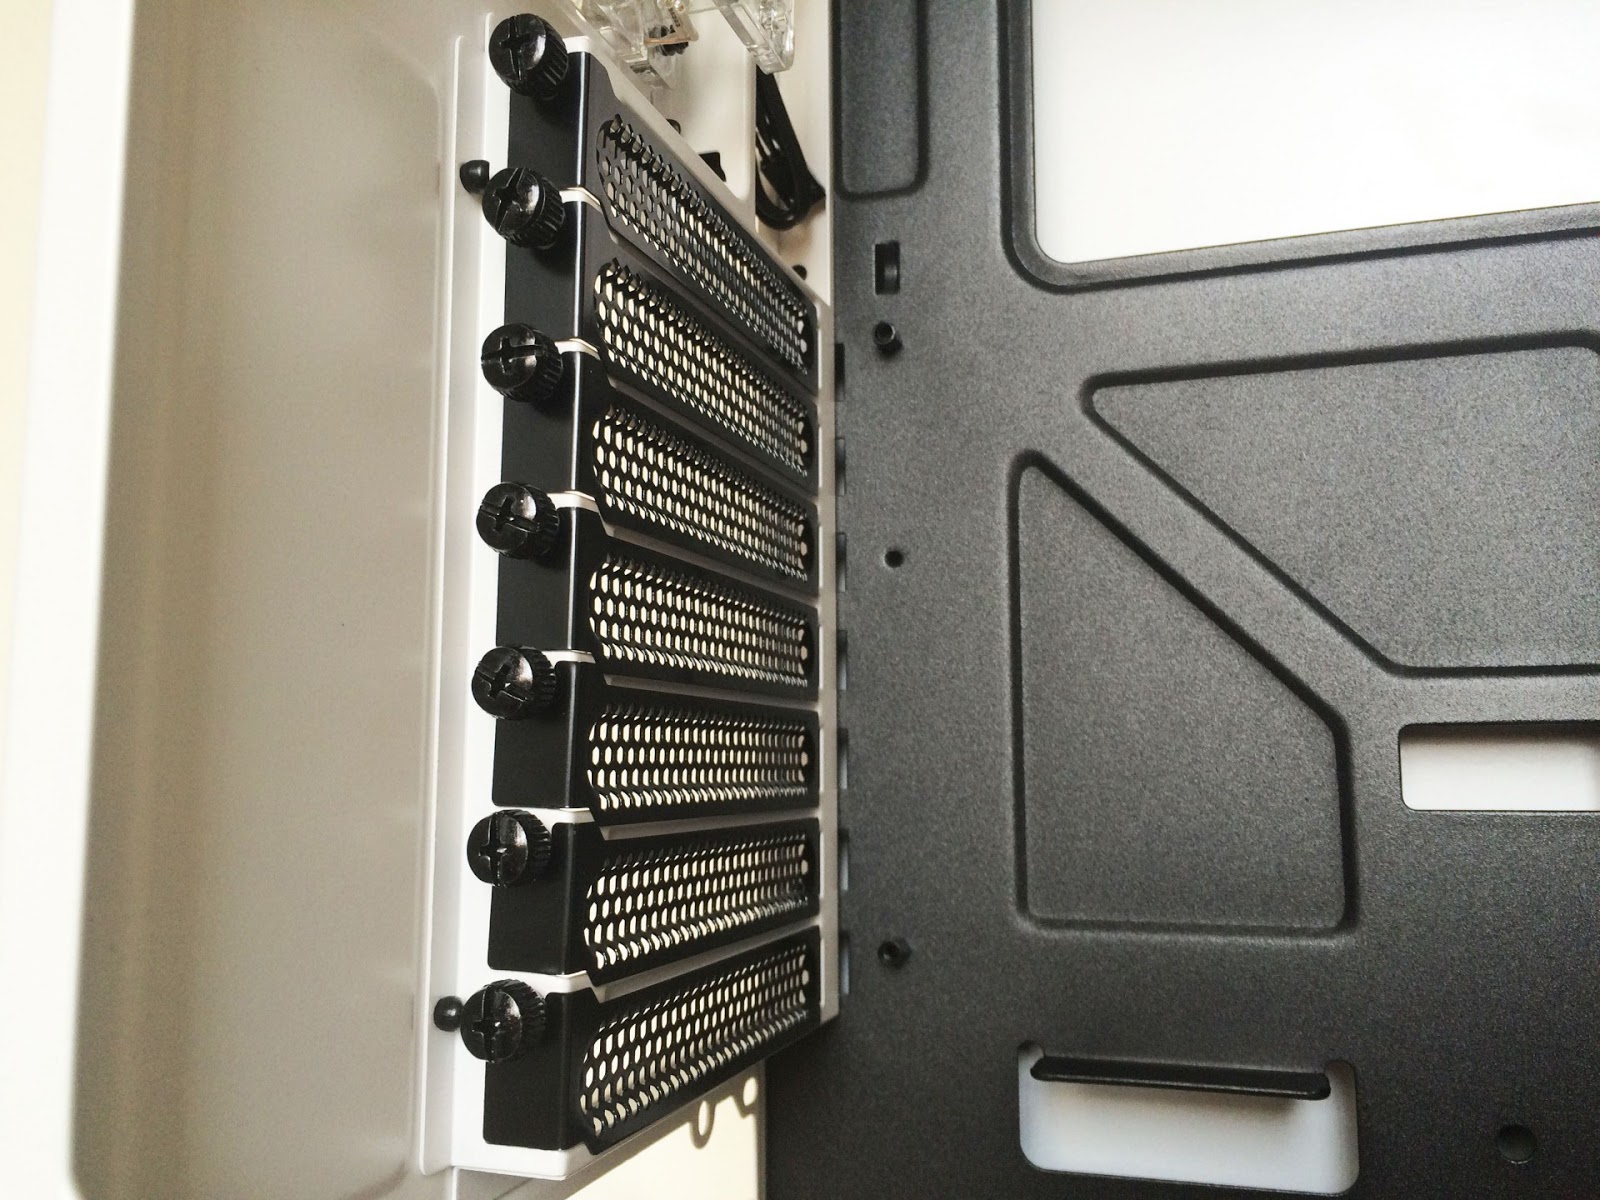
Right under the mesh where the power supply is supposed to be installed, you’ll find a removable dust filter to minimize dust intake into the power supply.
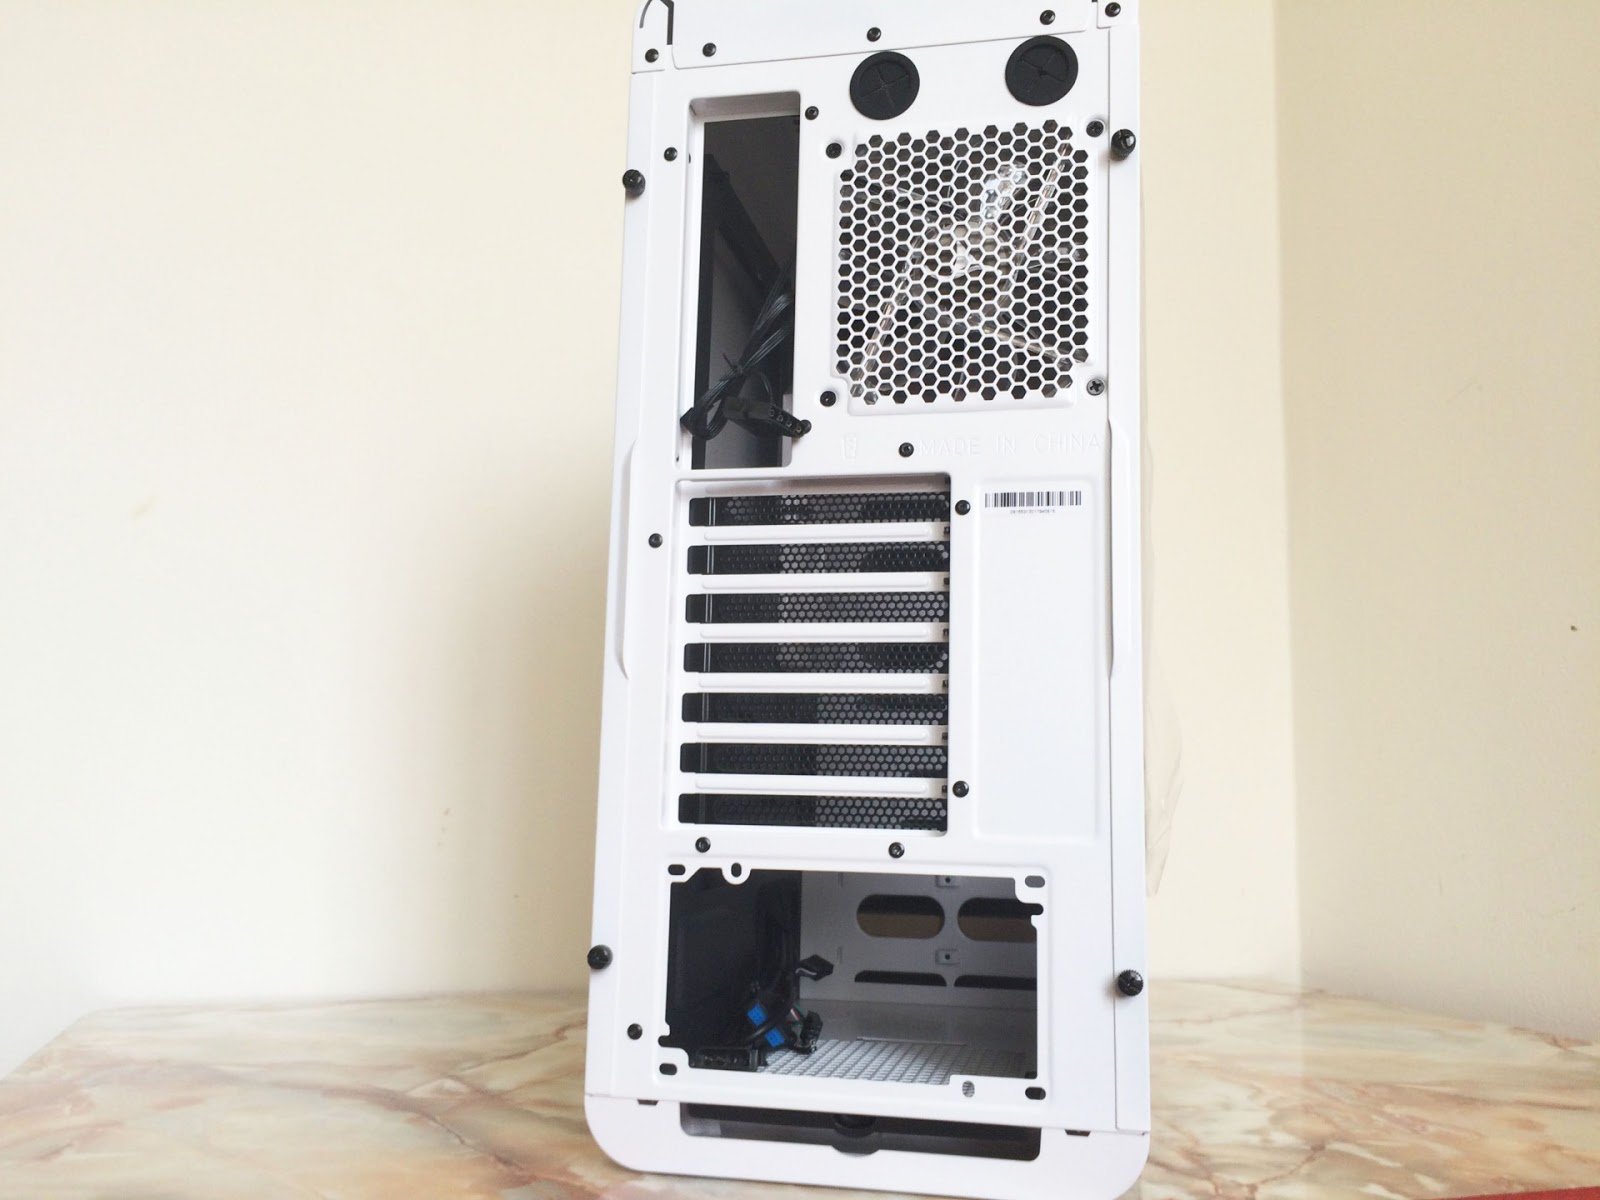
The back of the chassis.
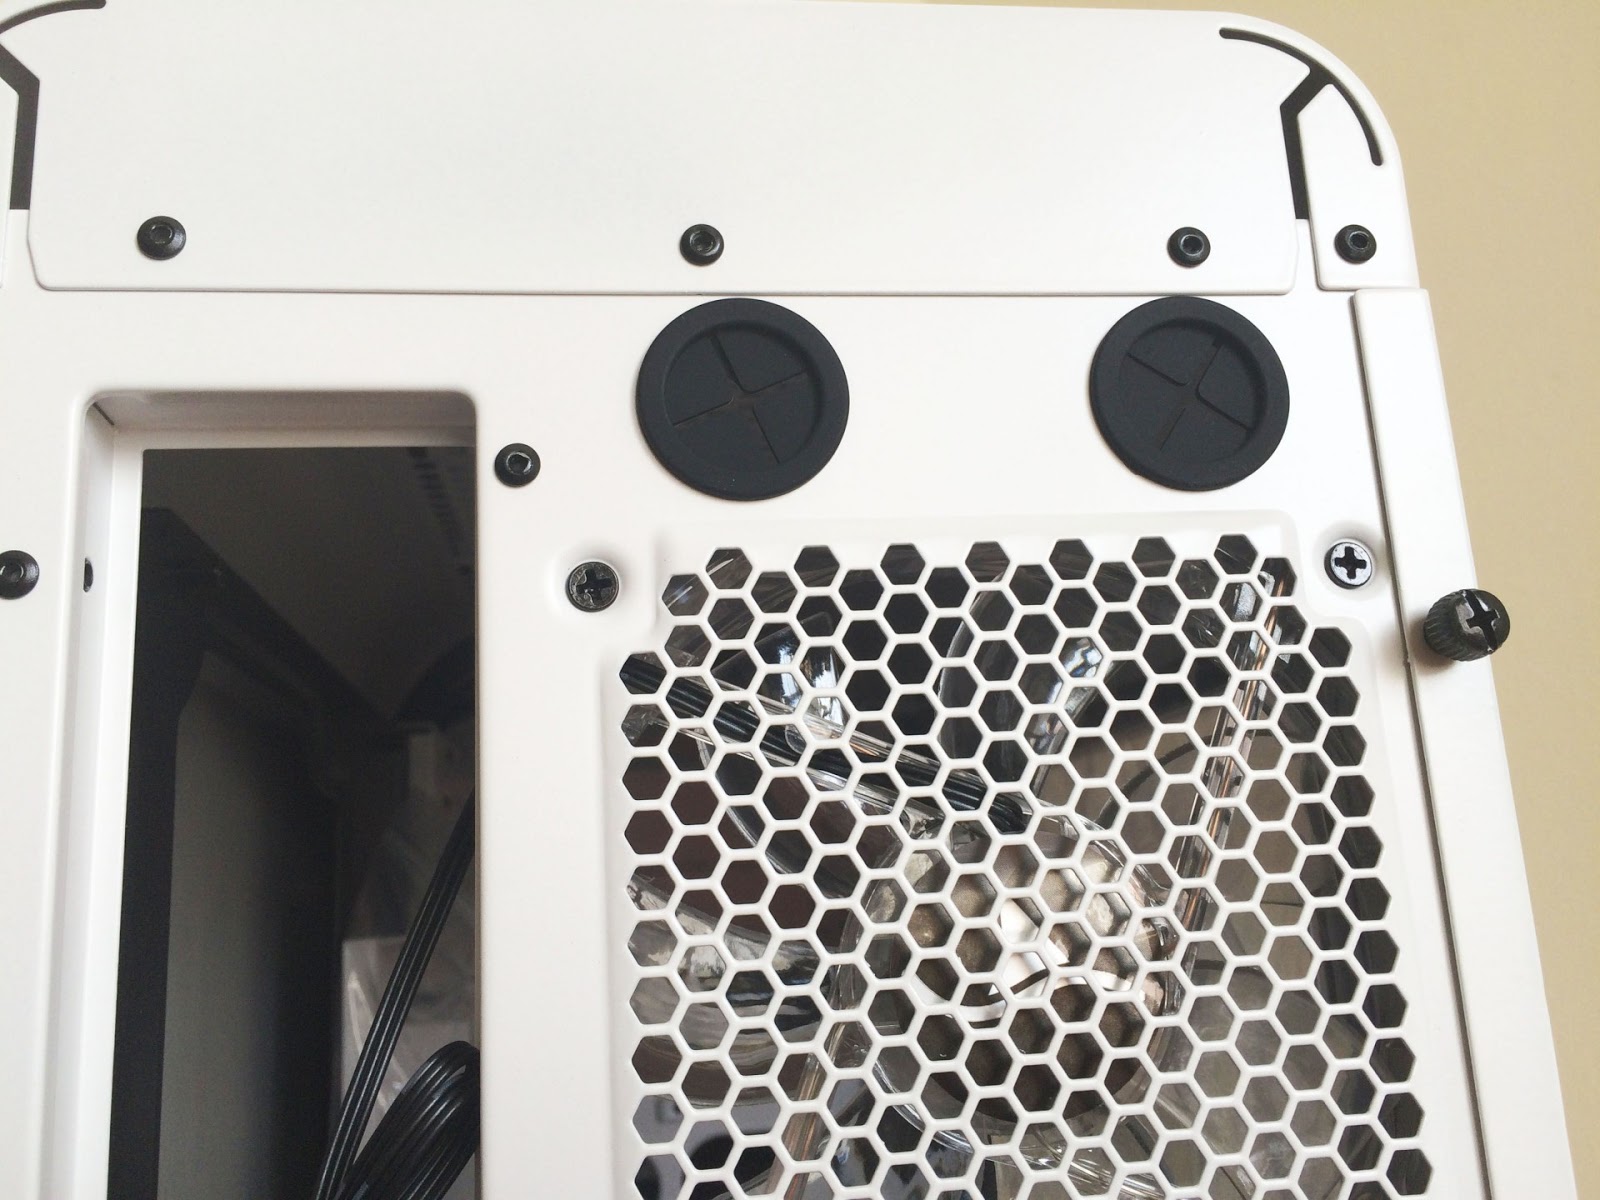
There are 2 holes covered with 2 rubber grommet that’s meant for external water cooling setup if the available spaces for radiator aren’t enough for you.
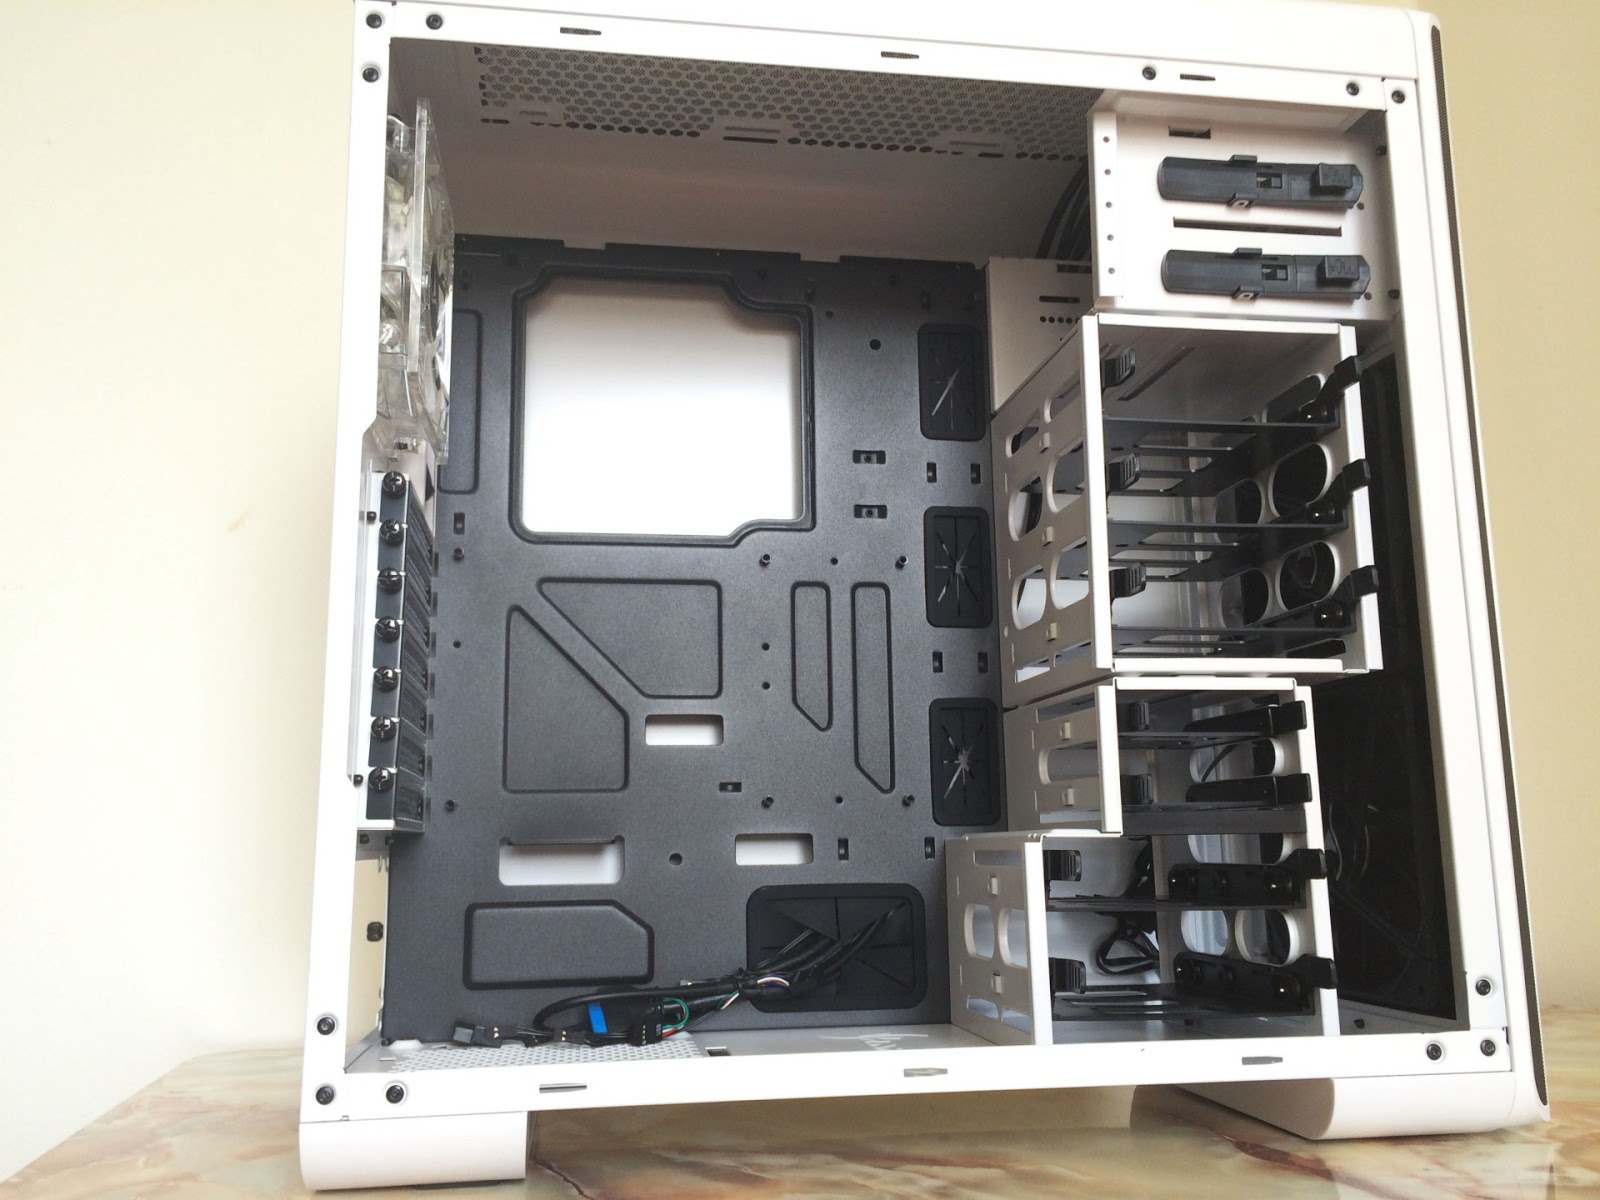
The interior of the BW9000-W might look a little odd on first sight due to the HDD cage, but it is quite spacious we must say. It fits a full-sized ATX motherboard, graphics card length of up to 430mm, etc, pretty much everything you can get for a high-end gaming rig.
With that much of space, you’ll have no problem fitting a 280mm/360mm up there.

The tool-free ODD drive lock allows you to secure the ODD drive without the use of screws that we’ve normally seen on most traditional design chassis.
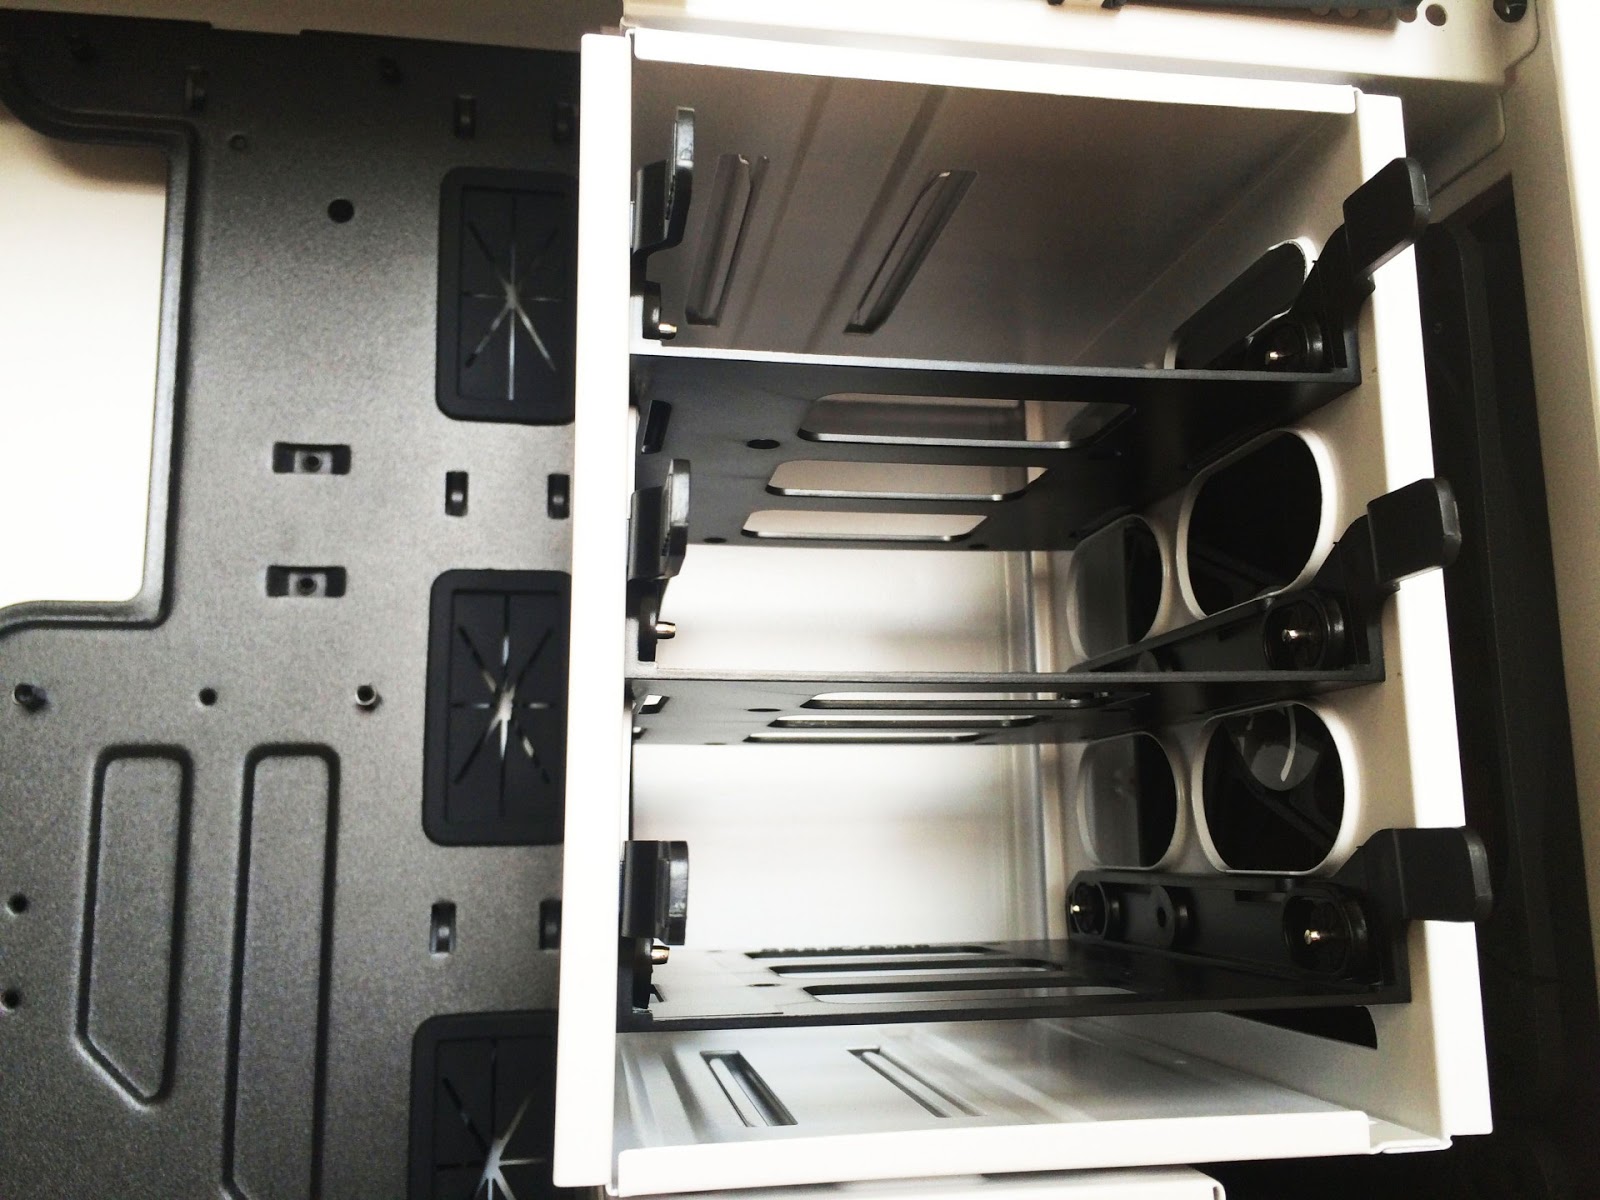
The top 3.5″ HDD cage fits a total of 3 HDD, but it can be removed in case if you need more for a longer graphics card, or perhaps to install a radiator at the front of the chassis.
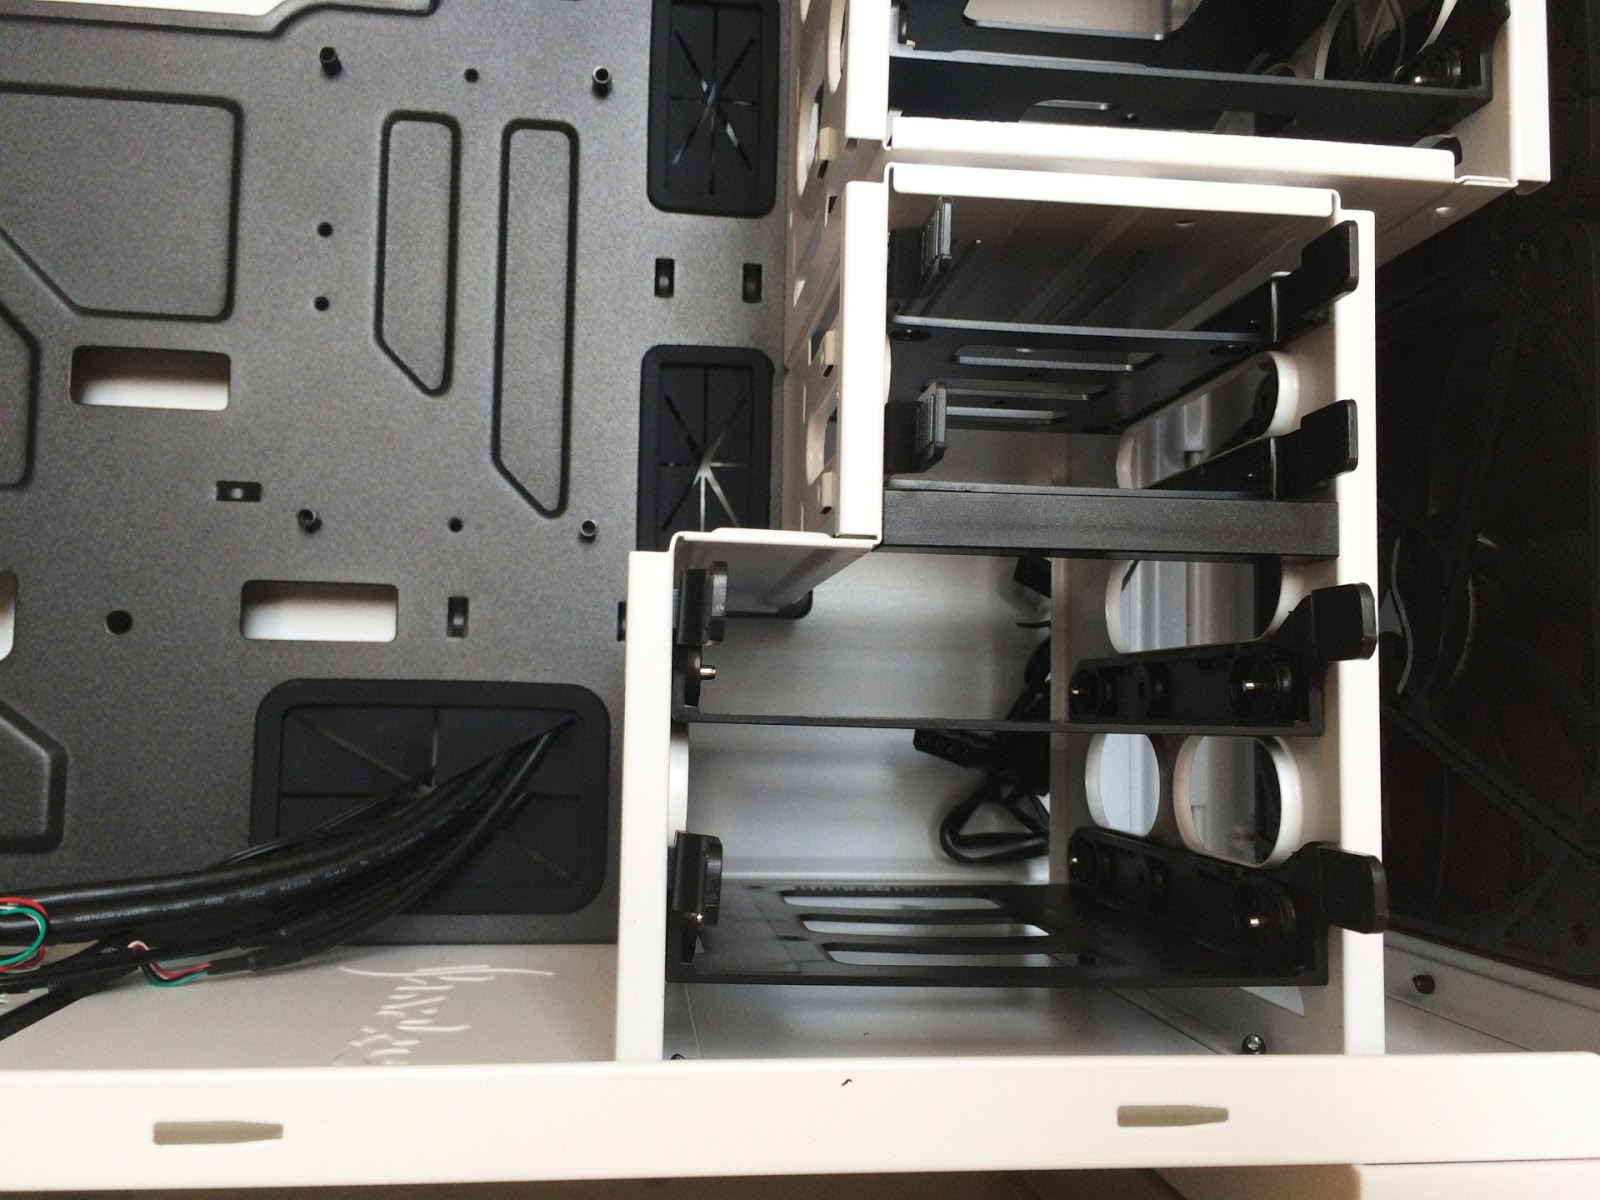
The bottom drive cage allows you to install 2 pieces of 3.5″ HDD and 2.5″ HDD or SSD each, which is pretty much enough for most users.
The PCIe expansion slot is enough for a full sized motherboard, 7 slots in total.

The motherboard tray comes ready with these stand-offs to make your motherboard installation much easier, as well as the cutout for cable routing, sweet!
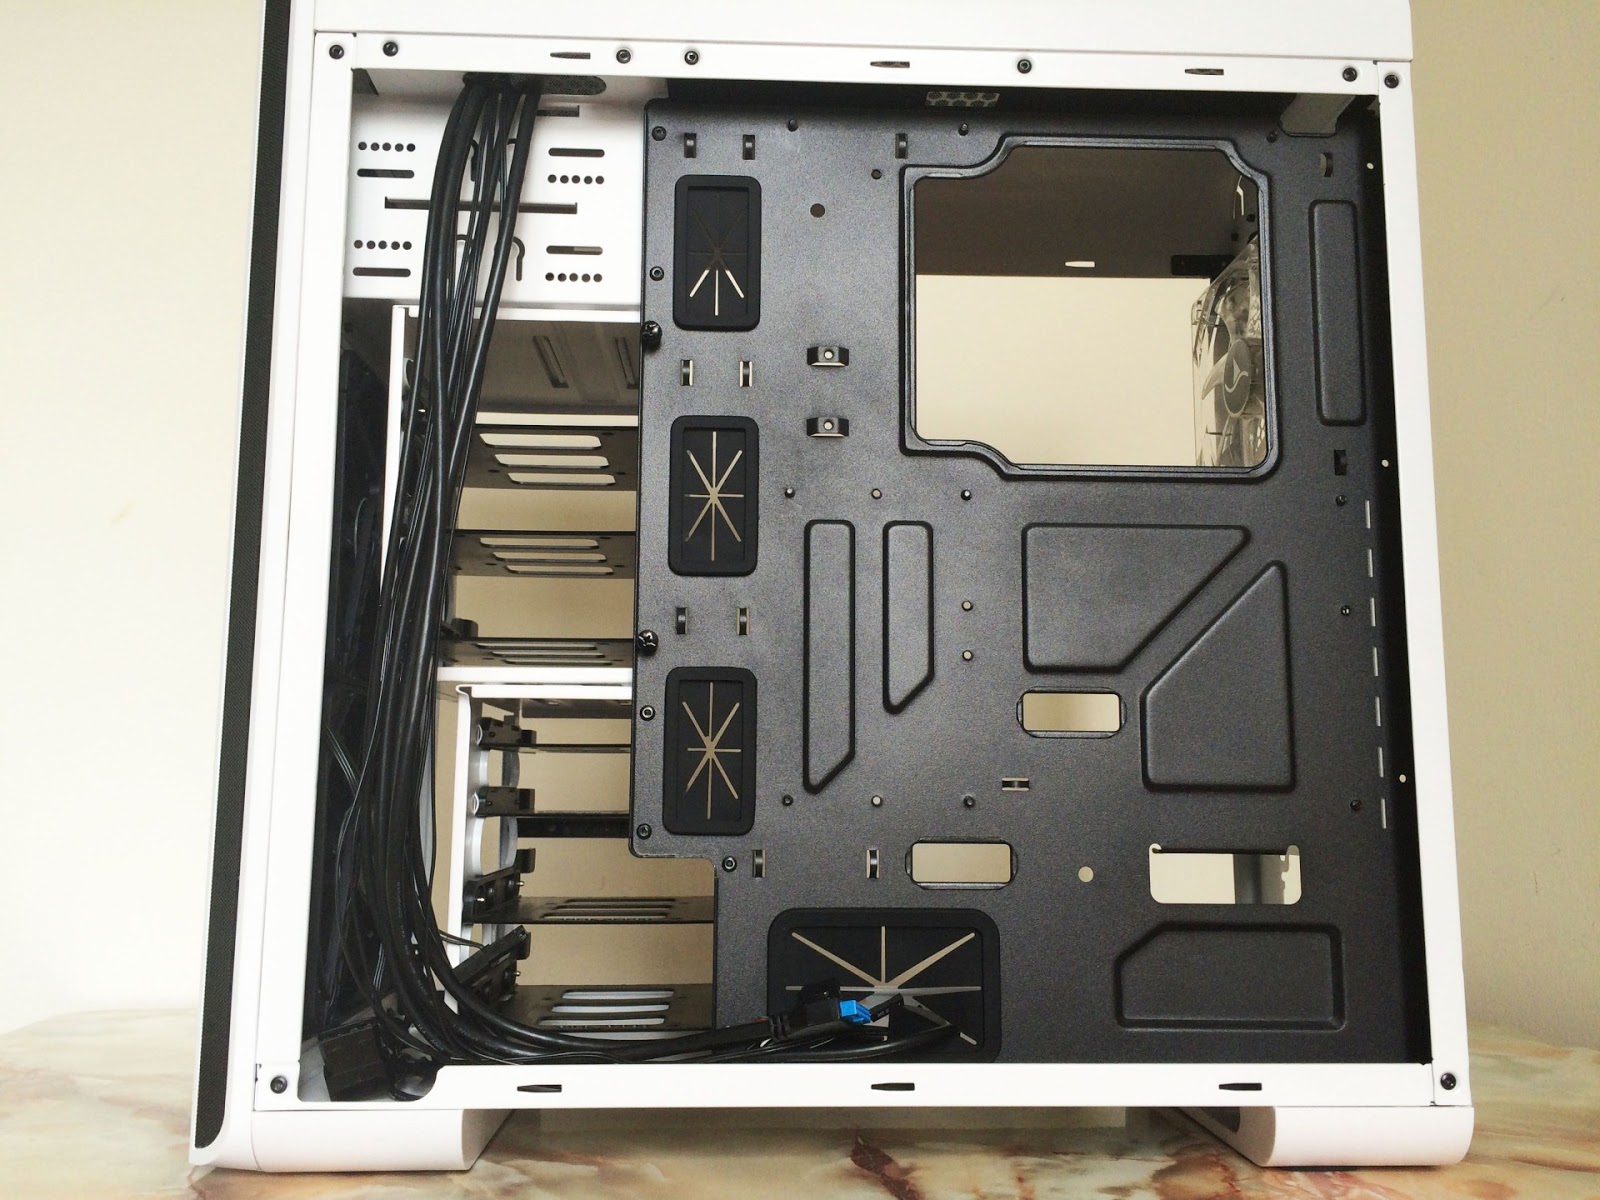
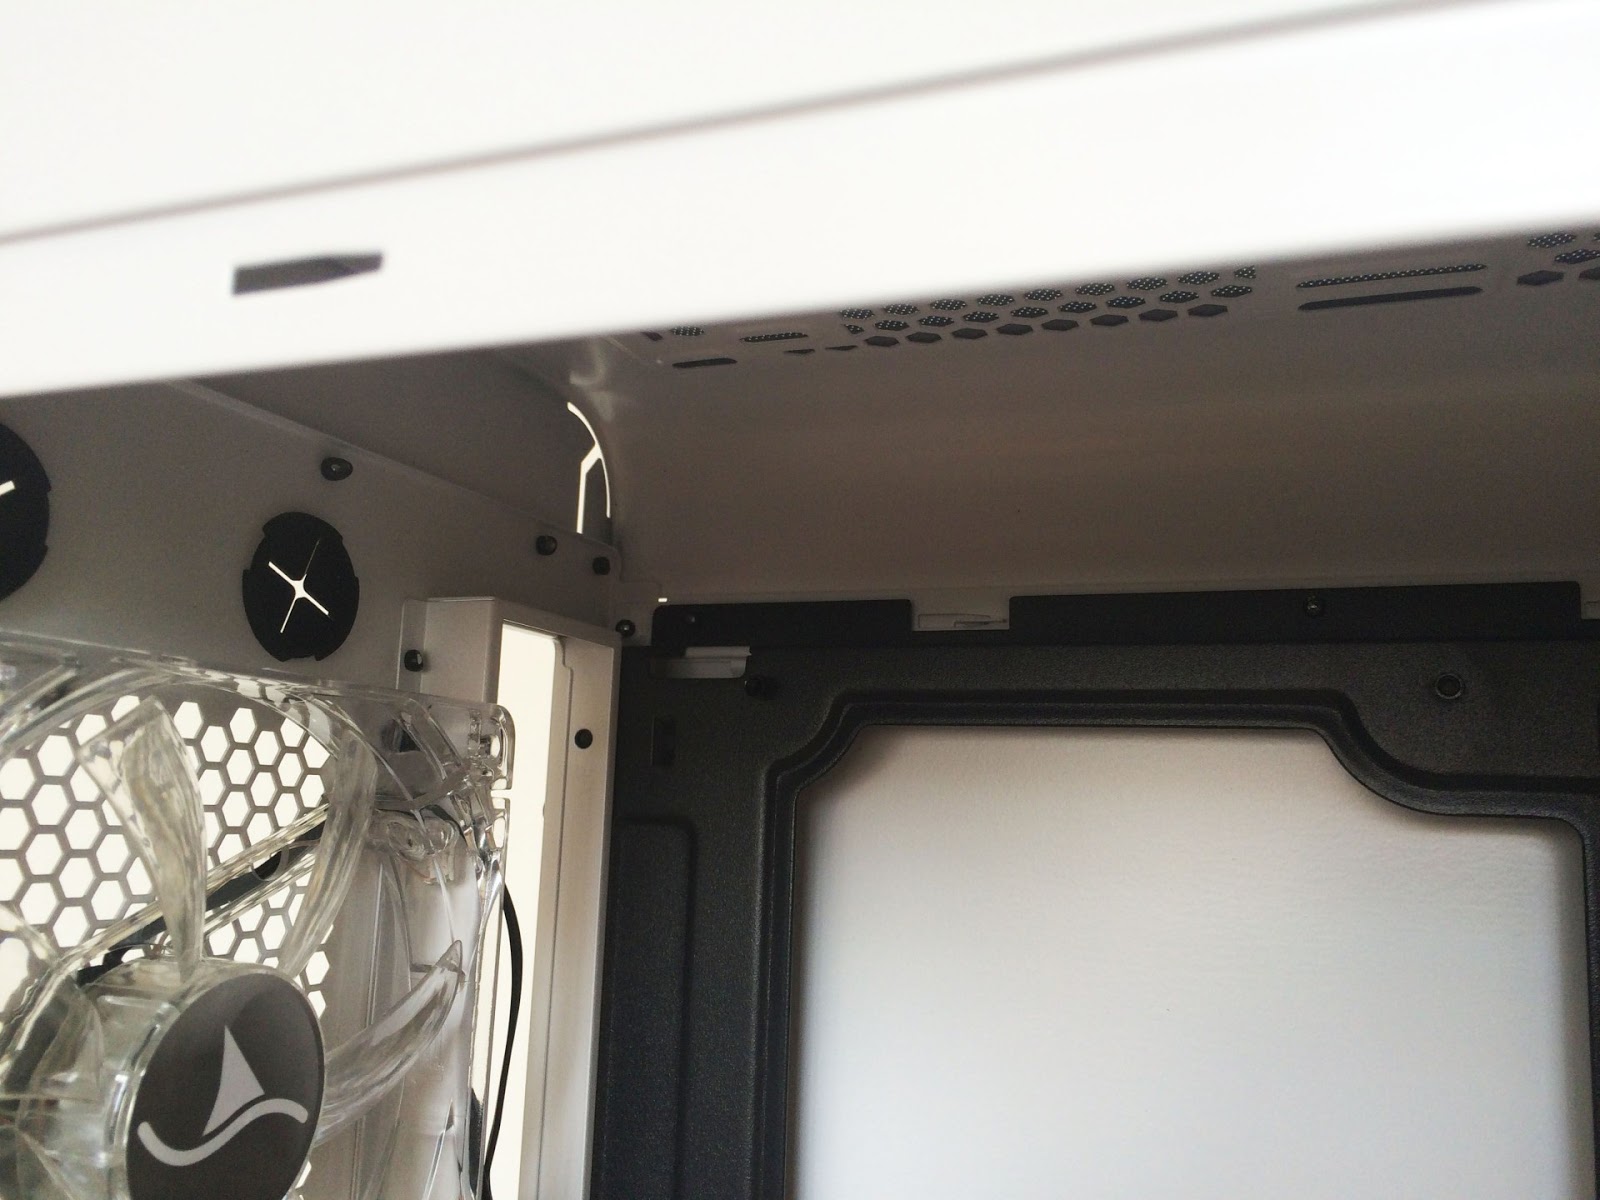
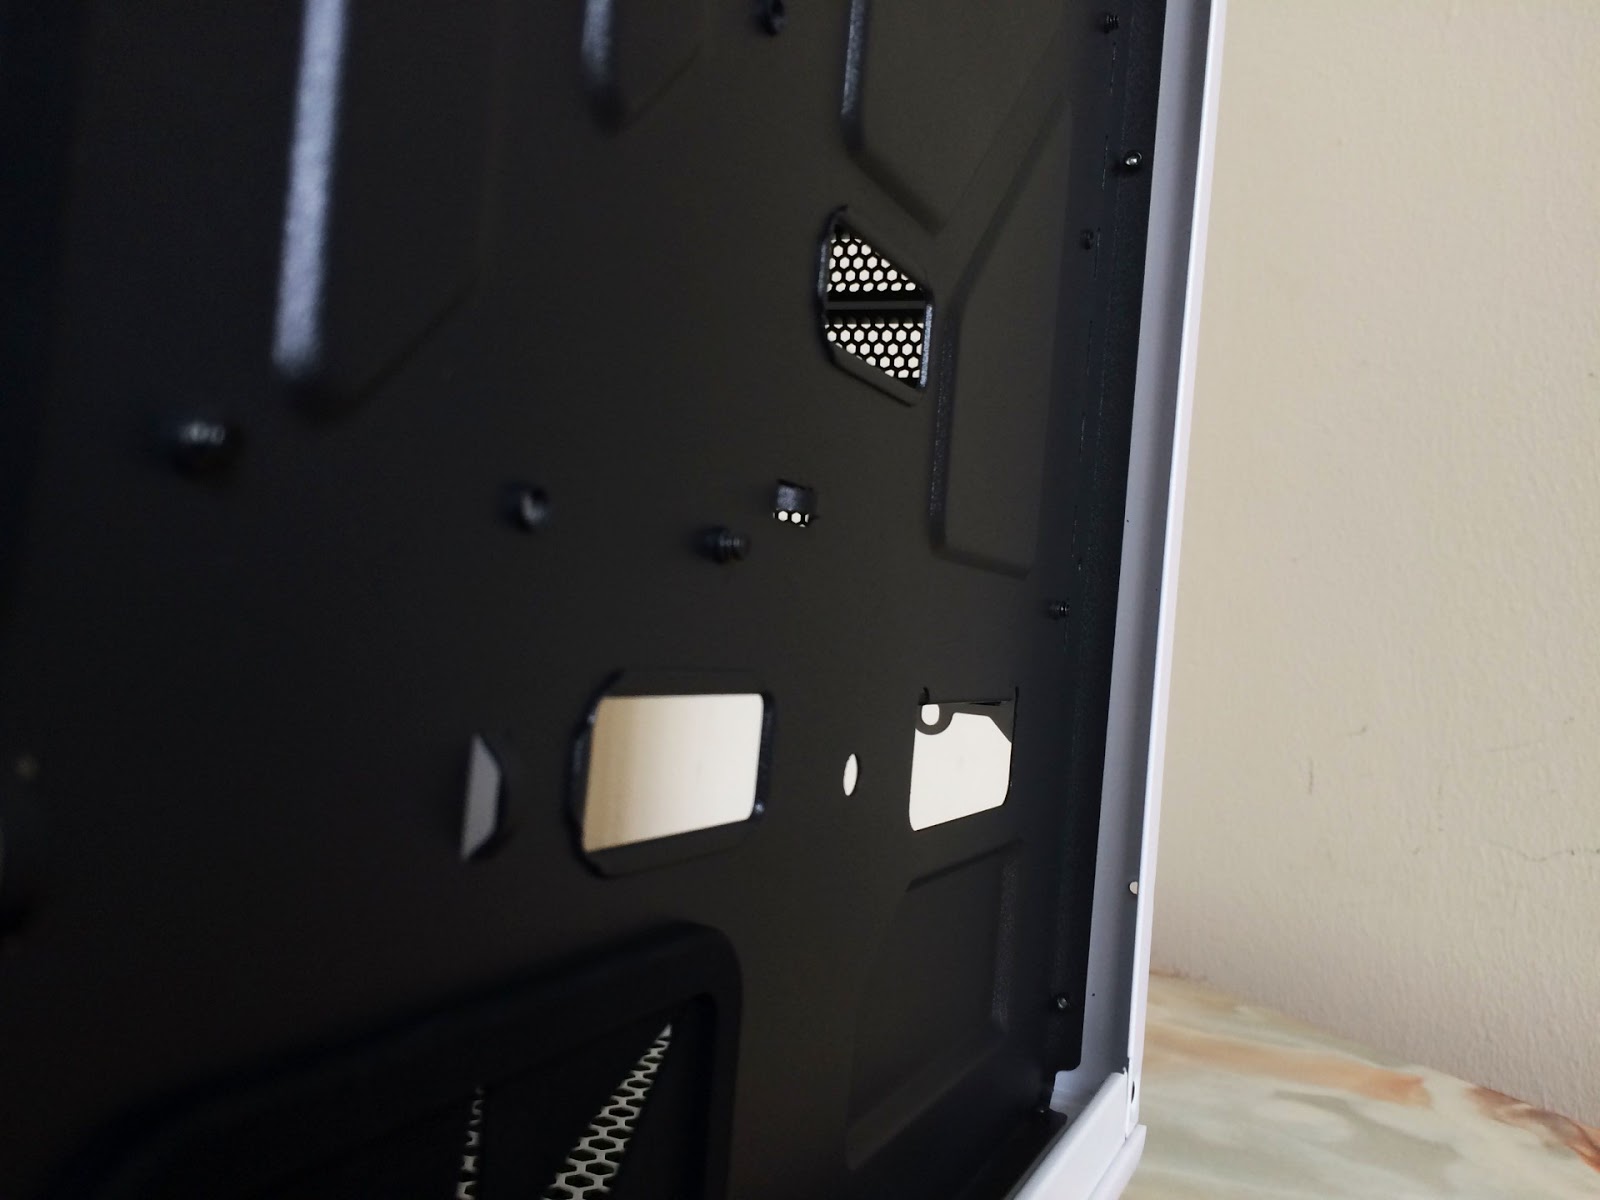
Behind the motherboard tray, you’ll find pretty much everything that a proper mid-end chassis should have, the cutouts for cable routing, large cutout for CPU cooler installation, etc.

You’ll also find the screws that keep the middle HDD cage secured, you’ll need to remove these before you can remove the HDD cage.
There’s plenty of space behind the motherboard tray and there’s no problem for us to hide all the PSU cables here even if you’re using a non-modular PSU, thumbs up for Sharkoon for that!
Testing Method
Test Rig Configuration | |
| CPU Cooler | Raijintek Triton 240 |
| CPU | Intel Core i7 4790K |
| Graphics Card | NVIDIA GeForce GTX 980 Ti |
| Motherboard | ASUS Maximus Hero VII |
| Memory | G.Skill TridentX 8GB |
| Primary Hard Drive | Crucial M500 120GB |
| Power Supply | Be quiet! Straight Power 10 600W |
Moving on to the performance test, we ran a few stress test with the setup that we’ve prepared as above. Without any overclocking done to the test setup, our stress test involves the CPU stress test utility Prime95 with the option ‘In-place large FFTs’ while GPU stress test utility FurMark with its Furry Donut stress test for maximum heat output from both the CPU and GPU.

Before proceeding any further, I would like to clarify that the stress test is done purposely to obtain the maximum heat output from both GPU and CPU for us to observe the air circulation of the chassis. It is very unlikely for both components to hit this temperature reading in most of the real world usage (gaming, office work, music, video,etc).The airflow isn’t bad at all as according to the 2 test we’ve done separately – with and without its side panel. We’re able to maintain both CPU and GPU at a decent temperature, with only around 2°C to 3°C.
Final Thoughts
The Cooling performance that goes as decent as how it looks, hardware compatibility was good too as we can shove pretty much any components we have in our arsenal in without any issue, excellent cable management feature and more, is what makes the Sharkoon BW9000-W is one good chassis that could potentially overshadow many chassis that falls under the same category and price range.
The price of RM299 isn’t really a bad price and if we put it side by side with many chassis of its category, not many of them is able to stood up against the offered feature and build quality of Sharkoon BW9000-W, which makes it a worthy option to consider for.
Pros
- Clean and minimalist design
- Sturdily build
- Reasonable price
- Removable HDD cage
- Easy to install and disassemble
- Good hardware compatibility and water cooling setup friendly
- Lots of space behind the motherboard tray for cable management
Cons
- Installing radiator at the front of the chassis requires the removal of the middle HDD cage