CRYORIG made its debut as a new-comer in the high end CPU cooler market which first caught our attention back in 2014 with its unique name and design. The CRYORIG C1 low profile CPU cooler which we’ve reviewed before is a proof that CRYORIG is capable of making quality CPU coolers that is able to compete with other existing brands.
We’ll be taking a closer look at the CRYORIG R1 Ultimate in today’s review, great thanks to CRYORIG and IdealTech in provision of the awesome looking CPU cooler. The SRP is yet to be decided while we prepare this article, so let us proceed with the review and see what the CRYORIG R1 Ultimate is capable of.
(SRP of the CRYORIG R1 Ultimate is at RM329 and can be purchased from your trusted gaming rig builder Ideal Tech.)
Specifications

Packaging
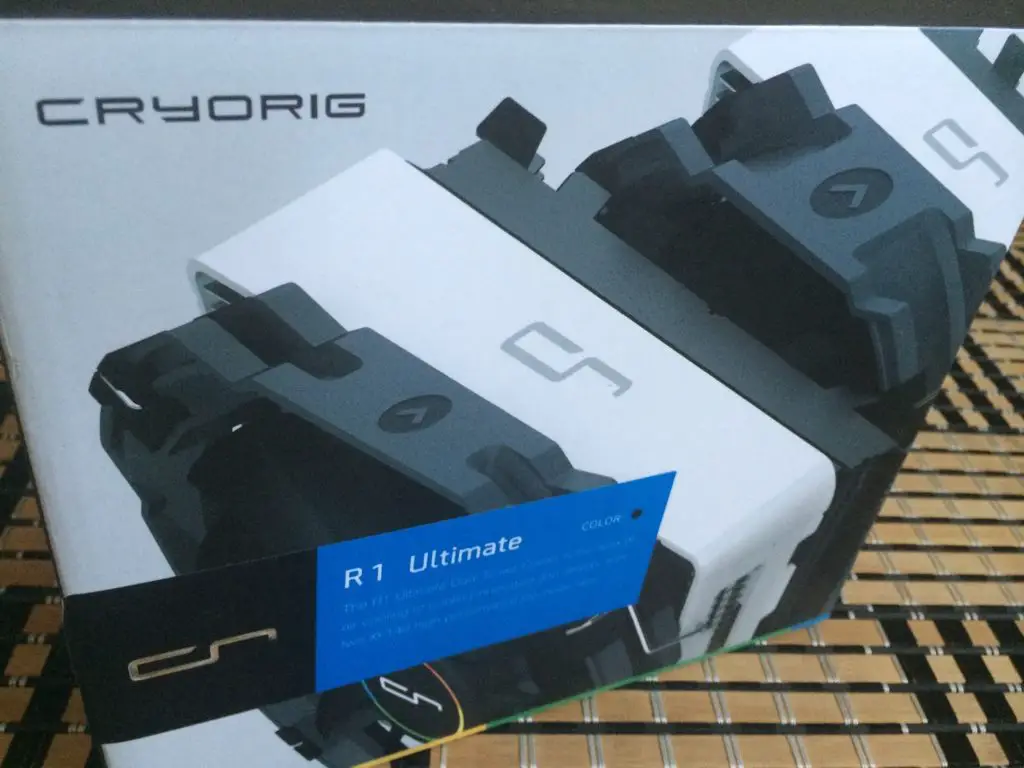
At the front of the box we find a label with the name of the cooler and its color.
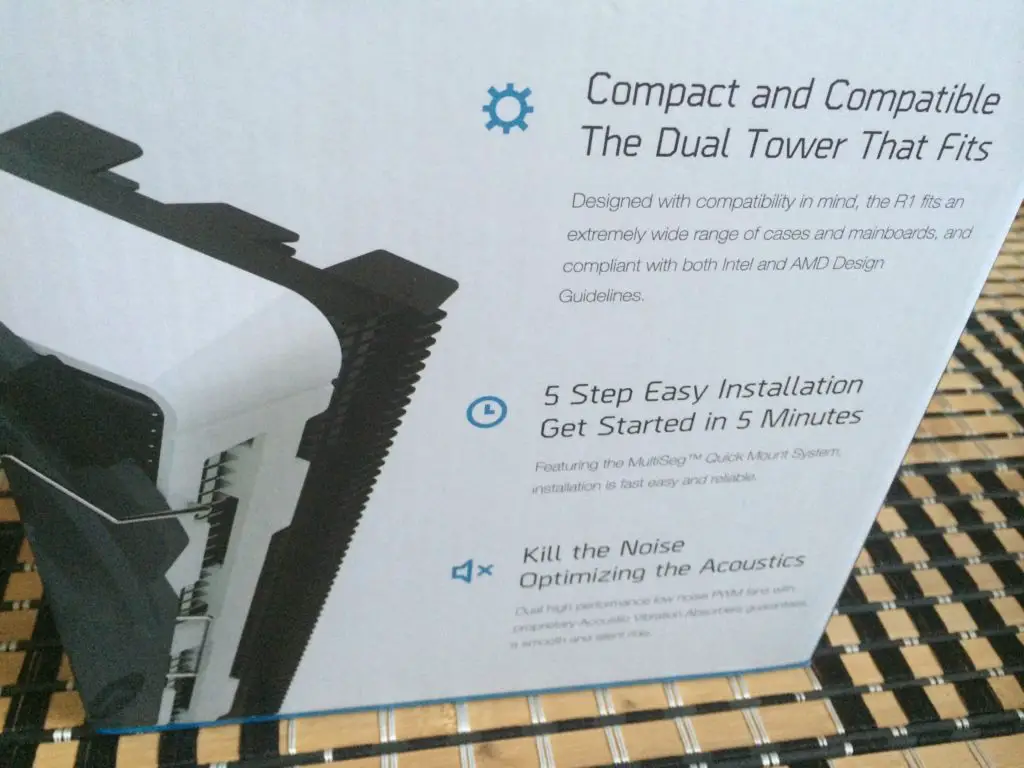
Highlight on the features of the cooler can be found at the right side of the box.
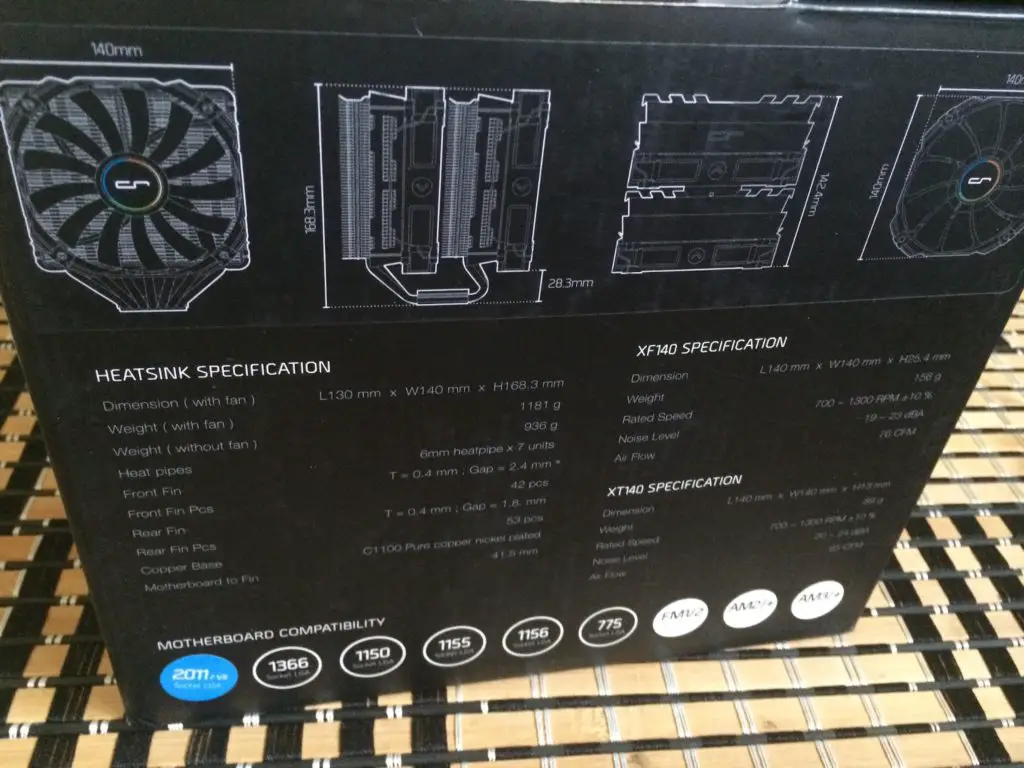
Specifications of the cooler and both XF140 and XT140 fans can be found at the back of the box.
As with the C1, the model name of the cooler printed in reflective material.

The cooler and accessories are packed separately in 2 more boxes.
Accessories
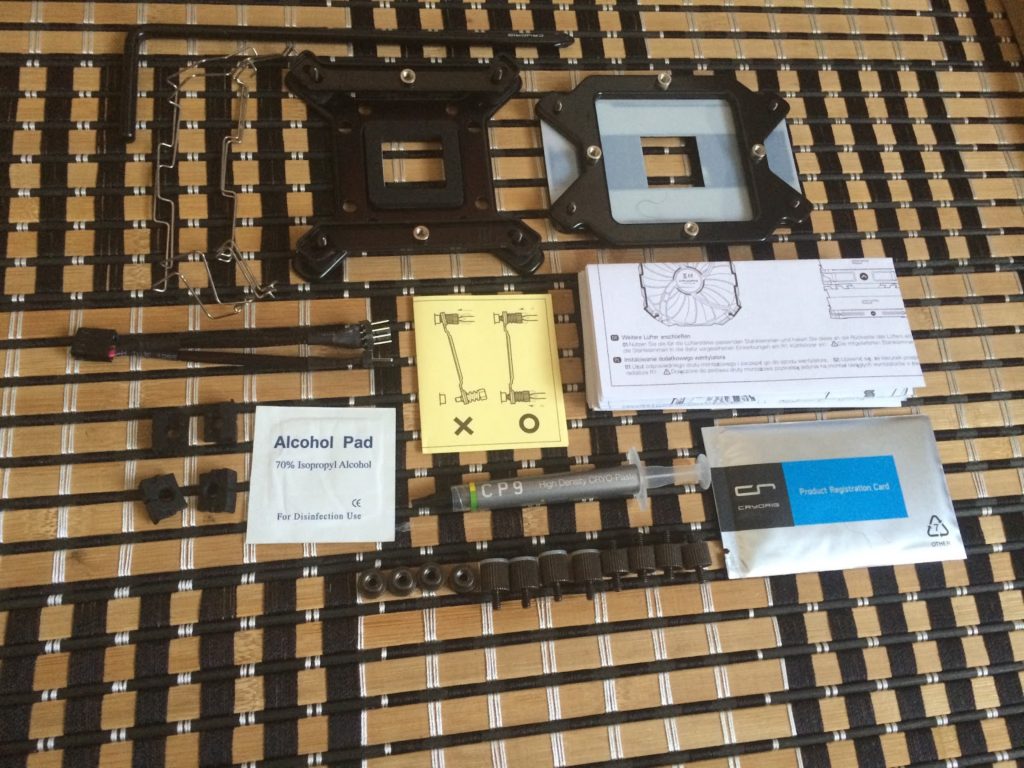
Here are the content of the accessories box:
- Product registration card
- Alcohol swab
- Installation guide
- CRYORIG CP9 thermal paste
- fan clips for slim type fans
- Mounting bracket for Intel socket 775/115x/1366/2011 and AMD FM1, FM2/+, AM2/+, AM3/+
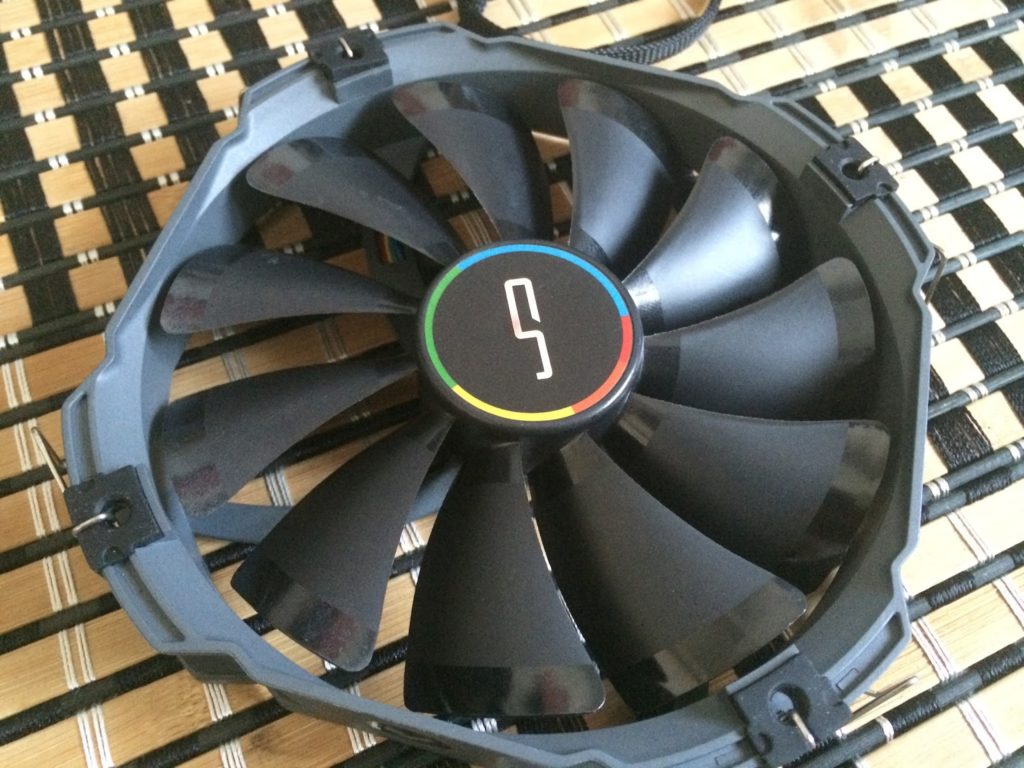
The XF140 fan that came mounted on the cooler.
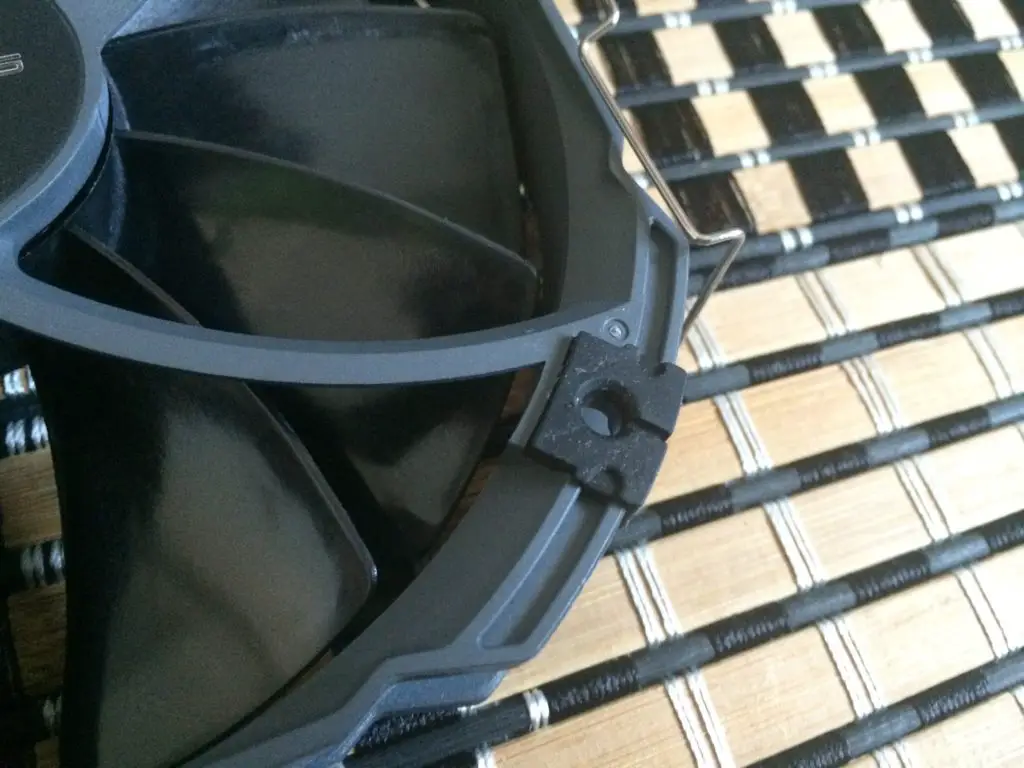
The rubber padded edge helps to absorb vibration generated by the fan itself for better acoustic.
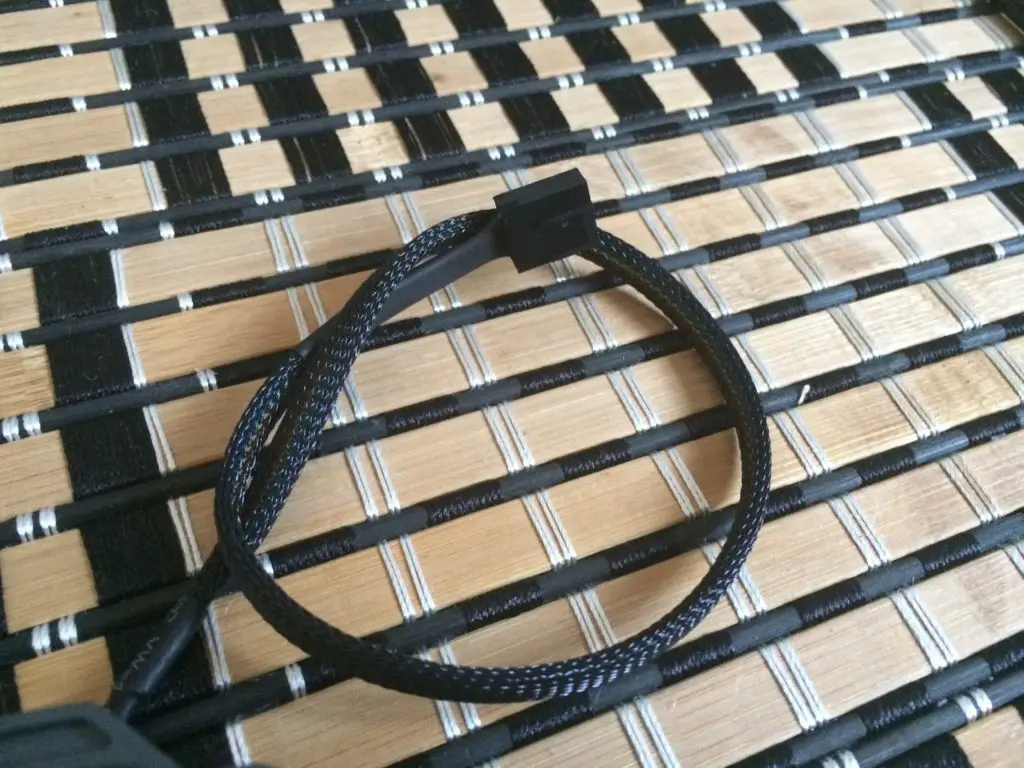
Sleeved cables makes cable management easier for a build that looks neat and tidy.
Closer Look

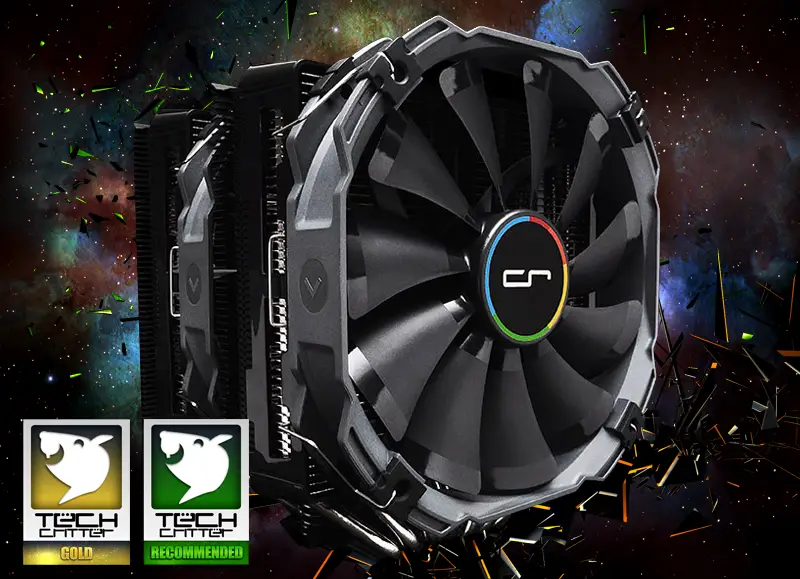
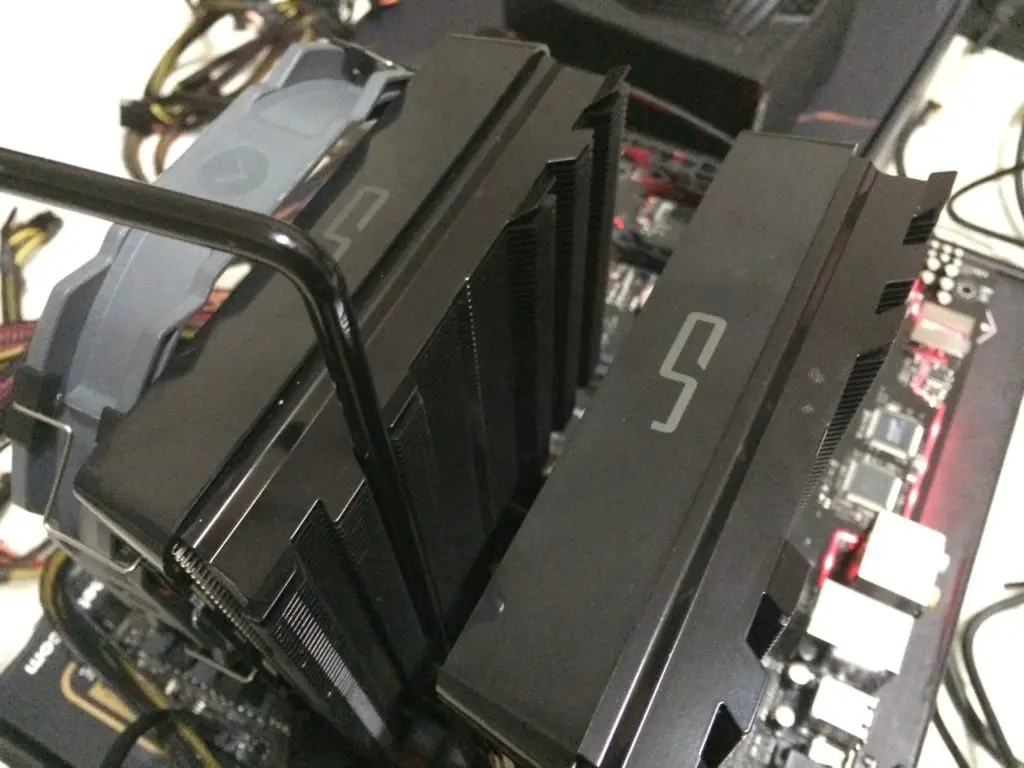
We must say, this is the best looking dual tower CPU cooler we’ve seen so far.
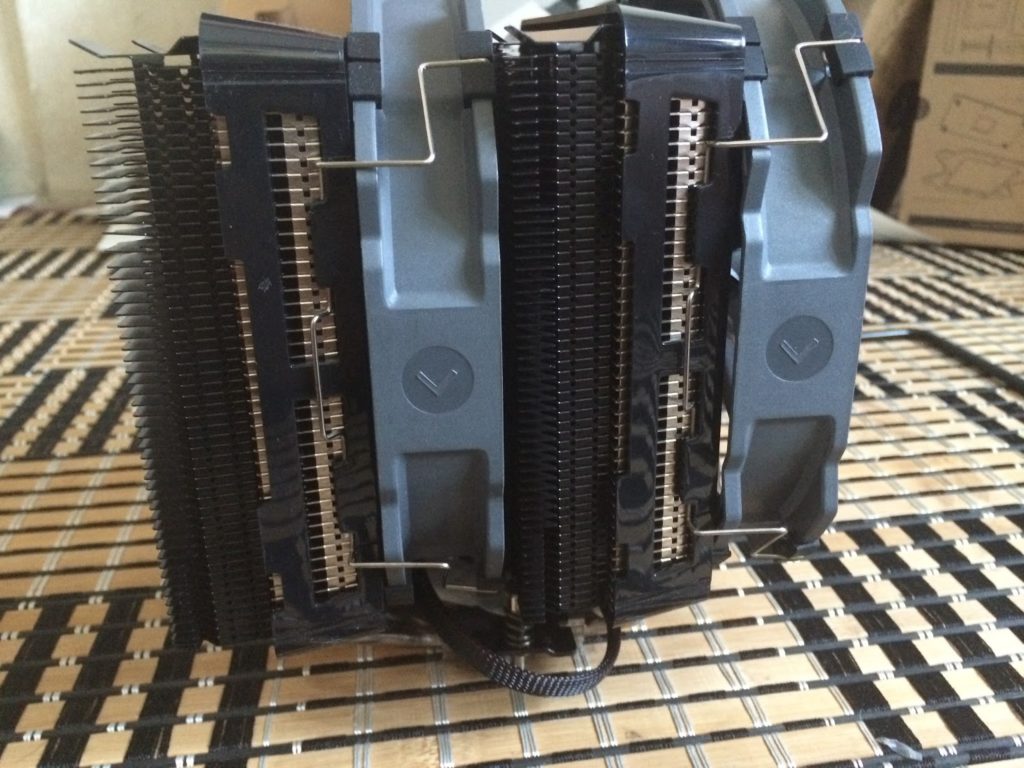
From the side we can see 2 different sections on each tower of the heatsink – CRYORIG’s patented DirectCompress™ Soldering, increases the actual contact surface between the heatpipe and heatsink fins up to 10% more compared to traditional soldering. General rule of thumb, the more contact surface the better the heat conduction.
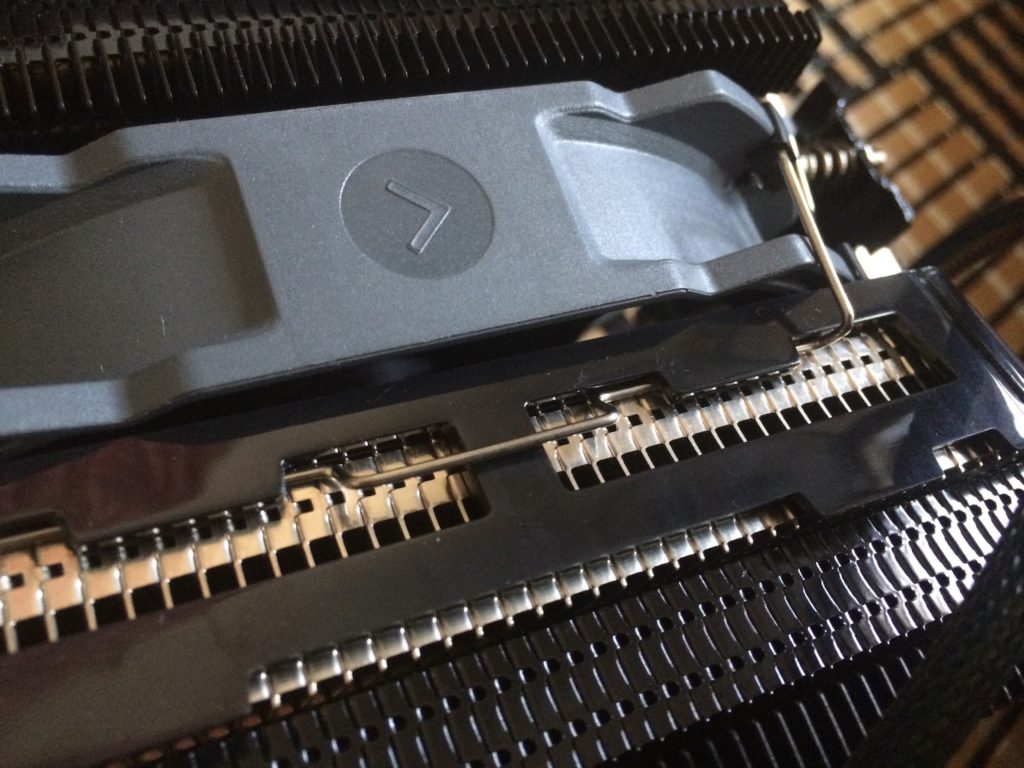
Unlike most CPU cooler we’ve seen out there, CRYORIG uses a plastic frame with guided slots to make fan installation easier and 100% accuracy, protecting the heatsink fins from being deformed by the fan clips.
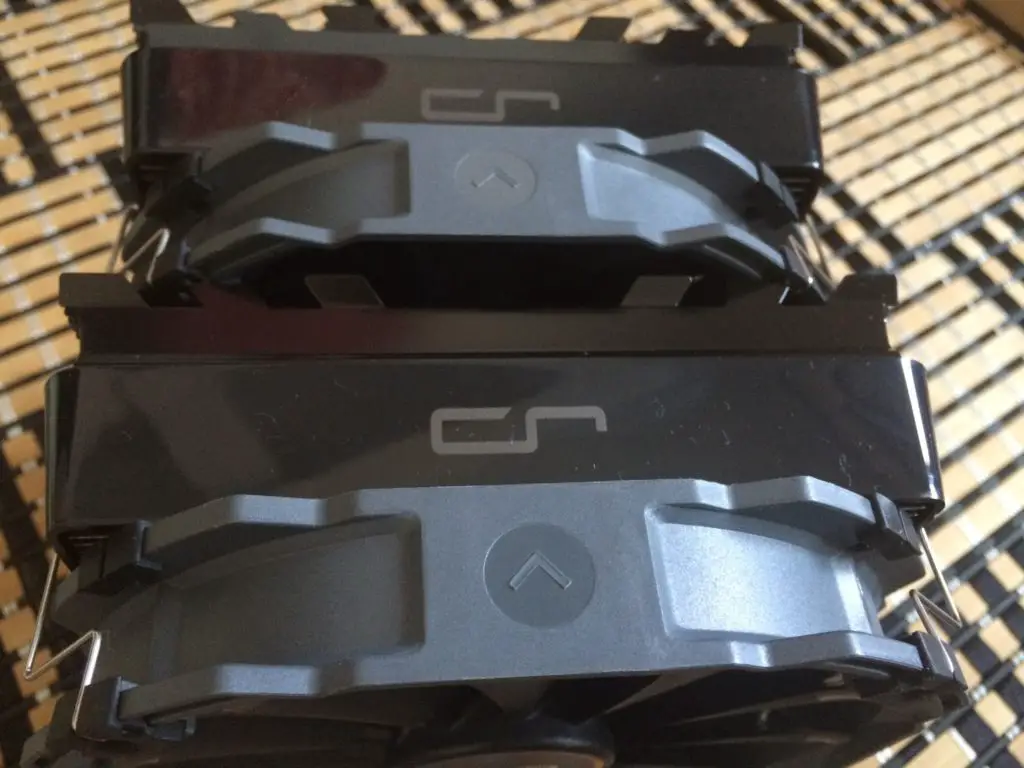
From the top we can identify direction of airflow, thanks to the arrow on the frame of both XF140 fans. The odd shape on the heatsink fin is CRYORIG’s unique solution, the Heatsink Displacement Optimization™ which allows better and more evenly spread heat conduction on the fins compared to traditional linear alignment.
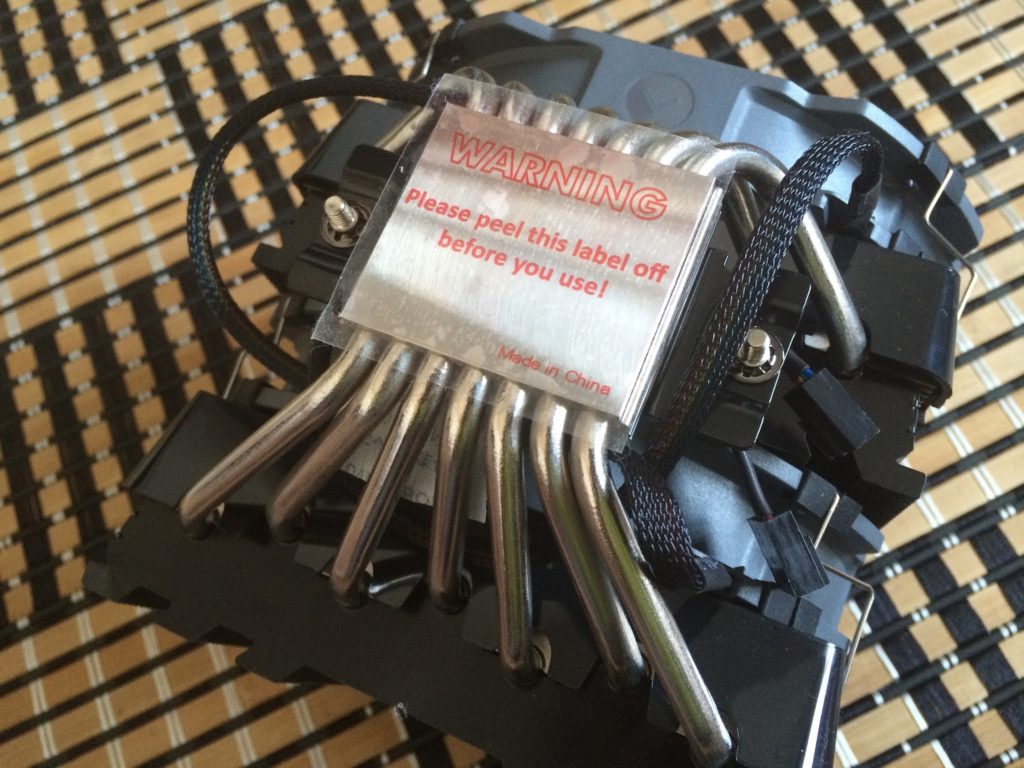
Our expectation on this is very high as just like most high end CPU cooler, the CRYORIG R1 Ultimate’s base is of a nickel plated copper base with 7 nickel plated copper heatpipes protruding out of it.
Just like the CRYORIG C1, the heatsink has to be secured with the screw driver provided in the accessories box.
Installation

The installation was fairly easy, starting off with aligning the screws to the holes on the motherboard.

Once the screws on the backplate is aligned, secure the stand-off screws to keep the backplate in place.
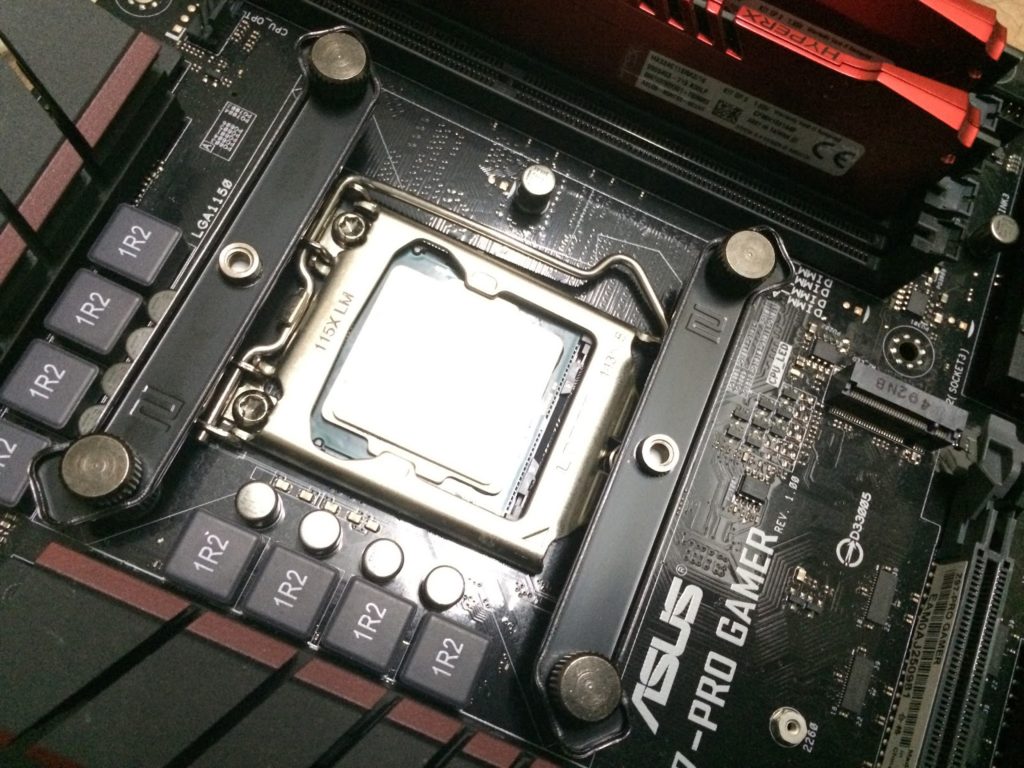
Place the retention bracket through the standoffs screws and secure it with the included thumb nuts. That’s pretty much it for the retention, now to mount the cooler onto the CPU!

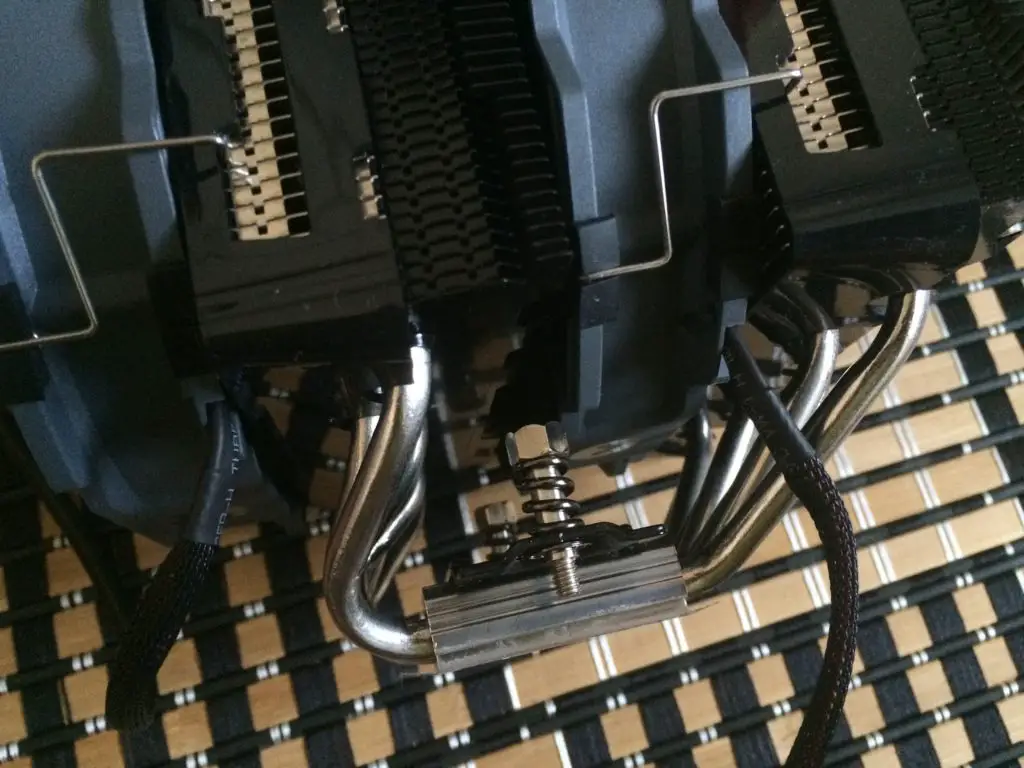
Align the screws on the heatsink base to the retention bracket and tighten the screws with the given screw driver.
The screw driver fits just right through the fins, very thoughtful of CRYORIG.
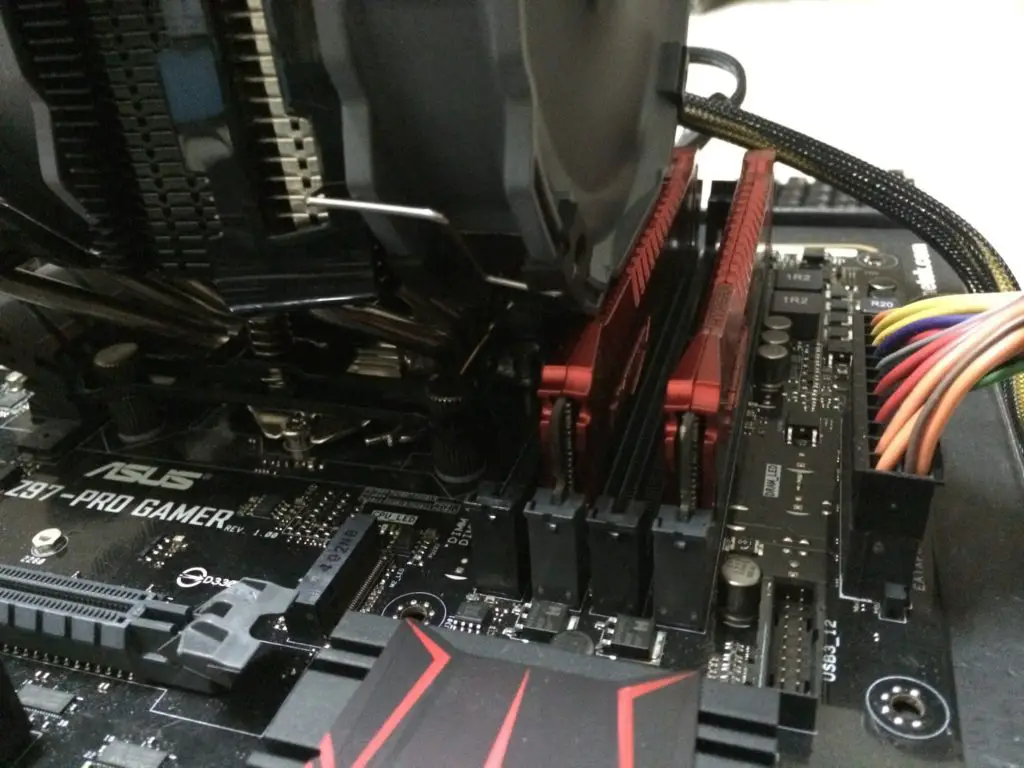
In terms of memory clearance, low profile modules will fit just right with both XF140 fans mounted on. If you’re using tall memory, you could opt for the slim type XT140 fans for that extra clearance.
Performance Test
| Test Rig Configuration | |
| CPU Cooler | CRYORIG R1 Ultimate |
| CPU | Intel Core i7 4790K |
| Motherboard | ASUS Z97-Pro Gamer |
| Memory | G.Skill TridentX @2400MHz |
| Primary Hard Drive | Crucial M500 120GB |
| Power Supply | be quiet! Straight Power 10 600W |
| Chassis | Vector Benchcase |
Moving on to the performance test, we ran the CPU stress test utility Prime95 with the option ‘In-place large FFTs’ for maximum heat from the CPU. Our room temperature throughout the test is 30ºC in average and the stress test is repeated for several times in order to get a stable and consistent temperature reading. The final result is presented in the graph as below:
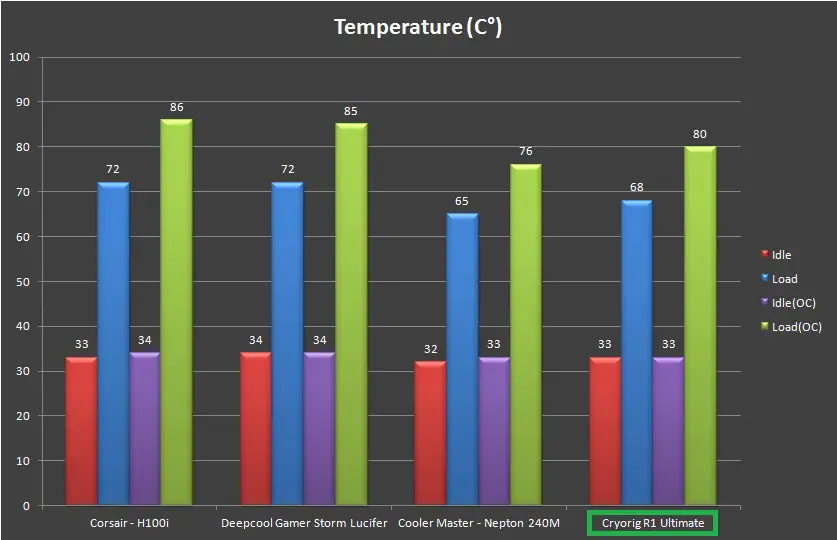
While loading on stock clock, the CRYORIG R1 Ultimate did very well with a peak temperature of 68°C. Among the CPU cooler we’ve tested, the R1 is just 3°C away from our favorite AIO, the Nepton 240M from Cooler Master. We ran another test with our i7 4790K overclocked to 4.6GHz and the CRYORIG R1 Ultimate is seen doing an impressive job as well in keeping the temperature in around 80°C. It might not be as good as the Cooler Master Nepton 240M, but beating both Corsair Hydro Series H100i and Deepcool Gamer Storm Lucifer V1 being 5°C ~ 6°C cooler shows that the CRYORIG R1 Ultimate is a new contender that shouldn’t be taken lightly.
Verdict
Installation was fairly easy and can be done under 5 minutes, thanks to the easy to install retention bracket and the plastic frame with guided slots on each side to make fan installation fast and precise. Clearance isn’t looking good for tall memory modules, but swapping out the XF140 fan on the memory slot side to the slim type XT140 will pretty much fix this issue.Among all the coolers tested in this test, the CRYORIG R1 Ultimate did great in keeping the temperatures around 80°C on load with the overclocked i7 4790K, which out-performed the Corsair H100i. If you’re looking for a high performance dual tower CPU cooler, we don’t see any reason for you to not consider the CRYORIG R1 Ultimate – for its performance is on par with existing high performance CPU coolers such as Noctua and with a better looking and friendly color scheme that will blend into pretty much any build.
Pros:
- Aesthetically pleasing, build-friendly color scheme
- Quiet operation even on load
- Good cooling performance
- Easy to install
Cons:
- Costly
- Compatibility issue with tall memory (can be fixed with slim type XT140 fan)