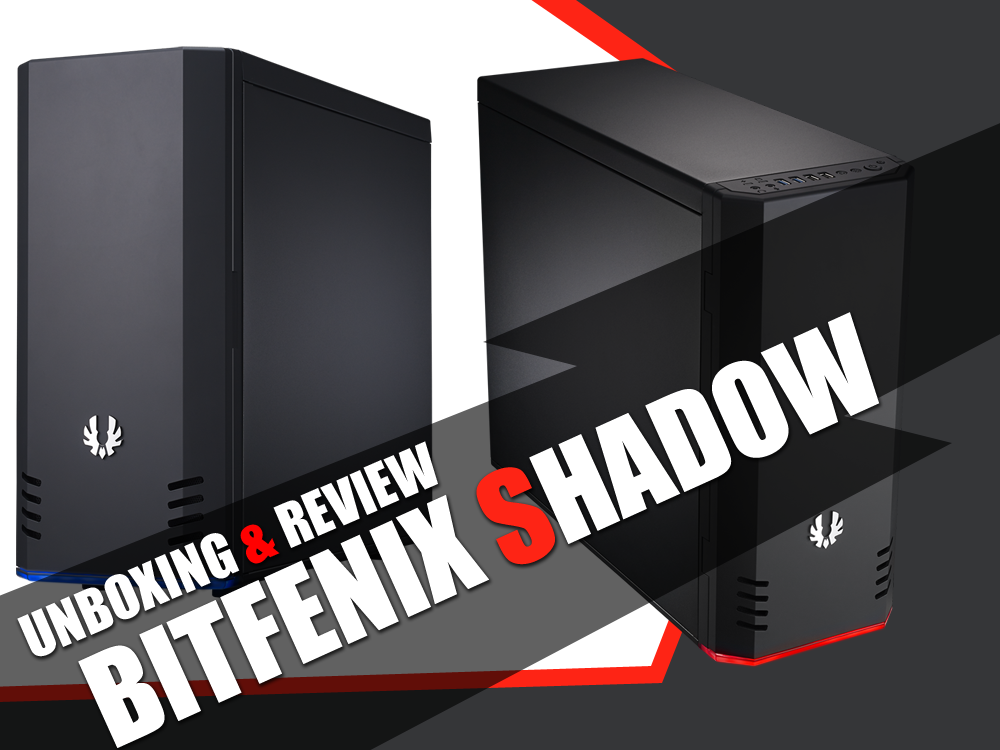
Unboxing & Review: Bitfenix Shadow 1
No longer a peasant to the local enthusiasts, Bitfenix’s chassis has proven itself worthy with outstanding quality and just within a short period, it has become one of the most recommended chassis among PC builders.
We’re very pleased to have one of Bitfenix’s latest offering with us today, the Bitfenix Shadow. Huge thanks to Inter-Asia Technology Sdn. Bhd. and Bitfenix® for this given opportunity to review the Bitfenix Shadow. 
Without any further adieu, let’s see what kind of features does the Bitfenix Shadow offer shall we?
*At the time when this review is being written, the Bitfenix Shadow is retaill at RM229.00.*

Technical Specifications
Dimension
190mm x 440mm x 506mm
Motherboard Support
ATX, mATX, ITX
Expansion Slots
Type
Mid Tower
Material
Steel, Plastic 
Drive Bays
x 5.25”
x 3.5”
1 x 2.5”
Cooling Option
x 120mm fan at the front panel (1 x 120mm fan included)
1 x 120mm fan at the rear (1 x 120mm fan included)
1 x 120mm/140mm fan at the bottom (optional)
Front I/O
x USB 3.0 Ports
x USB 2.0 Ports
x Speaker/ headphone
x Microphone
Power Supply
Not included
Extras
SofTouch™ surface treatment on front cover, Red/Blue LED switching
Overview
Unboxing & Review: Bitfenix Shadow 3
The Chassis model name and a large Bitfenix logo can be seen on the usual eco-friendly packaging from Bitfenix.
Unboxing & Review: Bitfenix Shadow 5
Brief introduction on the chassis and its features can be found at the back of the packaging. 
Unboxing & Review: Bitfenix Shadow 7
Protection wise, the Bitfenix Shadow comes flanked with two polystyrene foam cover that works as a shock absorber to cater for mild rough handling, protecting the chassis from getting damaged. It’s wrapped with a plastic cover as well to protect the chassis against minor scratches.
Unboxing & Review: Bitfenix Shadow 9
Moving on to the included accessories, a user’s guide, a pack of screws and a piece of metal to keep your power supply in place aka PSU bracket.
Unboxing & Review: Bitfenix Shadow 11
Our first look at the Bitfenix Shadow, looks clean in overall and for some reason it does reminded us of the Bitfenix Ghost but less curvy.
Unboxing & Review: Bitfenix Shadow 13
Bitfenix’s SofTouch™ surface treatment can be found on the front cover, along with the shiny Bitfenix logo which somewhat adds the premium factor to the chassis itself.

Unboxing & Review: Bitfenix Shadow 15
The front I/O panel comes as the standard USB 2.0, USB 3.0, audio jacks, power on switch and reset button. The extras here is the light icon button for activating the LED at the bottom of the front cover, while the recycle icon button is for LED color switching.
Unboxing & Review: Bitfenix Shadow 17
The front cover kept the front mesh hidden for a better appearance in overall, minimalist builders will find this attractive at some point.
Unboxing & Review: Bitfenix Shadow 19

There’s a noise dampening layer at the back of the front cover to reduce audible noise to minimum. 

Unboxing & Review: Bitfenix Shadow 21

The mesh for front intake fan utilizes the push lock mechanism which can be easily removed for cleaning.

Unboxing & Review: Bitfenix Shadow 23

The front mesh comes with a layer of dust filter to reduce dust intake

Unboxing & Review: Bitfenix Shadow 25
The included Bitfenix Spectre 120mm fan for front intake.

Unboxing & Review: Bitfenix Shadow 27

The removable mesh optical disc drive cover with dust filter.

Unboxing & Review: Bitfenix Shadow 29

Once the front panel is removed, we can see that the front panel is held in with these metal spring clips instead of plastic tabs which are more prone to physical damage. 

Unboxing & Review: Bitfenix Shadow 31

Metal spring clips up close.

Unboxing & Review: Bitfenix Shadow 33
There’s a black PCB mounted with several LED hidden at the bottom of the front panel, one of Bitfenix Shadow’s feature – Red/Blue LED switching.

Unboxing & Review: Bitfenix Shadow 35

Default color of the LED is red.

Unboxing & Review: Bitfenix Shadow 37

Pushing down the LED switching button will change the LED color to blue.

Unboxing & Review: Bitfenix Shadow 39

The rear view of Bitfenix Shadow.

Unboxing & Review: Bitfenix Shadow 41

The rear exhaust fan mount allows the installation of cooling fans with the size of 80mm, 92mm and 120mm.

Unboxing & Review: Bitfenix Shadow 43

There’s a mini padlock bracket at the rear bottom right to allow you to kept all your precious components locked safely, very useful feature for those who attend LANParty very often.

Unboxing & Review: Bitfenix Shadow 45

The expansion slot securing mechanism seems really odd, it’s a piece of metal cover that covers the securing point of the expansion slot. Thumb screws is pretty much an essential these days that makes your life much more easier, but much to our disappointment, there isn’t any thumb screws included for the expansion slot. This is something that Bitfenix should consider as there are competitors that offers thumb screws for their PC chassis at the price below RM200. 

Unboxing & Review: Bitfenix Shadow 47

In order to install a graphics card / sound card/ etc that uses the expansion slot, you will need to unscrew the screw that is securing the metal cover which we find this rather inconvenient compared to the traditional mounting method which is much easier.

Unboxing & Review: Bitfenix Shadow 49

The bottom of the chassis is pretty standard and there’s a 2.5″ SSD / HDD mounting located at the bottom front of the chassis, allowing you to mount a 2.5″ SSD / HDD at that location.

Unboxing & Review: Bitfenix Shadow 51
Thick rubber feet helps to dampens any source of vibration from the chassis that produces noise. 
Unboxing & Review: Bitfenix Shadow 53

There’s a hole at the bottom of the front panel for easier front panel removal.

Unboxing & Review: Bitfenix Shadow 55

The side panel is pretty solid but what caught our attention is that the side panel utilizes a better mechanism which is much easier to handle compared to the traditional sliding mechanism.

Unboxing & Review: Bitfenix Shadow 57

Moving on to the interior of the Bitfenix Shadow, 

Unboxing & Review: Bitfenix Shadow 59

There’s 2 pieces of fan filter at the bottom of the chassis that helps to minimizes the dust intake to your chassis, but there’s a potential flaw – the fan filters doesn’t comes with any noise dampening layer on its frame to absorb the vibration from PSU fan or cooling fan mounted on top of it, which leads to unwanted noise being generated.

Unboxing & Review: Bitfenix Shadow 61
The PSU bracket which is meant to kept your PSU in place, but we find it less useful as the screws at the back will suffice.

Unboxing & Review: Bitfenix Shadow 63
The tool free 3.5″ and 5.25″ drive locking mechanism comes pretty handy nowadays and has always been one of our favorite feature.
Unboxing & Review: Bitfenix Shadow 65

The cables from the front I/O panel:

  • USB 3.0 header
  • Power switch, reset switch, HDD LED and Power LED connector
  • USB 2.0 header
  • Audio connector
  • SATA Powered LED connector

Unboxing & Review: Bitfenix Shadow 67

These cut out on the motherboard tray allows better cable management to keep your system tidy and giving more space for better airflow. 

Unboxing & Review: Bitfenix Shadow 69

The included Bitfenix Spectre 120mm fan at the rear for exhaust.

Unboxing & Review: Bitfenix Shadow 71

Behind the motherboard tray, the cable routing path seems very limited and there’s no cable tie holes.

Unboxing & Review: Bitfenix Shadow 73
Just when you think things can’t get any worse, guess what? There’s less than an inch of space behind the motherboard tray and the only place to fit the cables is at the side of the HDD bay – bad news for non-modular power supply owners.
Unboxing & Review: Bitfenix Shadow 75
The routing cable routing holes seems pretty okay from the front, majority of the cables can be routed accordingly.
Unboxing & Review: Bitfenix Shadow 77
By using a fully modular power supply, we’re still able to came up with a decent cable management. We can now confirm that power supplies with the following criteria is the minimum requirement if you we’re go build a system with the Bitfenix Shadow:

  • Semi-modular / Fully-Modular
  • Flat cables / Individually sleeved cables

Non-modular power supply users is going to have a pretty hard time routing the cables in such limited space, not to mention the trouble to close the side panel properly.

Unboxing & Review: Bitfenix Shadow 79

Here’s our finished build with the Bitfenix Shadow.

Performance Test
Moving on to the performance test, we have prepared our test rig as below:

Test Rig Configuration
CPU Cooler
Cooler Master Hyper 212 Evo
CPU
I7
4770K @4.0GH
Graphics Card
ASUS 7970 DirectCU II OC
Motherboard
ASUS
Z97I-PLUS
Memory
Corsair Vengeance Pro 4GB X 2
Primary Hard Drive
Crucial
M500 120GB
Power Supply
Silverstone ST60F-P 600W 80 Plus Bronze Certified
Chassis
Bitfenix
Shadow
Display Monitor
Dell U2312HM

The airflow for this setup consists a 120mm Bitfenix Spectre fans at front as intake, while the exhaust consists of a 120mm Bitfenix Spectre at the rear.

For the stress test, we’re using the CPU stress test utility Prime95 with the option ‘In-place large FFTs’ while GPU stress test utility FurMark with its Furry Donut stress test for maximum heat output from both the CPU and GPU. Our room temperature throughout the test is 28ºC in average and the stress test is repeated for several times in order to get a stable temperature reading. The final result is presented in the following graph:

Unboxing & Review: Bitfenix Shadow 81
The temperature we’re getting is where both CPU/GPU are being stressed to the limit for performance testing purposes and it is unlikely for both components to hit this temperature reading in most of real world usage (gaming, office work, music, video,etc). 
It’s quite high for the temperature but it still falls within an acceptable range. We do recommend adding some extra fans at the bottom and front to improve the air circulation in the chassis.
Final Thoughts
Retailed at RM229.00, the Bitfenix Shadow is an excellent budget oriented chassis that not only offers a classy monolithic appearance but also capable of fitting almost any high-end components. If budget, feature and appearance is what you’re looking for in a PC chassis, the Bitfenix Shadow is definitely worth considering.
Pros
  • Solid build quality
  • Compatible with wide range of components
  • Good appearance
  • LED color switching 
  • Tool-free drive bay
  • Solid and easy to close side panels
  • Affordable

Cons
  • Limited space at the back of the motherboard for cable routing
  • No noise dampening feature on the fan filter at the bottom of the chassis
  • Limited choice of LED color
  • Awkward expansion slot securing mechanism

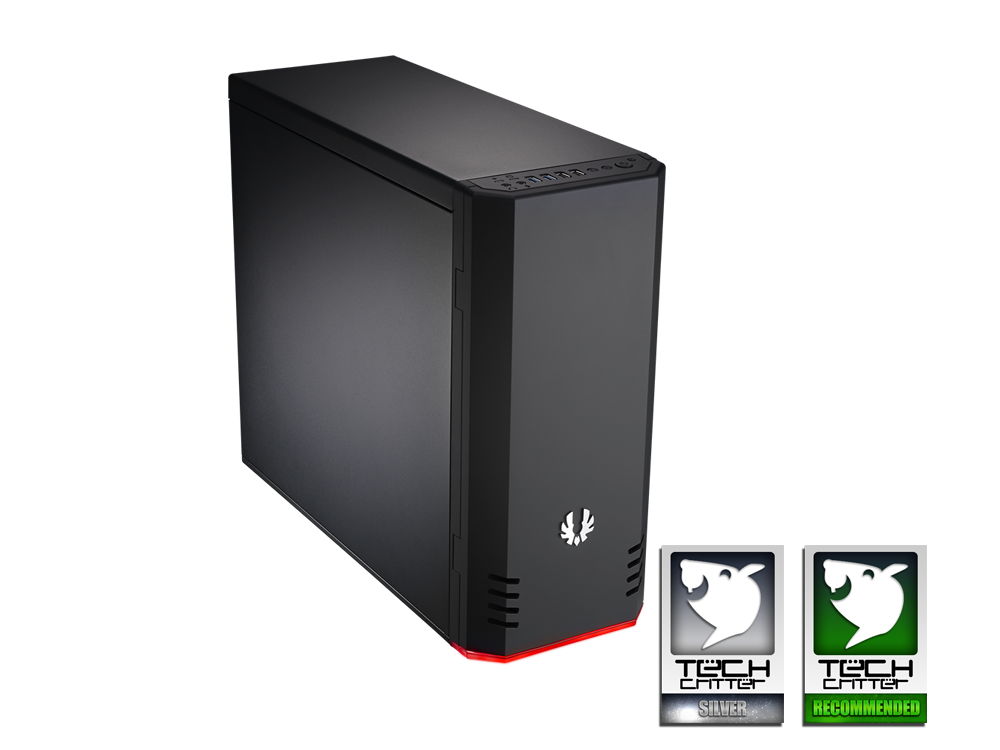
Overall, the Bitfenix Shadow is a worthy budget oriented PC chassis that scores our Tech Critter Silver award and Recommended award.
Unboxing & Review: Bitfenix Shadow 83

Facebook
Twitter
LinkedIn
Pinterest

Related Posts

Subscribe via Email

Enter your email address to subscribe to Tech-Critter and receive notifications of new posts by email.