If you haven’t heard of the brand BitFenix already, you must have been out of the I.T-loop for quite some time. A maker of quality chassis that contributed to the industry “facelift” with the introduction of the Colossus, BitFenix is quite a big fish in the chassis industry.
Now, another BitFenix chassis made it to the front of my camera, I present to you the BitFenix Phenom-M, the M-ATX version. A big thanks to
Inter-Asia Technology and BitFenix for supplying the chassis for review. Now, the BitFenix Phenom-M is nothing new out of the market, but we have a little surprise in store for our readers nonetheless. At the time of review, the Phenom-M retails at RM319 (SRP) so on we go!
Specs
Packaging
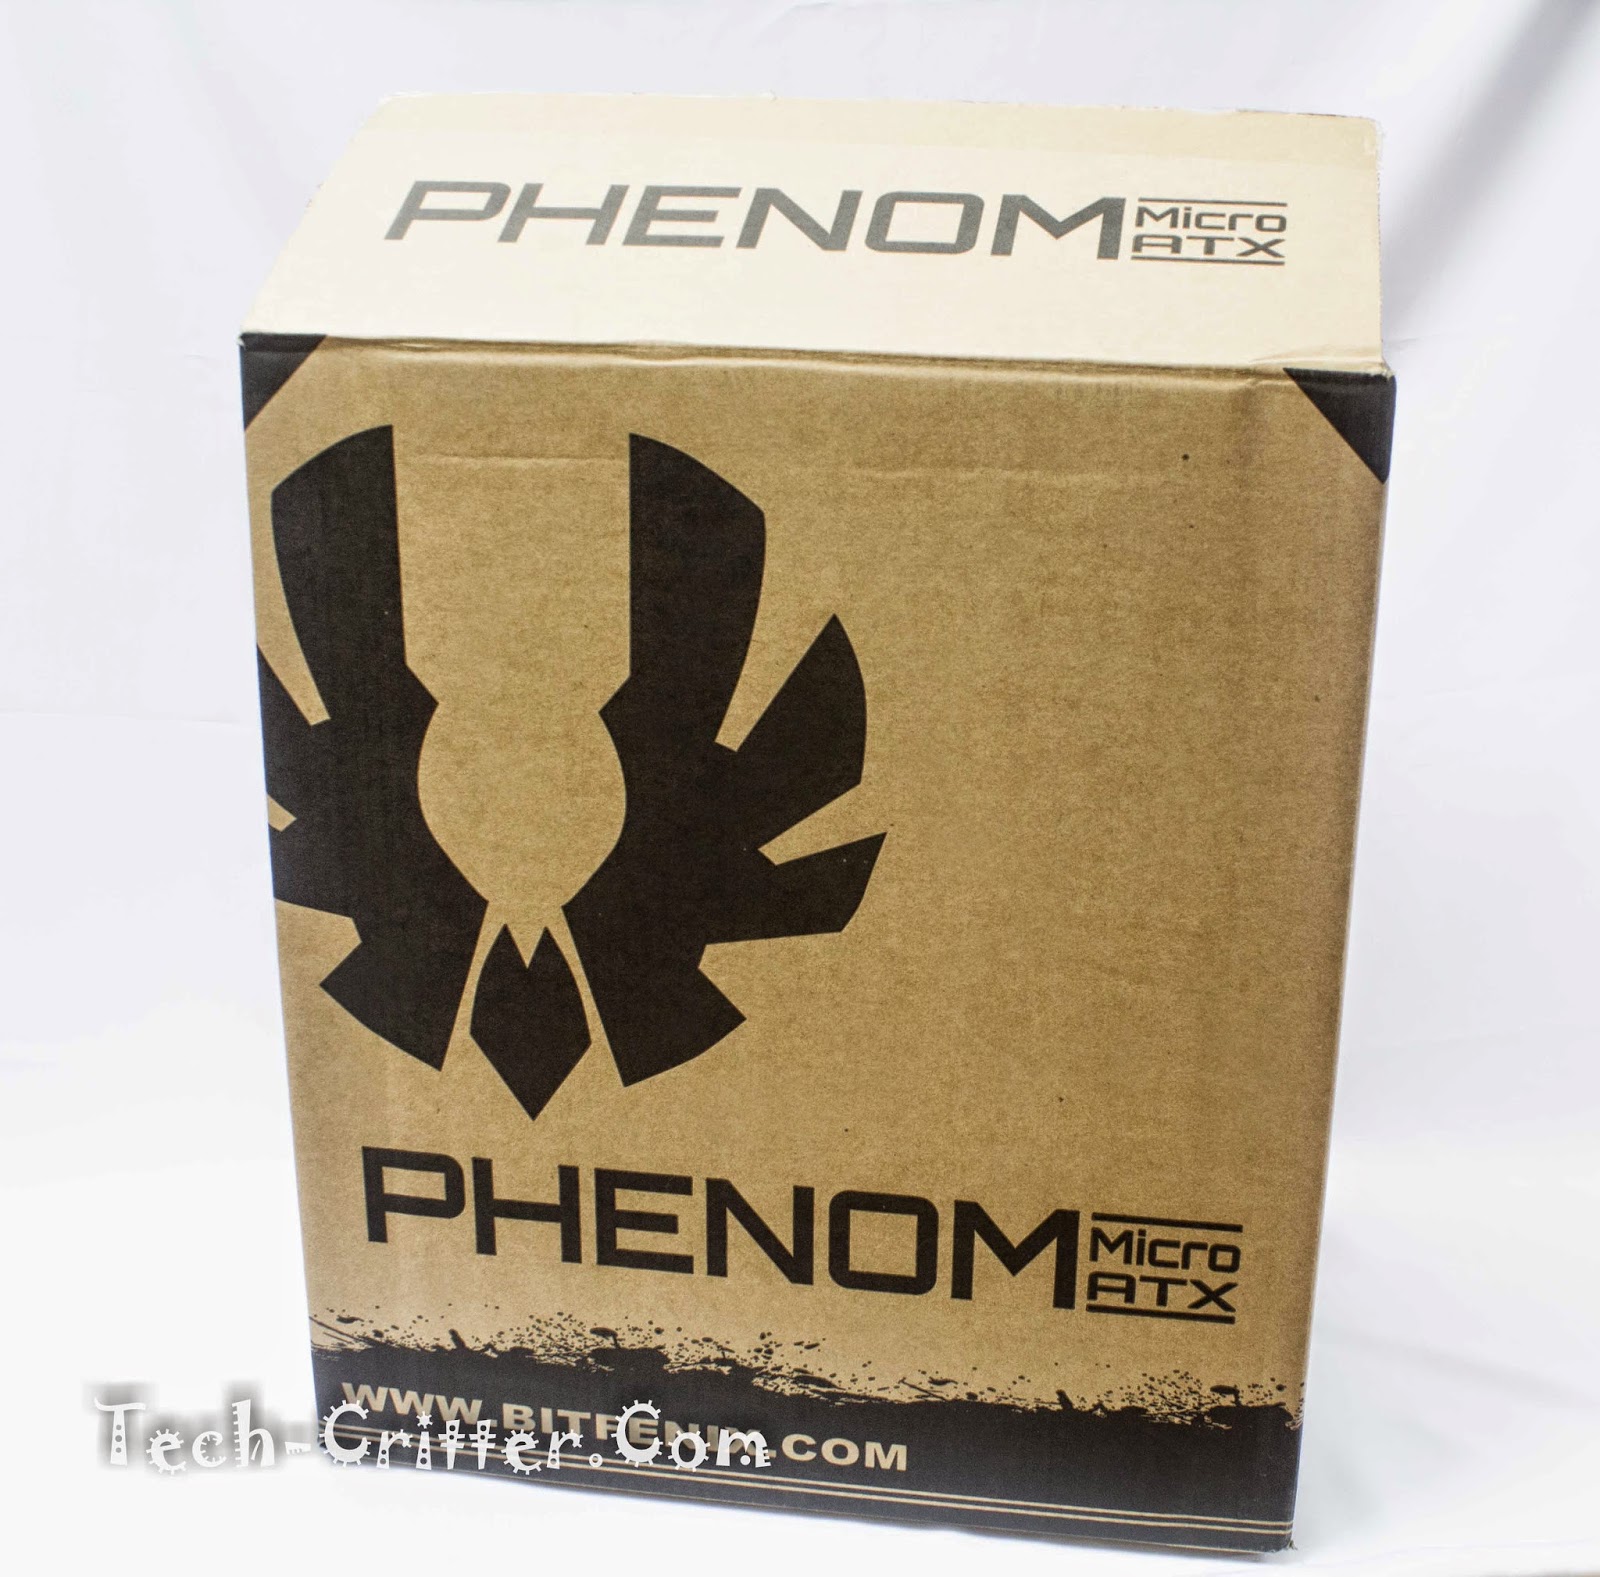
Atypical BitFenix packaging that featured the brown cardboard box. Nothing fancy, just the logo and the product name at the front and top, clean and sufficient.
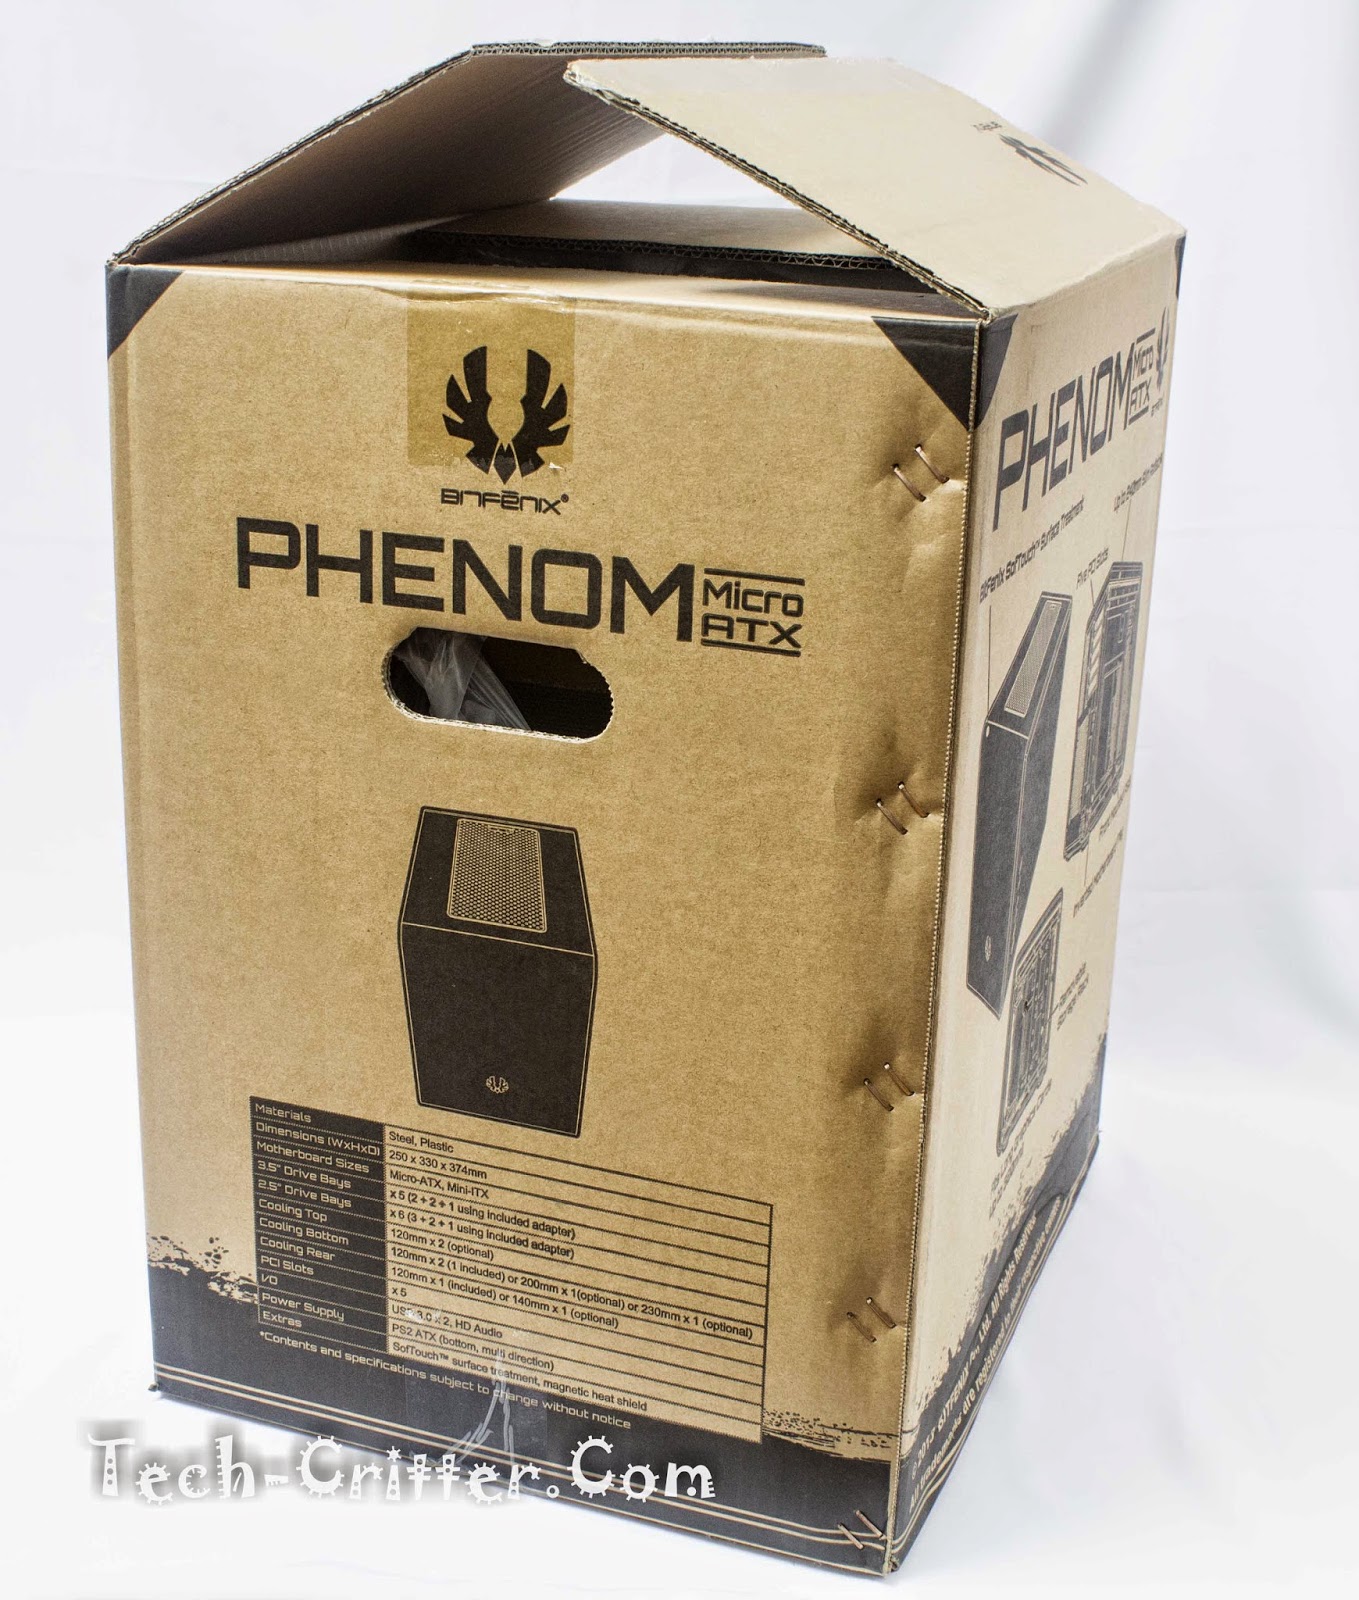
At the back, you’ll find illustrations of the chassis along with labels highlighting key features of the Phenom-M.
The specs are found at the side of the box.
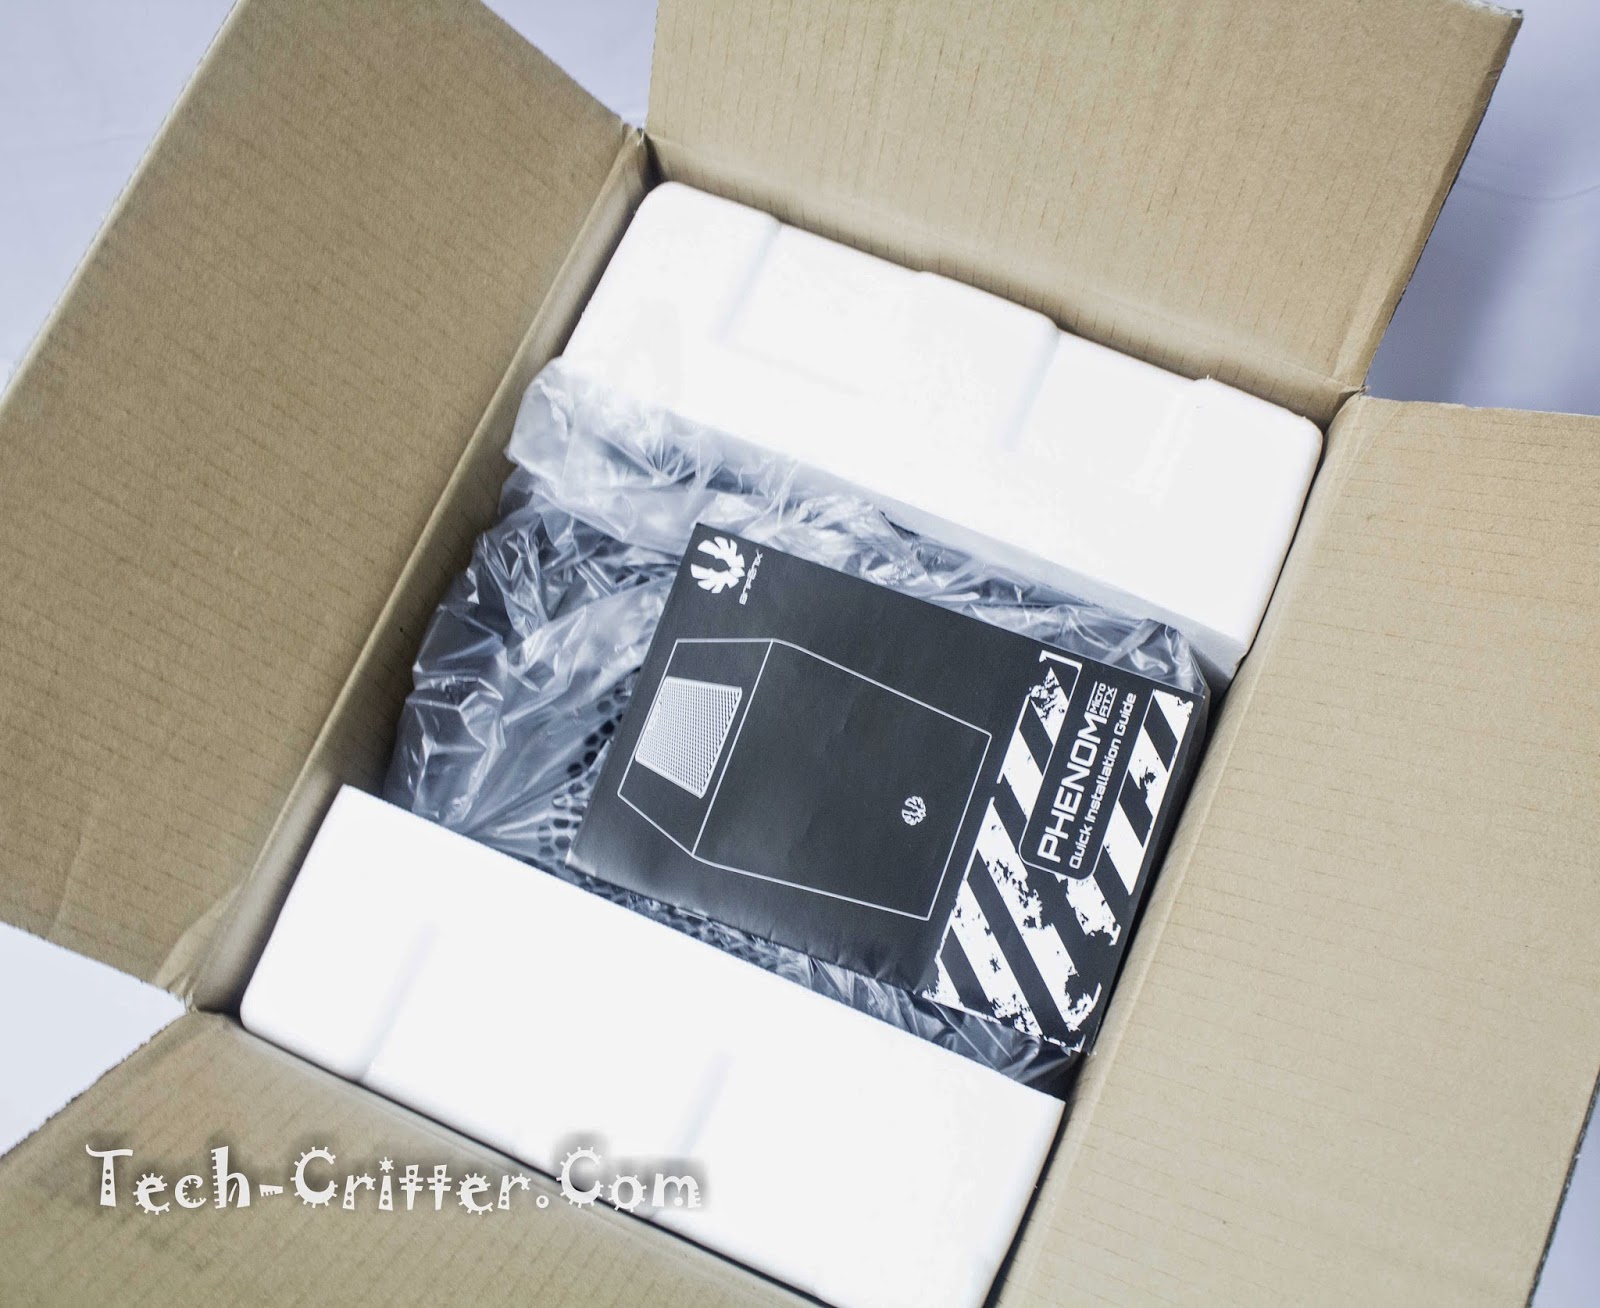
Popping the top flaps, you would find the users manual and the chassis encased in hard foam and wrapped in plastic for protection whilst travelling and shield against the elements.
The Chassis
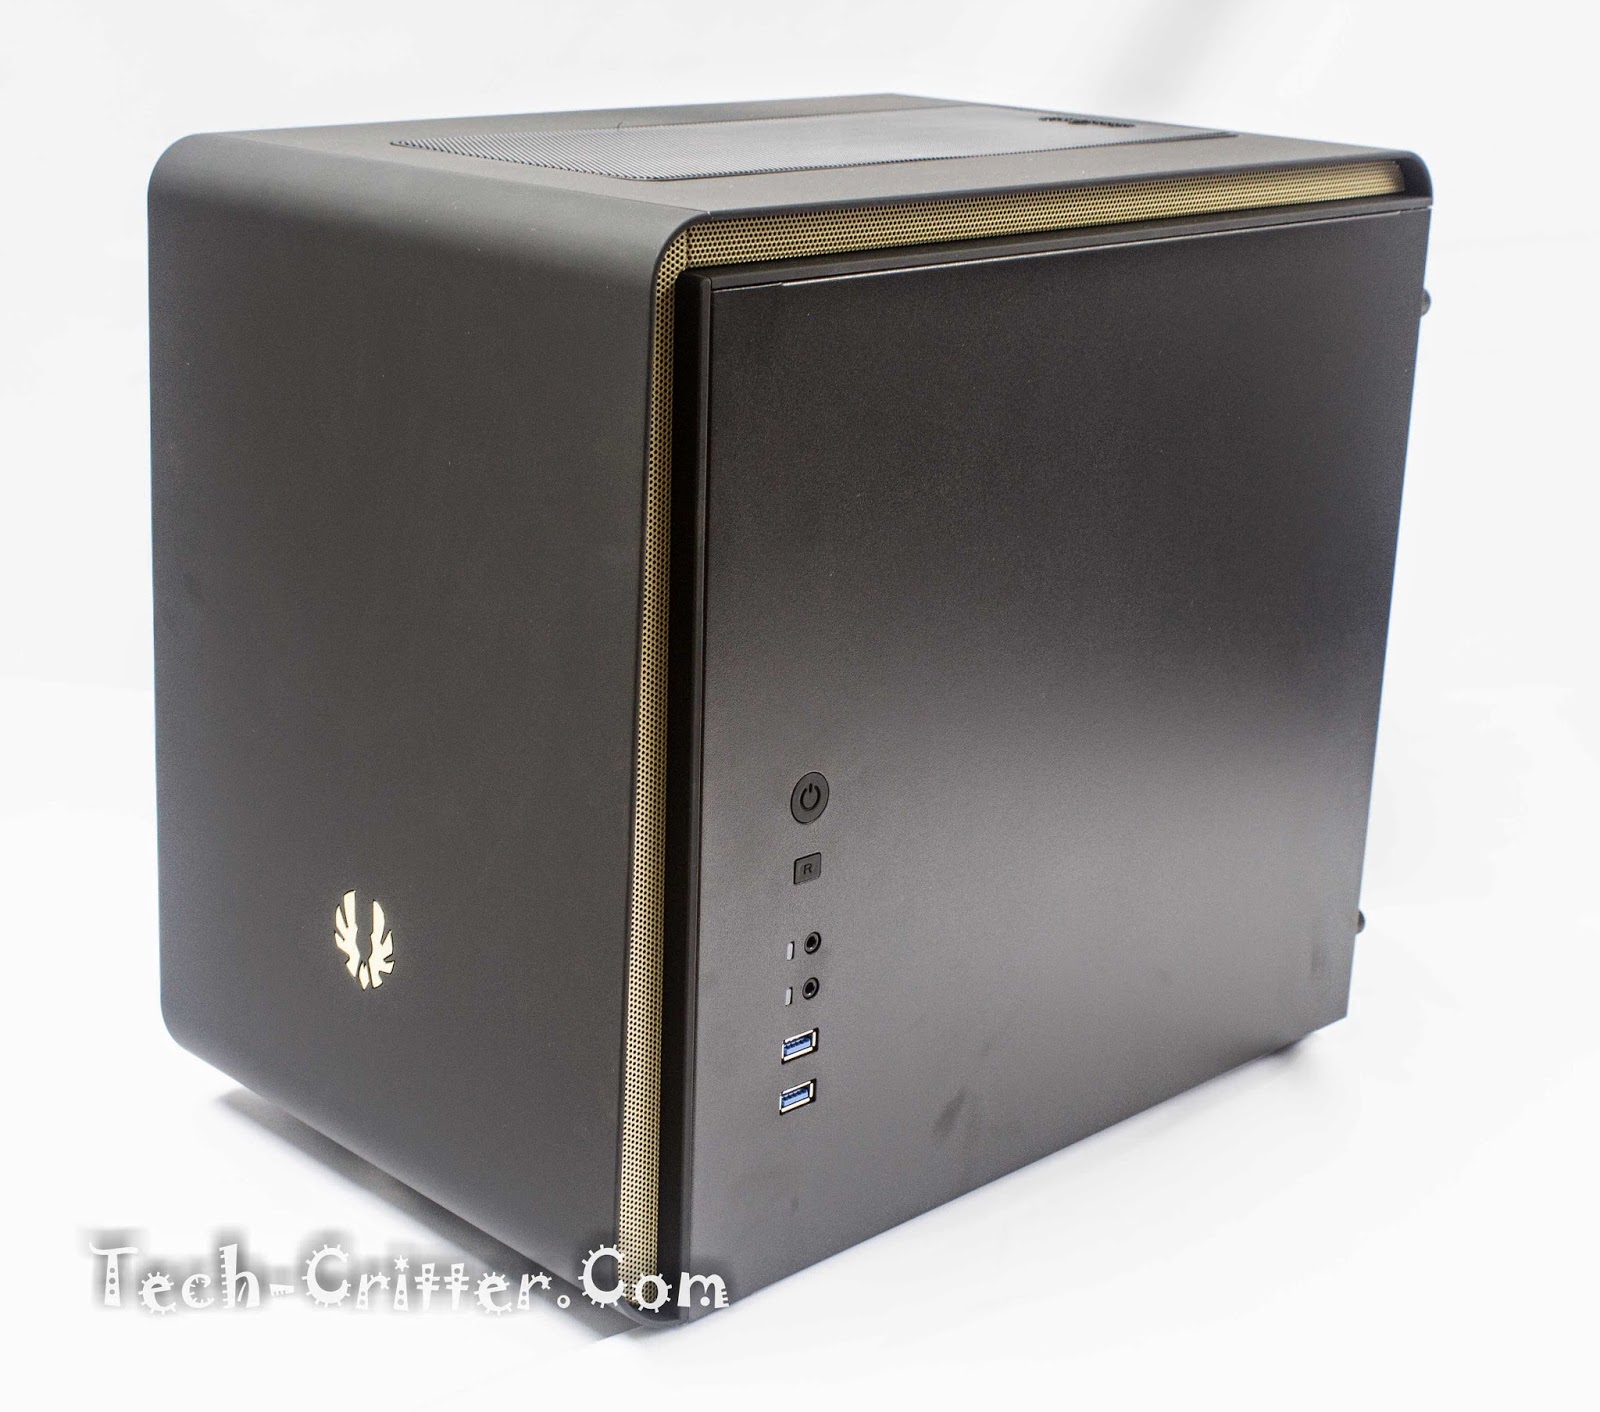
Loo and behold! Yes I cheated a little bit and had this done in gold trim 😉 aside from that, it’s pretty much what you get from a retail unit. Available in black or white, the front and top surface is treated with BitFenix’s SofTouch coating which gives it that premium feel and more importantly, fingerprint-proof surface.
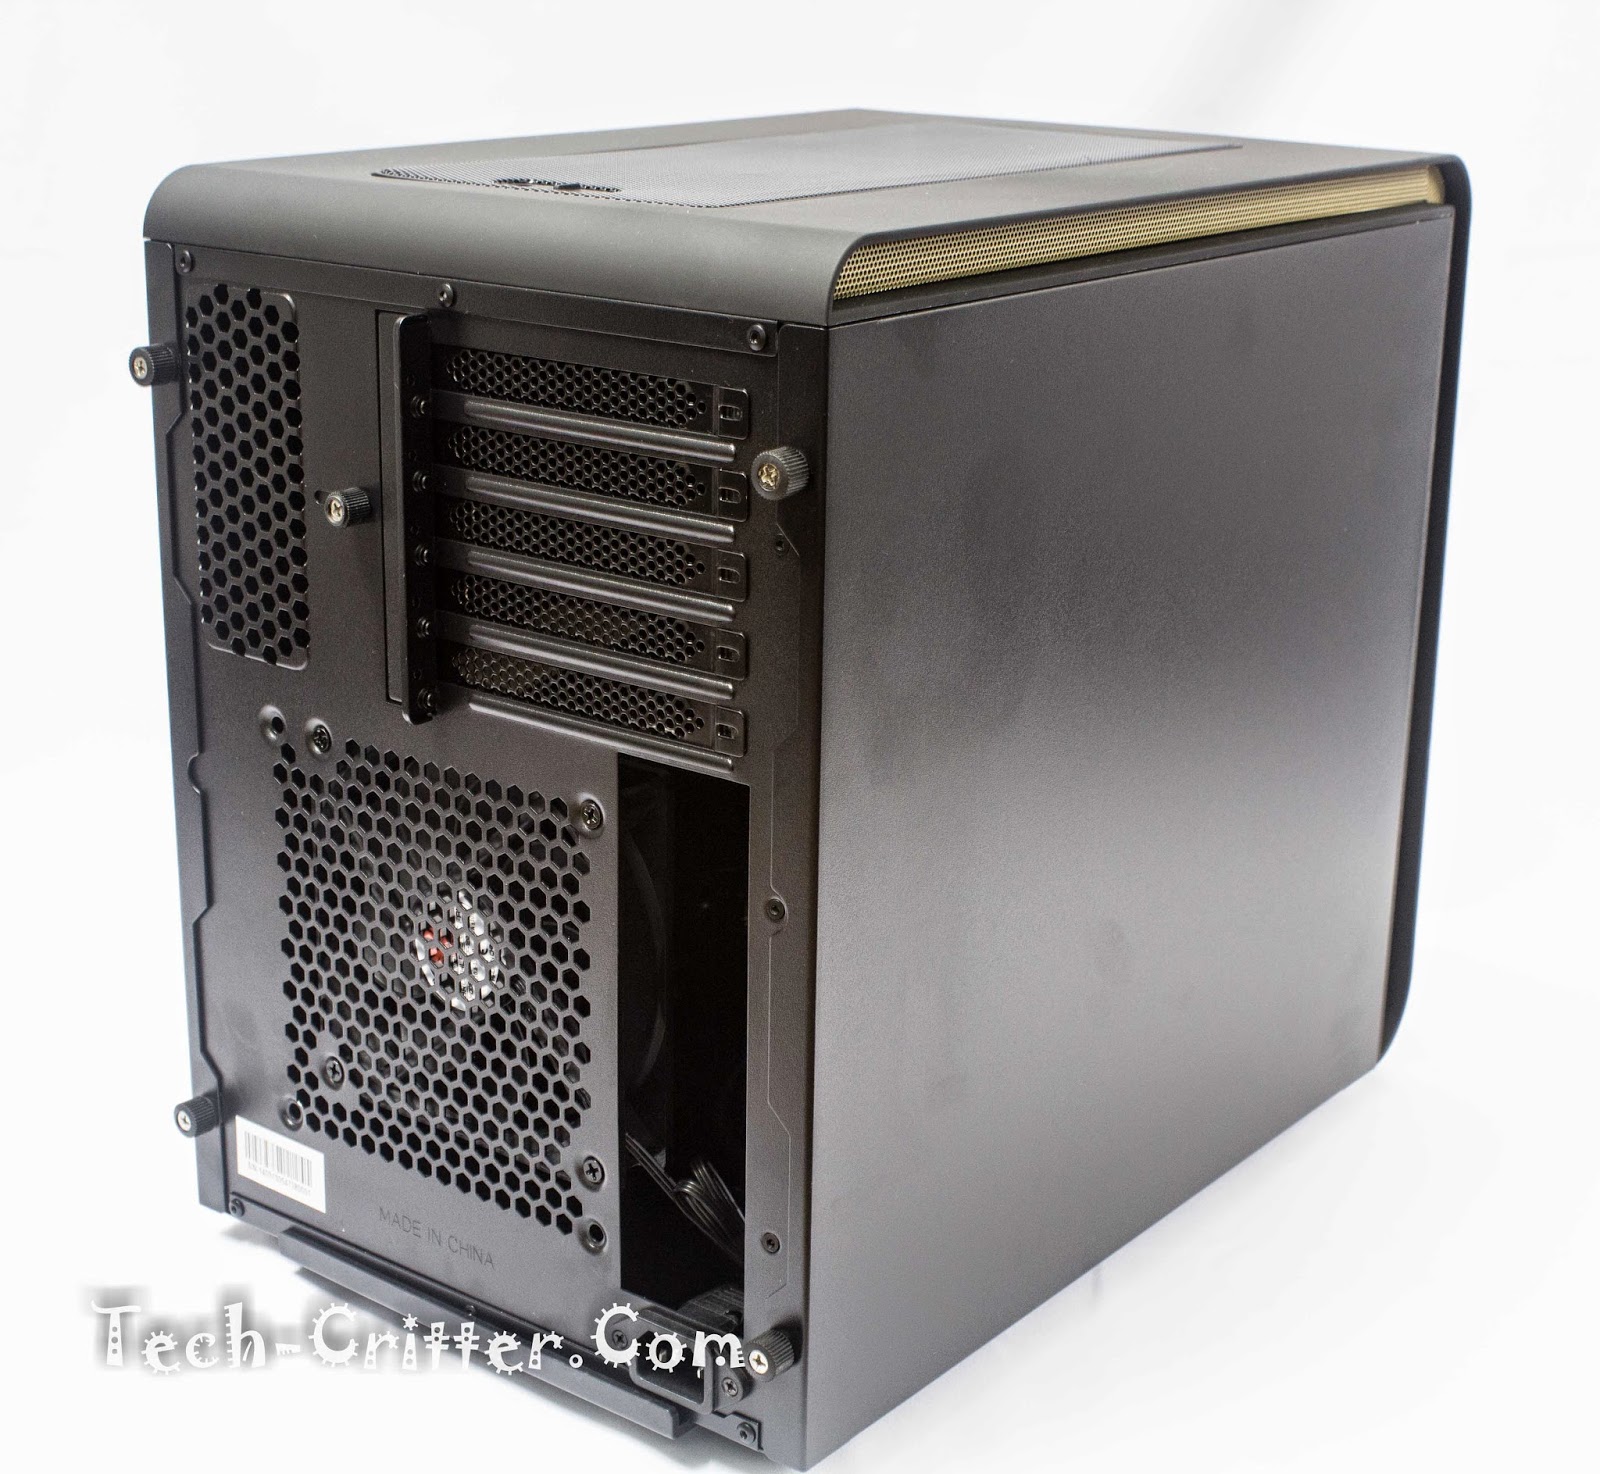
Spinning the chassis to the back, we’ll see an inverted motherboard tray with the 5 expansion slots at the top, an I/O shield knock-out, exhaust fan mount for 120mm or 140mm and a passive vent at the side. Notice the power plug at the bottom even though the PSU isn’t mounted here, but we’ll get to it later on in the article.
The 5 expansion slots are there just in case someone decides to mount a GPU at the bottom PCIe slot on the motherboard, particularly useful when doing dual GPU configurations, good insight from the BitFenix design team. All 5 slots are held in by a single plate secured with a thumb screw.
This should make removing and installing expansion cards much easier.
At the top is a filtered honeycomb mesh…
Which is easily removable, revealing mounts for dual 120mm fans. Possible for a 240mm radiator as well.
At the bottom, you get the same four premium looking rubber feet as on the
BitFenix Shinobi XL and a large plastic plate that is dubbed the magnetic heat-shield along with the mount for a PSU. This heat shield should be applied when you choose to mount hard drives at the bottom and removed should you choose to mount exhaust fans. This is so that the hot air exhausted by your PSU would not go back into the chassis.
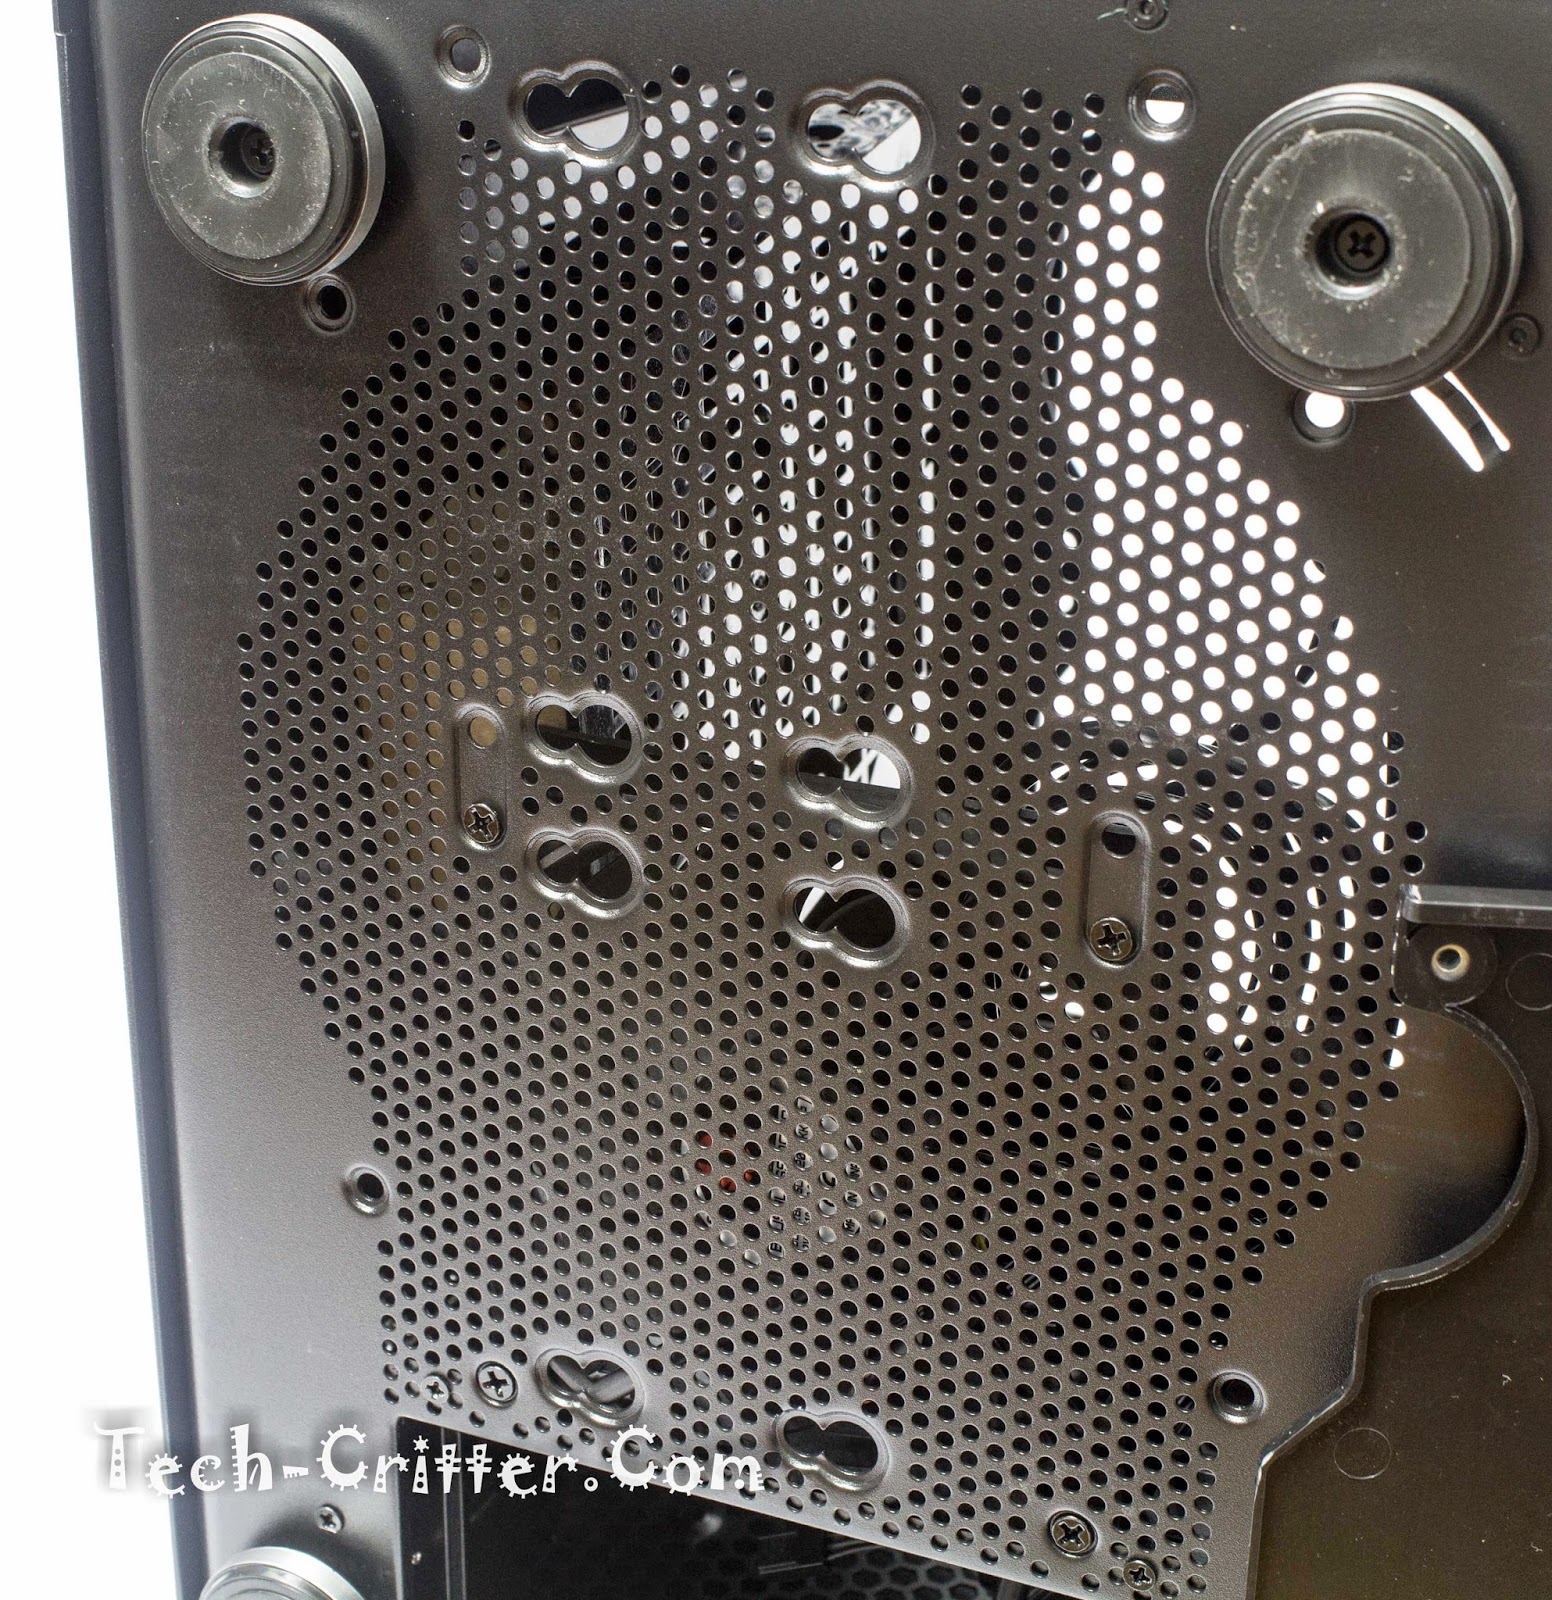
Removing the magnetic heat-shield, you will see the mounting options for a 200mm fan, 230mm fan, dual 120mm fans, or two 3.5″ drives. A 120mm spectre fan is already pre-installed in one of the slots. Sadly, there isn’t any dust filters here.
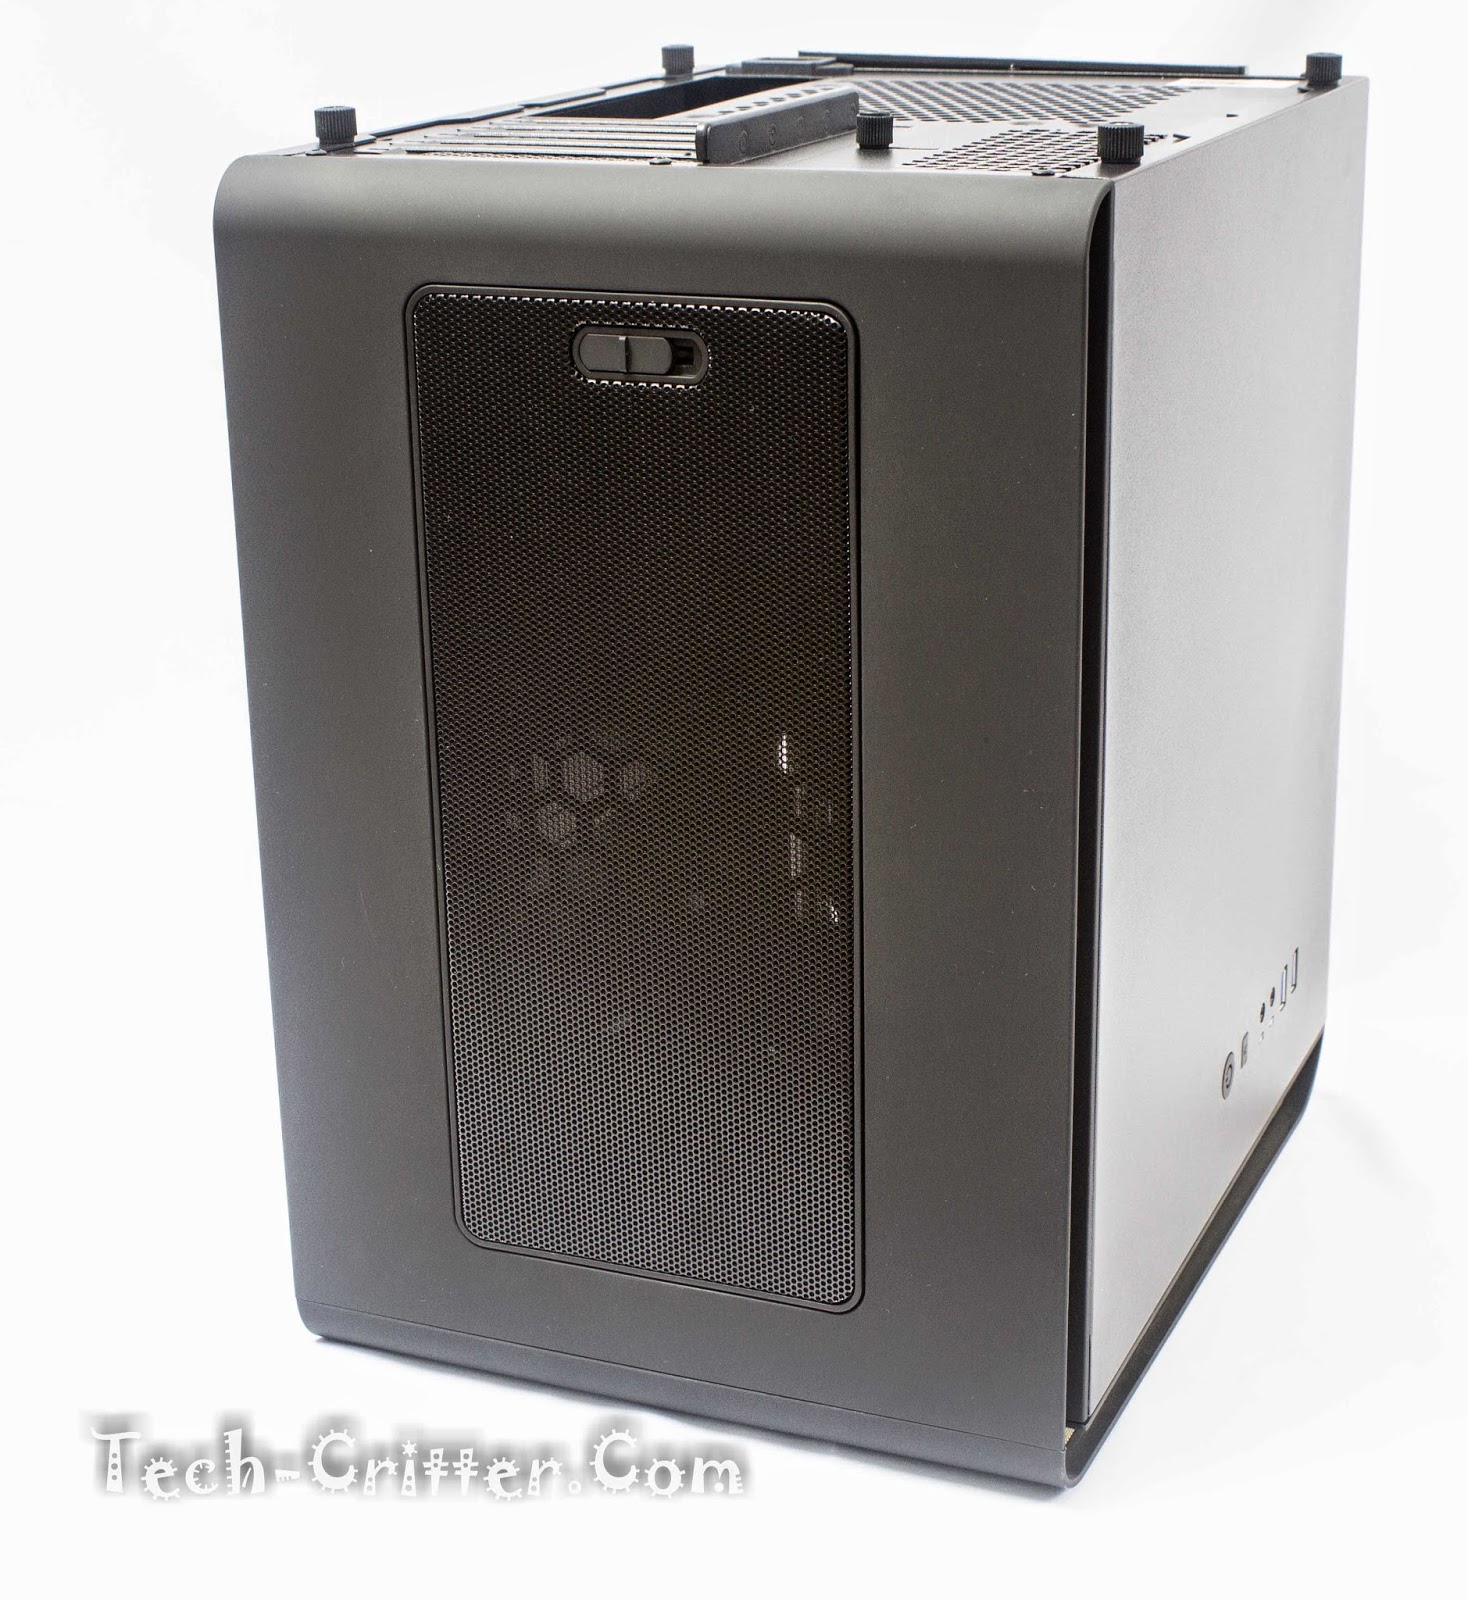
As you’ve probably noticed from the previous images, the side panels are solid with no windows or vents. the only difference between the left and right panels is that one of them houses the I/O…
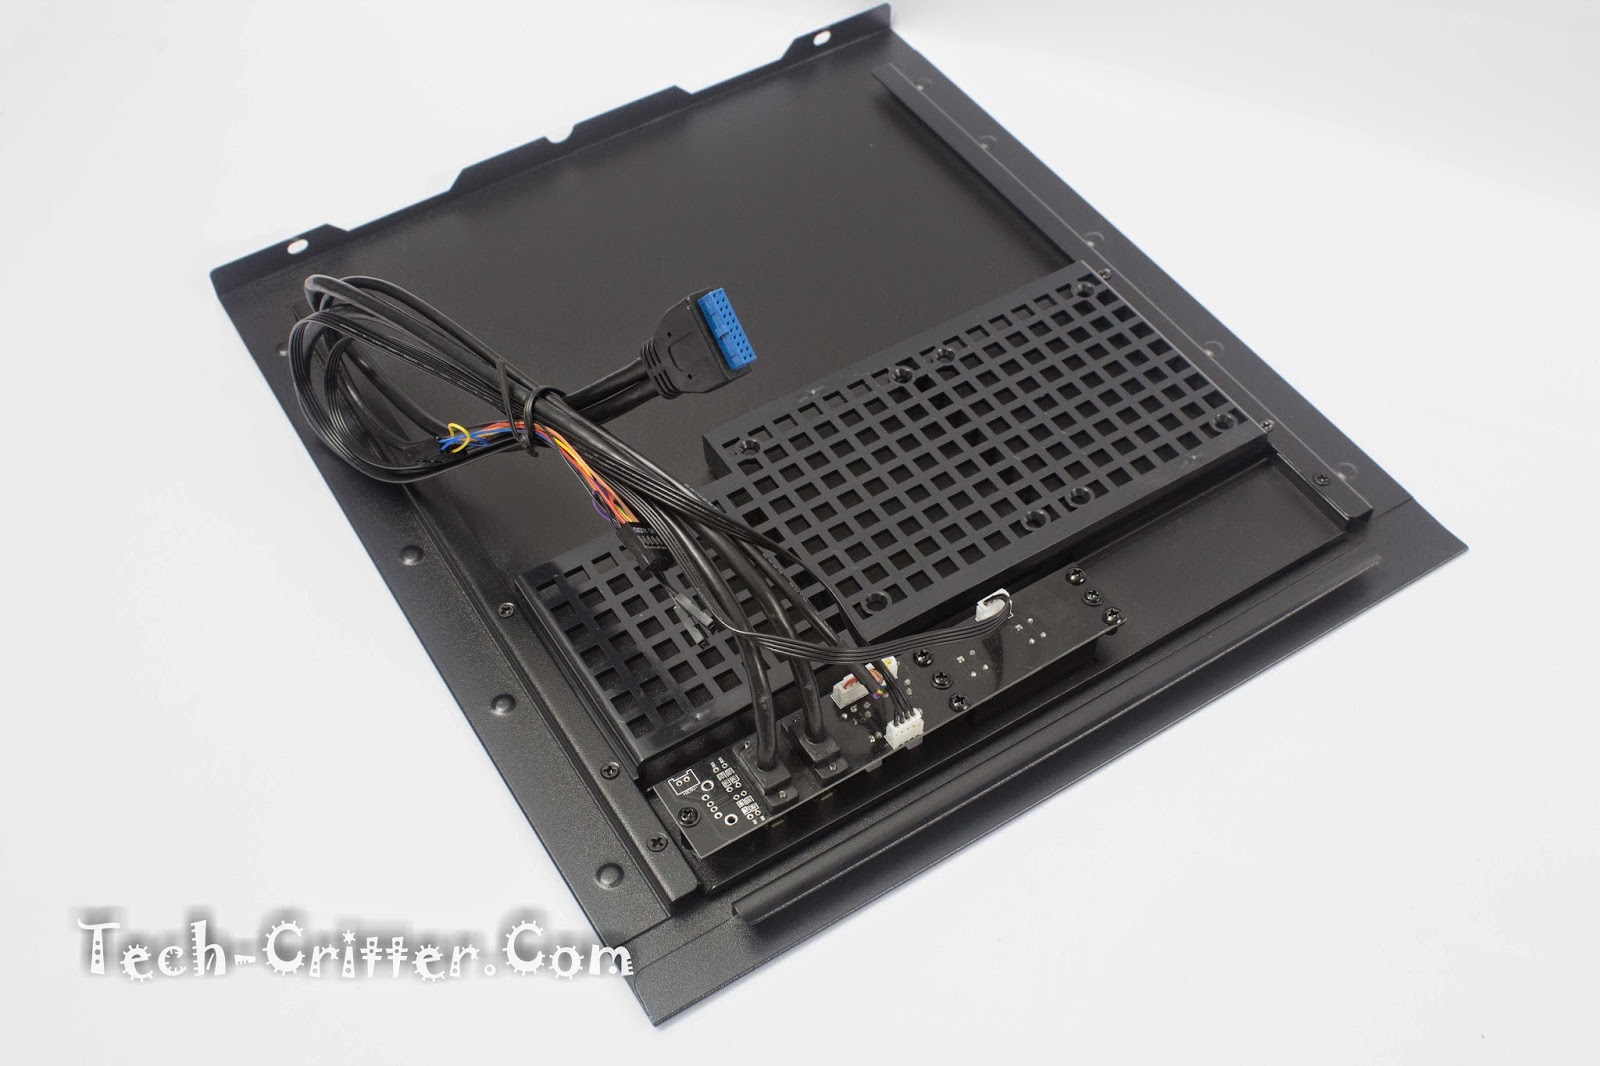
Which consists of a power button, reset button, power and hdd activity LEDs, microphone and headphome jack and a pair of USB3.0 ports. FYI, you can mount the panels on either side, giving you the flexibility to have them on the left or right side of the chassis.
Removing the front panel reveals a multitude of fan mounts options available as well as a 5.25-inch expansion slot. None of that really matters as you will need the space to mount a PSU and the front panel doesn’t have an extrnal 5.25″ bay slot. And again, I’d like to have air filters for the PSU intake.
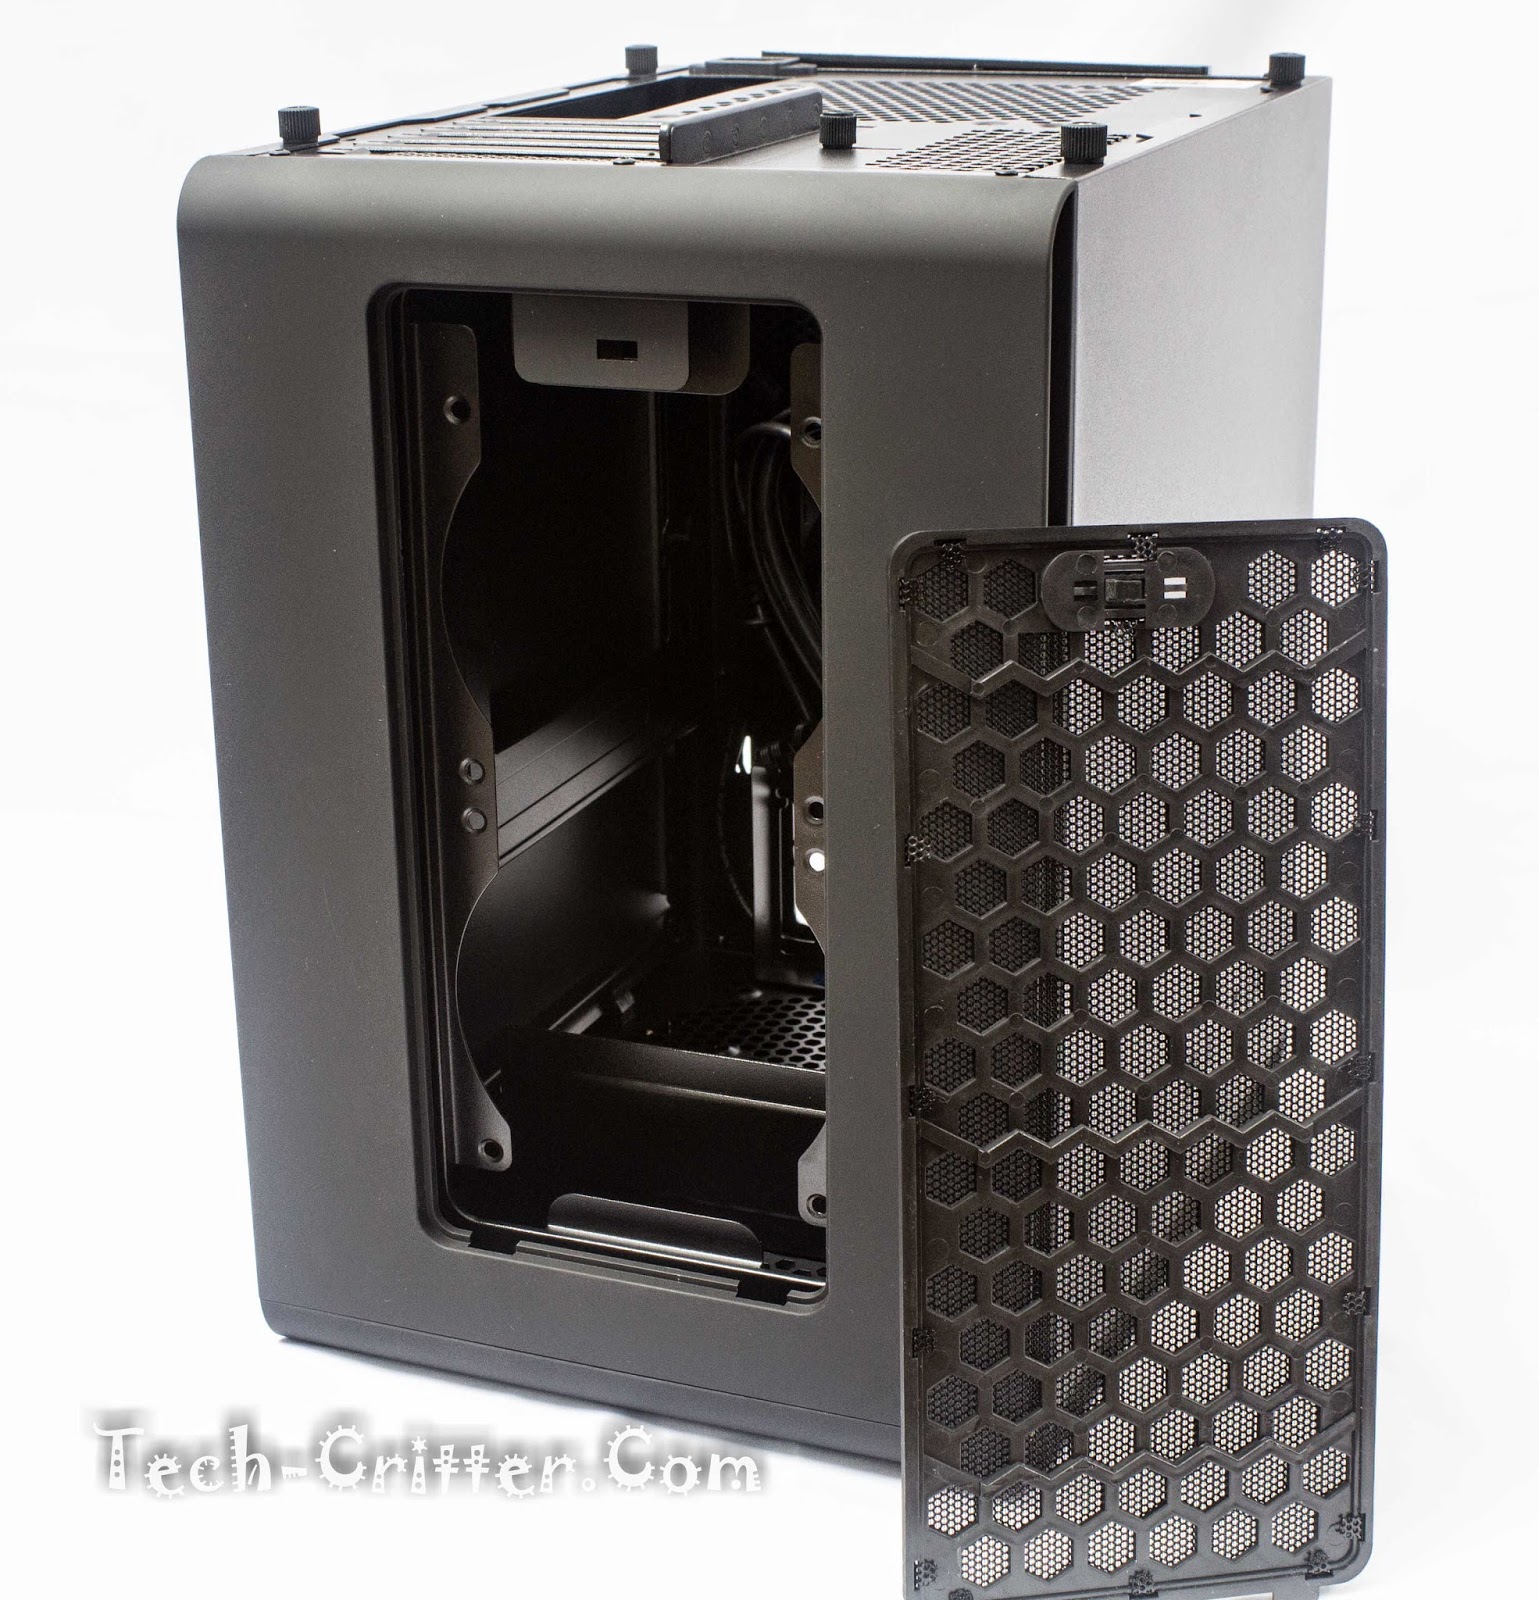
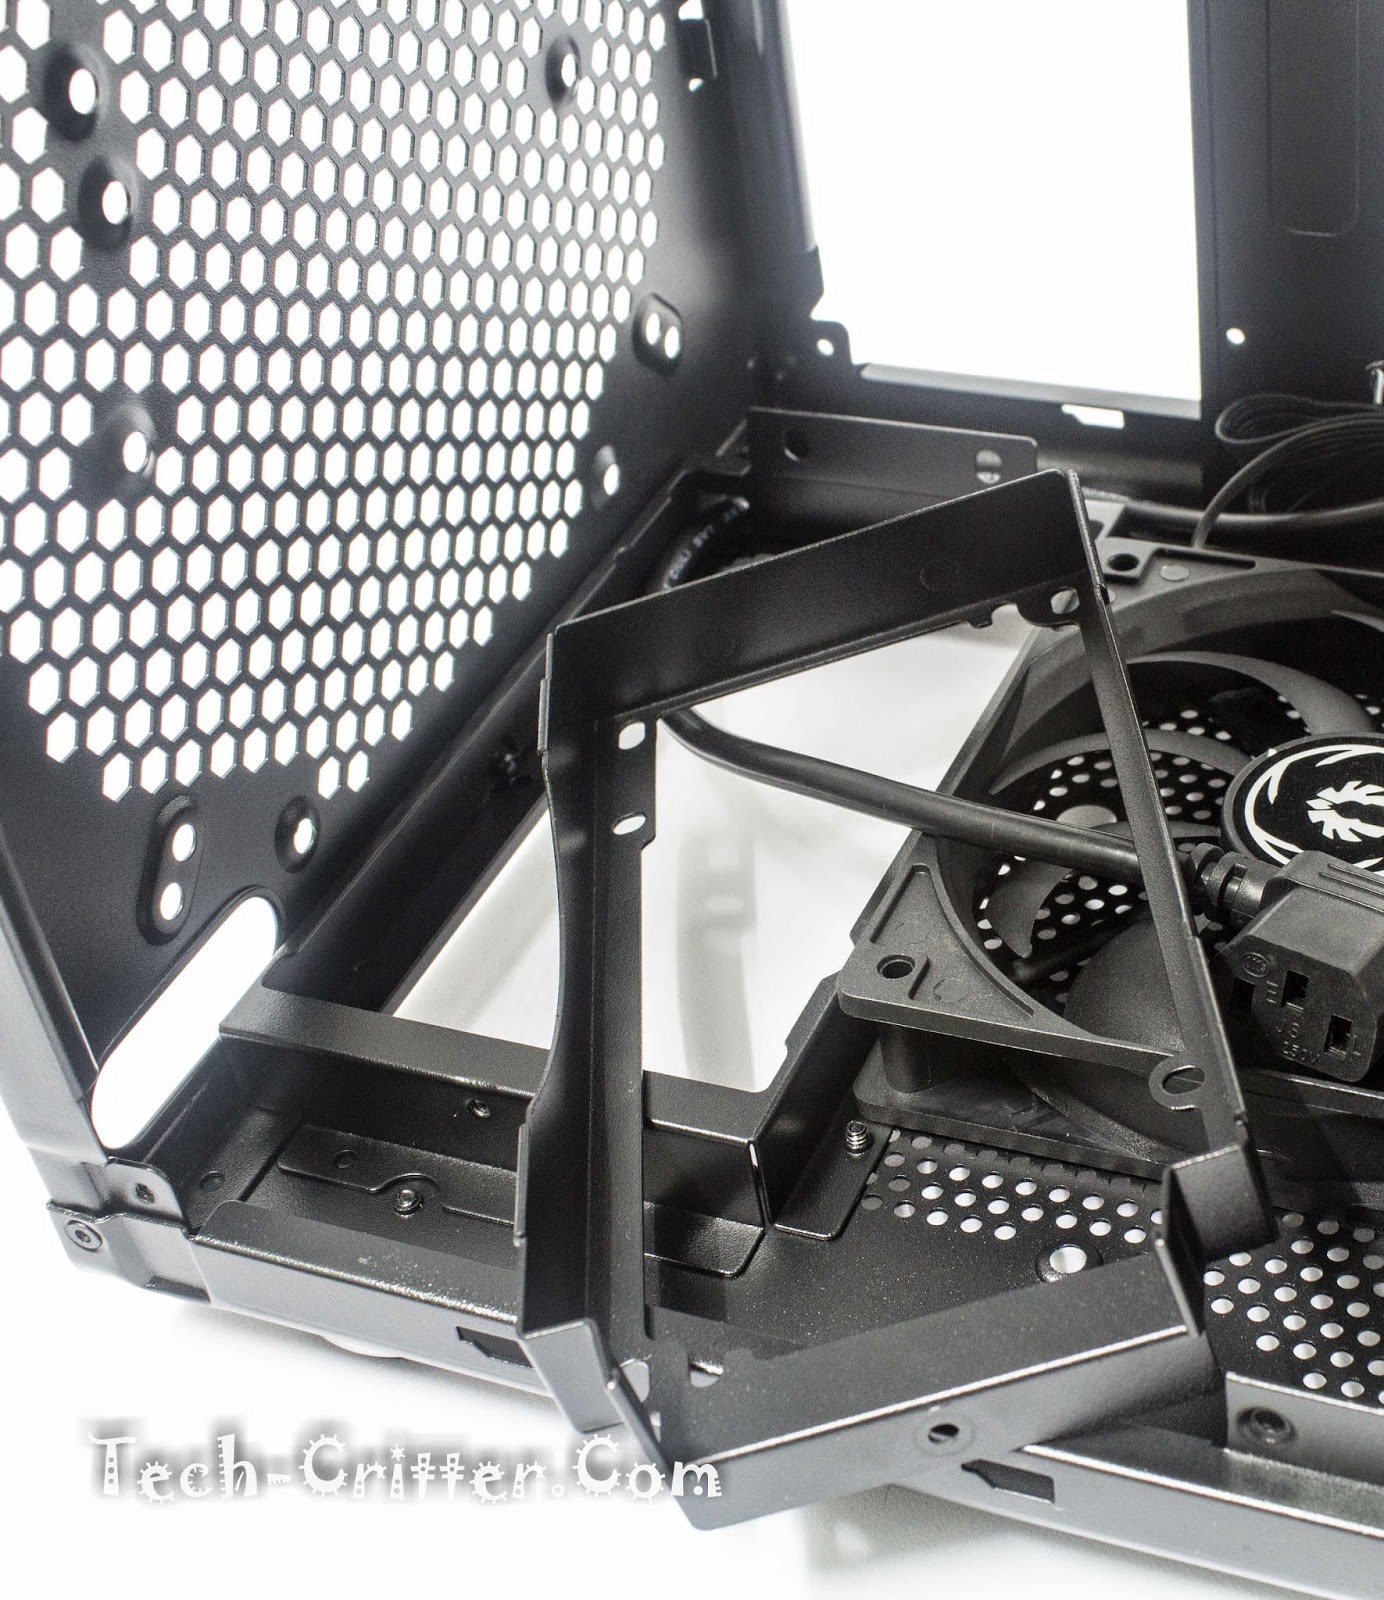
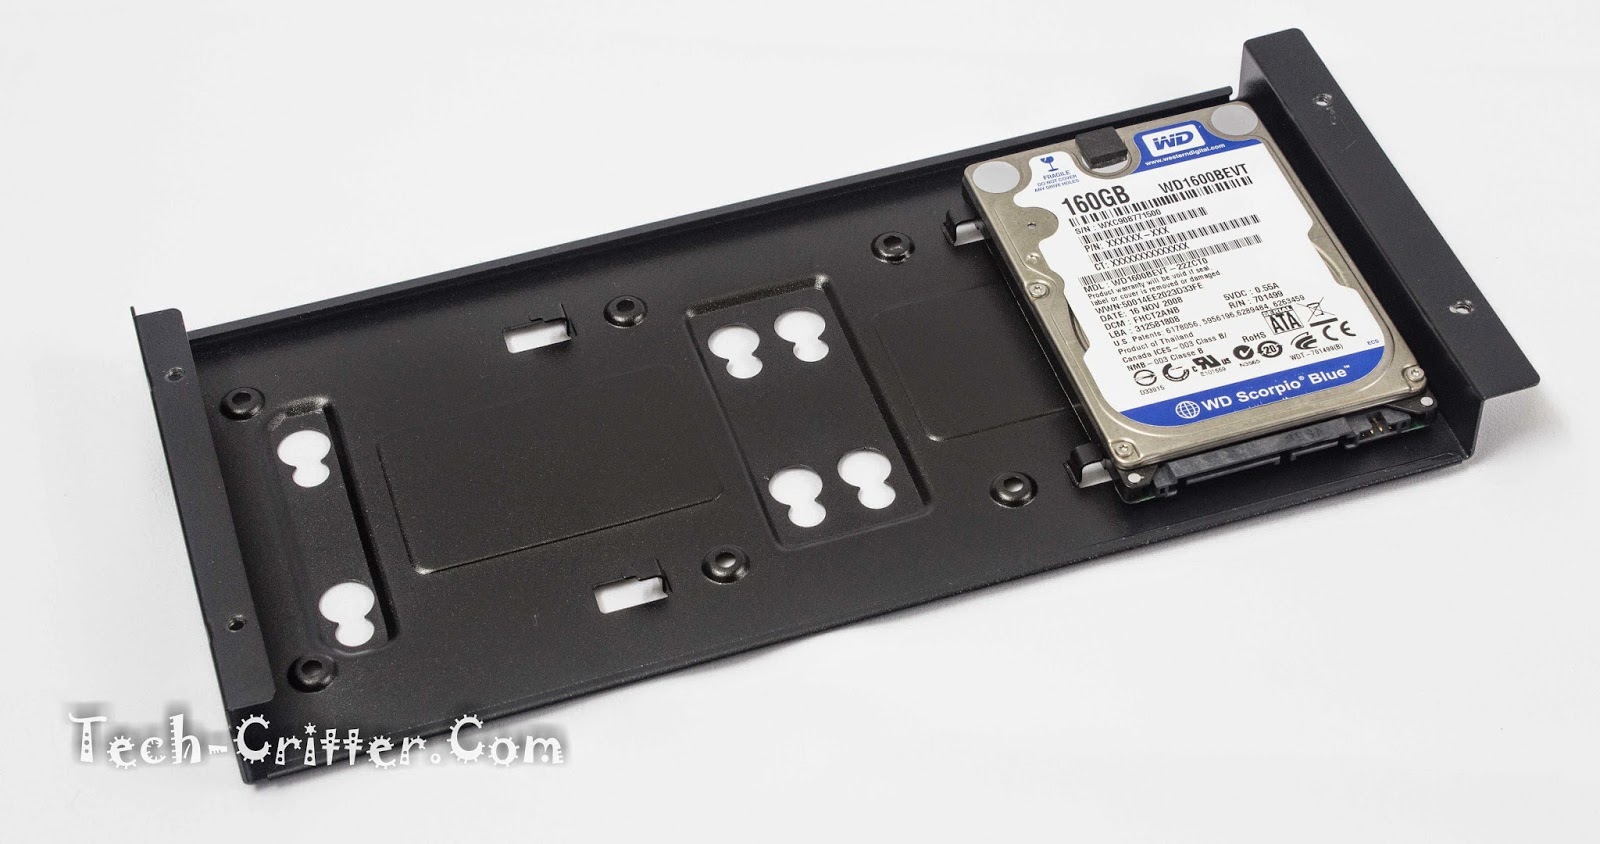
Taking the side panels off, you’ll find a mounting bracket for storage drives with the accessories tied to it. Securing this are four screws which you will need to take this off to gain access to the chassis to facilitate installation of hardware.
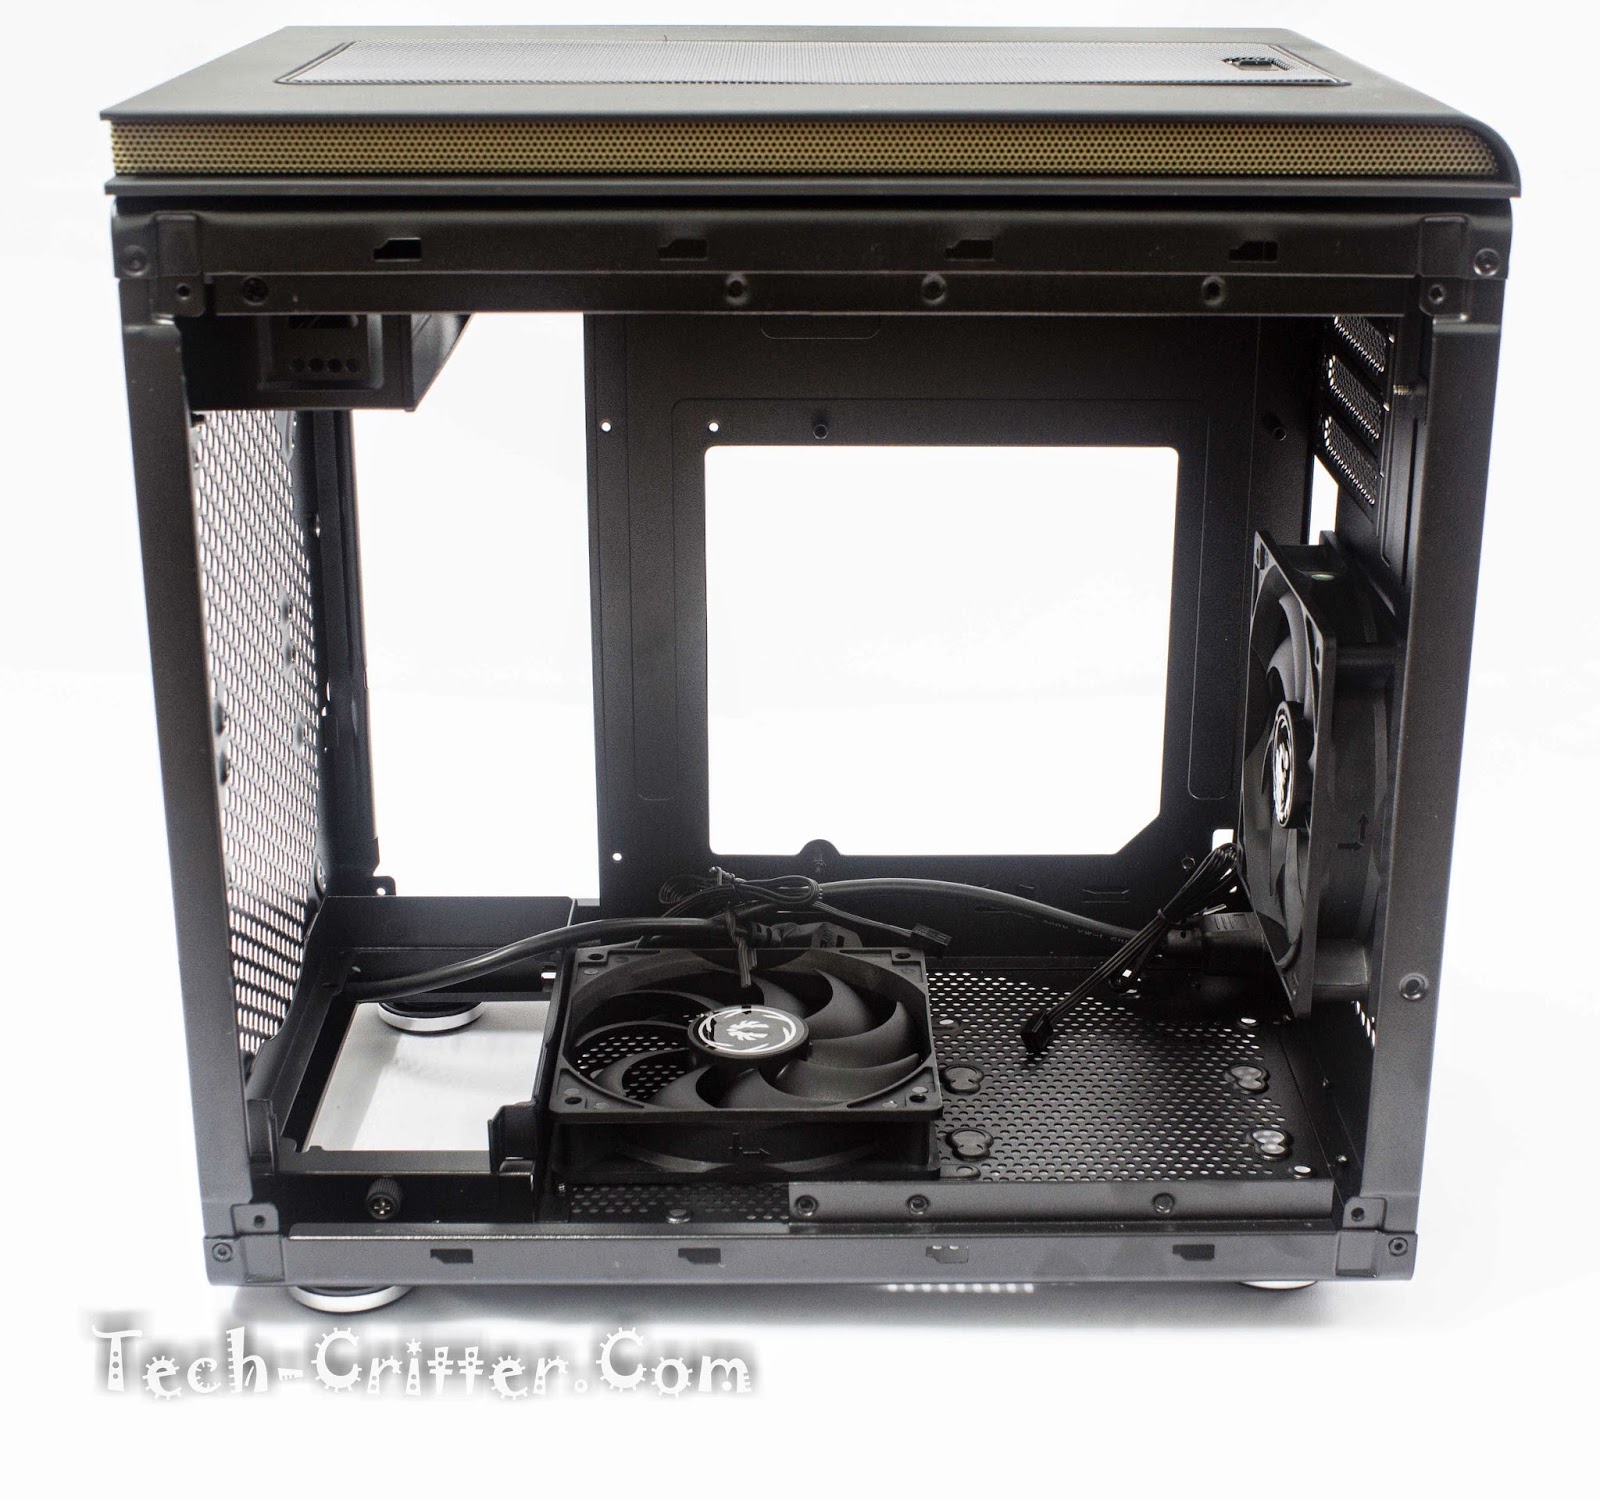
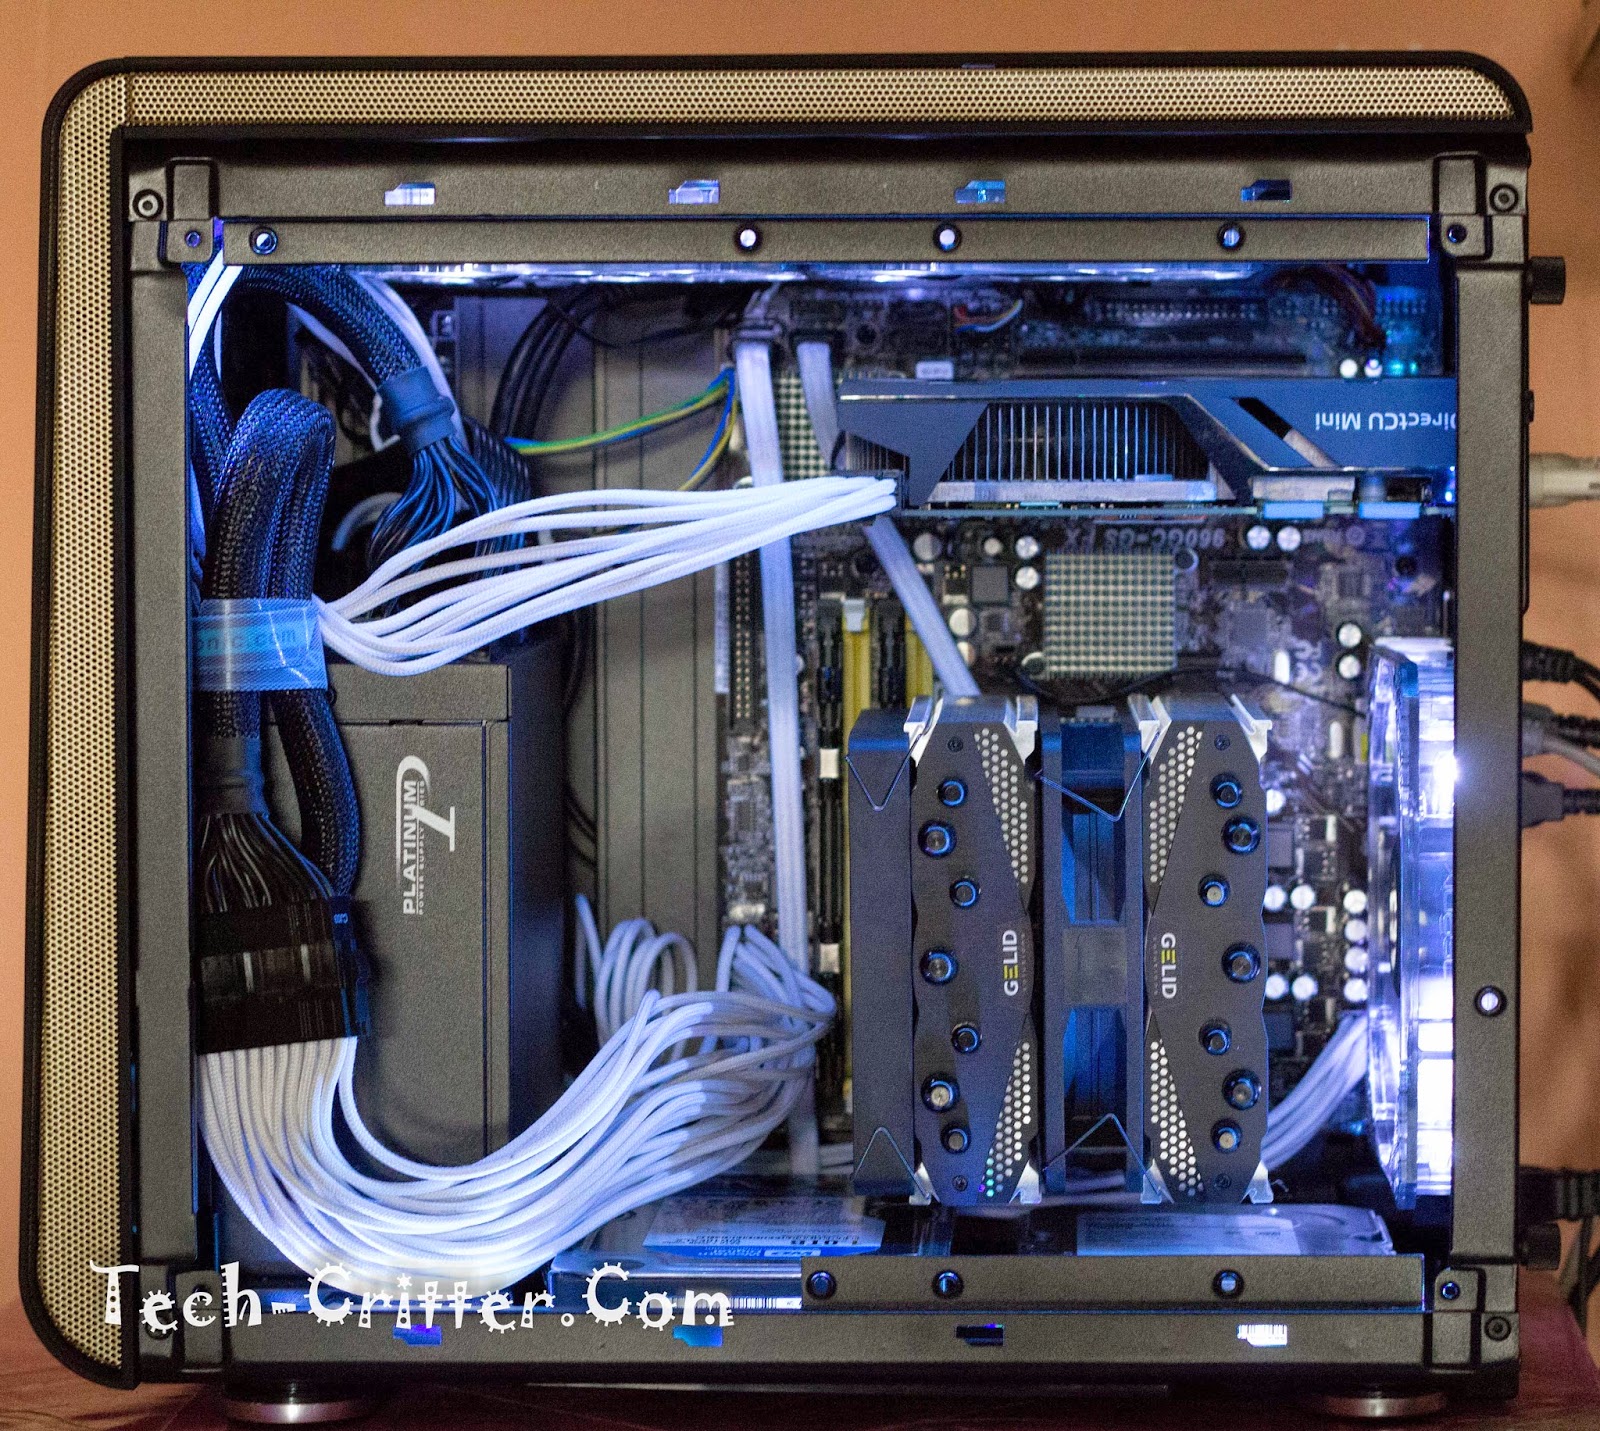
With the bracket out of the way, access to the internals is now possible. Right from the start, you’d notice that the layout is somewhat unconventional to the normal M-Atx chassis. In any doubt, I recommend that you take a look at the users manual before starting anything. From what I can see, there are lots of potential for a custom water-cooling setup inside.
The motherboard tray have a huge cut-out for mounting third-party CPU coolers without removing the motherboard. This however means that the motherboard tray flexes but very minimally as BitFenix had the edges folded to increase the rigidity as well as to prevent unwanted cuts when working with the Phenom-M.
Note that you will have almost no room at the back of the motherboard tray for cable routing, which means you’d have to make do with the little space between the PSU and side panel. I’d recommend going with a modular PSU to ease up on cable clutter, those with ribbon-styled extensions will definitely help. If all else, may I suggest the
BitFenix Fury PSU series? braided cables are excusable for clutter sometimes.
Coming back to the PSU mount, you would first need to take the bracket out that’s secured by a thumb screw and place it back after securing the bracket to the PSU. Note that the angled power cable extension need to be plugged into your PSU after that.
Looking at the top, is a small holder for a 5.25-inch device right where the fan mounts are. You could mount a HDD there with the supplied bracket or have it removed by undoing six screws from the side and front. Note that installing any device here would mean that you won’t be able to mount a fan at the front slot which would also dash any means of mounting a 240mm radiator and may pose a problem for long GPU mounted at the corresponding expansion slots.
Back at the side panel, one of them anyway, are where the I/O connections can be found. Beside that is a mount for two 2.5-inch drives.
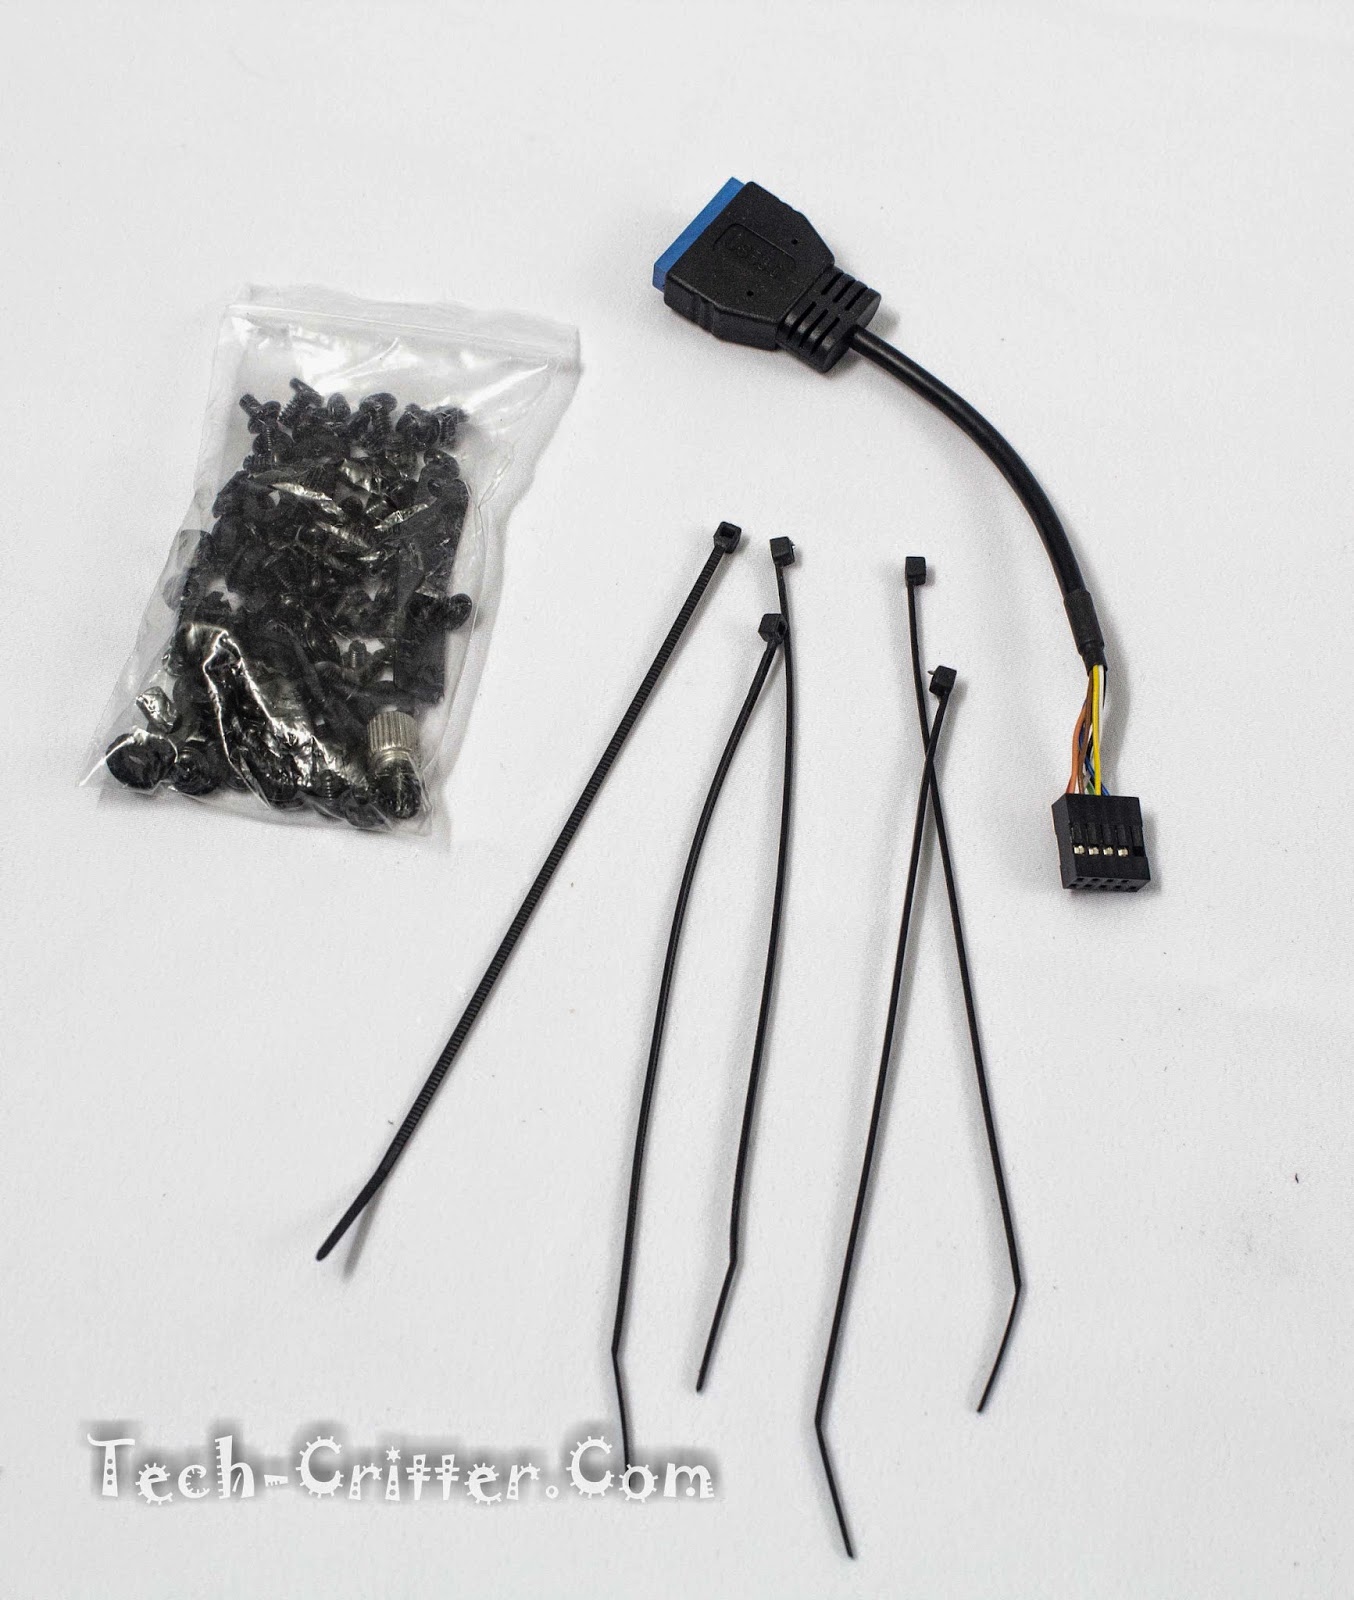
Not forgetting the accessories, emptying out the brown box found earlier will yield a bag of mounting screws, some cable ties and an internal USB3.0 to USB2.0 adaptor cable.
And a plastic 5.25-inch to 3.5-inch adaptor tray in case you wanna mount a HDD on the internal bay provided.
Component Installation
In a small chassis like this, you’d need to plan out what goes in first so that the whole process will go smoothly. As with any small chassis, some compromises are bound to be there, I found that while the Noctua NH-D15 will fit into the chassis, you can’t have Hard-drives at the bottom as you wouldn’t be able to install the fan clips at that direction.
Note that the fan at the back will also have to be removed in order for your hand to actually reach inside to secure the fan clips. Mounting the hard-drives will have to be at the bracket but only 2.5″ HDD or SSD will fit if you have a tall cooler. Another option is to mount it at the plastic bracket at the side panel but that means more cable management.
So at the end, we decided to use the Black Edition CPU cooler from Gelid Solutions that we reviewed a while back. Sure enough, everything fits nicely. Added the BitFenix Spectre Pro LED (White) fans with BitFenix Alchemy Cables and an LED lighting strip to spruce the build.
Conclusion
The BitFenix Phenom-M is a sleek chassis on the outside, the inside, while ingenious, has it’s limitations. More often than not, you would need to consider what needs to be sacrificed to get the build you want as we have experienced with the build.
That said, BitFenix did make the Phenom-M a little easier to build by giving a removable PSU bracket, tool-less expansion slots and access via the top panel (so it is definitely recommended to install the fans at the end of the build). It is challenging but managing everything into the chassis is very satisfactory indeed. I would recommend this chassis to anyone looking for a HTPC system as this chassis is something that’ll blend into any living room AV systems or you could choose to hide a monster rig inside a small chassis.
Pros:
- Sleek outlook
- Quality construction
- Tool-less expansion slots
- Supports huge CPU coolers
Cons:
- No dust filters for PSU and bottom fan mount
- Could have more room for cable management
- Some features had to be sacrificed for others
All in all, the BitFenix Phenom-M gets the Tech-Critter Silver and Recommended award.