
Previously, I had an unboxing article on the Thermalright Silver Arrow SB-E X2. Truth be told, A.P.E.S supplied two Thermalright products for unboxing and review; so once again, I thank the team for providing this great product for unboxing & review. And now….. meet the Thermalright Archon SB-E X2.
| Heatsink Specifications:Dimension: L155 mm x W53.6 mm x H170.2 mm Weight: 750g Heat pipes: Eight 6mm Copper Heatpipes Fin: T = 0.5 mm ; Gap = 1.9 mm Fin Pcs: 28 + 6 + 5 = 39 pcs Copper Base: C1100 Pure Copper Mirror Finished base with Nickel Plating Motherboard to Fin: 27 + 8 = 35 mm | |
| TY-141 FAN Spec (x2) Dimension: L152 mm x H140 mm x W26.5 mm Rated Speed: 900~1300RPM±15% Weight: 175g Noise Level: 17~21 dBA Air Flow: 28.3 – 73.6CFM | |

The Archon comes in Thermalright’s traditional packaging, a square brown box with the Thermalright branding at the top and the name of the product on the lower part of both sides. As I have said before, I like this approach of keeping it simple. It also helps to keep the cost down, at RM265, it’s not too expensive either.


Setting those aside, you find soft foam that covers the included fans.

And finally, removing the fans will reveal the Archon heatsink which is further protected with an extra wrapping of clear plastic with a pack of “do-not-eat” to keep things dry.

Here is everything that comes out of the box.
Accessories Pack


The accessories pack contains everything you will need to mount the Archon in your system. here is a list of all the items inside the package:
- Anchoring Bracket Mount x1
- Intel Multiple Support Backplate x1
- AMD Backplate x1
- Pressure Mount Adjustable Mounting Plate x1
- Screw Pillars x4
- LGA2011 Screw Pillar Type C x4
- Thumbscrew cap x4
- White Plastic Washer x4
- Backplate Cap x1
- Andled Wrench x1
- Anti Vibration Pad x8
- PWM Y-Cable x1
- Thermal Paste x1
- Fan Clip x4
As with the Silver Arrow that I unboxed before, the mounting parts are well made and doesn’t bend under pressure; definitely not one of those plastic backplate braces that you’d see on other offerings. Other small gestures such as the rubber noise dampeners and PWM Y-cable adaptors really tells you how detailed Thermalright were about quality.


The Archon employed eight 6mm heatpipes is arranged in a U-shaped, zig-zag array which is divided into different sections of the fins stack ensures even distribution of heat out of the CPU. This is two more than the Noctua NH-D14 given the size of the Archon in comparison.


Prepping my CPU, nothing much, might be an antique to some of you. I took the motherboard out of the chassis to show you guys the mounting process, flipping the whole chassis is somewhat not ideal.

Placing the AMD backplate at the back of the motherboard.

Securing the backplate with the screw pillars.

The anchoring bracket mount comes next…

and is secured with thumbscrew caps.

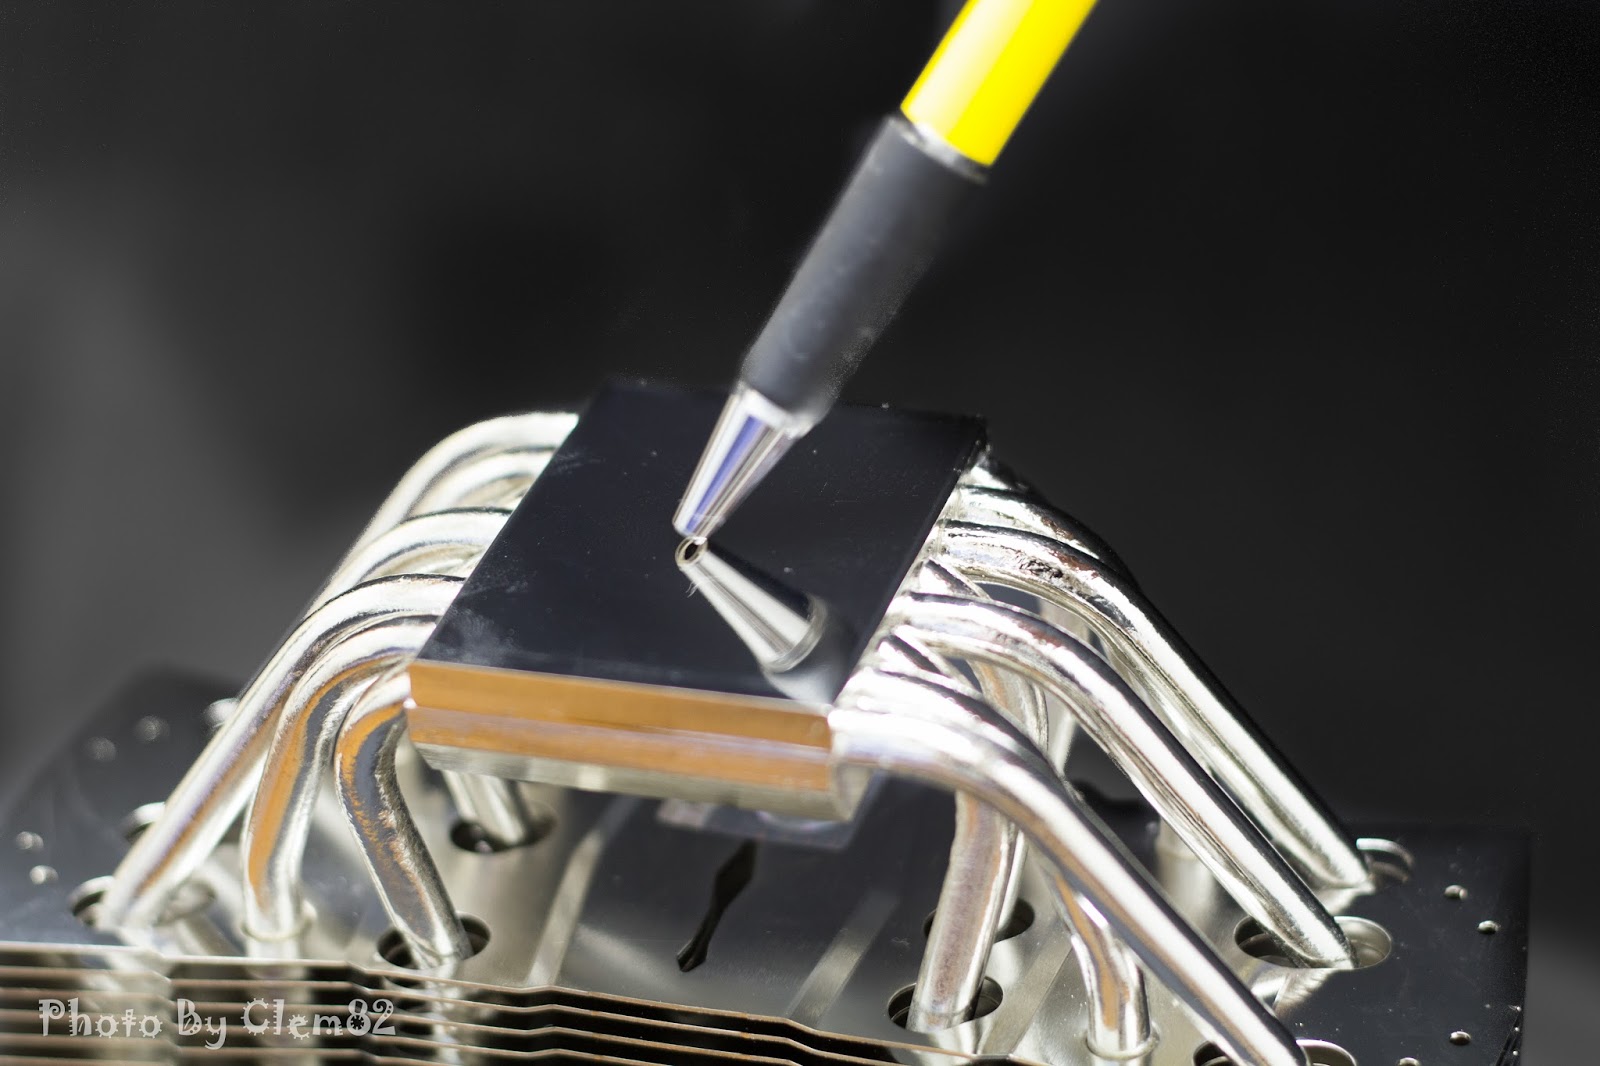
The heatsink comes next, just remember to apply the thermal paste and peel the protective sticker before this process. Secure the heatsink with the pressure adjustable mounting plate.

Thermalright’s proprietary Pressure Vault mounting mechanism is very ingenious indeed. Unlike most HSF mountings where you have to adjust every screw to increase the mounting pressure, this one allows you to increase the mounting pressure simply by twisting the centre screw after securing everything else. Thermalright supplied a wrench for this, each 1/2 a rotation from the middle point of the pressure adjustable mounting plate supposedly adds 10lbs (about 4.5kg) of pressure to the mounting, ensuring good contact.


Just another shot of the Archon fully mounted, not too shabby.
Testing
| Cooler | Idle (°C) | Load (°C) |
| CoolerMaster Hyper 212+ | 29 – 35 | 53 |
| Thermalright Archon SB-E X2 | 23 – 28 | 38 |
Conclusion
So if you’re looking for an improvement over your CPU stock cooler, the Thermalright Archon is should definitely be on your shortlist. I was already impressed by the design at first, from the mirror polished heatsink to the meticulously designed mounting system, Thermalright’s dedication to quality is the finest I’ve seen. I need not say anymore about the performance, the numbers do not lie.
Okay, there are probably something that would prevent you getting the Archon. First of all, your chassis would need to have a clearance of 170mm for the CPU cooler as most users I know will most likely have mid towers or smaller chassis. The sheer size and weight of it will deter some users as well, the idea of having a big chunk of metal hanging from their motherboard is not to everyone’s taste even if they have a full tower chassis and would opt for water-cooling loops instead; the colour combination of the two fans are not helping in this sense either.
Having said that though, the Archon’s advantages outweighs it’s disadvantages. This is an air-cooler that would rival the performance of many AIO water cooling loops! (according to multiple sources) and being at about half the price of AIO water coolers will allow users to get their hands on a more decent parts for their Rigs. Aside from that, there is no worries of leakage and the low maintenance means more time for gaming and less time fussing about.
I think this will be my top HSF for quite some time and builds.
Pros:
- Excellent quality and design
- Affordably priced
- Cooling capabilities rivals AIO loops
- Solid mounting system
- Doesn’t block RAM slots
Cons:
- A little heavy and tall
- Odd coloured fans


