Let’s be honest here – those who have a Apple’s MacBook Air was aiming for one thing – its price. The MacBook Air 11-inch in particular was Apple’s entry to their walled garden at the lowest price, yet it offers decent performance with an extremely long battery life. Perfect for mobile warriors. I’m sure that there are many MacBook owners are like me – cheap out during the initial purchase and opted for the lowest storage capacity available, but regret now because 128GB is clearly insufficient. This is where Transcend’s slew of Apple memory products come to the rescue – particularly the Transcend JetDrive 820 SSD for Macs.
If you don’t already know, some MacBooks can indeed be upgraded. I recommend checking the compatibility list on Transcend’s website before purchasing. Apple also uses proprietary interface for its SSDs. I’m personally using a MacBook Air 11-inch from mid-2013, can be upgraded. Other Mac computers might have soldered SSDs or different interface, and Transcend has other JetDrive series SSDs for those machines.
We also prepared a quick and simply unboxing and review video, showing off what the Transcend JetDrive 820 is all about, and a brief walkthrough on how to upgrade the SSD in the MacBook Air!
Specifications
| Interface | HCI PCIe Gen3 x2 |
| Capacity | 240GB, 480GB, 960GB |
| Storage Media | 3D TLC NAND Flash memory |
| Maximum Performance | Sequential read: 950MB/s Sequential write: 950MB/s |
| Operating Temperature | 0°C (32°F) ~ 60°C (140°F) |
| Warranty | Five-year Limited Warranty (Warranty does not apply when JetDrive Toolbox’s wear-out indicator displays 0% within 5 years.) Please access here for more information about the Transcend Warranty Policy. |
| Note | Speed may vary due to host hardware, software, usage, and storage capacity. |
Unboxing
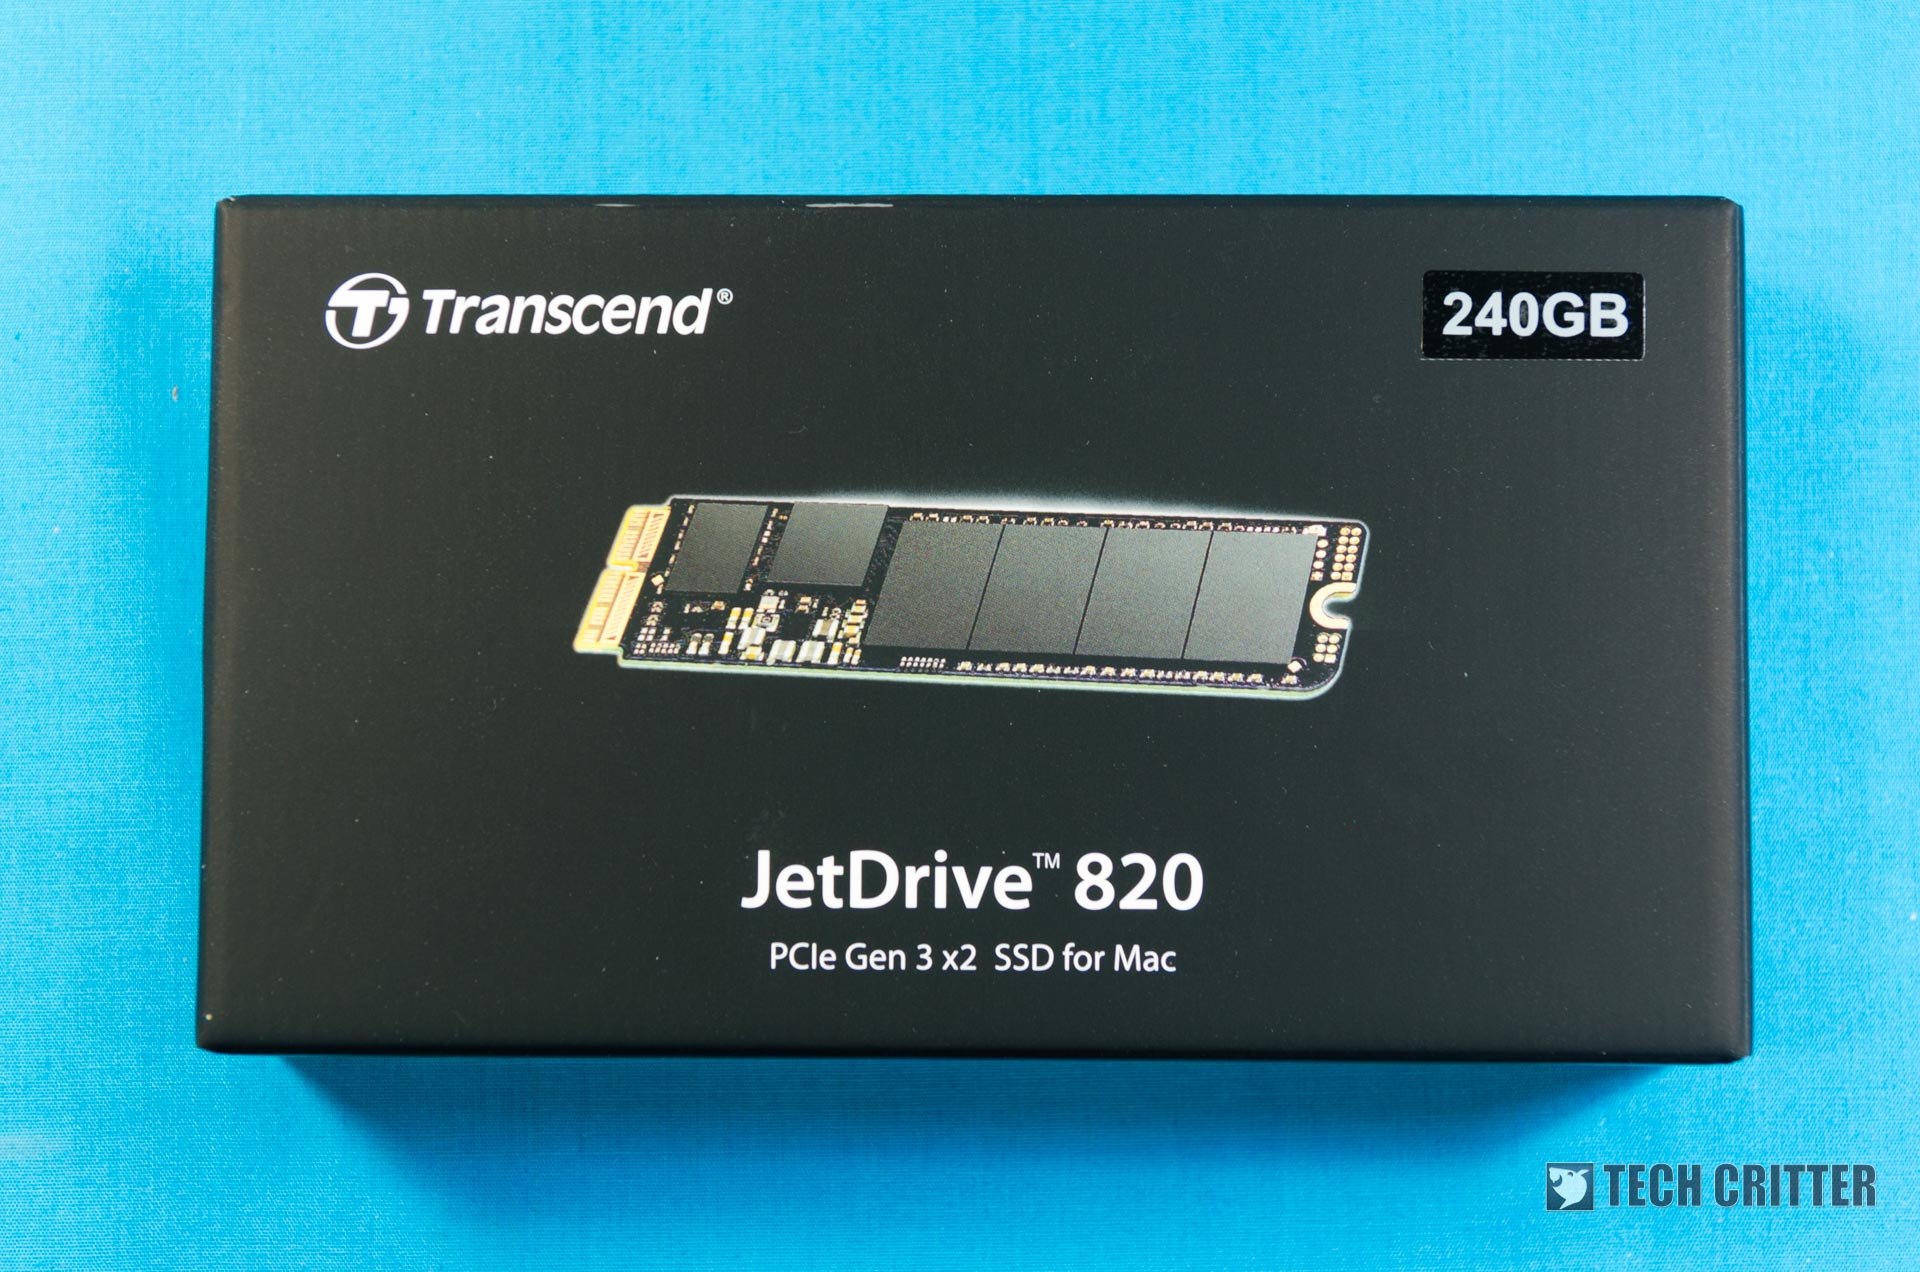
Come to think of it, this is the first time ever that Transcend changed its packaging design. Drastically, too. It has a classy black look throughout the entire box, and it has a soft-touch finish. It feels surreal to have a box with soft-touch material.
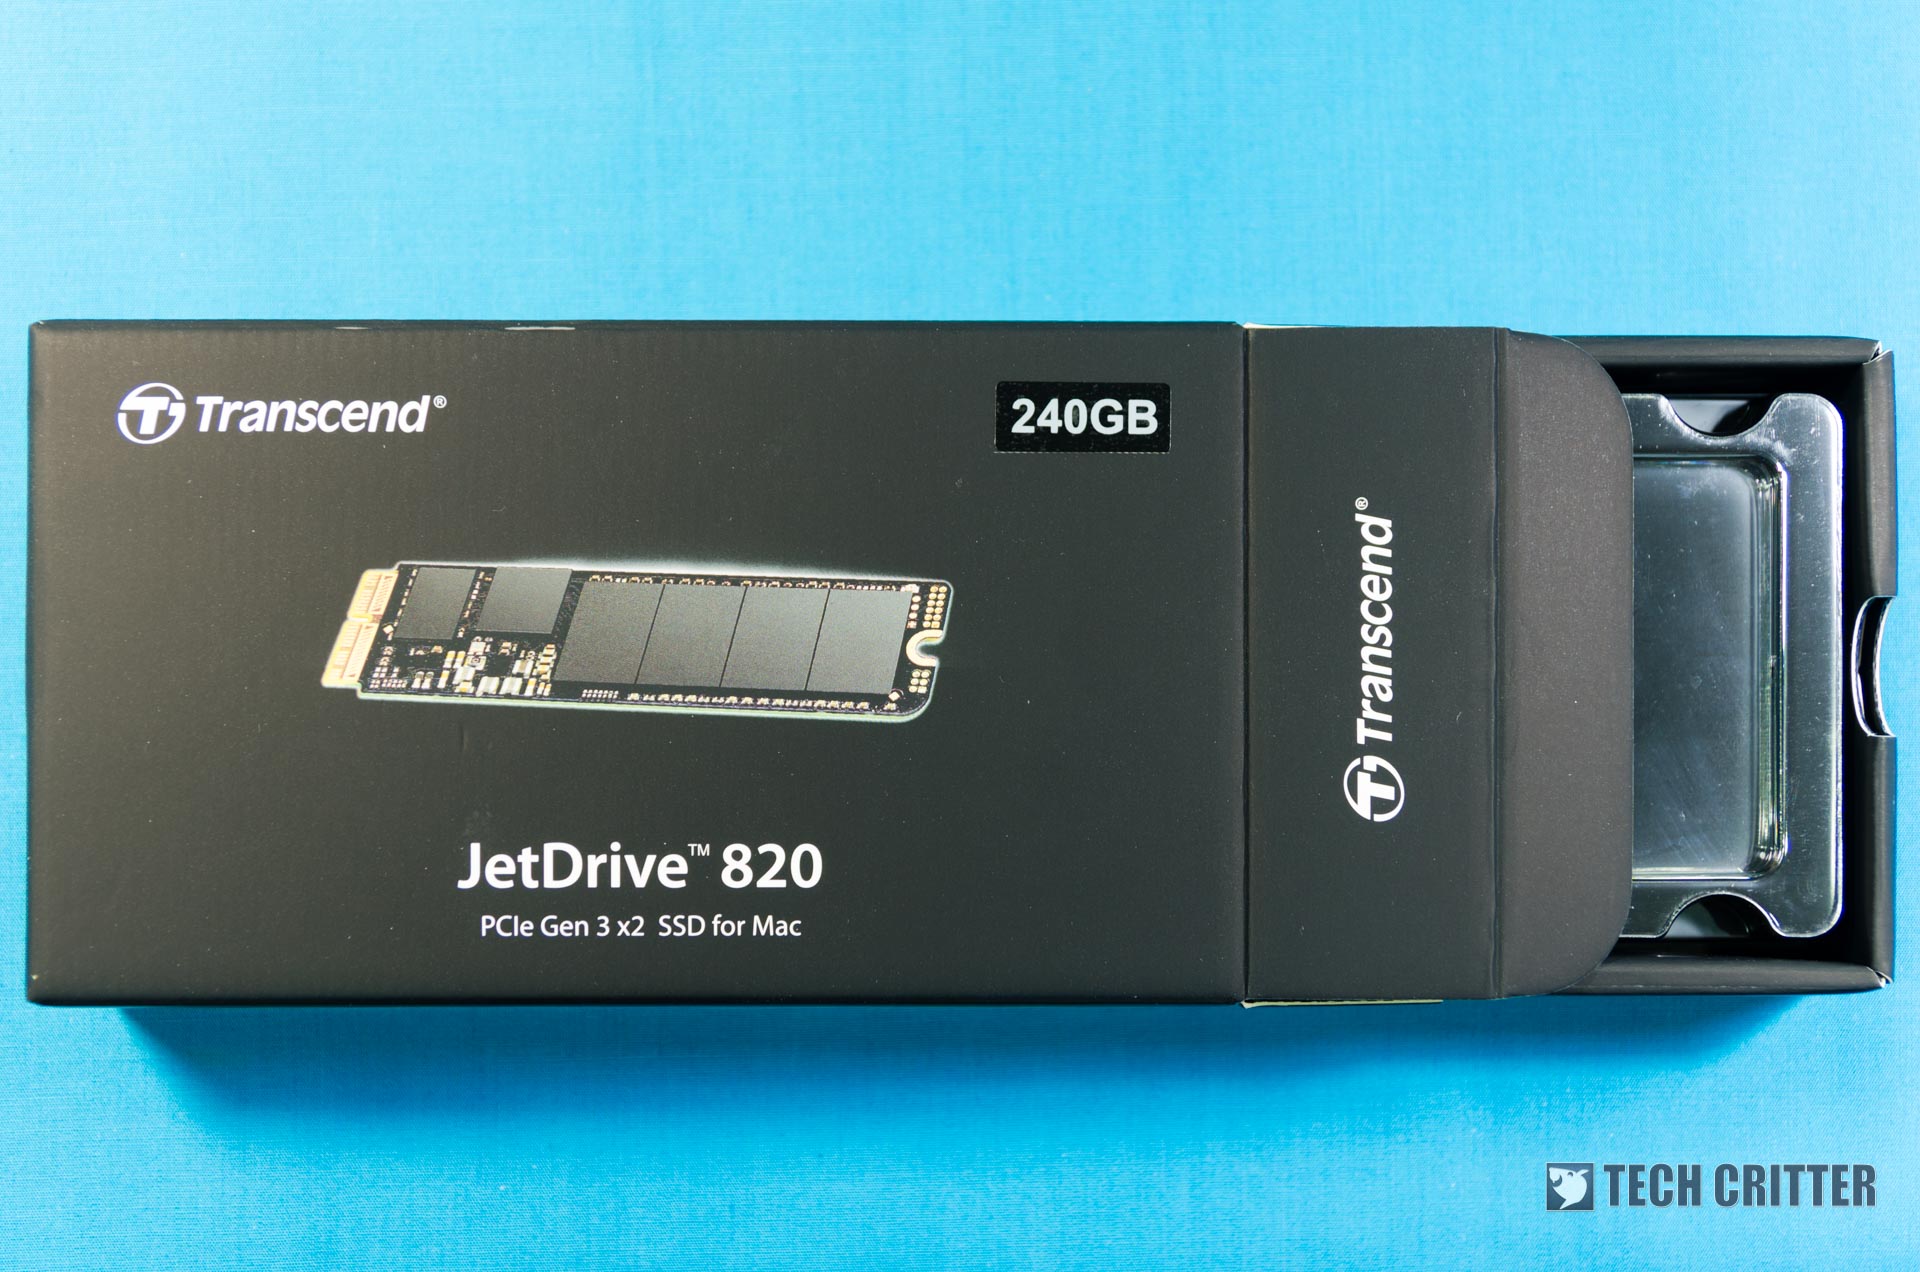
There’s nothing much on the back other than a QR code that tells you how to identify the model of your Mac.
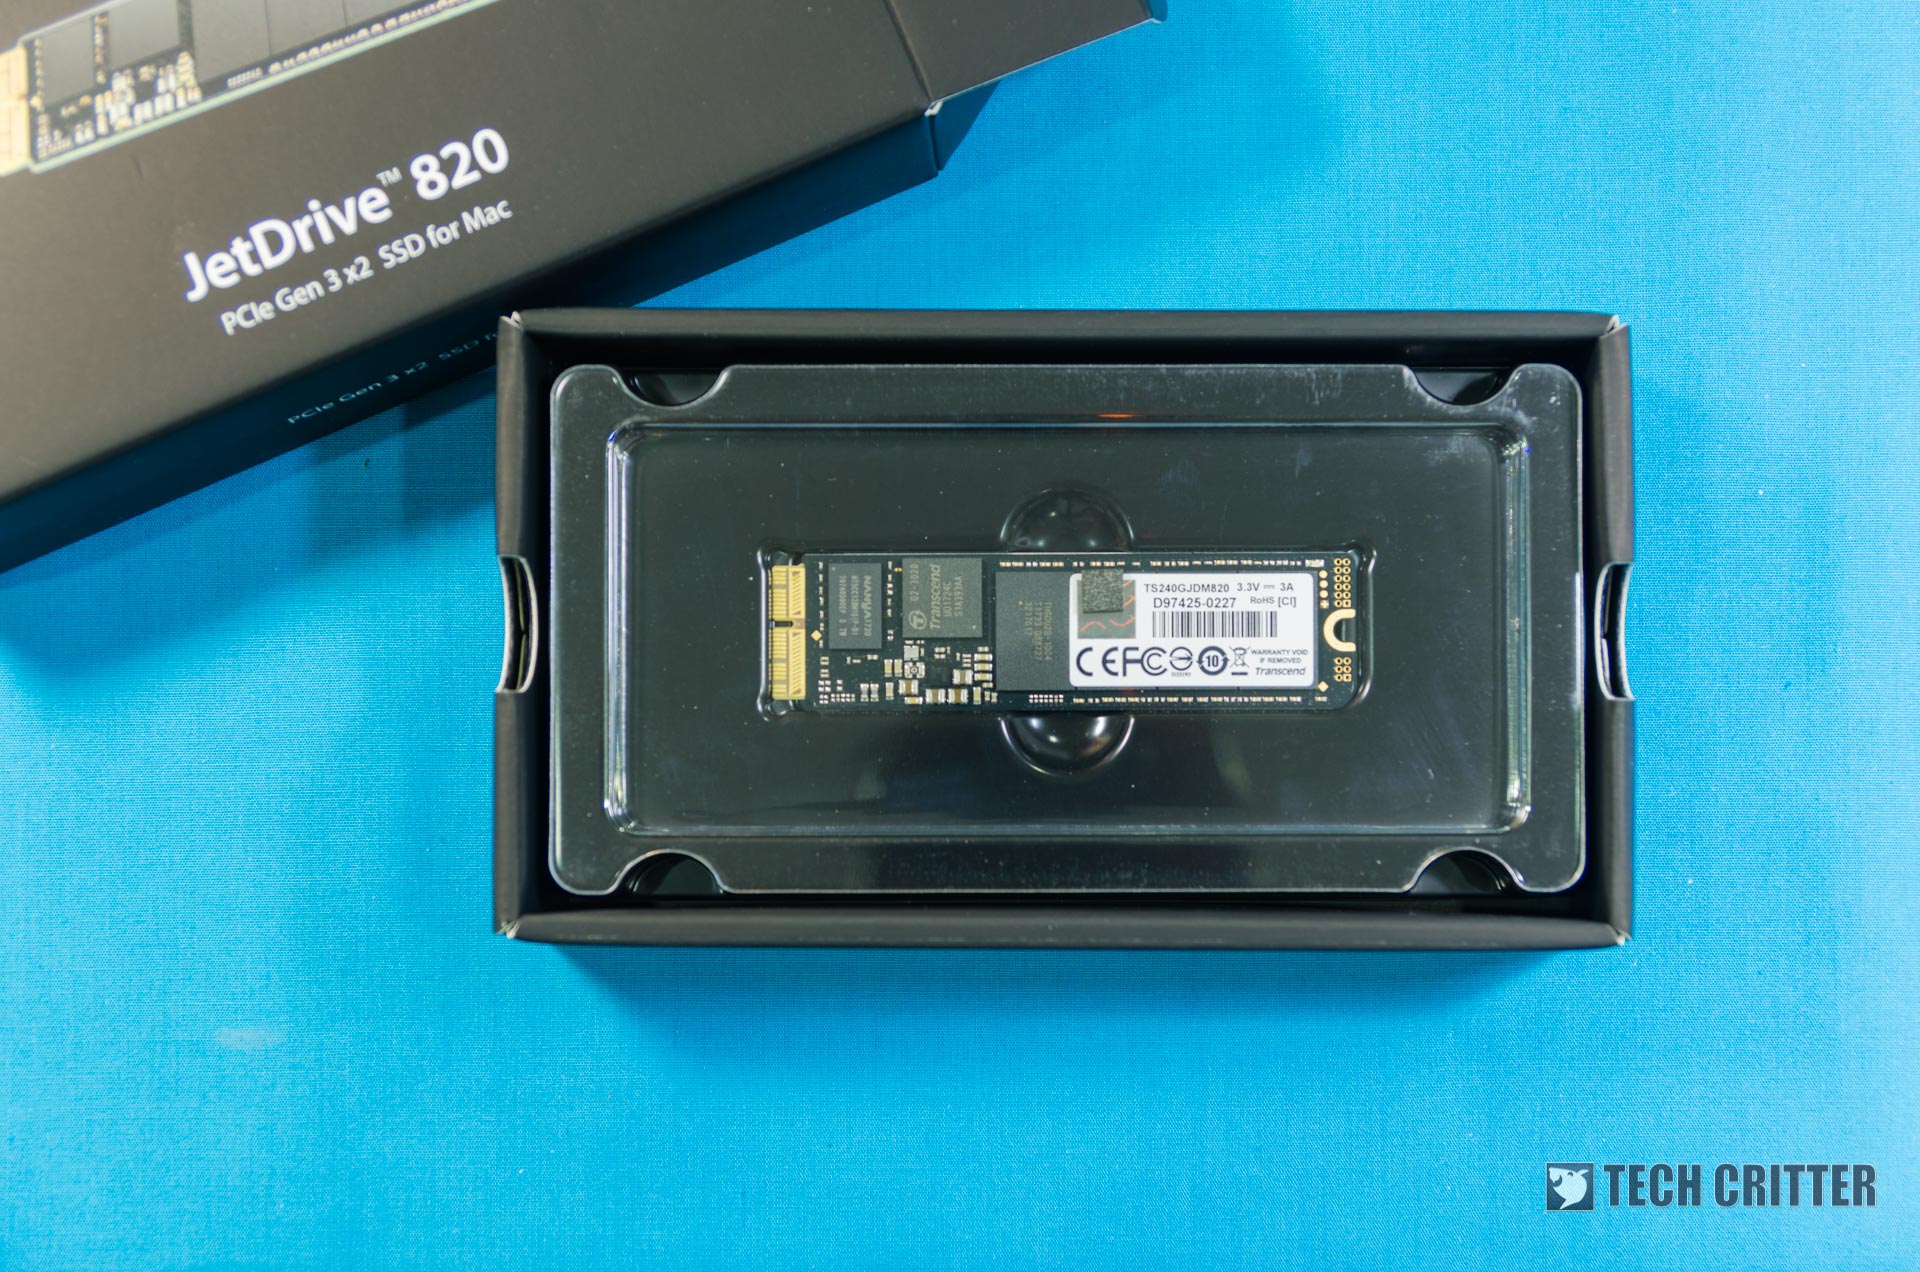
Opening up the box reveals a cradle – which is also covered in soft-touch material – that holds the SSD, protected by a plastic shell. This plastic shell is exceptionally thick. Does an SSD even need such packaging?

Beneath the SSD are two screwdrivers that are positioned longitudinally in parallel. More on this later.
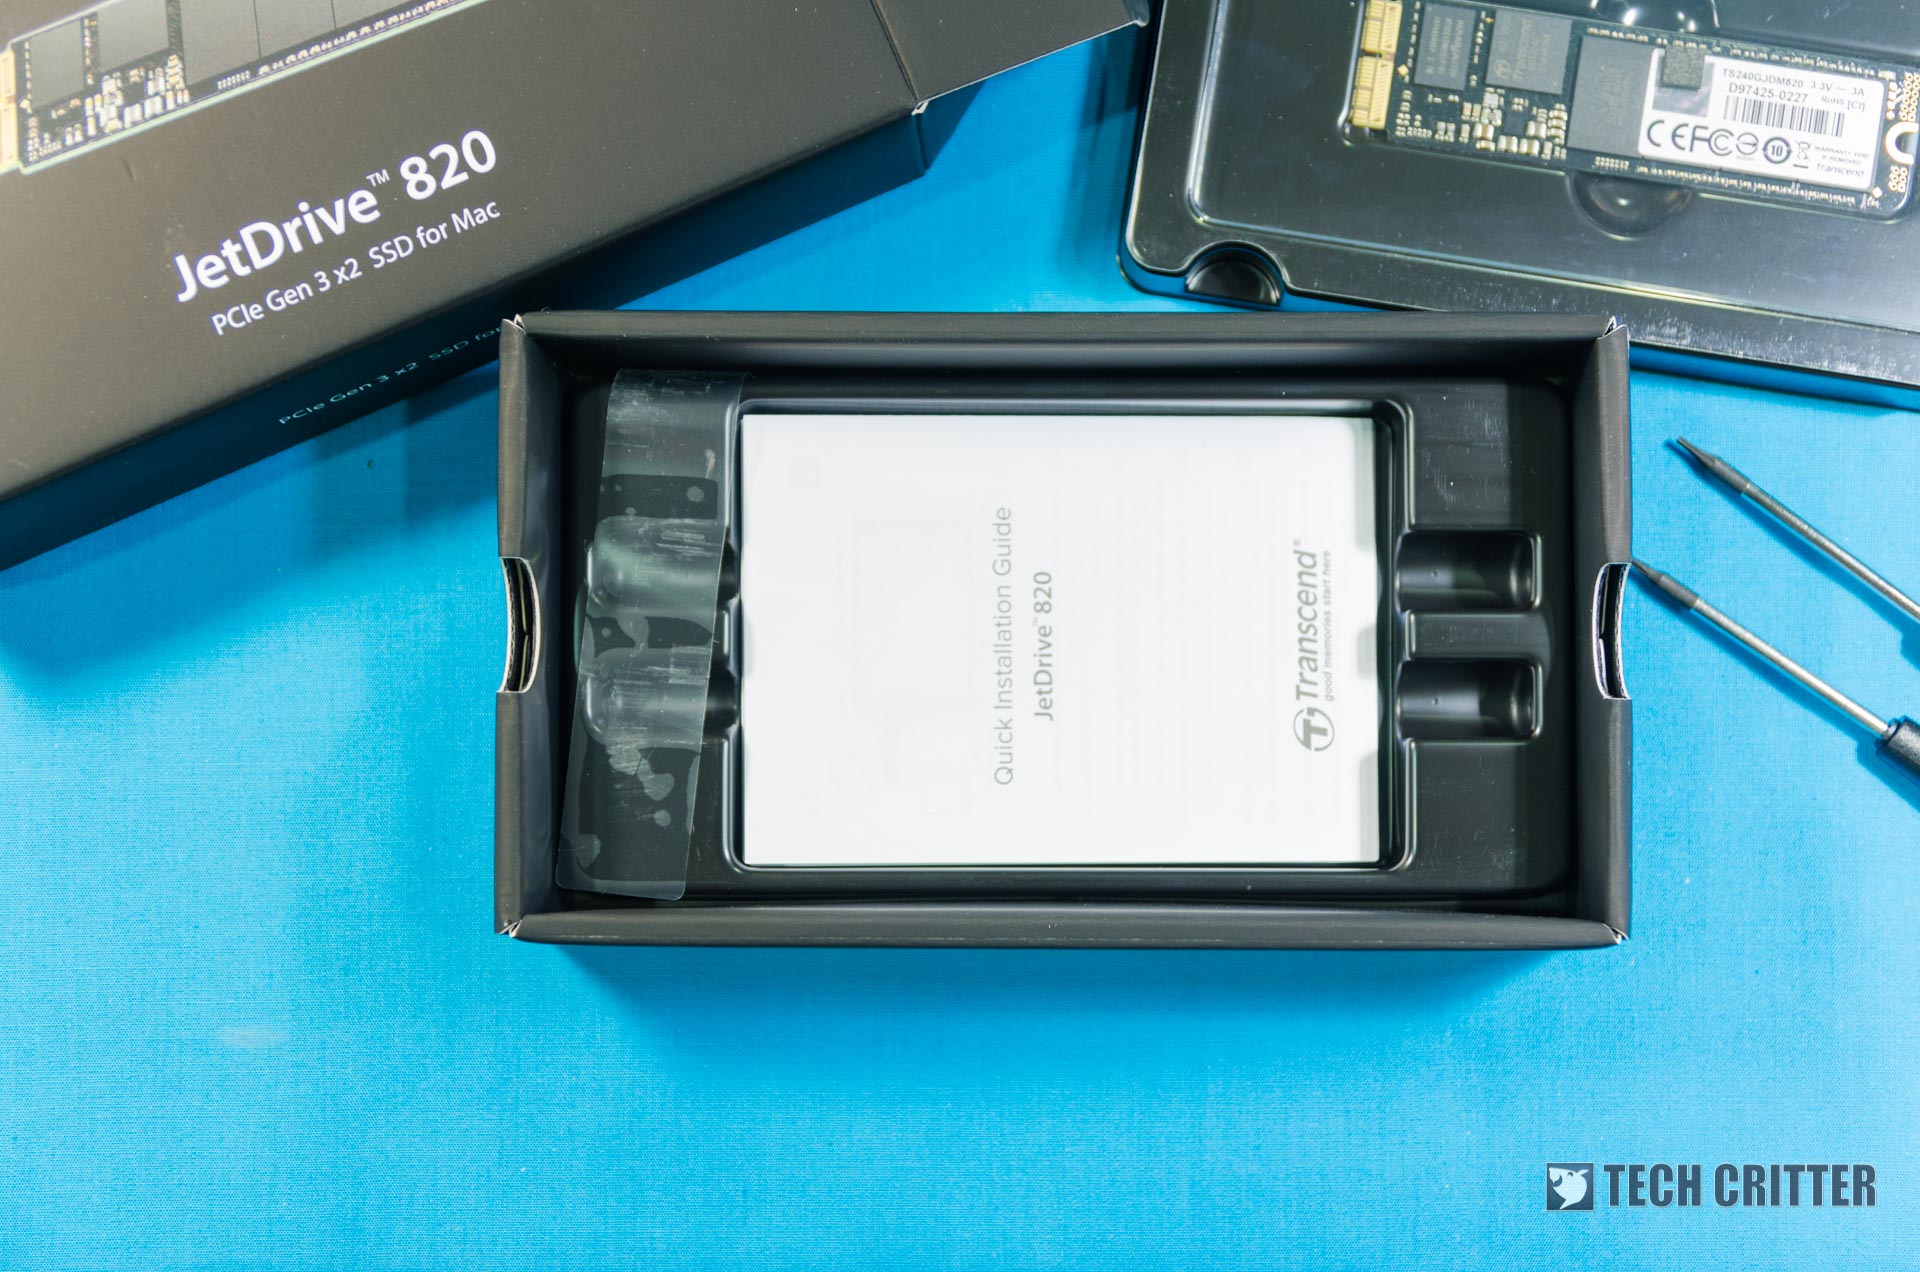
Underneath the screwdrivers are the quick installation guide and also the warranty card. Make sure you keep the latter, as Transcend has a 5-year warranty for the Transcend JetDrive 820.
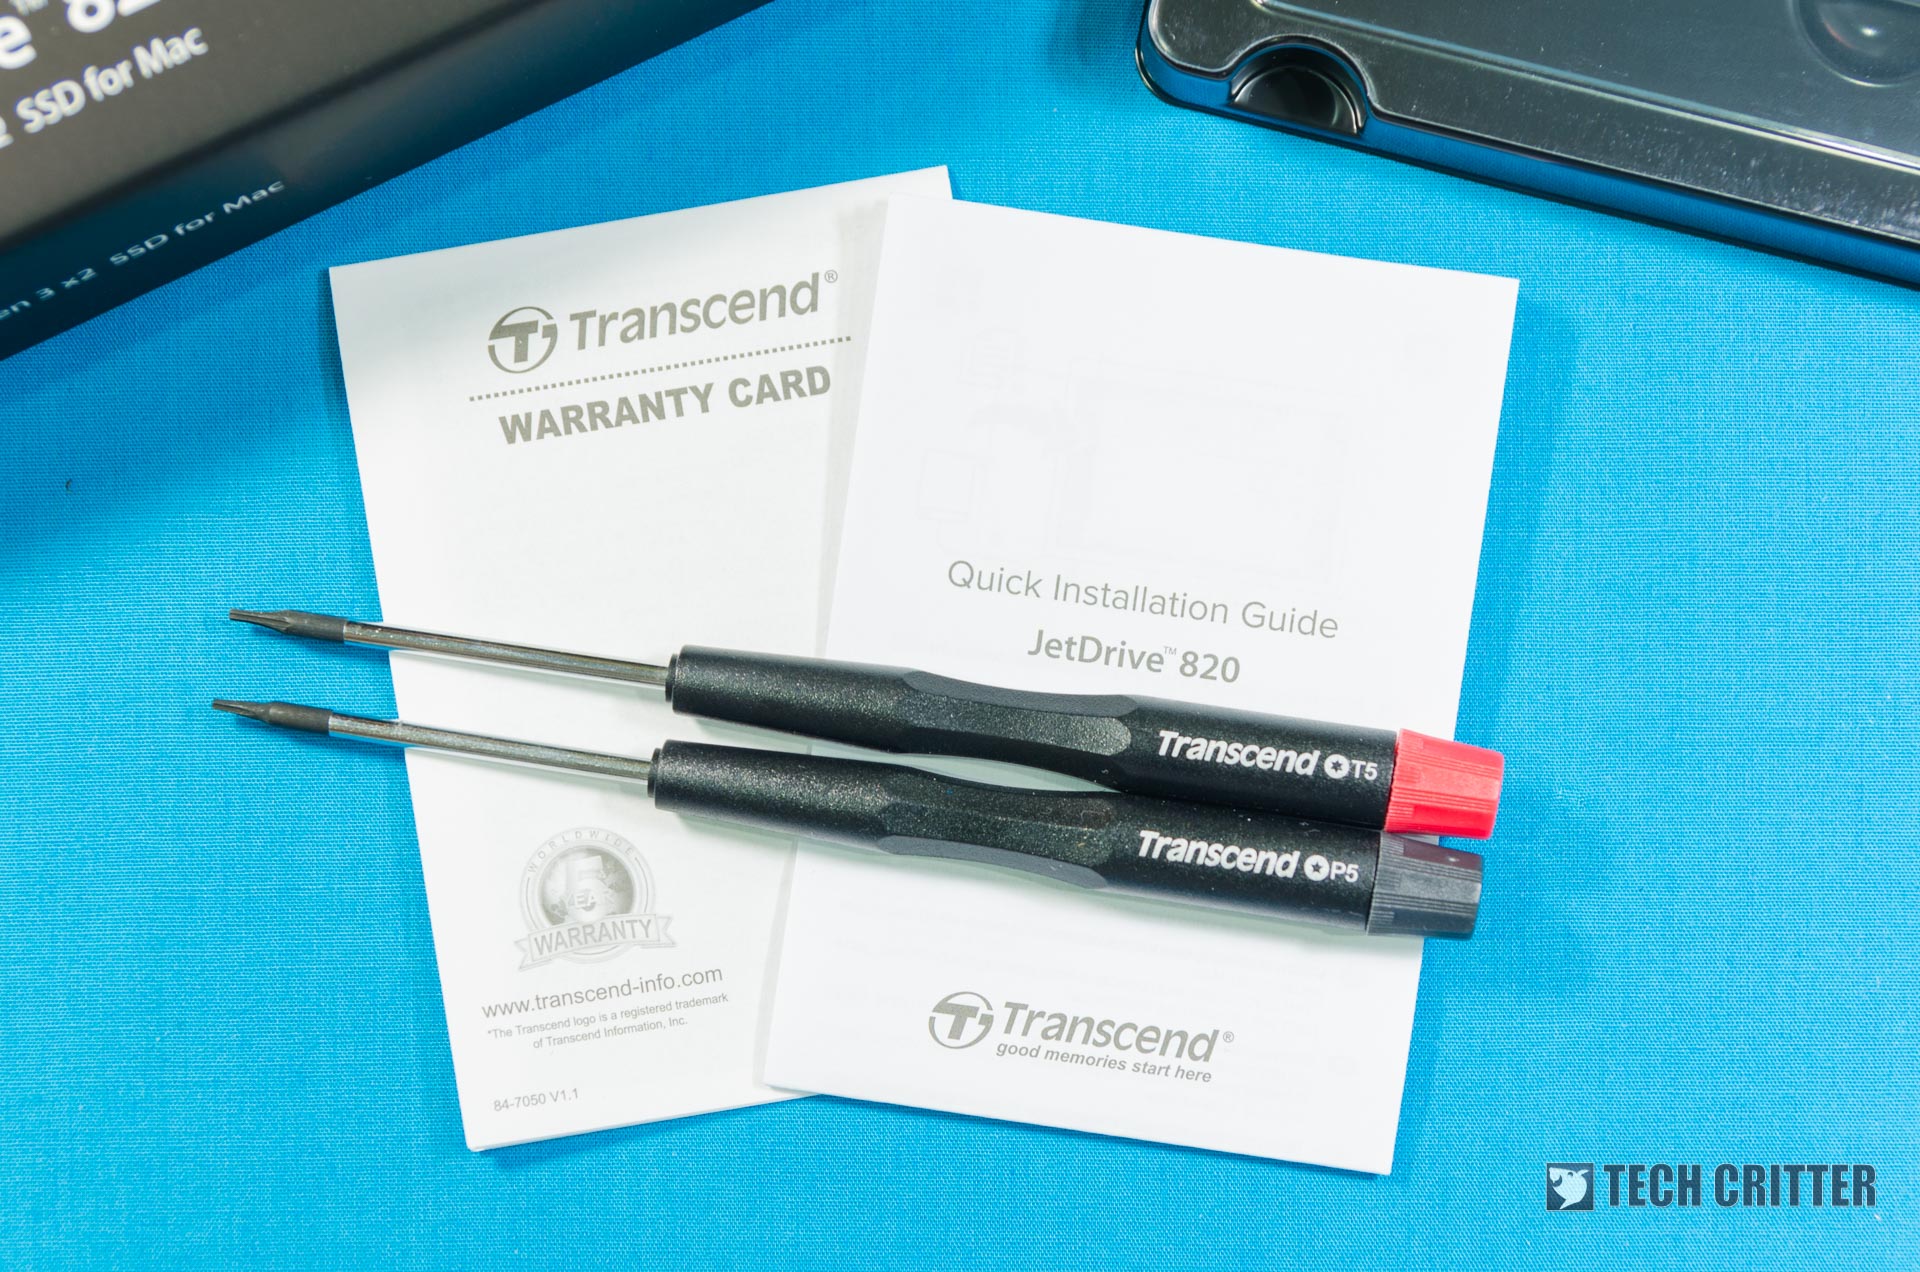
I want to give Transcend a big thumbs up for including the two screwdrivers – one with a P5 bit and another with a T5 bit. That means you don’t need to own any sort of special screwdriver set to open up the machine. However, as Transcend has stated, upgrading a Mac Pro or Mac mini requires additional screwdrivers. Though, you can purchase them separately on the Transcend website.
I am a bit disappointed that Transcend did not include an “upgrade kit” to convert the existing SSD to become an external storage drive. Since Apple is using a proprietary connector, it essentially rendered the old drive useless once it’s replaced.
Design
Let’s talk a little bit about the Transcend JetDrive 820’s design. There aren’t much to talk about when it comes to an SSD’s aesthetics – let alone an SSD that hides within a laptop’s chassis. But we’ll be doing a technical analysis on it.
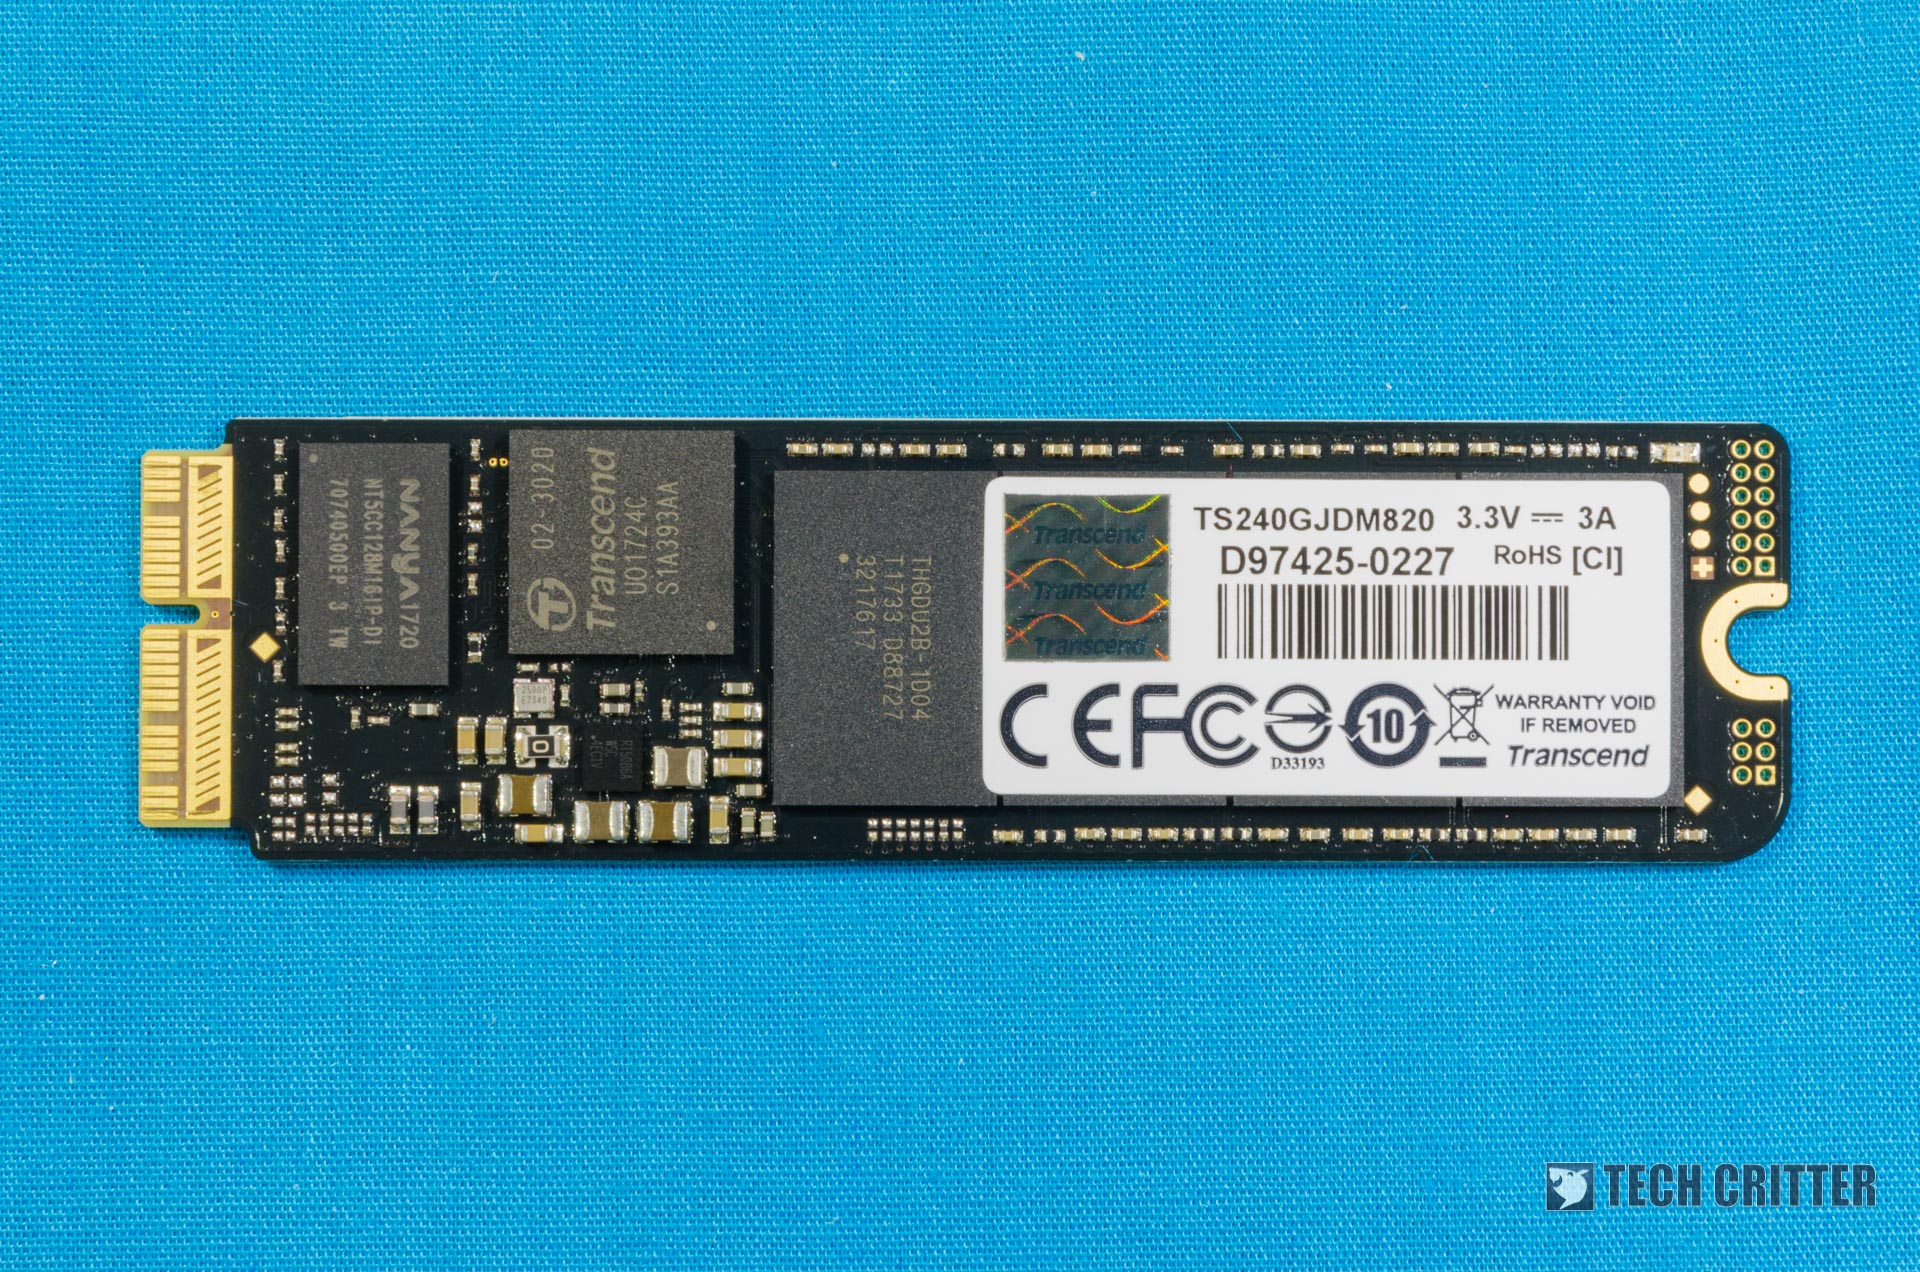
At the top side, we can see that there is a Nanya DRAM chip and a bank of NAND flash chips.

At the back we can find a lot of solder balls that are on the PCB itself. We’re unsure if these are solder balls that can be soldered for other JetDrive 820 with higher capacity. From the looks of it, Transcend is using the same PCB for all other variants within the JetDrive 820 series SSDs.
JetDrive Toolbox software
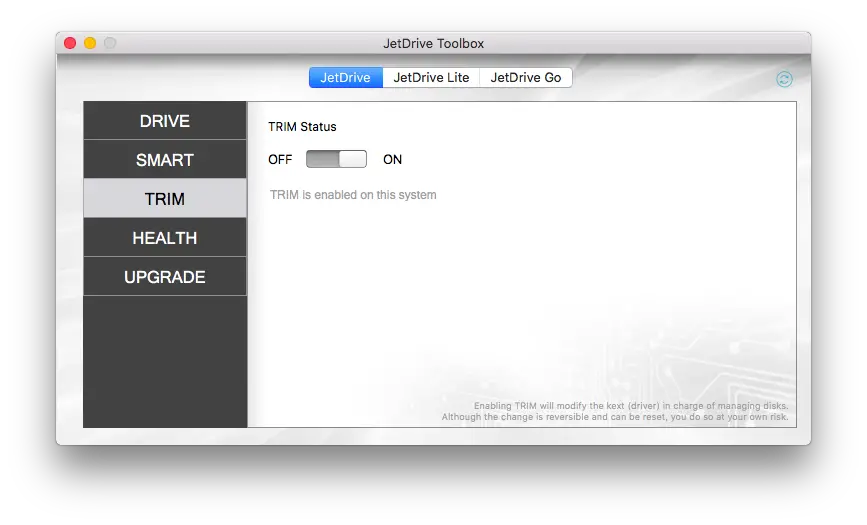
Transcend likes to provide their own tailor-made software to their customers for free, and I really appreciate that. They developed a software to let you monitor the SSD’s health, enable TRIM, and even upgrade its firmware.
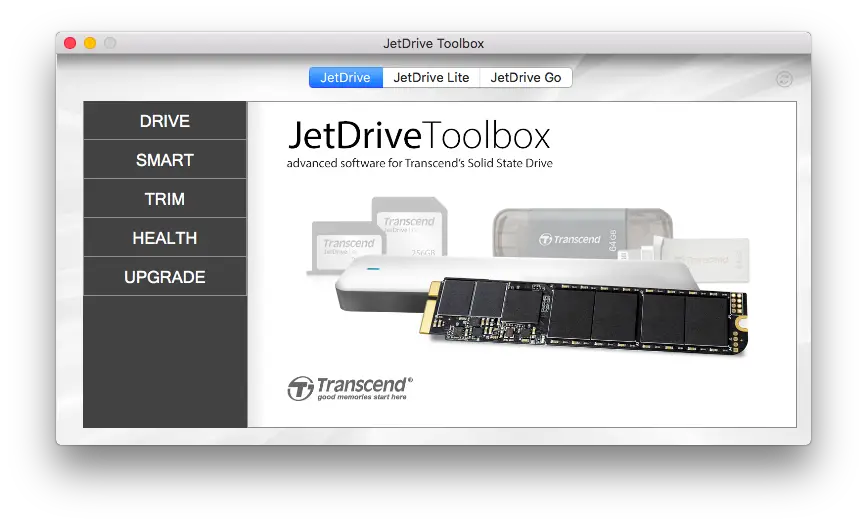
I recommend everyone who uses the Transcend’s JetDrive 820 to install the JetDrive Toolbox software because you need to enable TRIM. The only way you can enable TRIM is through this software. This is to prolong your SSD’s life span.
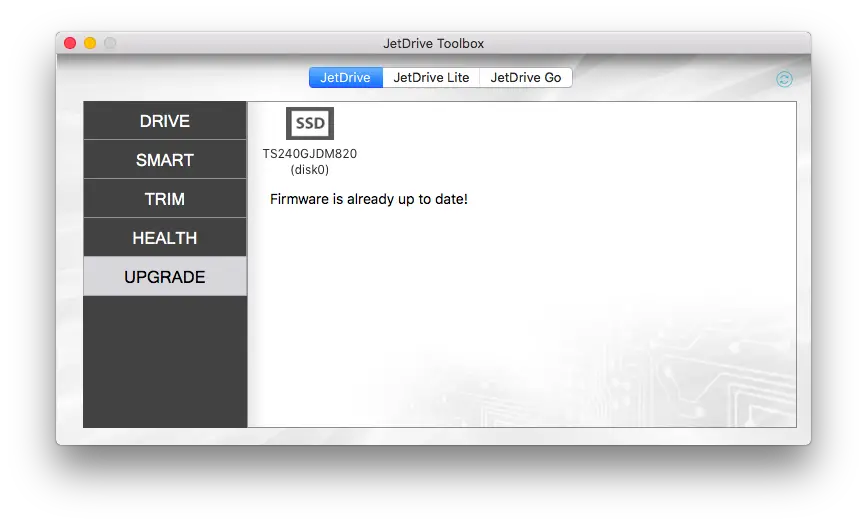
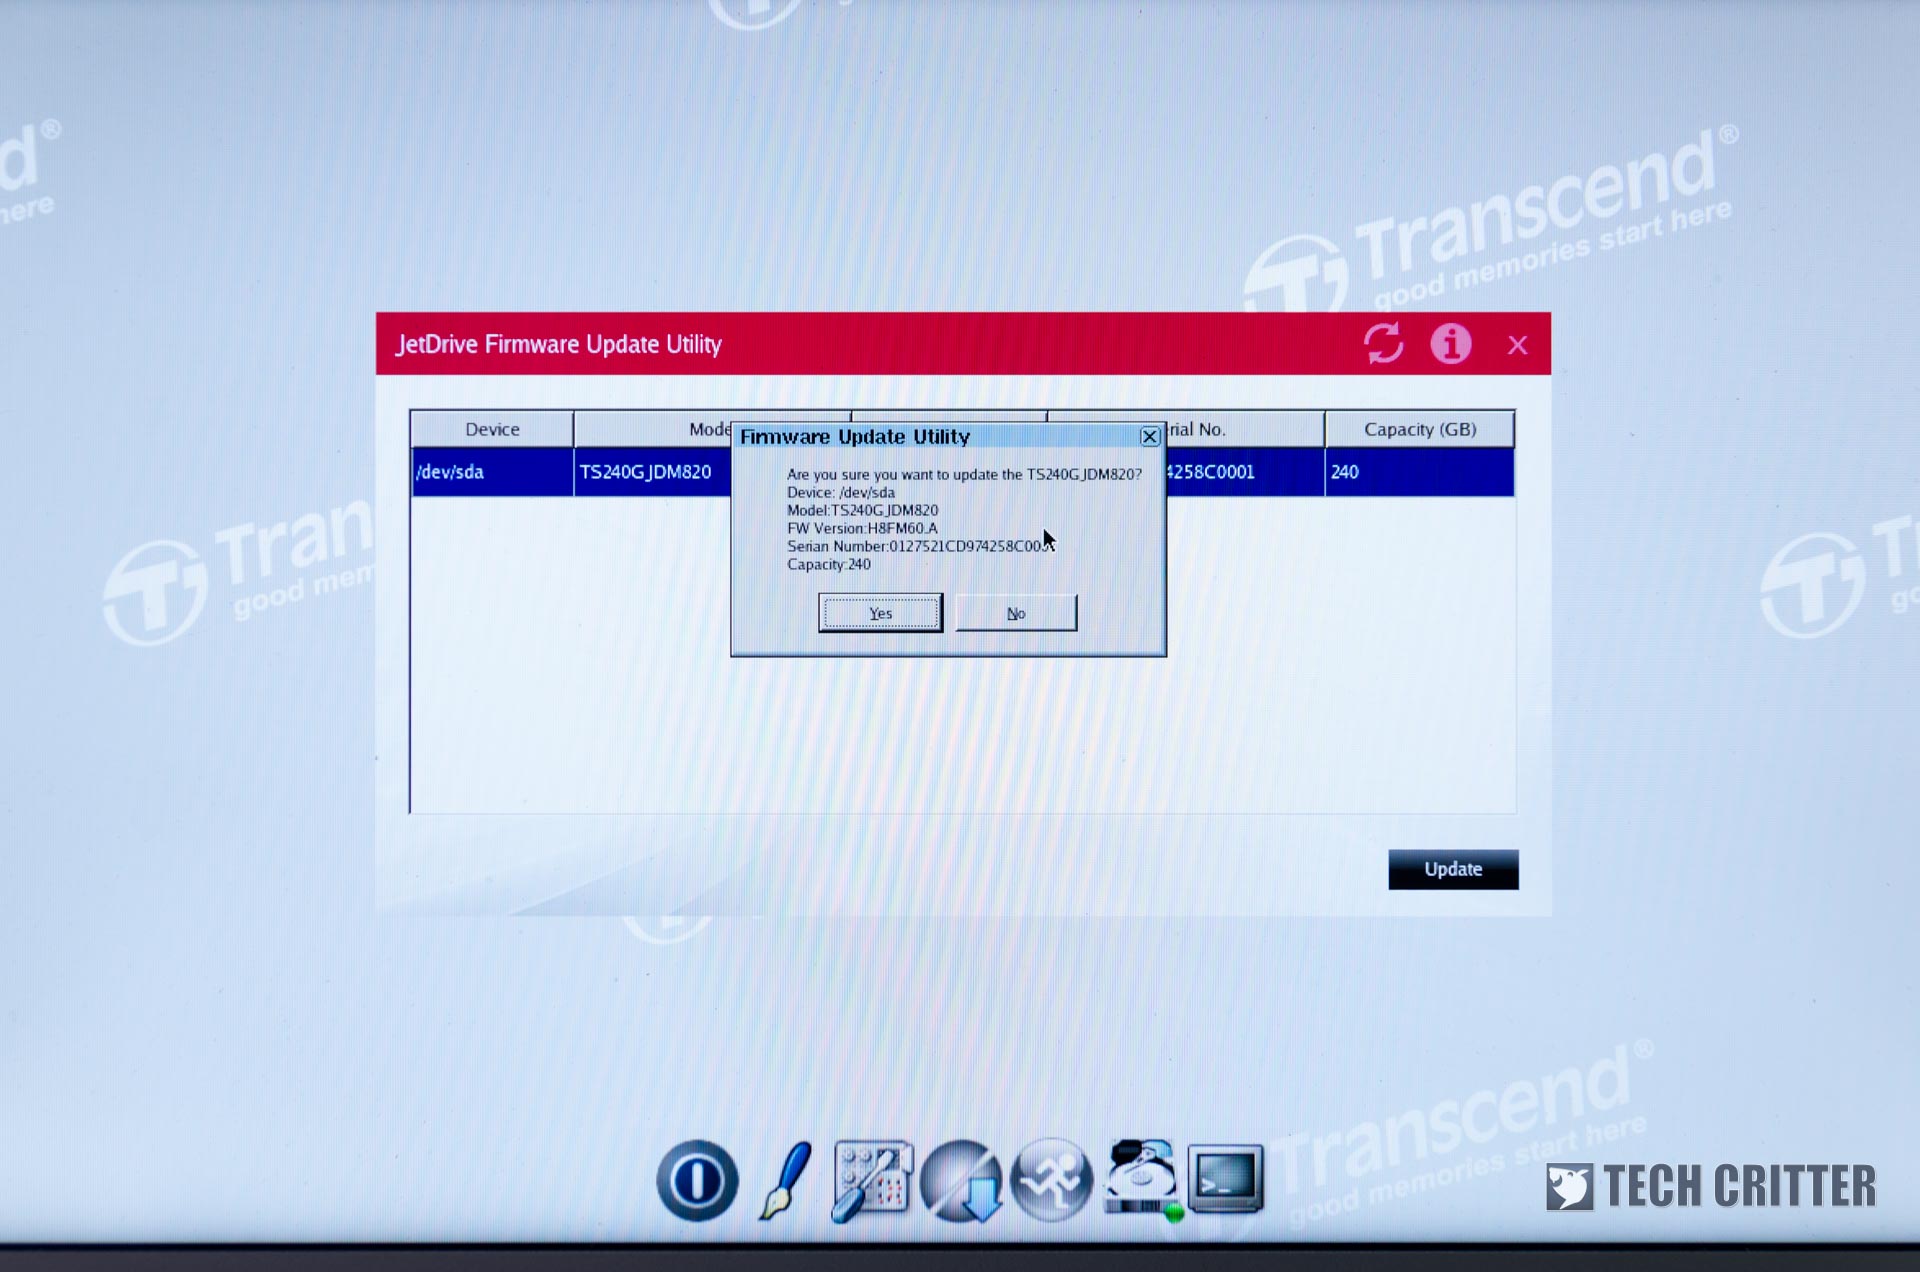
As for the firmware upgrading process, I find it a little weird as the JetDrive Toolbox does not create the firmware upgrade drive for you. It downloads a DMG image and a user manual, which tells you to format a USB drive to FAT with MBR partition and copy all the contents in from the aforementioned DMG image into the newly formatted USB drive.
Another method you can do is to “restore” the USB from the downloaded DMG image. For some reason, the DMG image can’t be downloaded outside of the JetDrive Toolbox. It’s just not available on Transcend’s website.
Then, change your startup disk to the USB drive and upgrade your firmware there. Transcend can definitely improve in this department.
By the way, always backup your files or create a Time Machine backup on another drive before upgrading the firmware. Because it wiped my entire drive when I upgraded the firmware. Yes – that happened.
Transcend could have developed their own migration software and built it within the JetDrive Toolbox suite to make the process more streamlined. It’ll also be great if Transcend includes an external enclosure for the MacBook Air mid-2013’s proprietary SSD – that’ll work together with the suite perfectly.
Installation/upgrade guide
Transcend actually has their own upgrade guide on the Transcend JetDrive 820’s product page itself, but I find it too simplistic. There are two ways to do the migration – either by creating a full carbon copy image to an external storage device with SuperDuper! and restore it after the SSDs have been swapped, or through Time Machine. Here’s my preferred way to it:

- Prepare an external storage device (e.g. external hard disk) and another USB flash drive
- Create a bootable carbon copy of the existing MacOS on an external storage device with SuperDuper! Select your primary Mac drive as the source and the external storage device as destination.
- Make sure that the external storage device is bootable. Shut down your Mac and press power button while hold Option key to enter boot drive selection menu, and select the external storage device.
- If bootable, then shut down your Mac and swap the SSD.
- With the new SSD installed, boot to MacOS through the external storage device.
- Install the JetDrive Toolbox and download the latest firmware for the SSD. Follow the instructions and use the USB flash drive to upgrade the SSD’s firmware.
- Once firmware is upgraded, boot once again to MacOS through the external storage device.
- Launch Disk Utility and format the new SSD with AFPS file system. Name this drive to whatever you want.
- Launch SuperDuper! once again but this time, select your external storage device as the source and your brand new formatted SSD as the destination.
- Once the process is done, shut down your Mac and unplug all USB drives, then boot again into MacOS. This time, it’ll be booting MacOS from the newly installed SSD.
- Launch JetDrive Toolbox and enable TRIM.
With this method, you can get 3 crucial things done. You get to update the new SSD to the latest firmware for maximum performance, carbon copy every single file and setting from your old SSD to the new SSD, and enable TRIM at the same time.
The migration process is a little tedious and overwhelming, to be honest. It’s time-consuming and not documented properly as there is no “official” method to migrate to a new hard disk. You might want to consult Apple’s Genius Bar for help if you’re having trouble.
Performance benchmarks
In this test, we’ll be using the MacBook Air mid-2013 and comparing its stock 128GB SSD with the Transcend JetDrive 820 240GB variant. Trascend refuses to sell 128GB SSDs because why would anyone get a new SSD with the same capacity after they bought the laptop anyway?
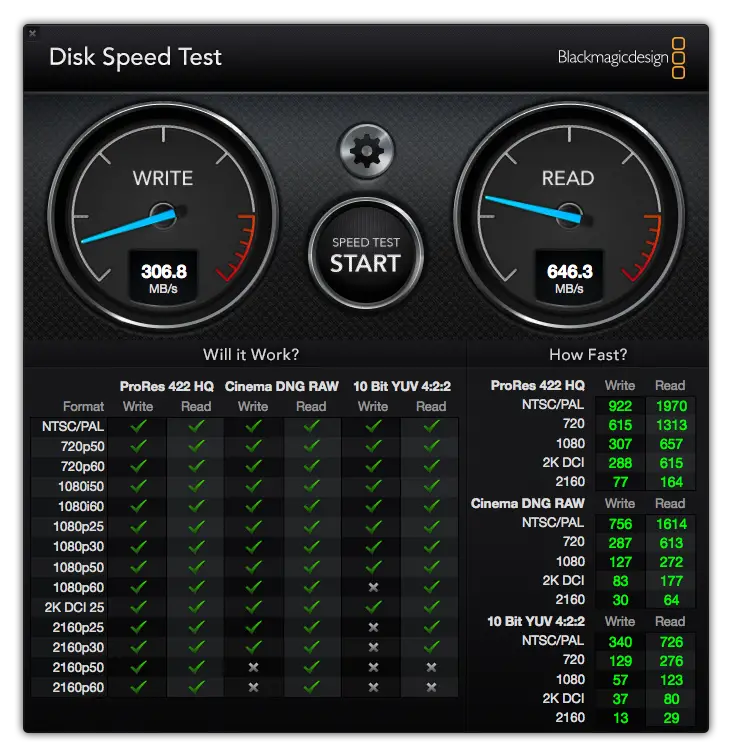
As for the benchmark suite, we’ll be using the Blackmagic Disk Speed Test that’s available for free at the App Store. Both SSDs have an exact carbon copy of MacOS, so there are little to no discrepancy in terms of background services and software installed. Here are the results.
 Apple MacBook Air 11-inch mid-2013’s original SSD speed.
 Transcend JetDrive 820 after updating to the latest firmware.
Right off the bat, the read speeds have already increased to somewhere around ~720MB/s. What’s noticeable is that booting and launching apps a little faster compared to the old SSD.
As for the write speeds, I find it a little finicky as it kept jumping up and down at first. Eventually I got to stabilize it by restarting a few times. The JetDrive 820 manages to peak its write speed on the MacBook Air 11-inch mid-2013 at ~570MB/s. Pretty impressive jump we’d say, which is almost double of the speed of the old SSD.
Wrapping up the Transcend JetDrive 820 review
In all honesty, I’m glad that Transcend released such products to the market. Apple is known to charge an insanely high amount for simple upgrades, and Transcend is offering an alternative that’s just as good – if not better. The upgrade process is a tedious one, but that’s not Transcend’s fault.
The overall performance is – without a doubt – better than the original SSD, but the upgrade process is just way too tedious and time-consuming.
However, I do wish that Transcend included a converter so that I can use my old SSD as an external storage device instead. Also, it’ll make the migration process a little easier as there’s no need for an intermediate external storage device.
Pros
- Comes with the appropriate screwdrivers for most Mac systems
- Available in 240GB, 480GB, and 960GB
- Provided JetDrive Toolbox software is essential and simple to use
Cons
- No converter kit included, rendering the old SSD essentially useless
- Poorly documented storage drive migration process
- Firmware upgrade process is messy
- Firmware not available for download outside of the JetDrive Toolbox


Comments are closed.