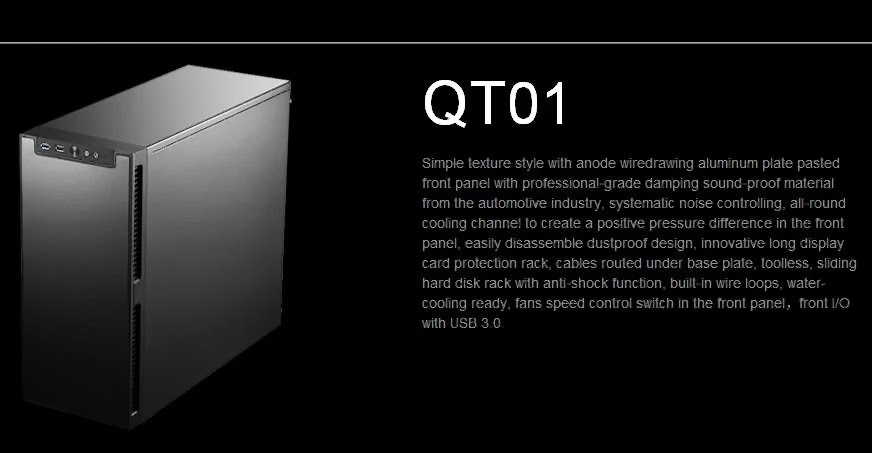
Features
| Dimension | 500mm x 195mm x 445mm |
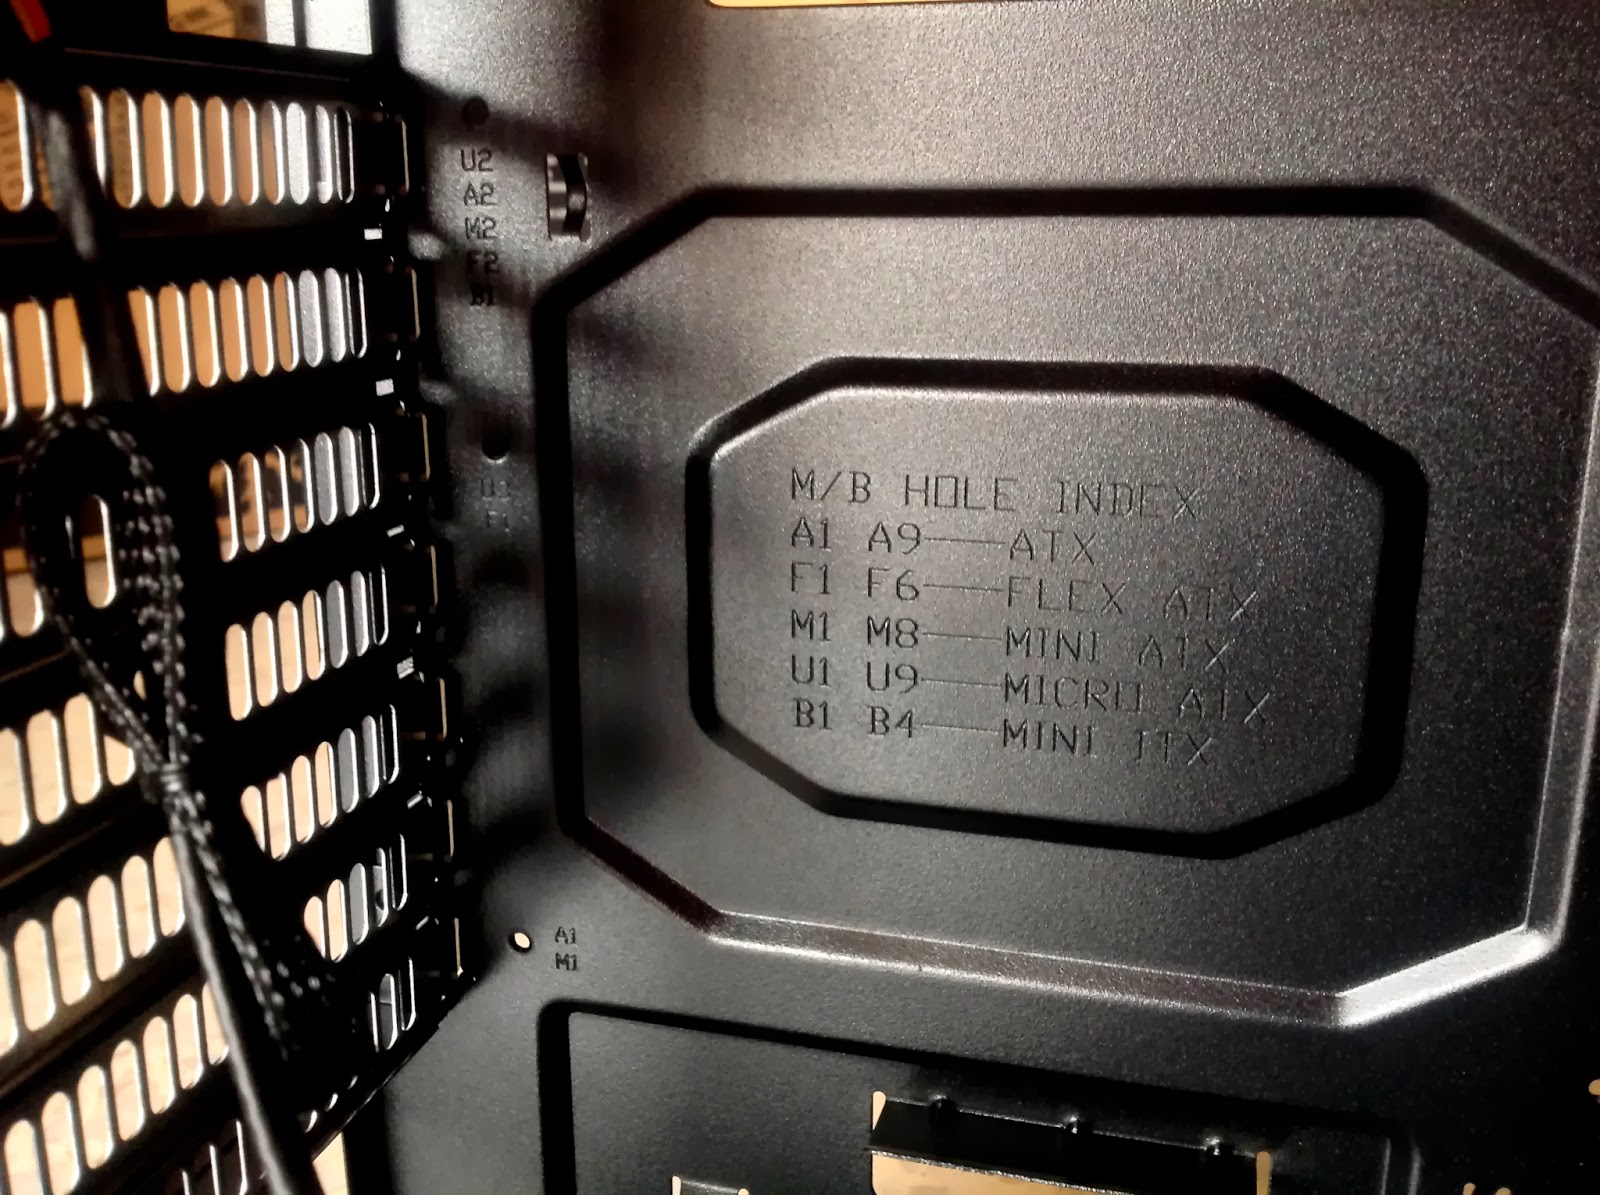
| Motherboard Support | ATX, mATX, UATX, ITX |
| Expansion Slots | 7 |
| Type | Mid Tower |
| Material | Aluminum, Steel, Plastic (ABS), Sound Dampening Material |
| Drive Bays | 3x 5.25”, 4x 3.5”, 5x 2.5” Drive Caddies |
| Cooling Option | 2x 120mm fan at the front panel (included) 120mm fan at the rear (included) |
| Front I/O | 1x USB 2.0 Ports 1x USB 3.0 Ports 1x Speaker/ headphone 1x Microphone |
| Power Supply | Not included |
Overview
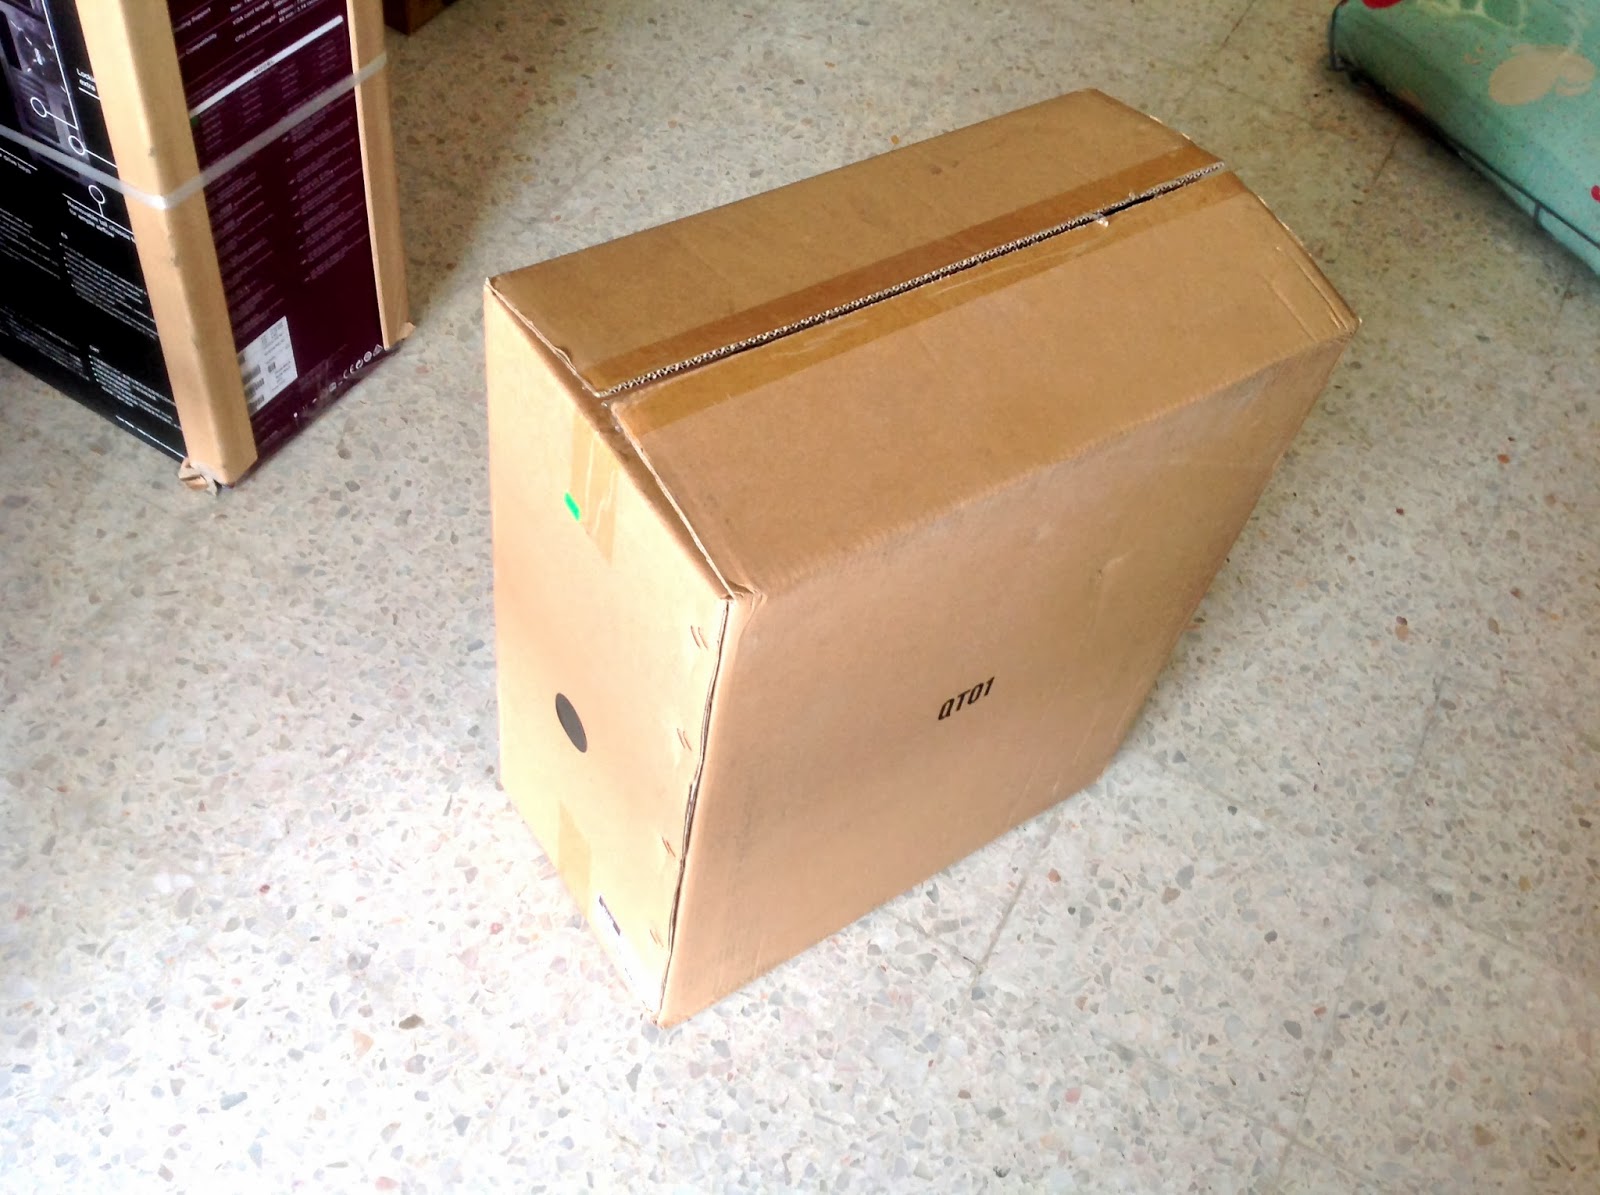
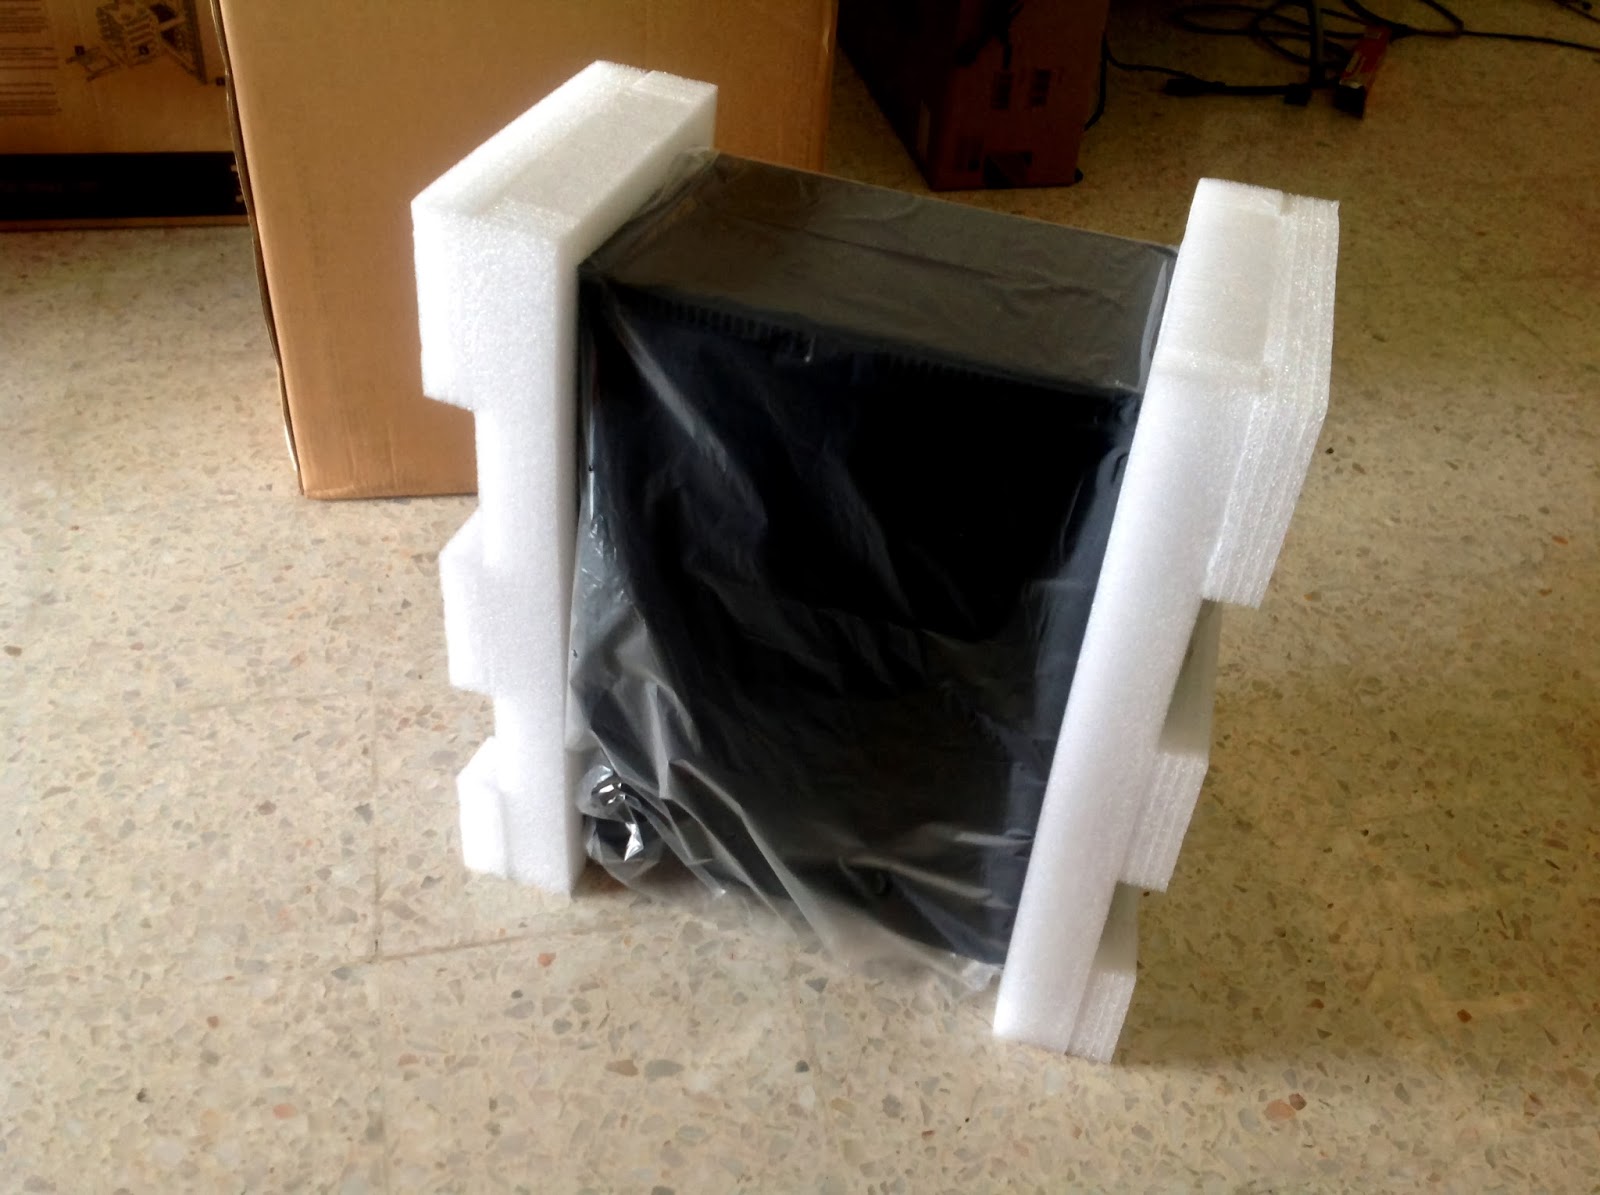
Our first glance at the packaging of the QT01, unlike any chassis we have ever encountered before, the packaging of the QT01 seems plain without any much description other then just being labeled as black color model along with the model of the chassis printed on the box.

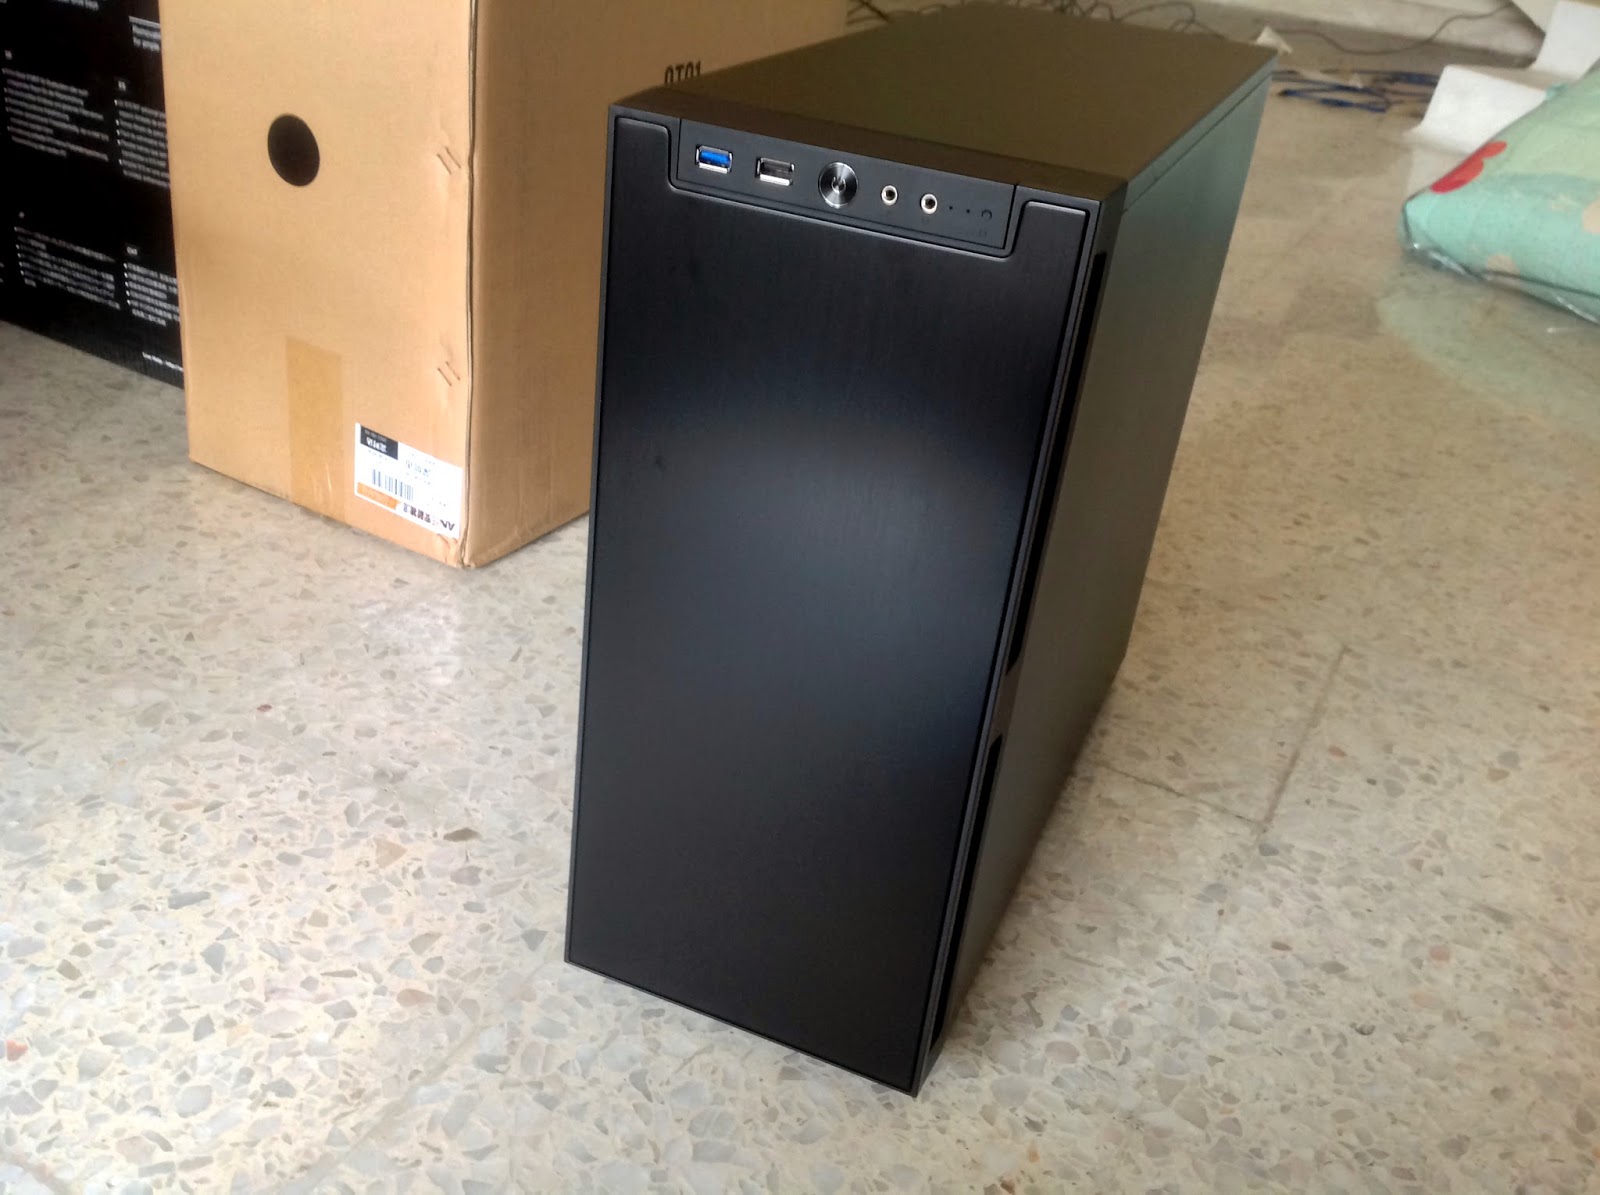
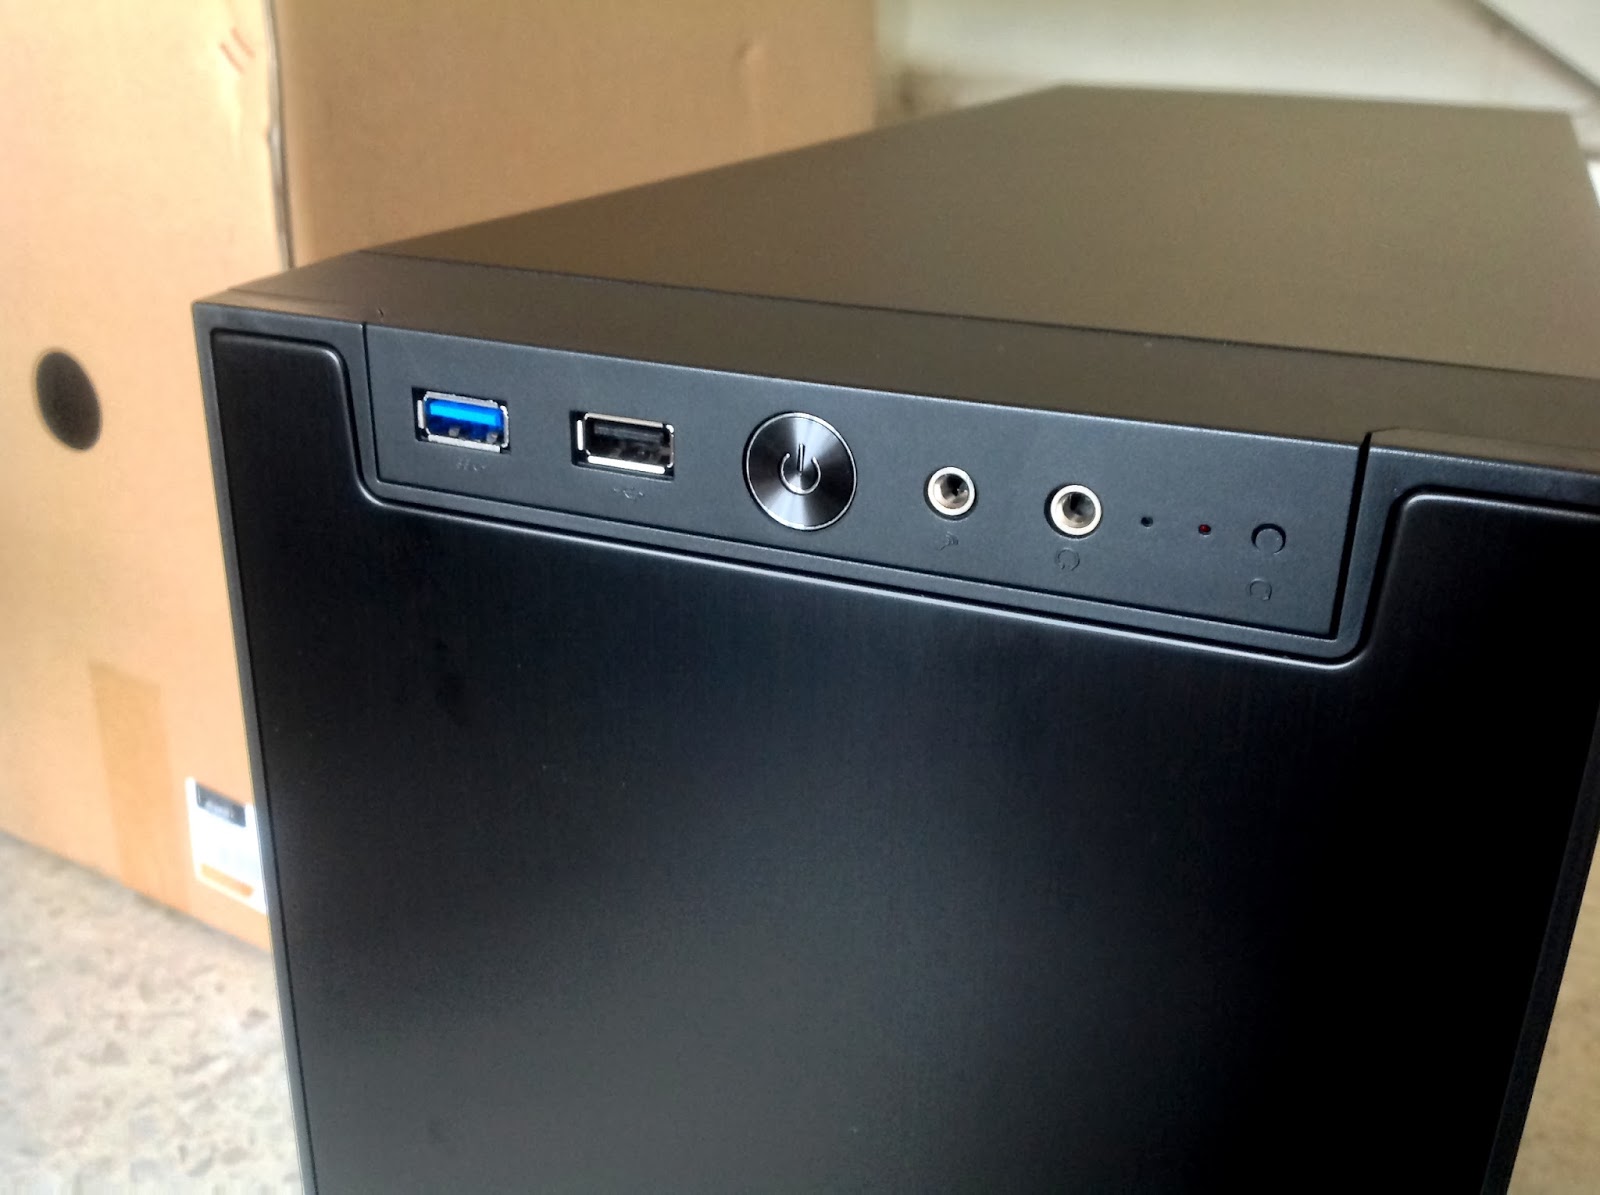
Having a USB 2.0 port in front gives users who are still using previous generations motherboard that doesn’t comes with USB 3.0 the option to access their USB devices at the front.

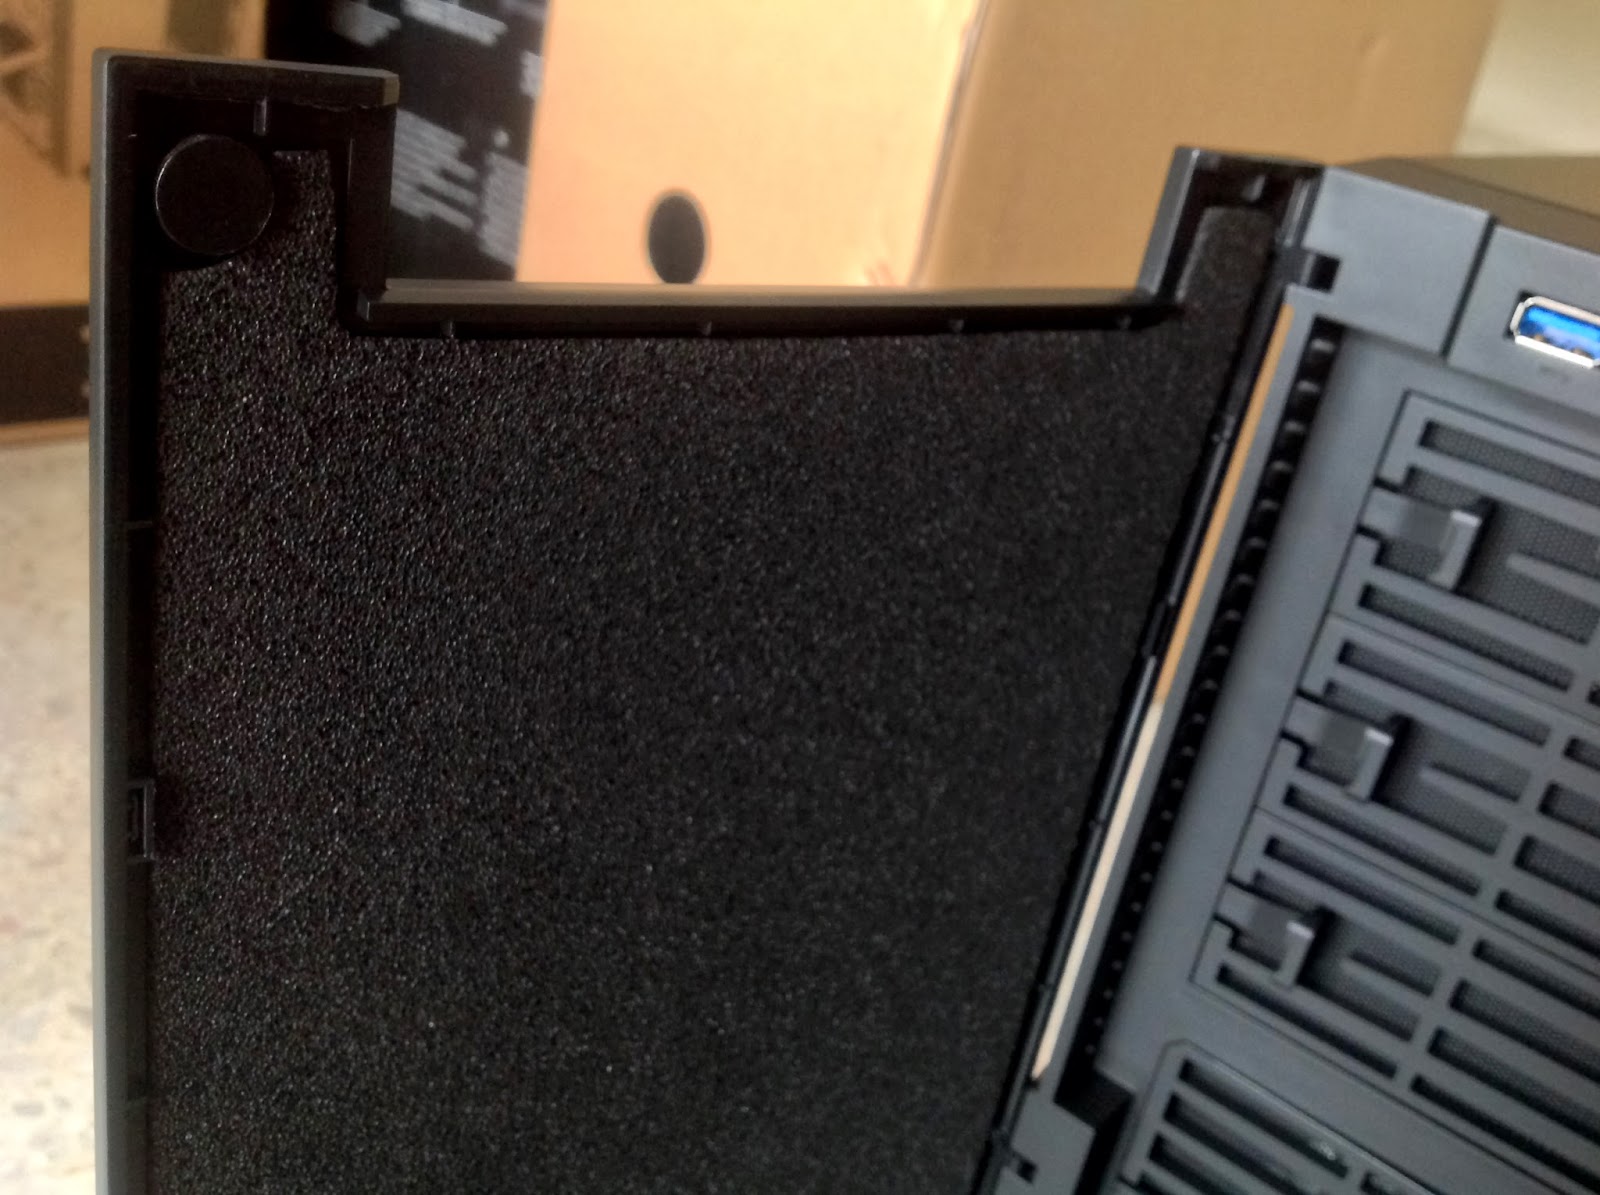
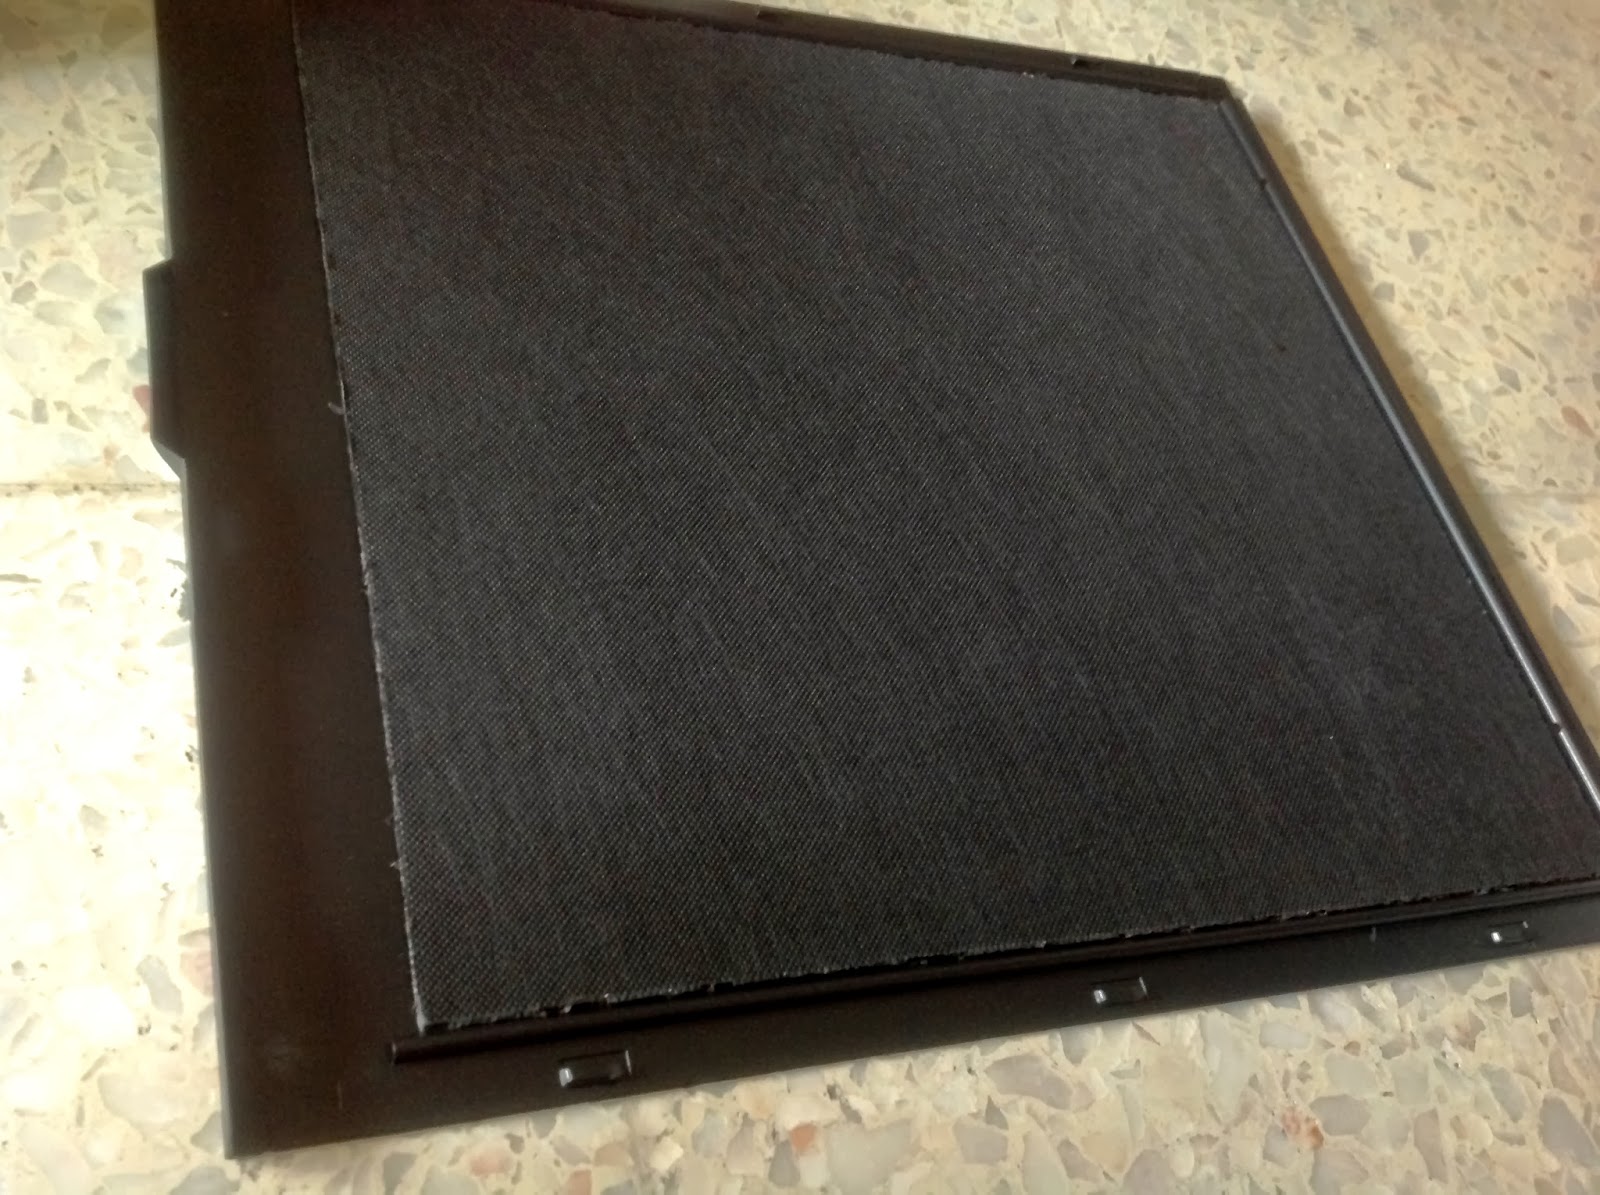
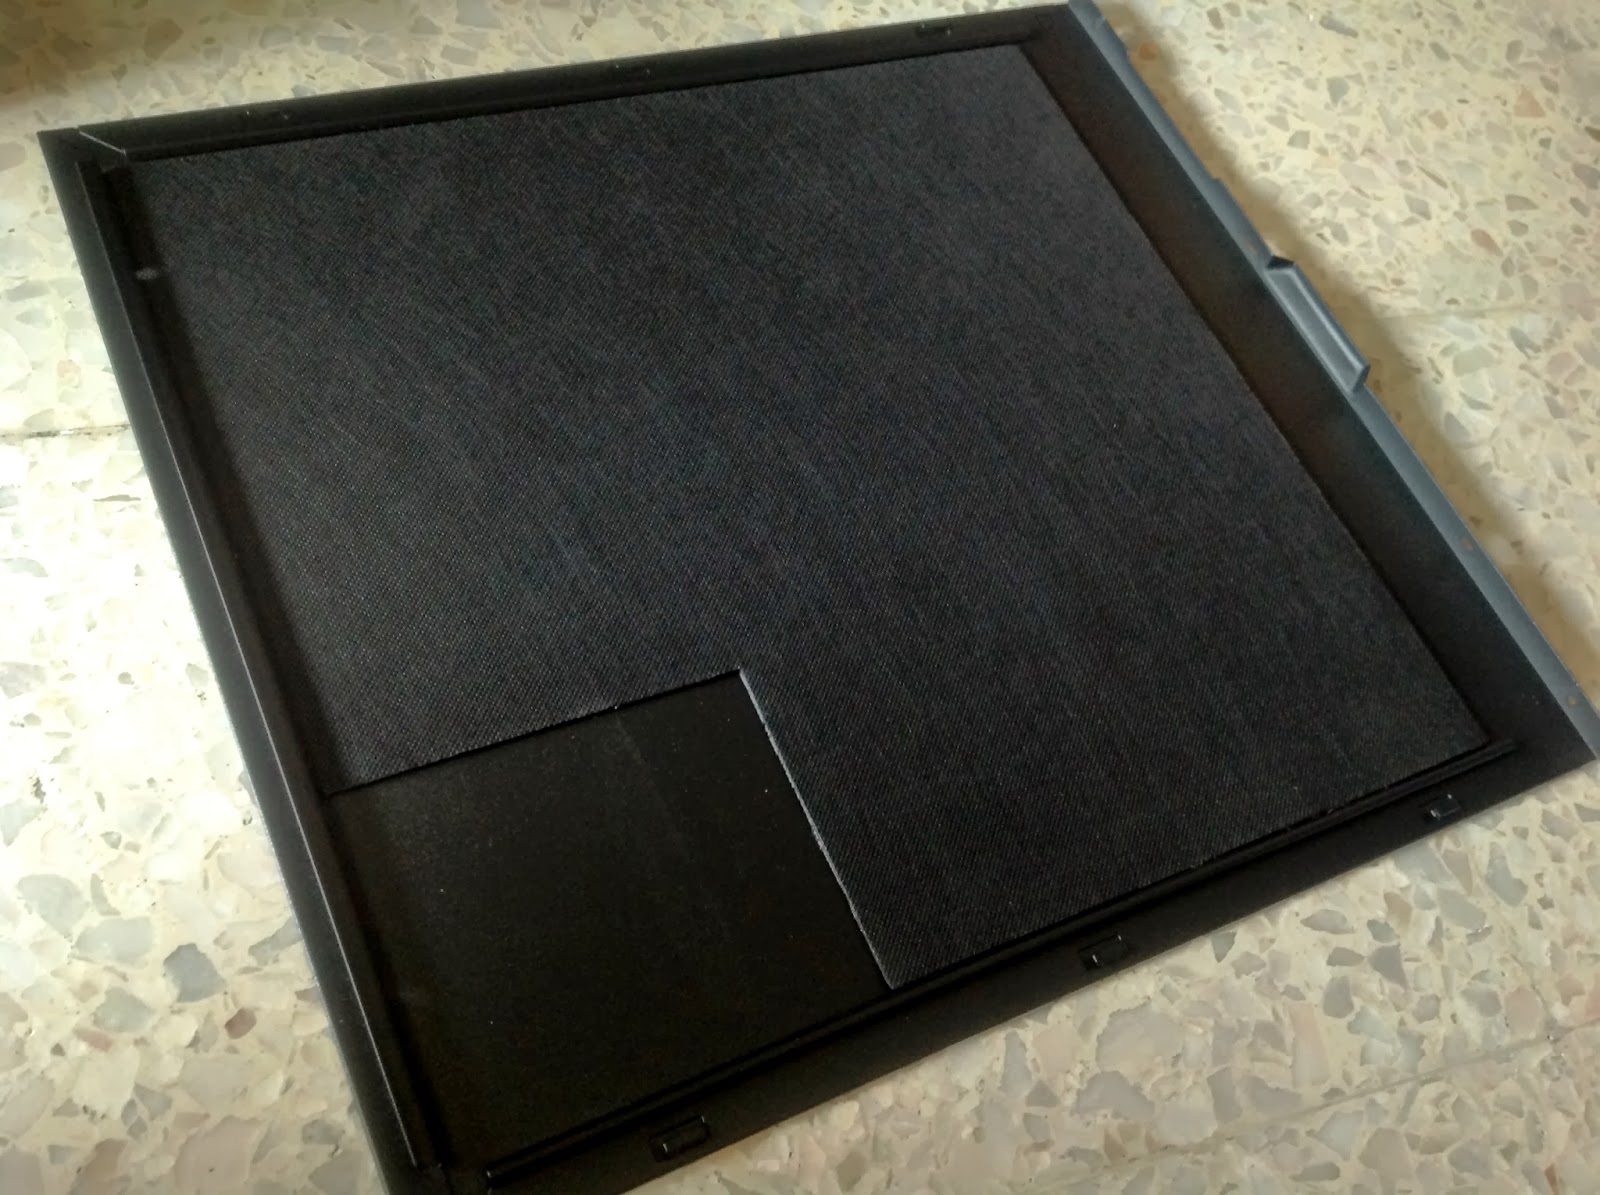
Revealing what’s behind the elegant front panel, is the removable filters / cover for easy cleaning. But first, let’s check out the noise dampening material behind the front panel.
Unlike what we have seen in the Corsair 330R, Jonsbo uses a different type of noise dampening material which they’ve claimed to be the type used in the automotive industry – we will find out of it’s really that great. Besides the noise dampening material, Jonsbo uses magnet to keep the the front panel attached to the case, which is good design and very convenient / easy to handle compared to the clip on design used on certain brand as clip on design.
Here’s what we personally like – The removable filters / covers can be removed from the front easily without having to take off the whole front panel like most brand did.

Beneath the filters / cover, there’s two pieces of 120mm fans for intake that comes with the QT01. It’s very generous of Jonsbo providing two pieces of 120mm fans as most chassis from other brands provide only one or none for the front intake.
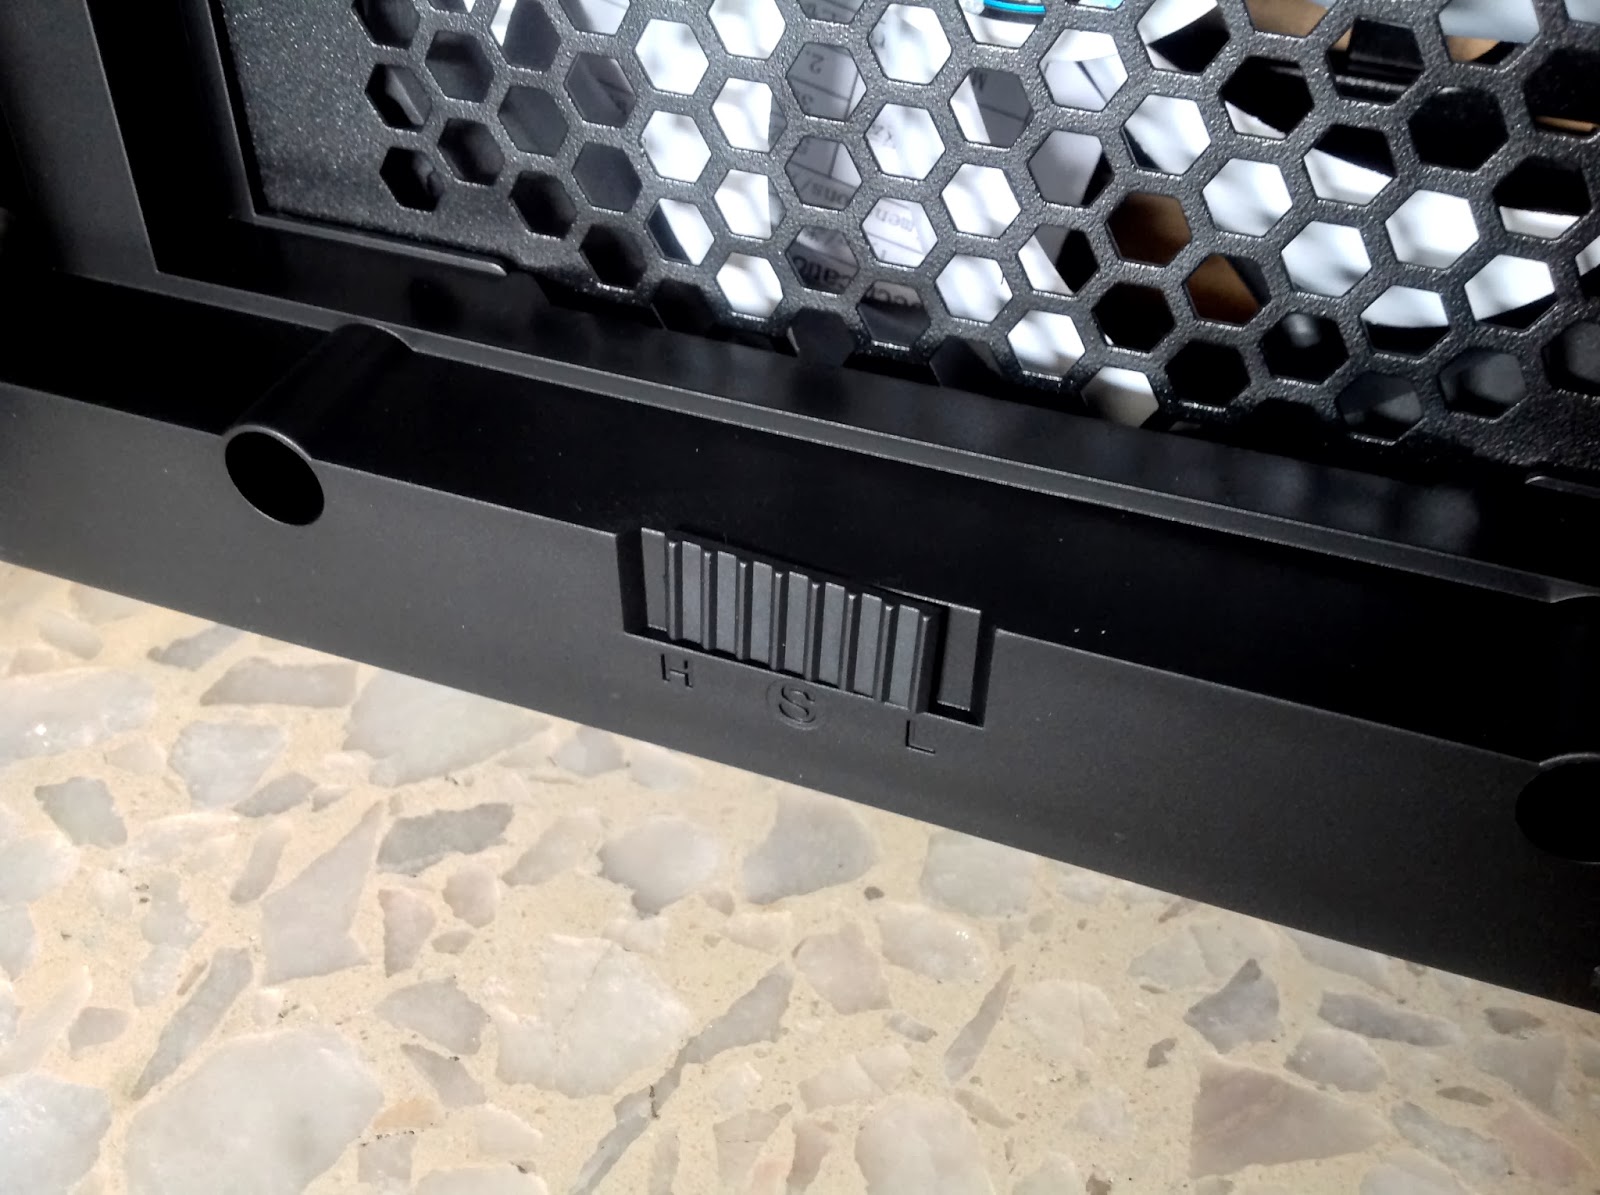
Now this is neat, there’s even a simple fan controller right just below the intake fans:
H – High speed, this is the highest speed you can adjust for the fan – more noise is expected
S – Stop, turn off the fan, zero noise since fan is not moving
This is not something you would see everyday and personally we think that Jonsbo not only offers value but funtionality as well.
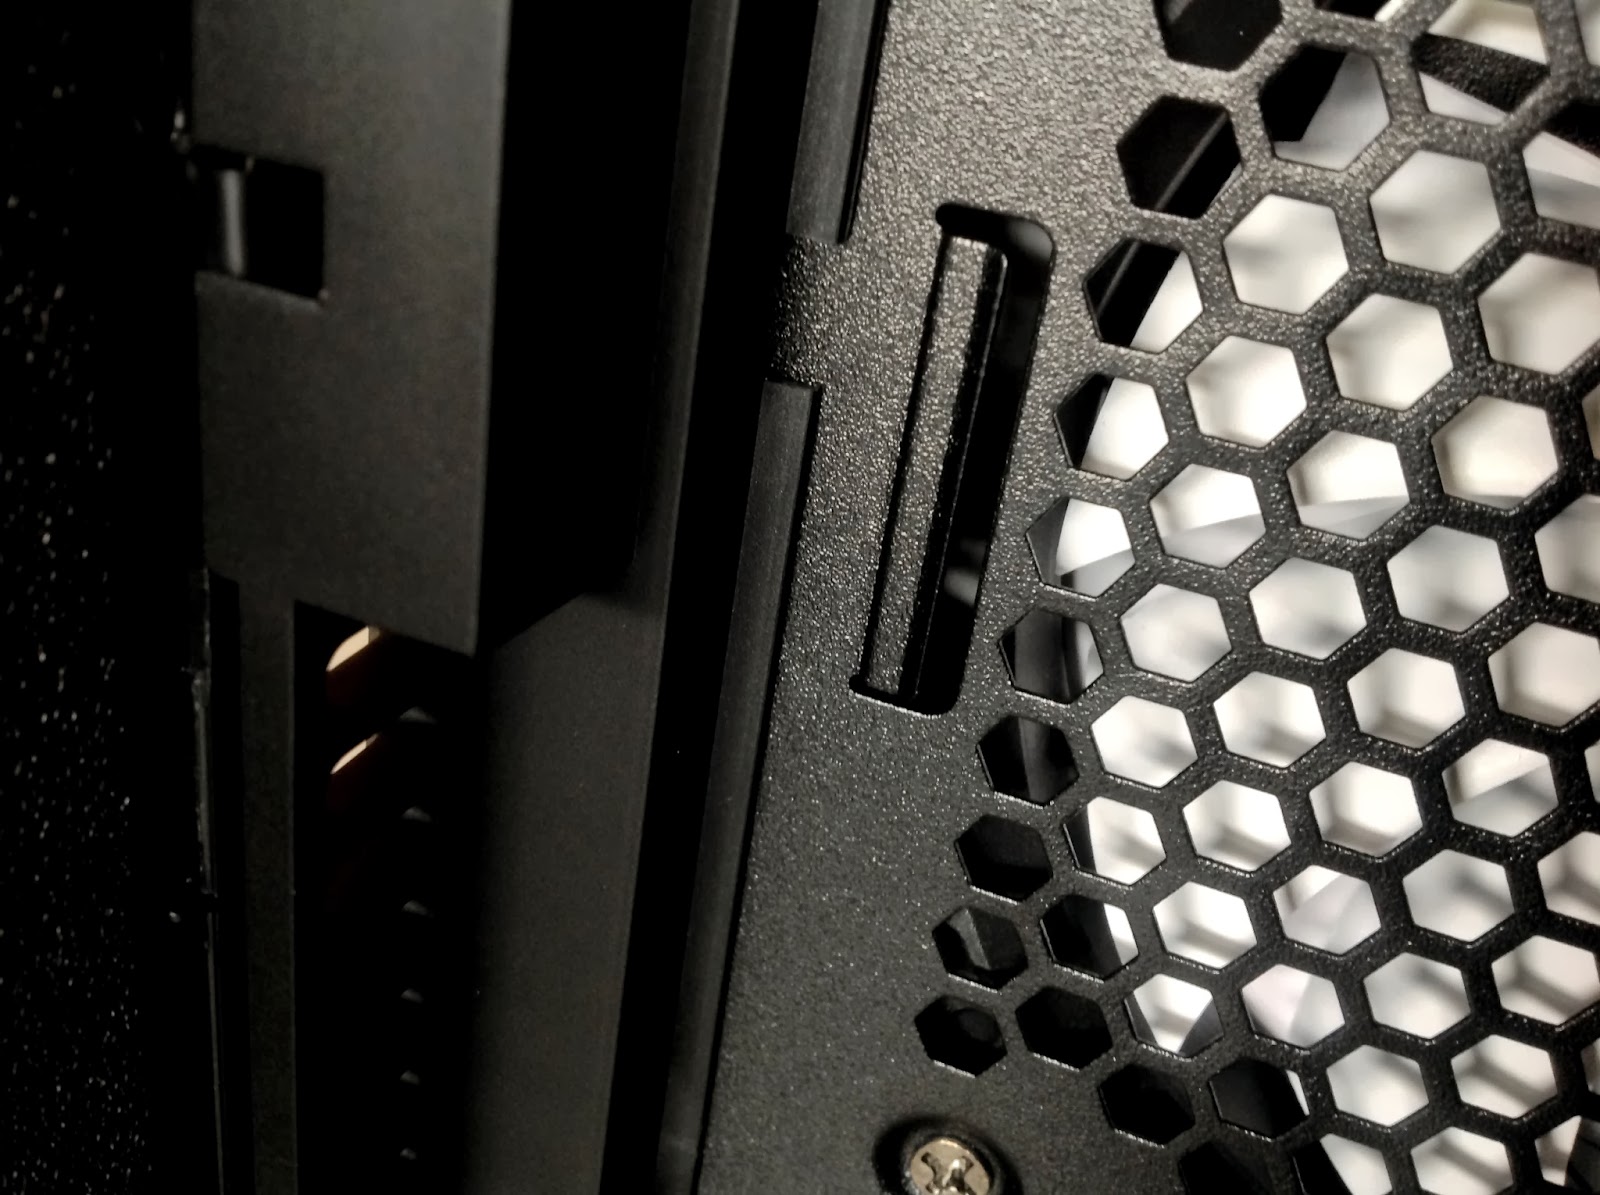
In front of the fan grill(?), there’s something which appears to be a slot where you can slot in fan filters if you wish to remove the filter / cover that comes with the QT01.

Since the front panel is covered by the Aluminum piece, the air intake for QT01 is from the side of the front panel. If anyone is concern about the air intake amount from such tiny gaps, our answer for you is not to worry, if will do just fine.

Removing it is pretty much easy but installing it back requires some effort in which we don’t think is newbie friendly. Other than that, everything else looks just great – the concave design on the screws hole for mounting 120mm fans is nicely done as it will not compromise the appearance when it is covered with the filter.
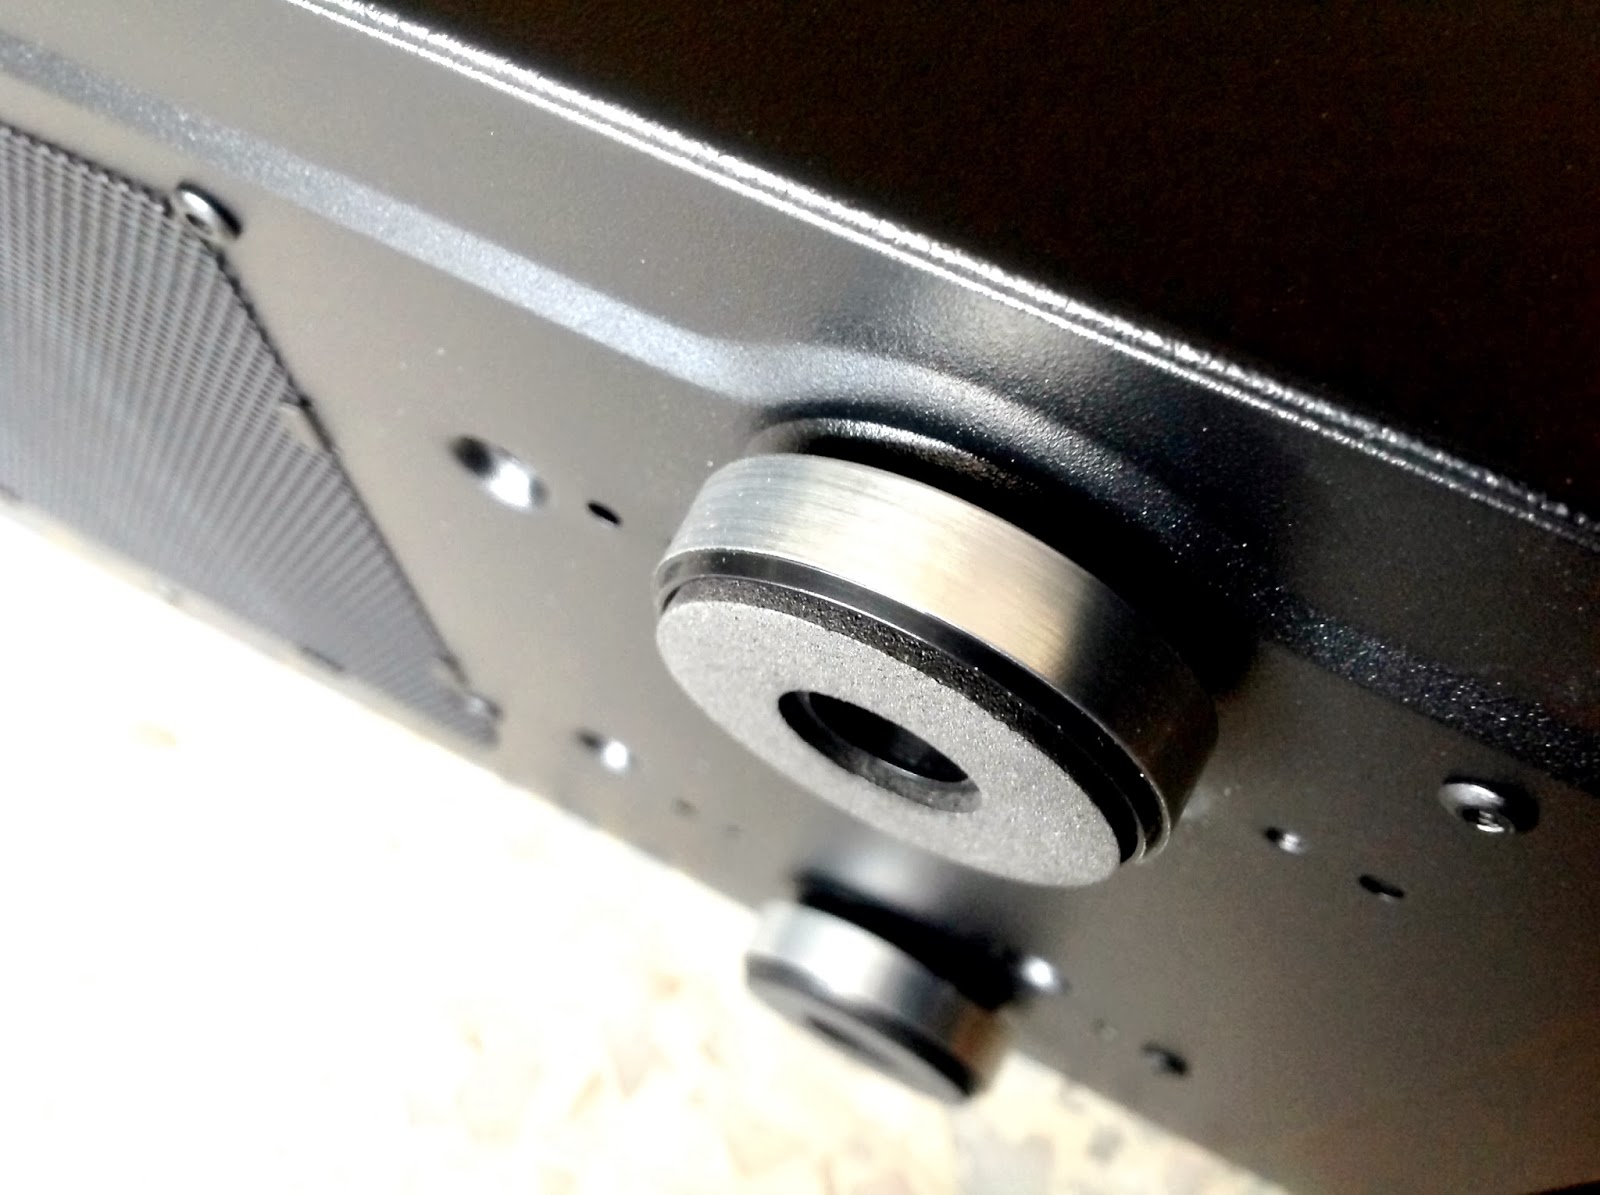
Here’s the element of blinginess, large soft rubber feet with the goodness of shiny Aluminum that gives the QT01 a premium look and the ability to absorb part of the vibration caused by moving parts inside the chassis that will generate noise when vibrating against the surface it came in contact with.
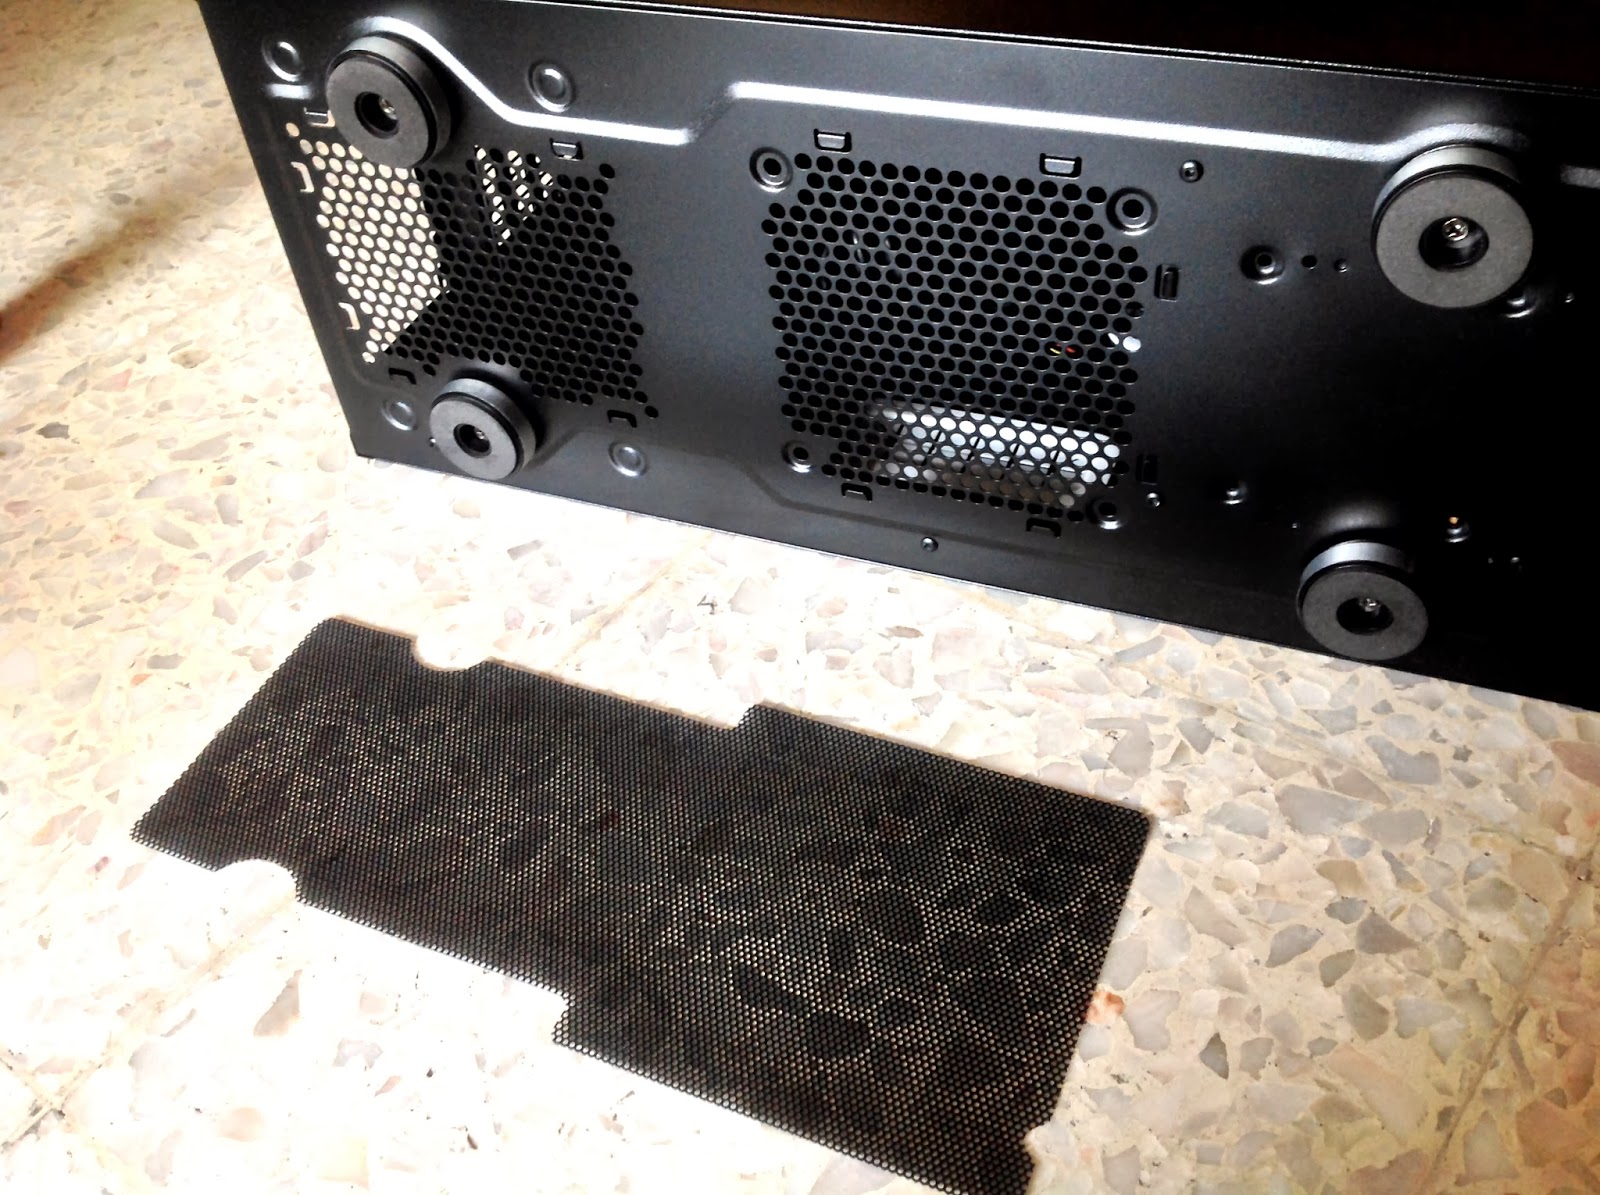
We can see 2 pieces of rubber grommets at the back of the QT01 where you can install external radiator for water cooling, but doing so defeats the purpose of QT01 being a silent chassis as the noise dampening material will not be able to suppress noise generated outside of the QT01.
*Jonsbo uses thumb screws to secure both side panel, life is always easier with thumb screws!*
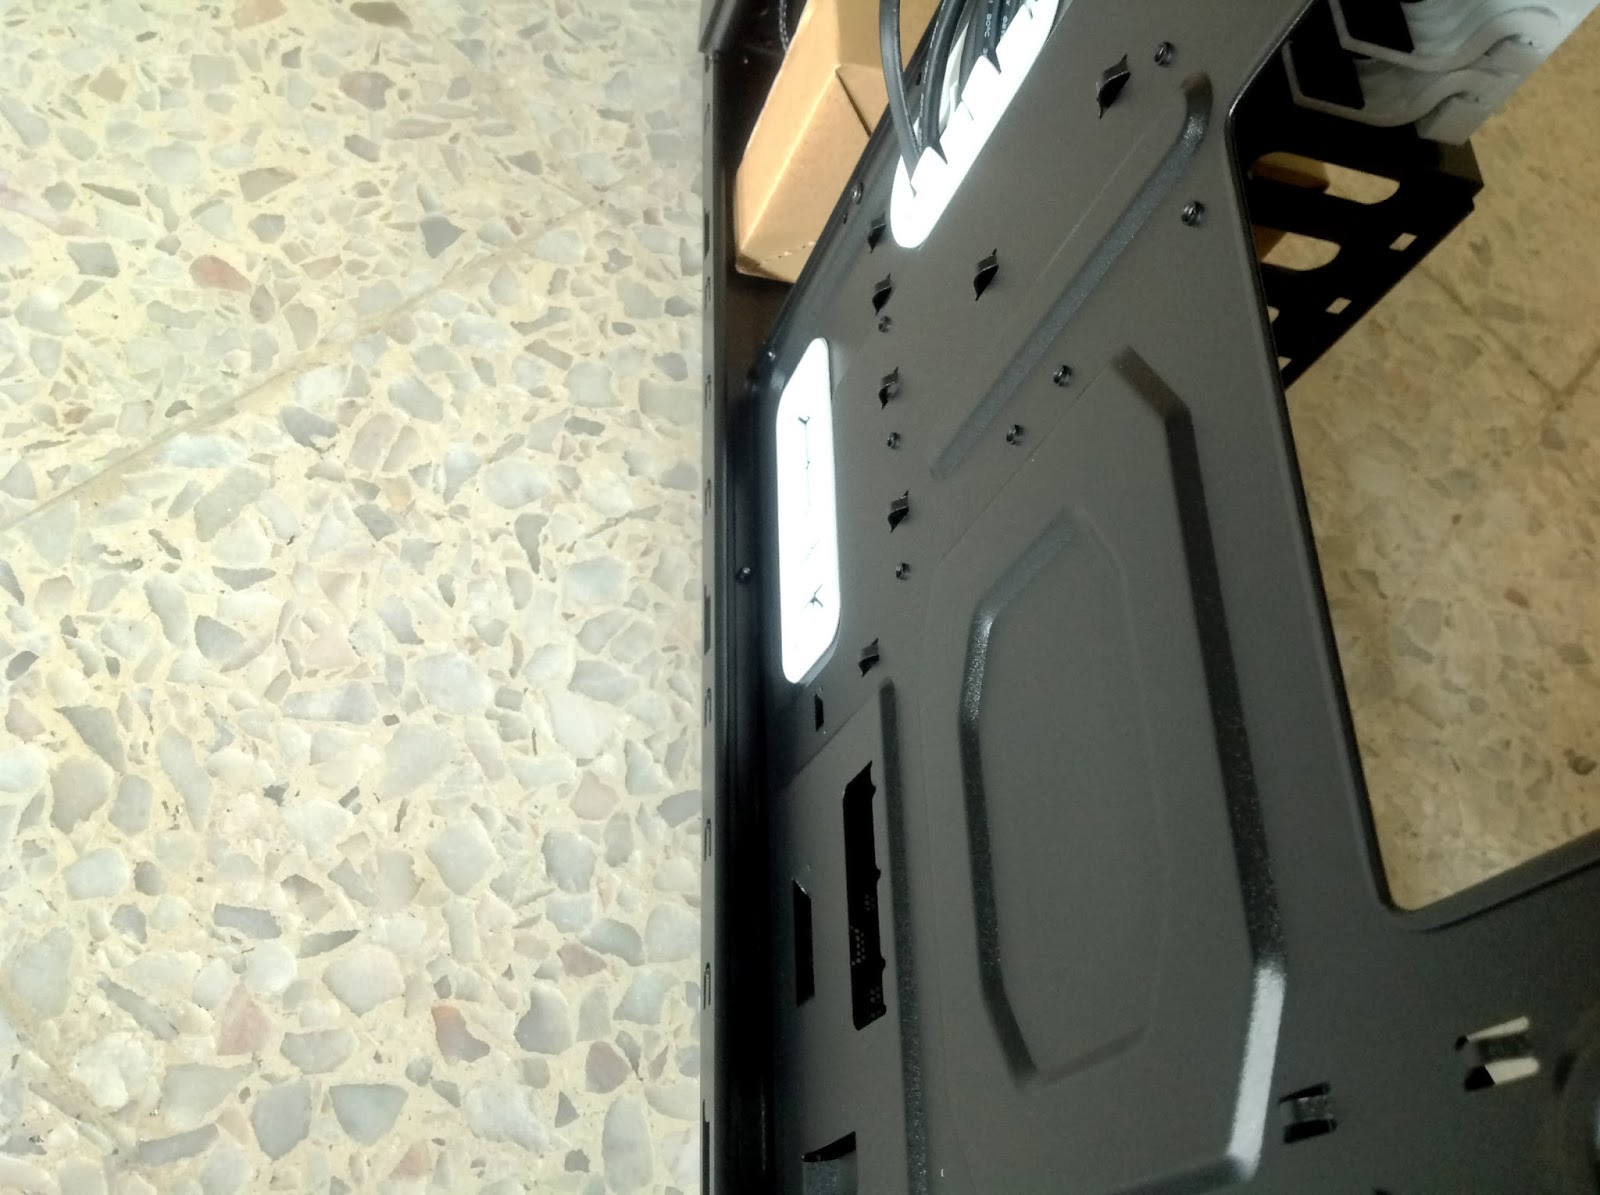
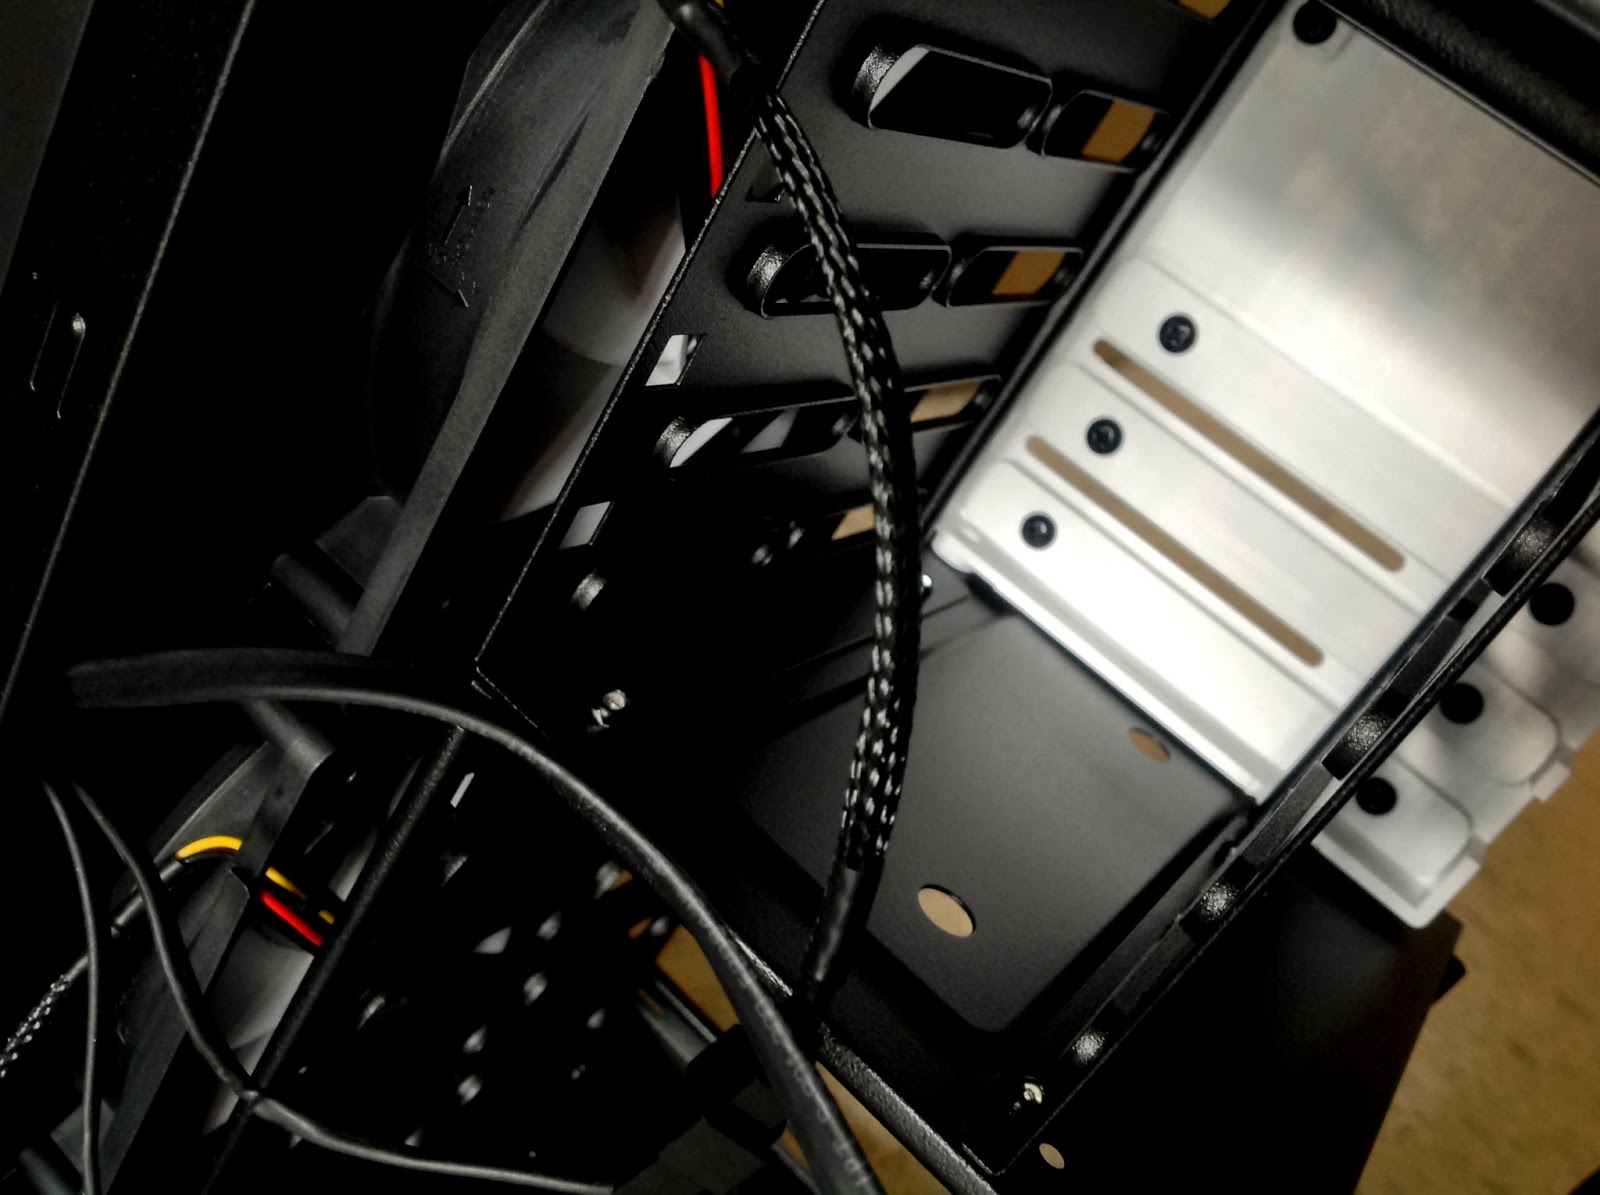
Removing the side panels, we can see there’s noise dampening material installed on both of the side panels for noise suppression. The only thing that makes us curious is the cut out on the side panel – Moving parts will generate noise no matter how, there’s no reason of doing so as the cut out area appears to be where the hard drives are located ( 2nd pic above ).
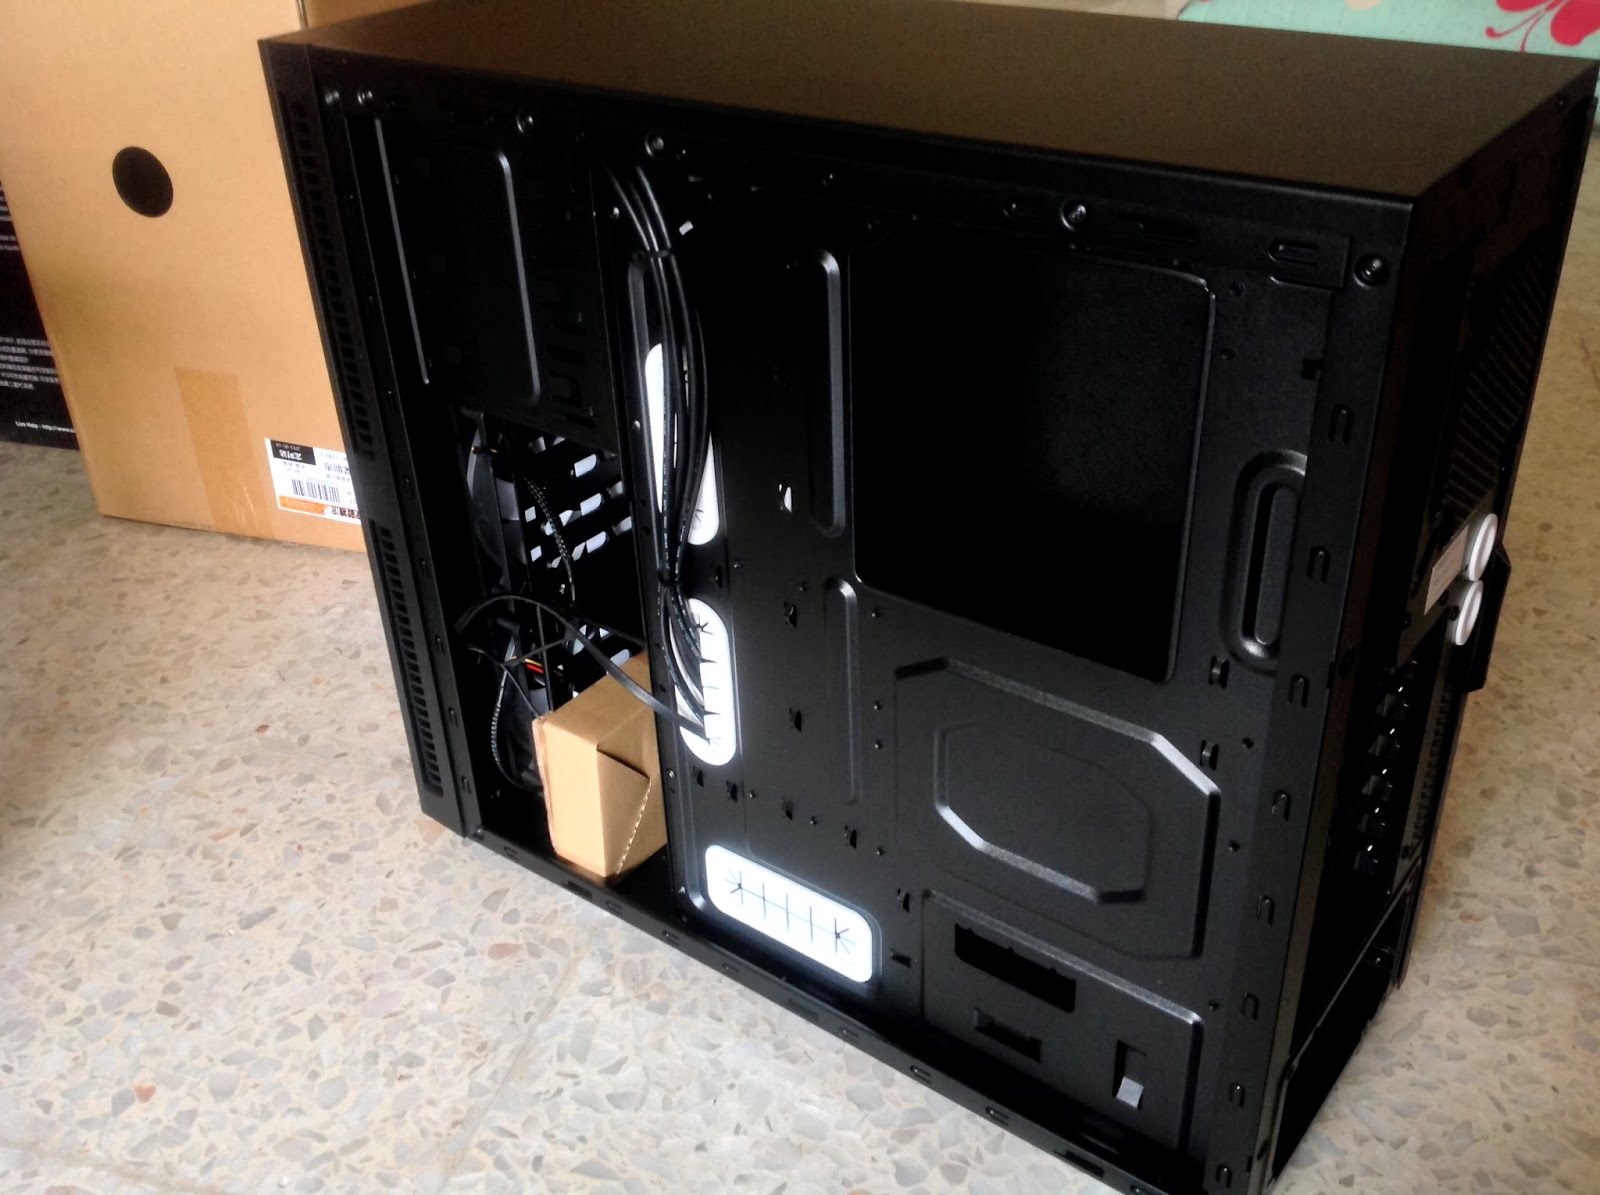
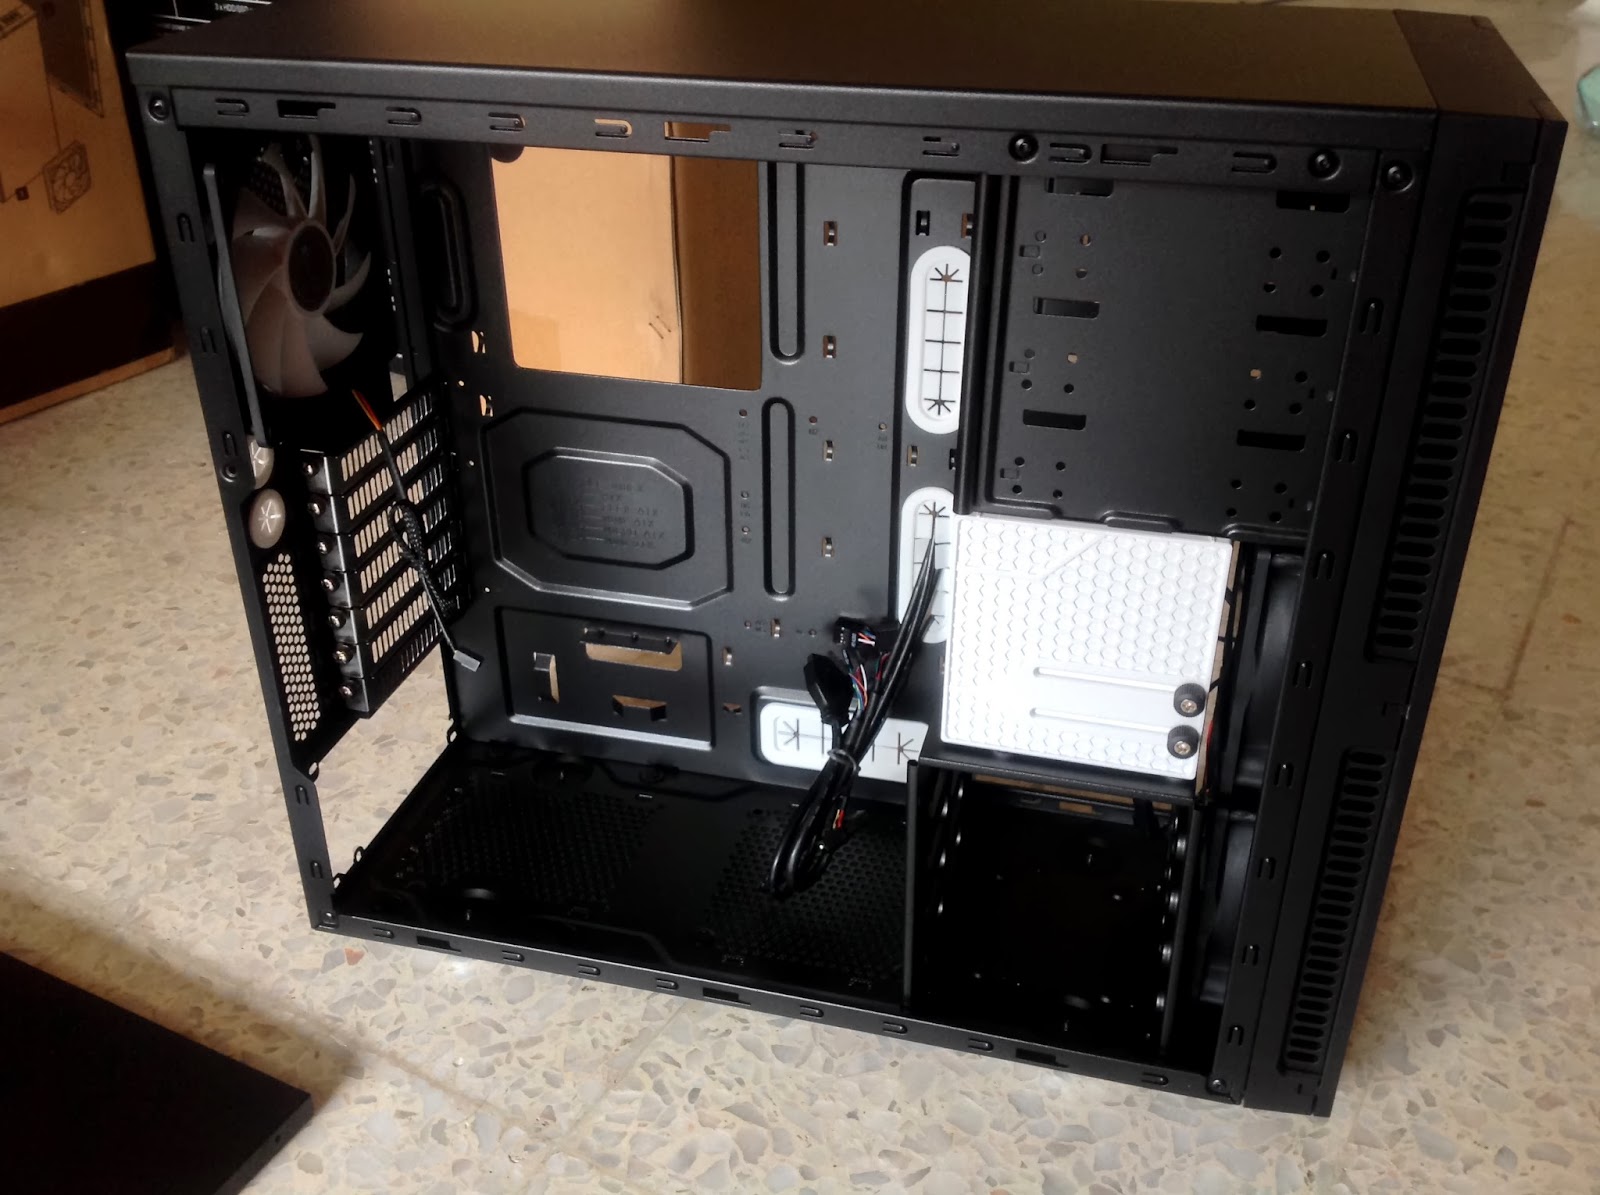
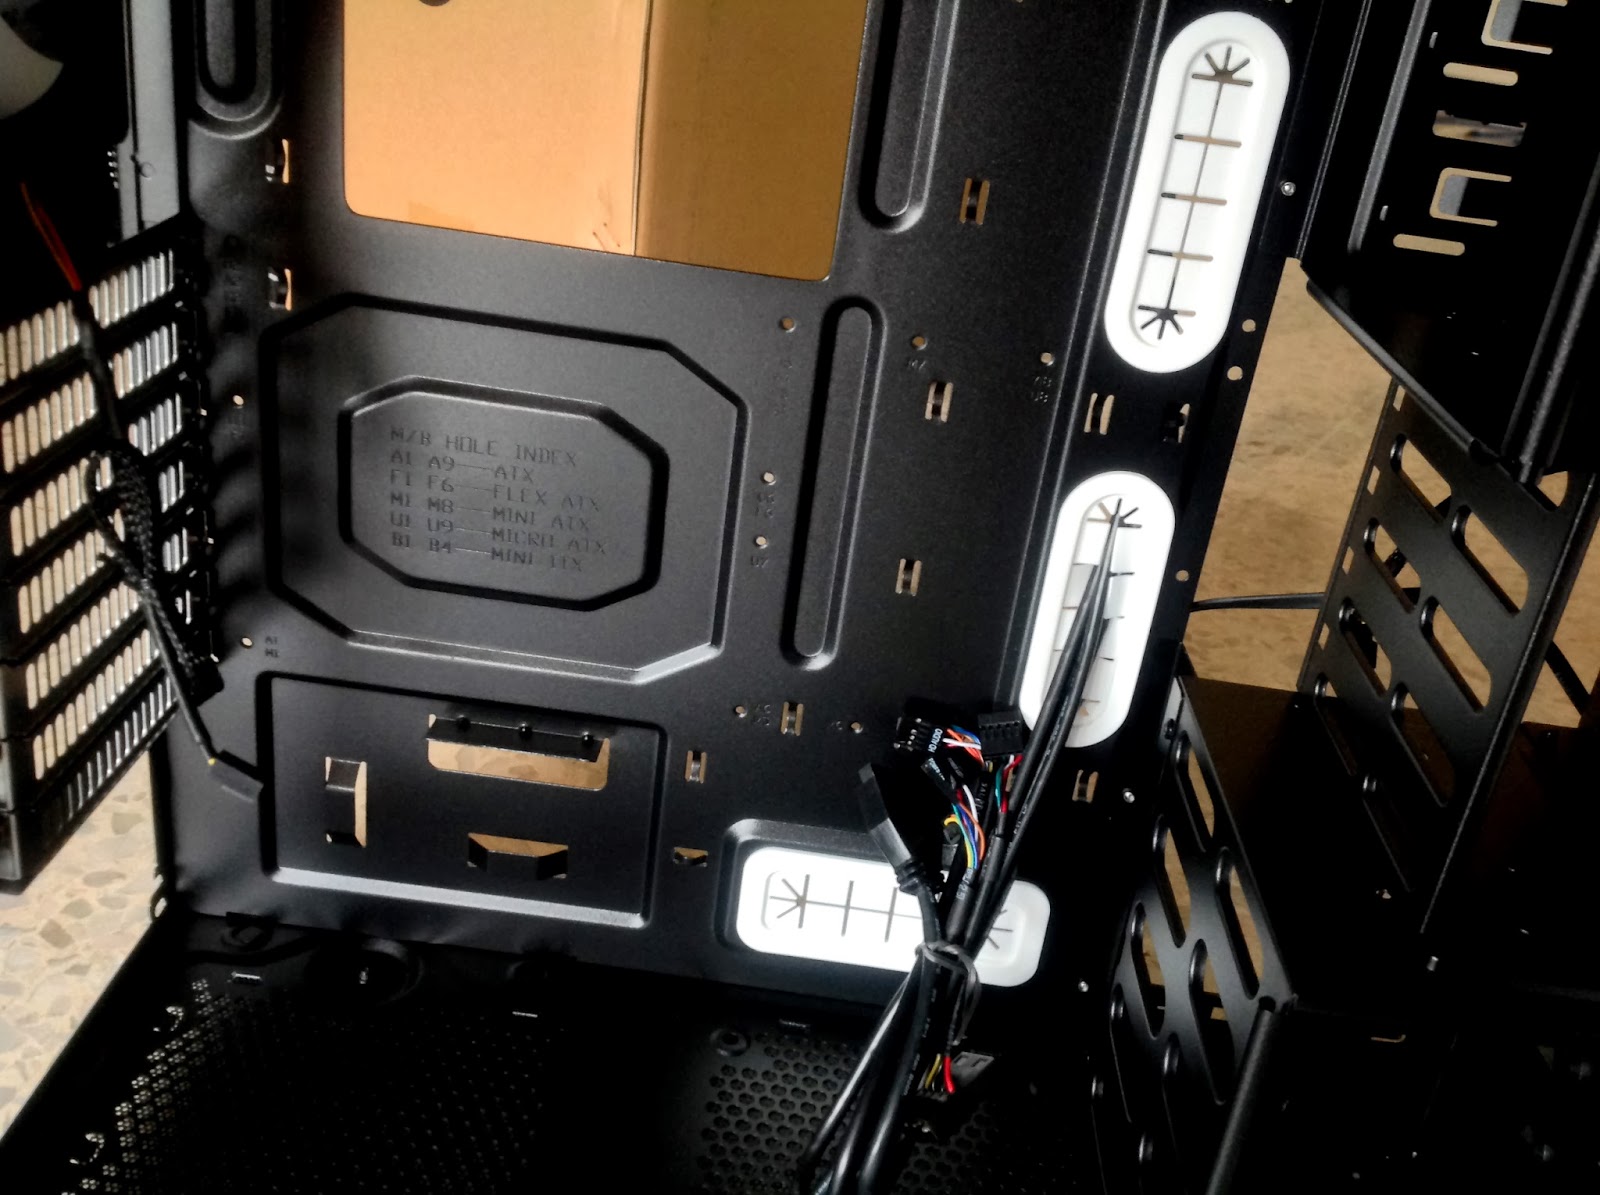
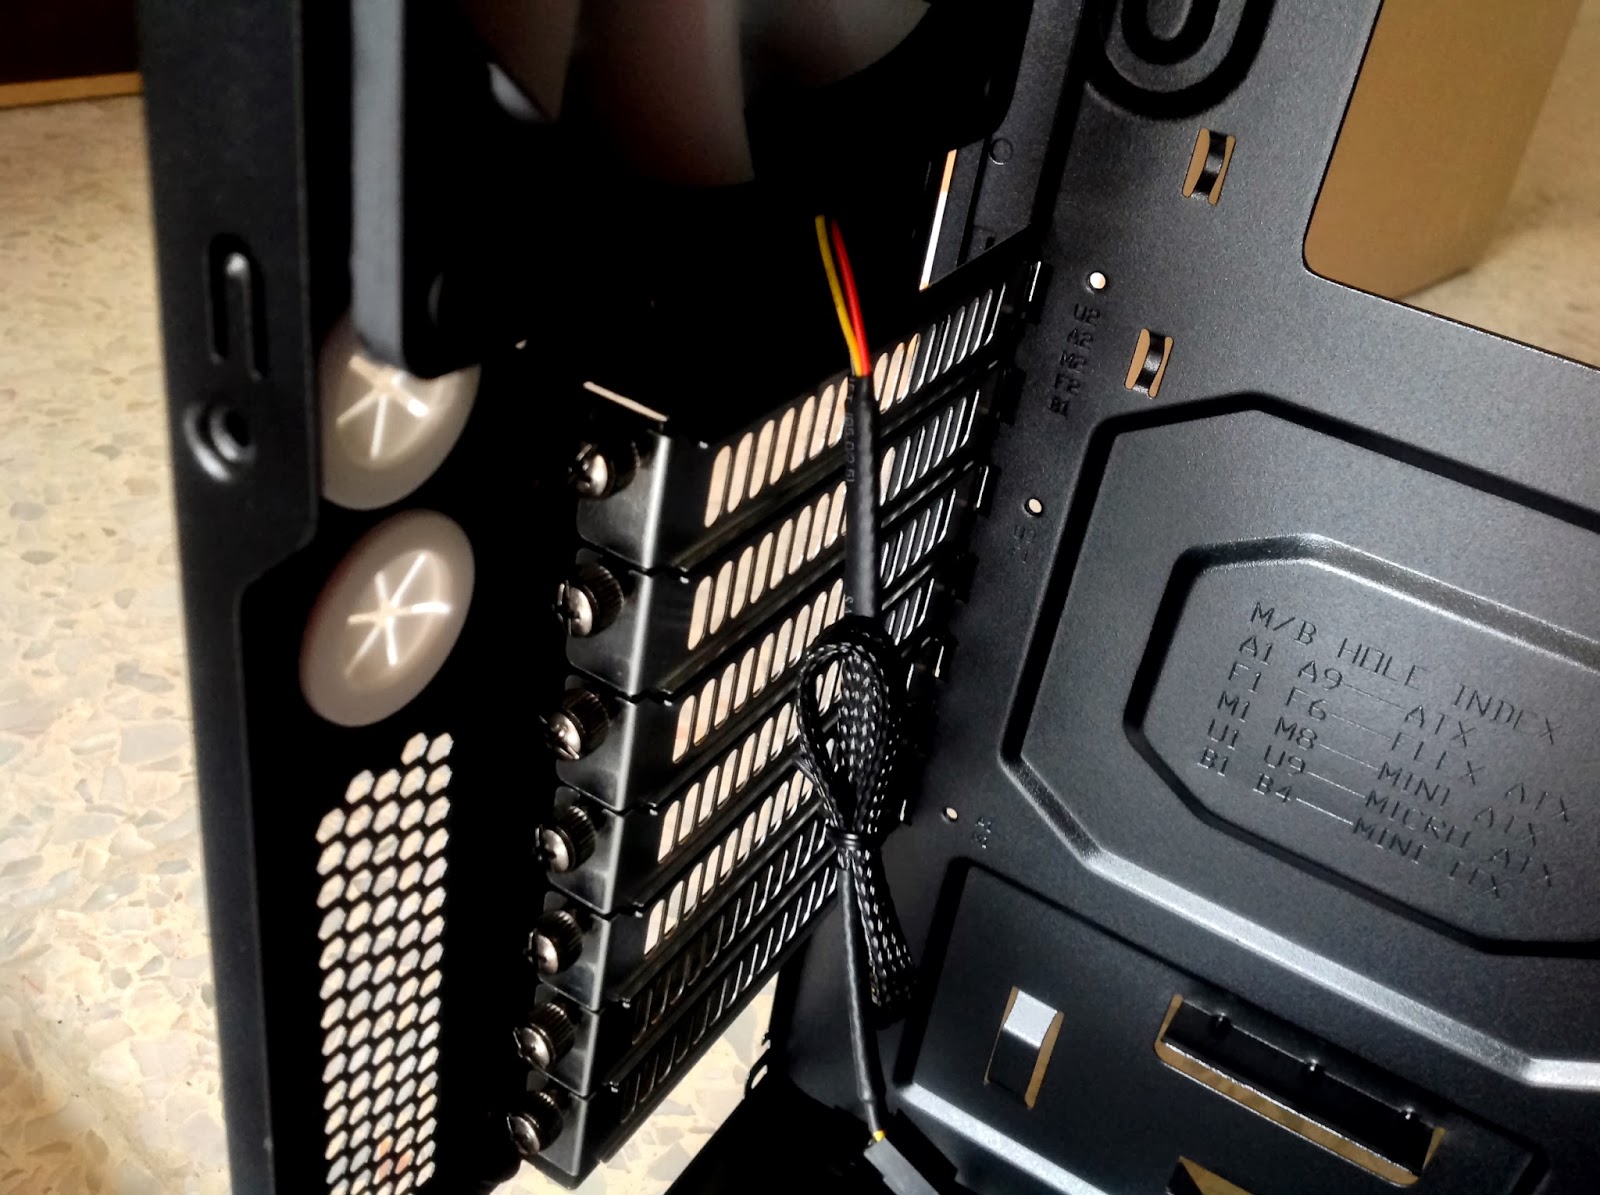
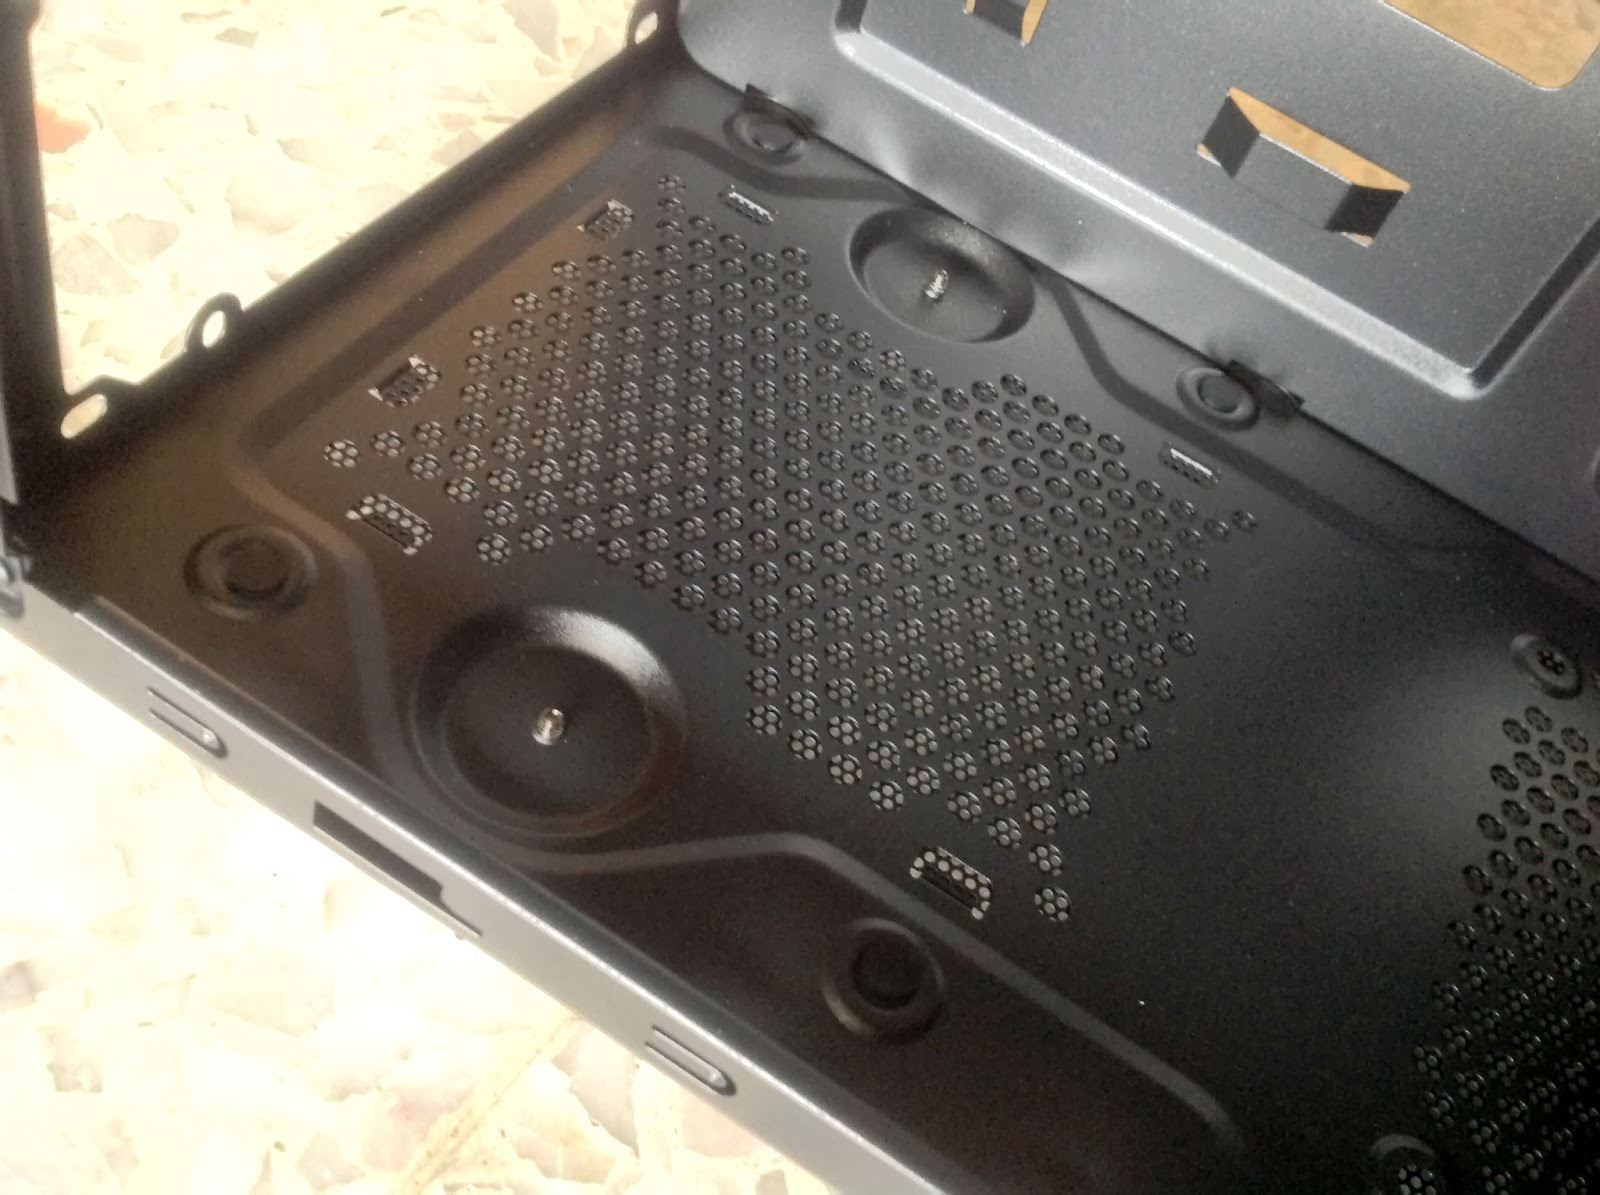
The motherboard tray is done very well, Jonsbo got everything covered up for you at this point – look at that amount of holes for cable tie. The cable tie holes pretty much covered almost every possible point where you can route your power supply cables.
The depth of the motherboard tray is a little shallow if you ask, still within our satisfactory limit but our comment is that unless you’re using individually sleeved power supply cables, you will face a little hard time closing the side panel without giving any scratch to the noise dampening material.
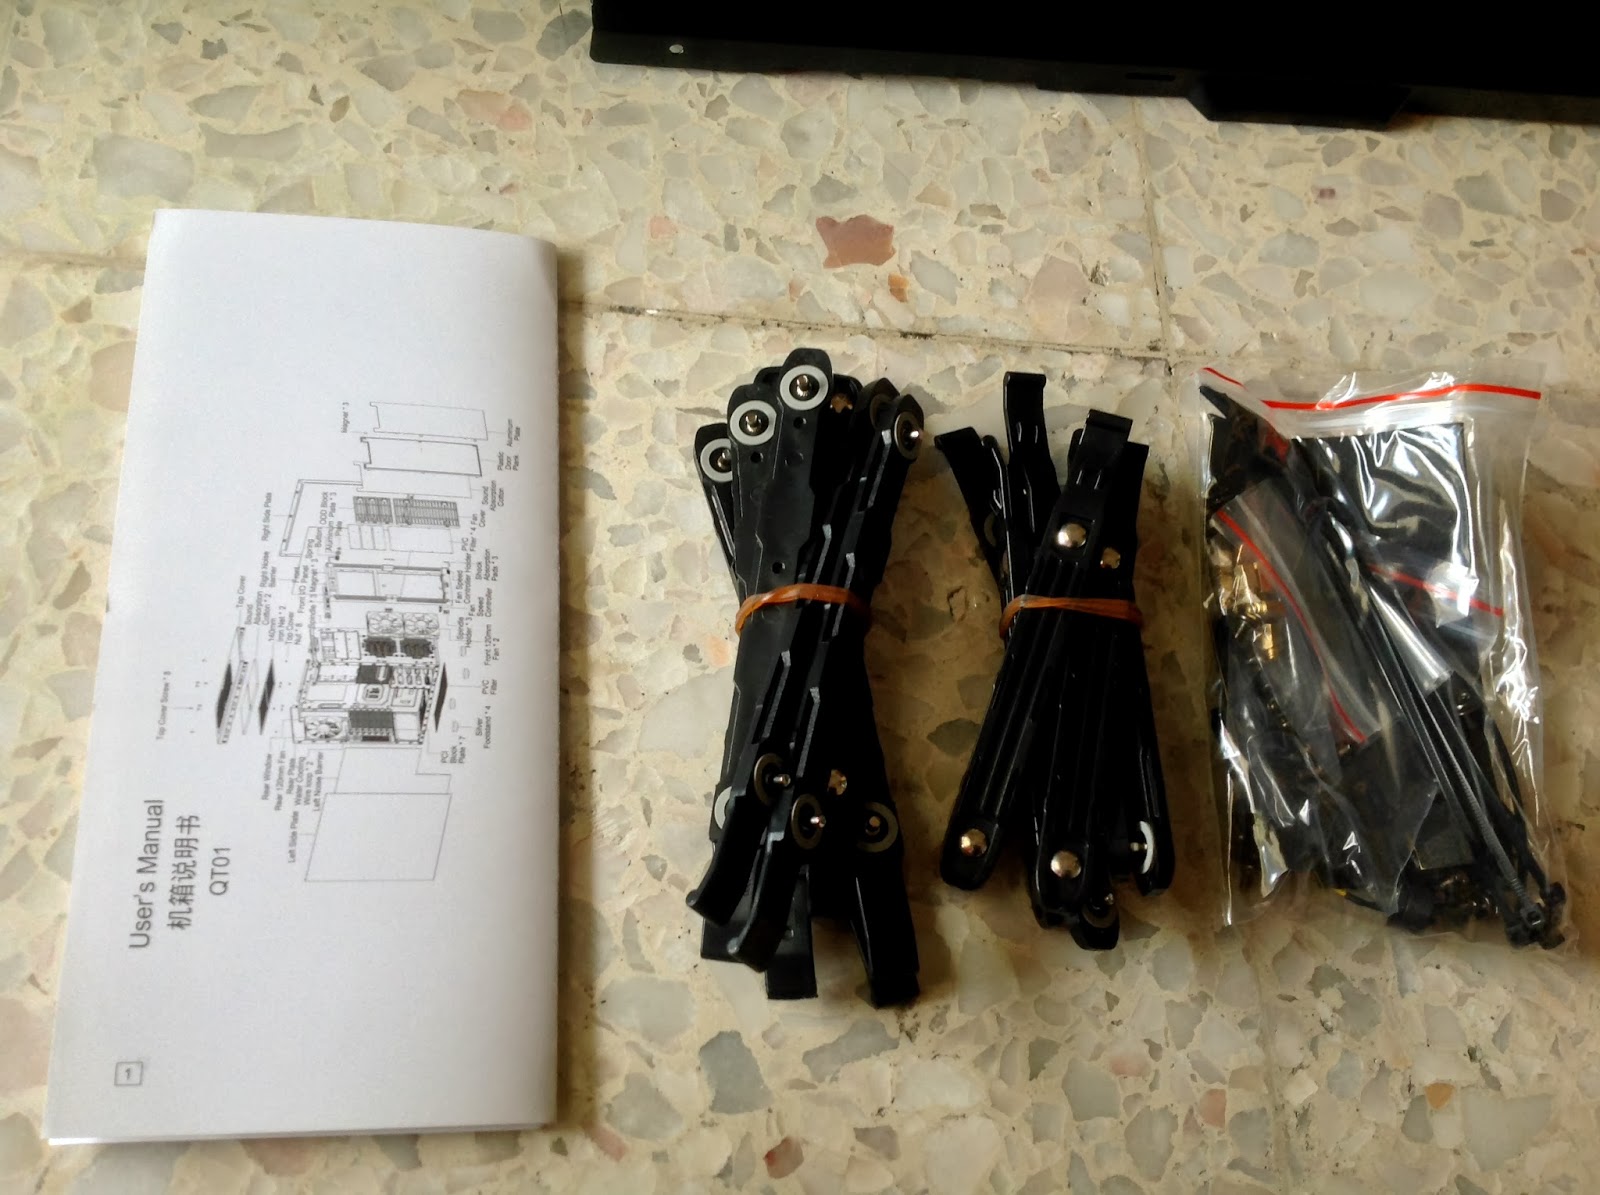
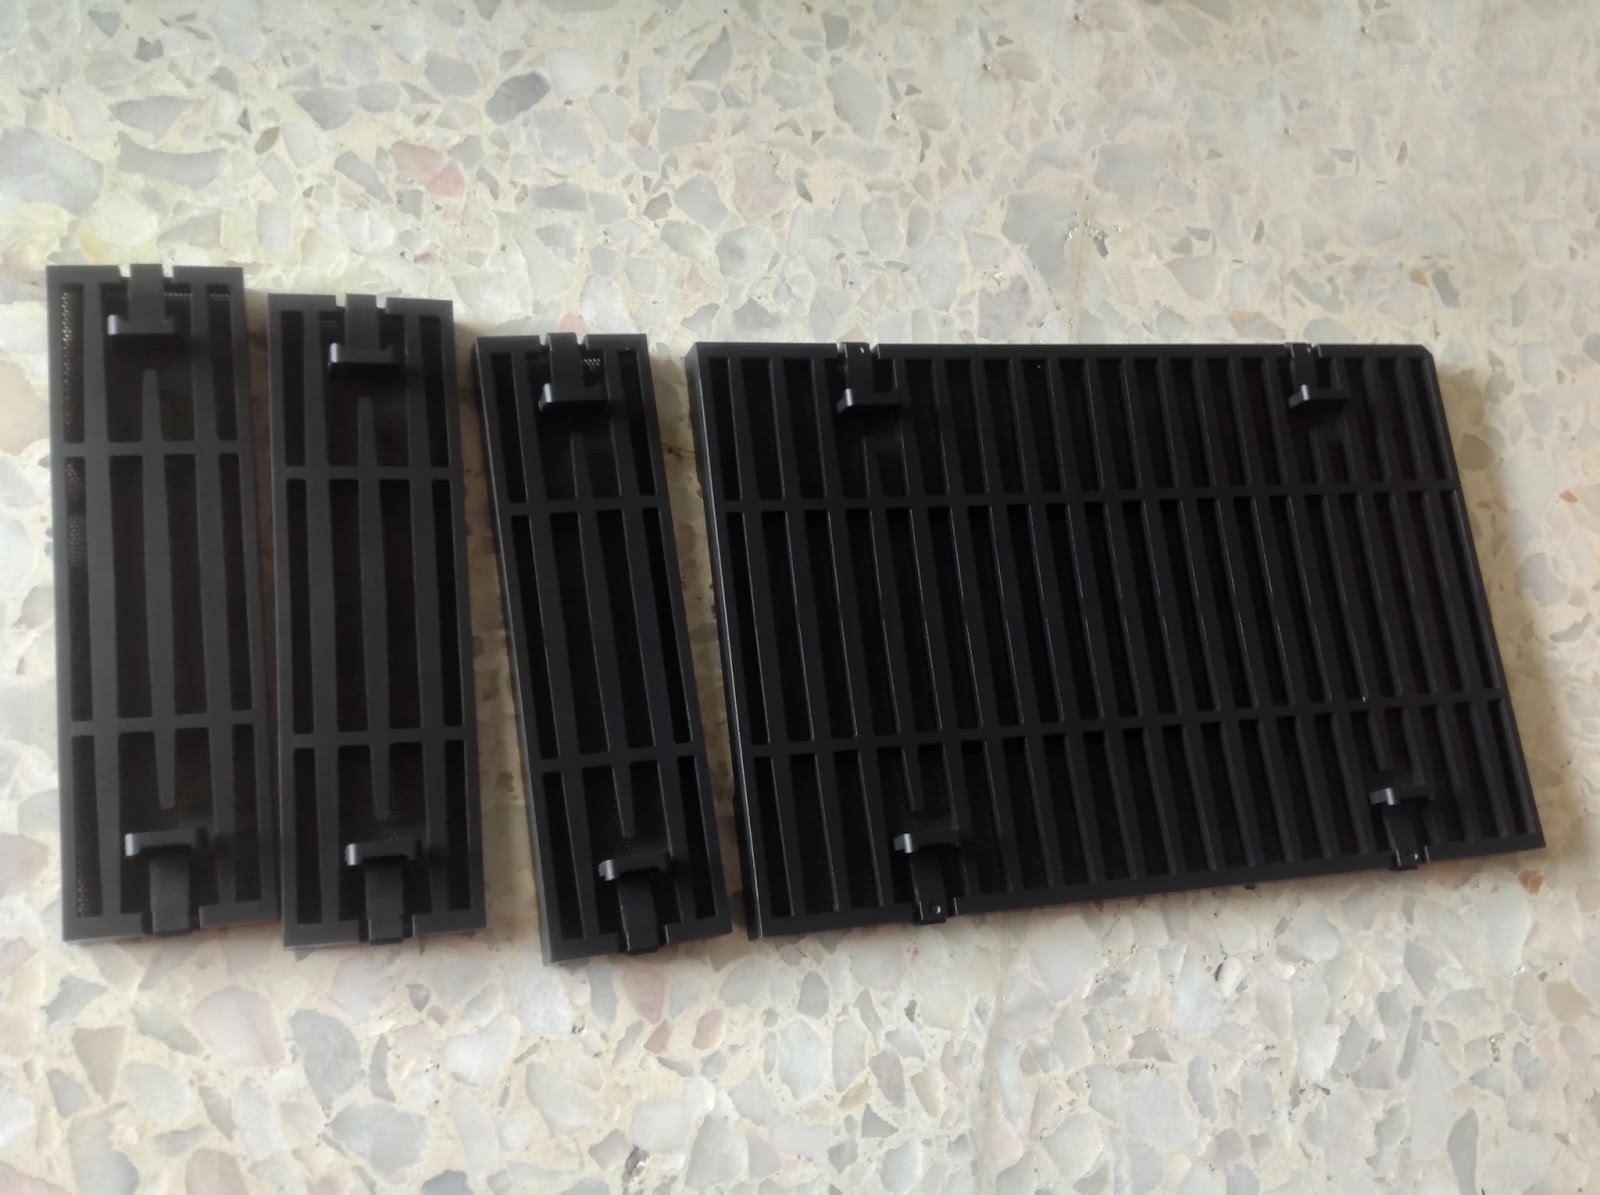
The accessories included along with the QT01:
– User manual / guide ( simple enough yet very detailed and useful for first timer! )
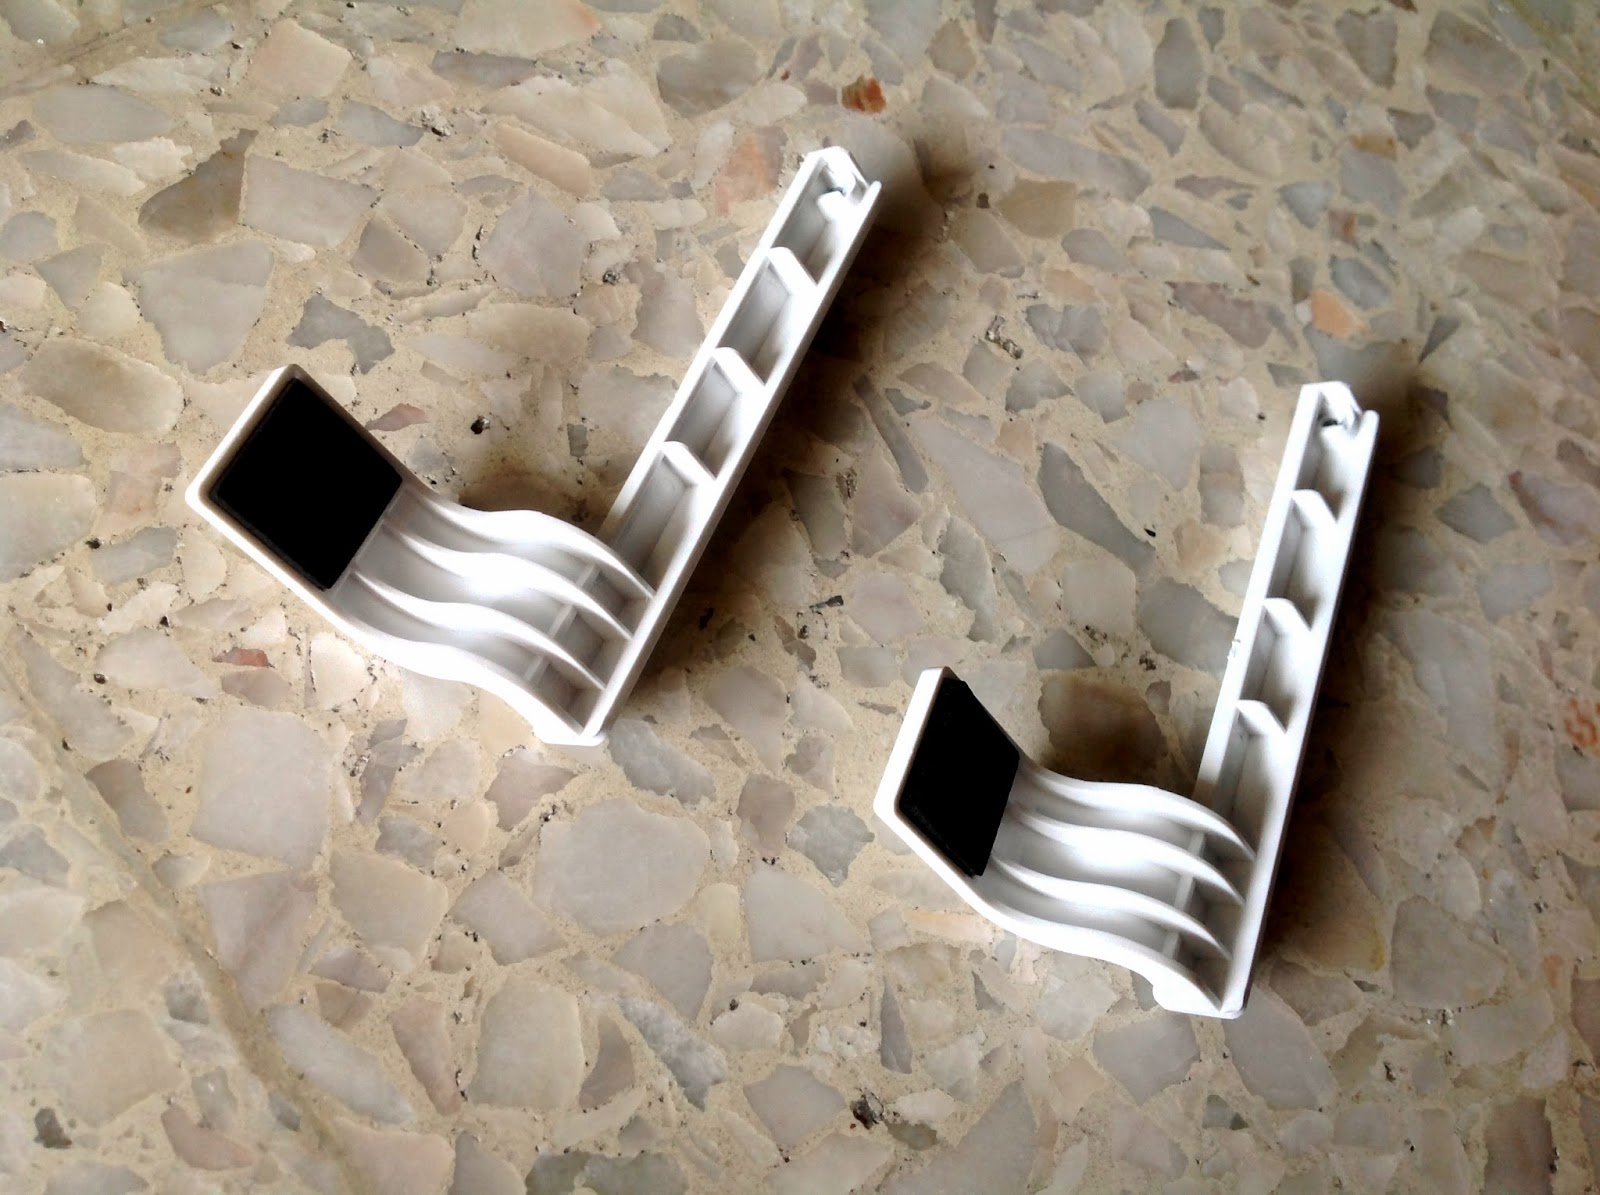
– hard drive rail mount for 3.5″ hard drive and 2.5″ hard drive / solid state drive
– screws, cable tie, spacers required for installing motherboards, fans, etc
Just for some reason, it seems that Jonsbo has left out the tool free installation mount for the optical drive at this point.
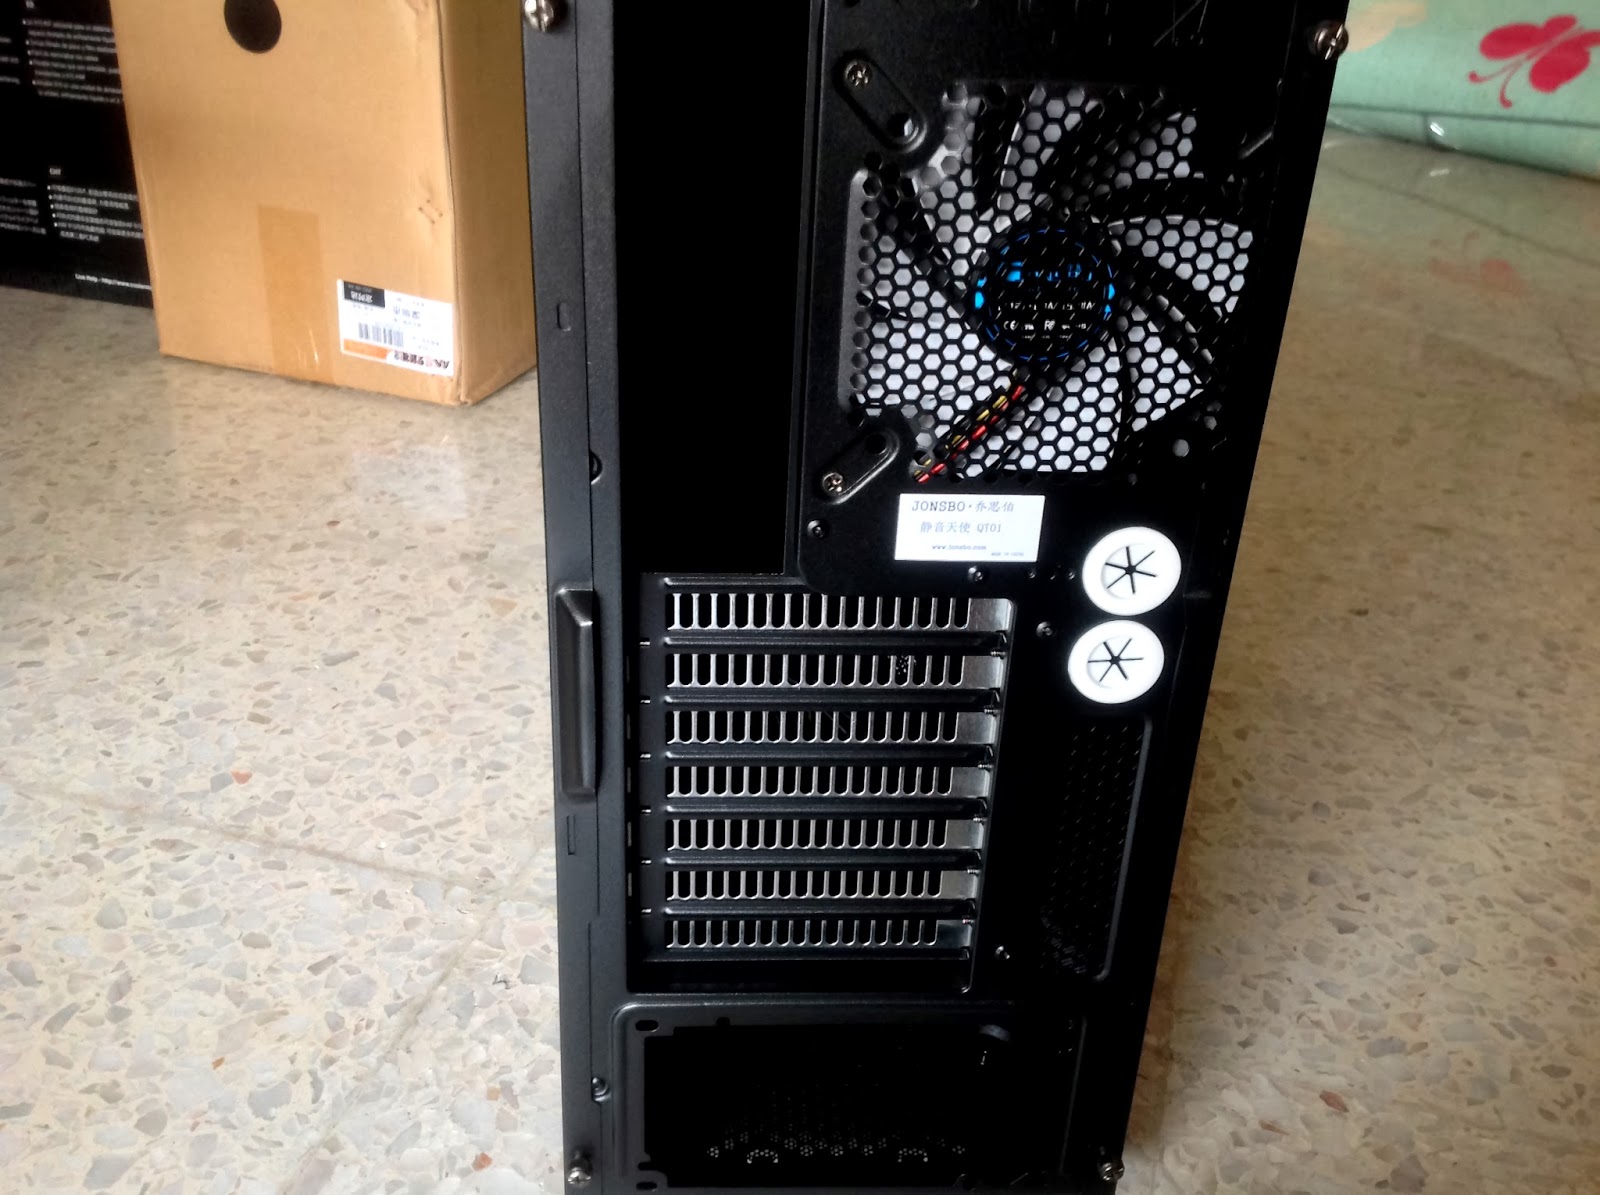
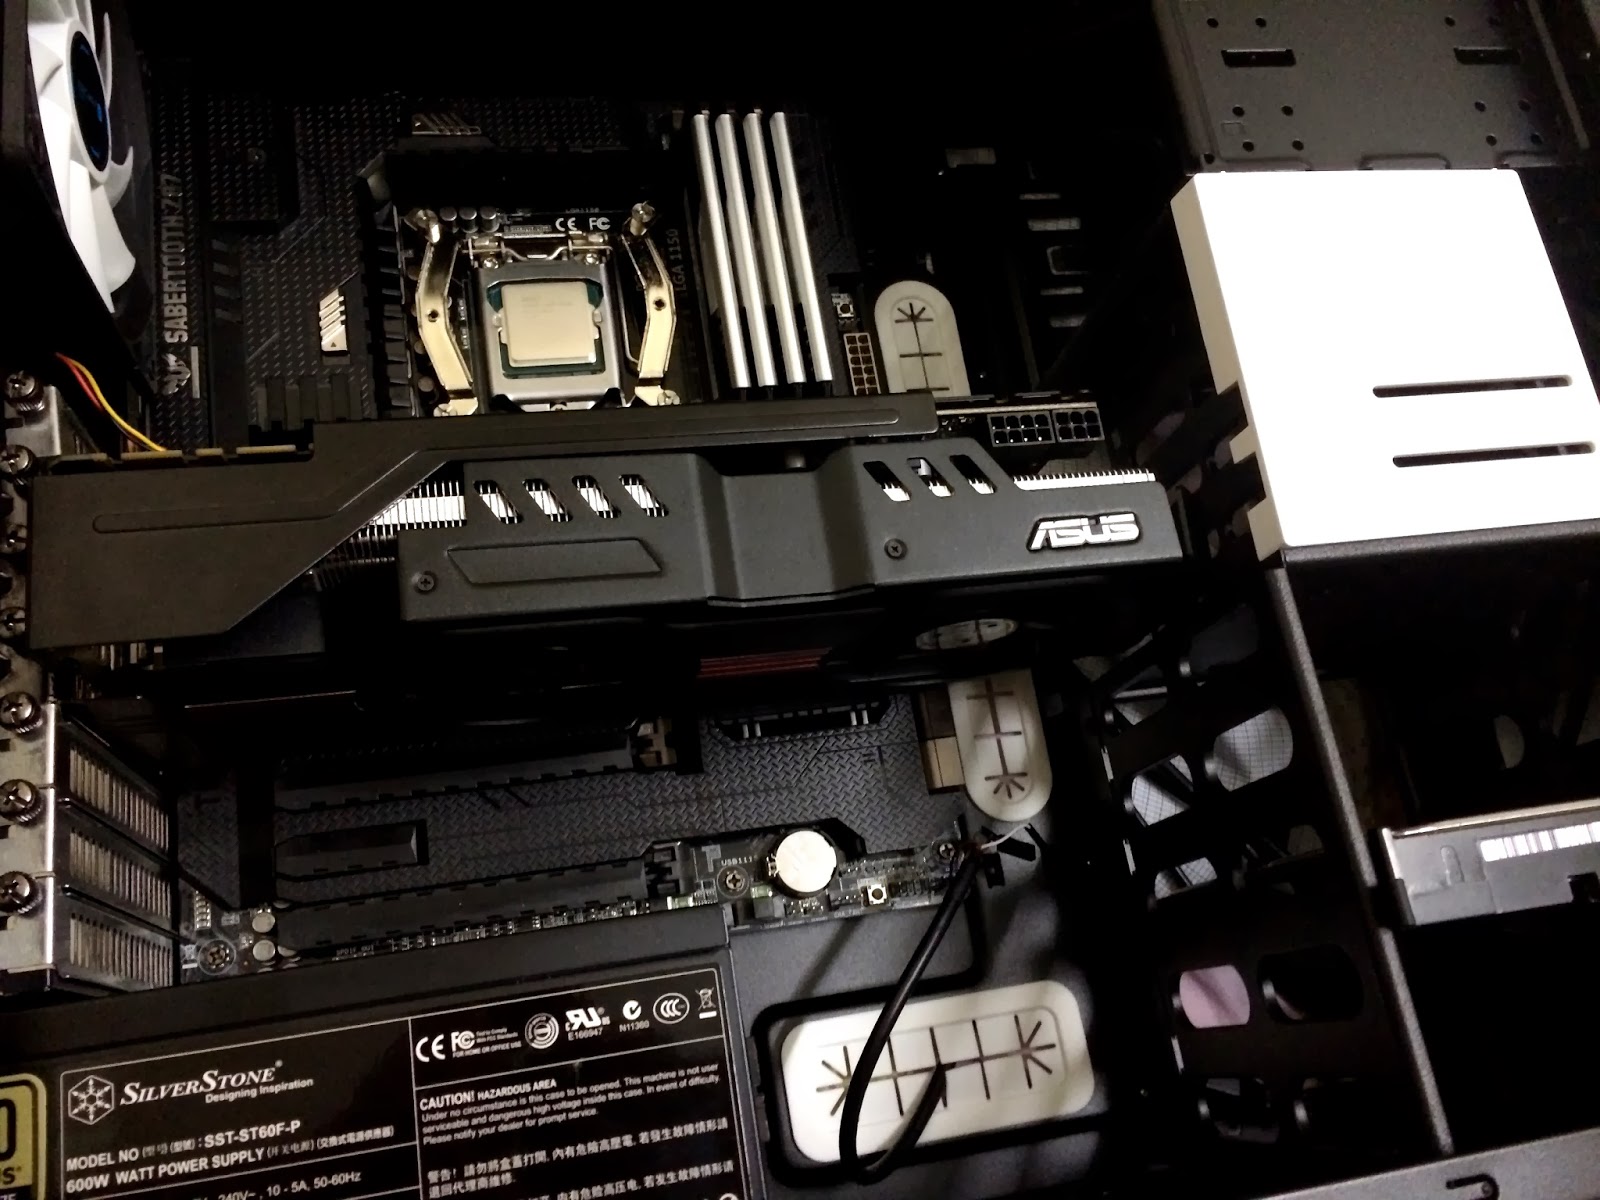
Now to the interior of the QT01, 3 pieces of rubber grommets, a rear exhausts fan and something new we first came into – the white plastic cover with 2 thumb screws. According to the manual, it is a type of support for your graphics card to reduce the flexing of its PCB.

The supporting arm can be adjusted to your liking – it seems that medium length and long graphics card users will have less to worry about the flexing PCB issue with this great feature offered by Jonsbo.

The supportive arm has a soft tip to absorb vibration, minimizing any possible noise that could be generation upon contact with graphics card.

The rear exhaust fan included is sleeved with a standard 3mm wide cable sleeves, looks neat!
The included intake fans were also sleeved with the 3mm cable sleeves as well, Jonsbo really did a wonderful job here.
Installing components
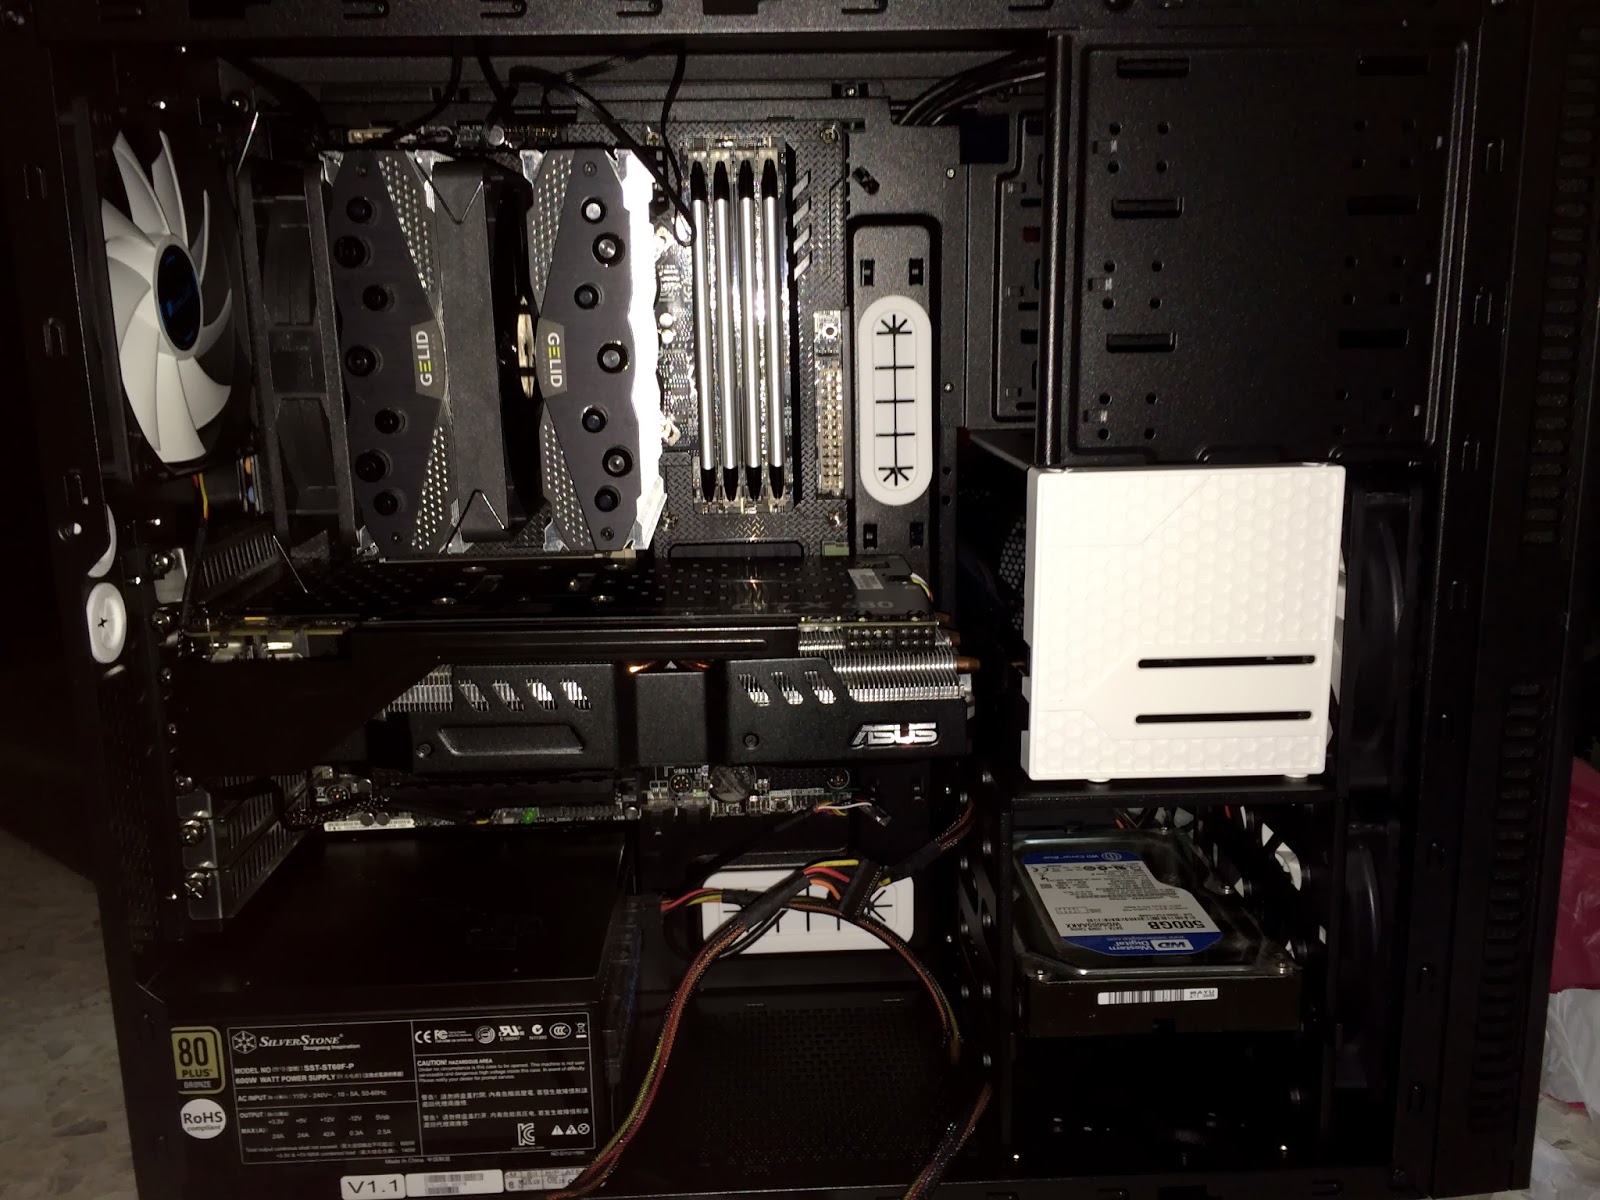
Everything else like the power supply, hard drives, ssd, motherboards will fit well.
The CPU cooling option is quite limited without any modding:
– Air cooler will fit perfectly, we’re using a monster from Gelid Solutions’ – The Black Edition
– Any 120mm radiator will fit on either the bottom slot or the rear exhaust fan slot
– 240mm radiator is only possible with the removal of the hard drive bay.
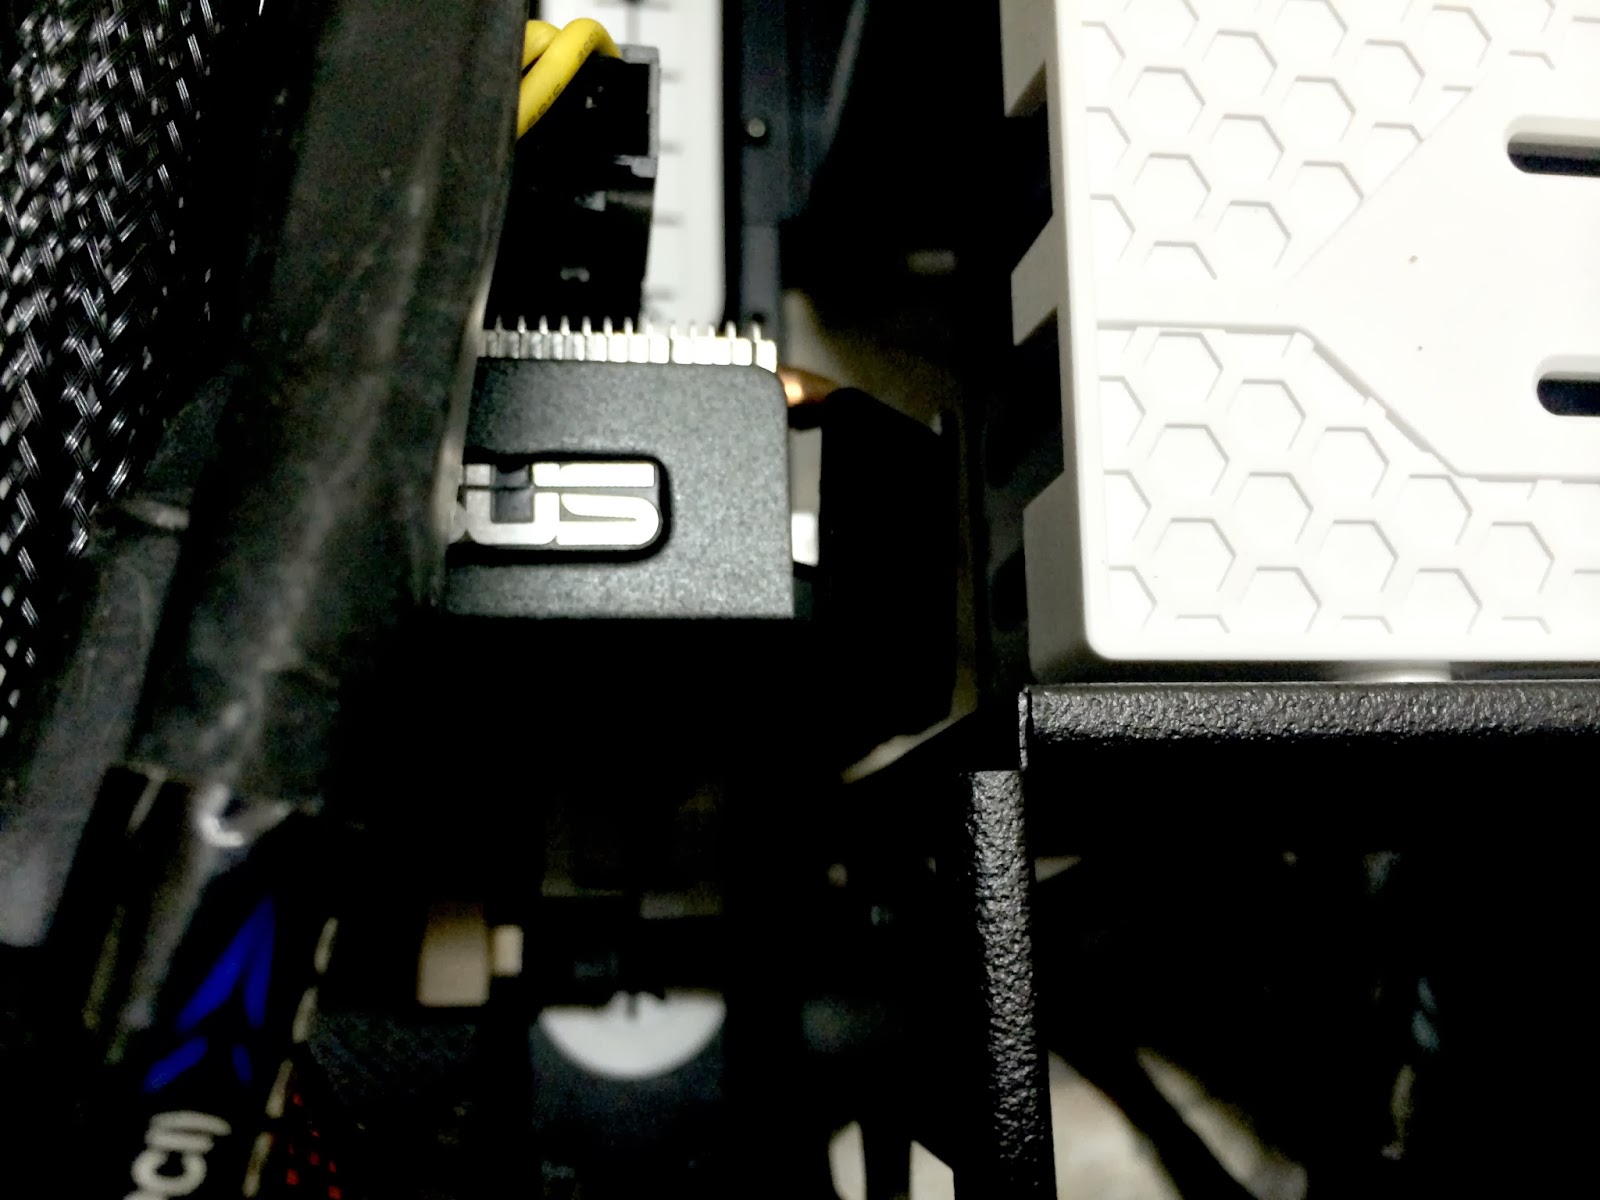
Bad news for the Asus DirectCUII GTX 680 – the graphics card supporting arm is beyond reach for this monster which occupies 3 expansion slot. Any medium or long card with 2 slot max is supported.
Testing Method
Up next with the testing method, we will be using the configuration listed as below:
| Test Rig Configuration | |
| CPU | i7 4770K overclocked to 4.2GHz |
| Motherboard | Asus Sabertooth Z87 |
| Memory | Corsair Vengeance Pro 1600 MHz 4GB x 2 |
| Graphics | Asus GTX680 DirectCU II OC – stock speed |
| Power Supply | Silverstone ST60F-P 600W 80+ Bronze |
| Drives | Western Digital Caviar Blue 500GB |
| Cooler | GELID Solutions – The Black Edition |
The test was carried out in a room with ambient temperature of 30ºC, the only active air intake is from the front 2 pieces of 120mm fans included being set to high speed with the fan controller included at the front panel, whilst the exhaust consists only the rear fan included. Our stress test on the CPU is done using Prime95 and FurMark is used to stress the graphics card. Each stress test is conducted with different condition:
– Side panel closed
– Side panel removed
Both test are done separated where each of the test took 15 minutes in average.The data collected from the test is presented in a graph and table as following:


From the graph and table shown above, the difference in temperature is not that much. The rise in temperature is expected as the only air intake when the side panel is closed would only be the front panel and minimal air front the bottom mesh structure in front of the power supply. Nothing much to complain about the temperature, but the noise level different is something worth notice:
- Stunning appearance, metal brushed Aluminum front panel that uses magnet to keep it closed
- High quality noise dampening material is used to suppress noise from the inside
- A simple fan controller is included for user to adjust the fan speed in front to their liking
- Easy to remove optical drive cover and filters from the front, no more hassle to remove the entire front panel
- Good placement for cable tie holes at the motherboard tray, pretty much covered most possible routing path of cables
- Included 2 intake fans at the front and 1 exhaust fan at the rear that has sleeved cables
- Tool free hard drive/ solid state drive installation with the rail mount included
- Adjustable supporting arms to held medium to long graphics card in place, reduce PCB flexing
- Many soft pads on contact points that involves moving parts to absorb vibration that causes noise
- Large soft rubber feet that looks and works great
- Detailed guide on motherboard installation engraved on the motherboard installation area
- Included rubber grommets helps to keep cable routing neat and protect cables at the edge of the routing holes
- The motherboard tray is a little shallow, user might need to use individually sleeved cables as large cables might increase the difficulty in closing the side panel without damaging the noise dampening material
- thin and wobbly bottom filter and not newbie friendly on installation
- A cut out on the noise dampening material at the hard drive bay area doesn’t seems reasonable as there’s moving parts there which could have produced noise and escape through that cut out area
- The supporting arms for graphic cards wasn’t able to support graphics card that occupies 3 expansion slot
- Despite having tool free installation accessories for hard drives and solid state drives, Jonsbo has left out the optical drives
- At the end of this unboxing and review, we strongly believed that the Jonsbo QT01 deserves our silver award and recommended award with the features offered.


2 thoughts on “Unboxing & Review: Jonsbo QT01”
Whoa this looks really nice. I'm not saying one is copying the other but this is similar to NZXT's H series. This one is somewhat cheaper, but not much. Any thoughts on whether I should get this or NZXT H2/H230?
Both QT01 and H230 shares many similarities in terms of build quality, but I'd prefer the QT01's clean metal brushed front door more 🙂
Comments are closed.