

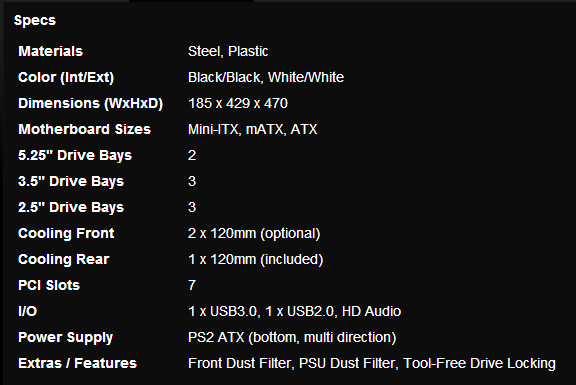
Specifications
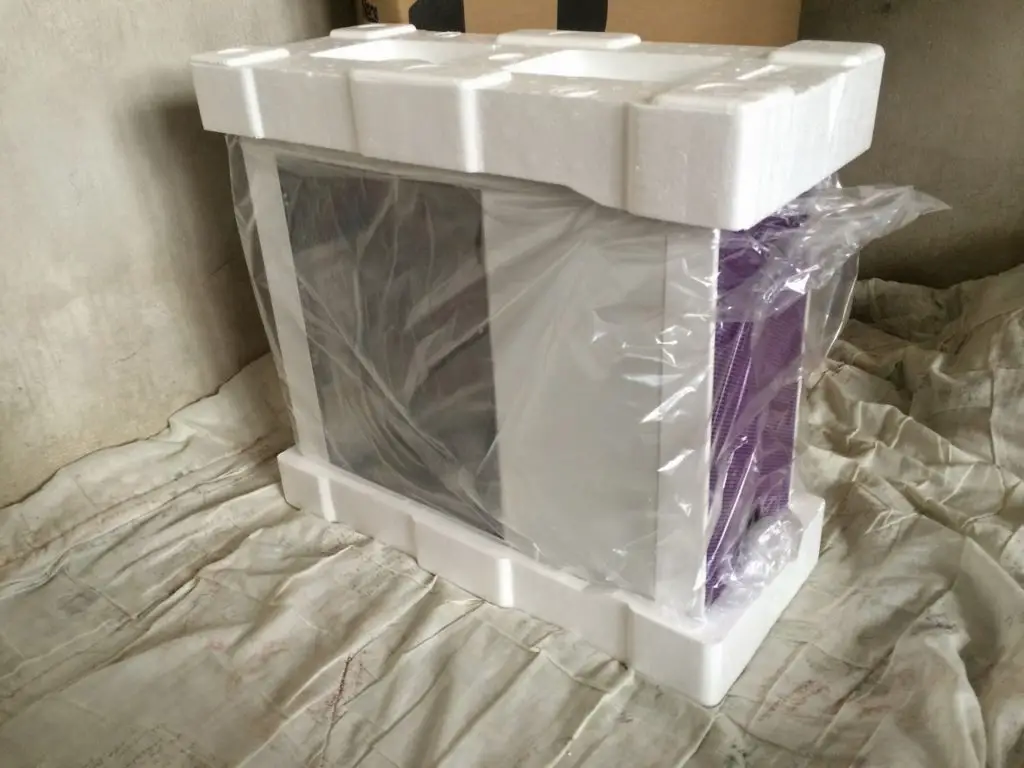
Packaging


Included Accessories
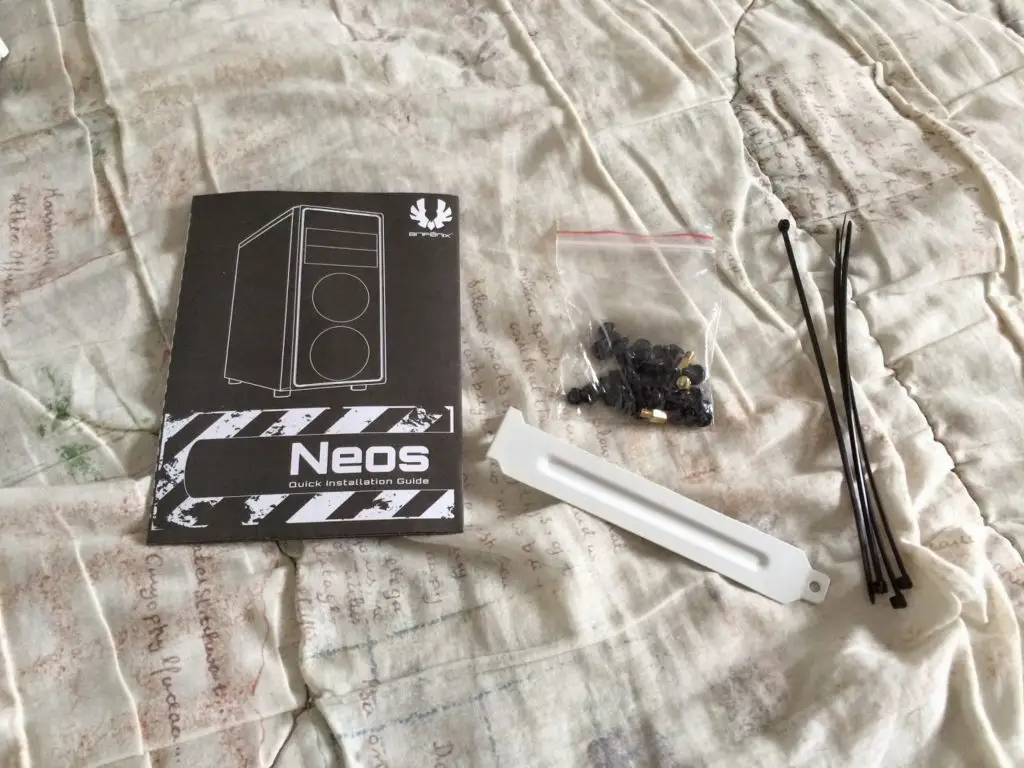
In terms of accessories, the Neos comes with a user manual, an expansion plate, some cable ties and a bag of screws.
Exterior


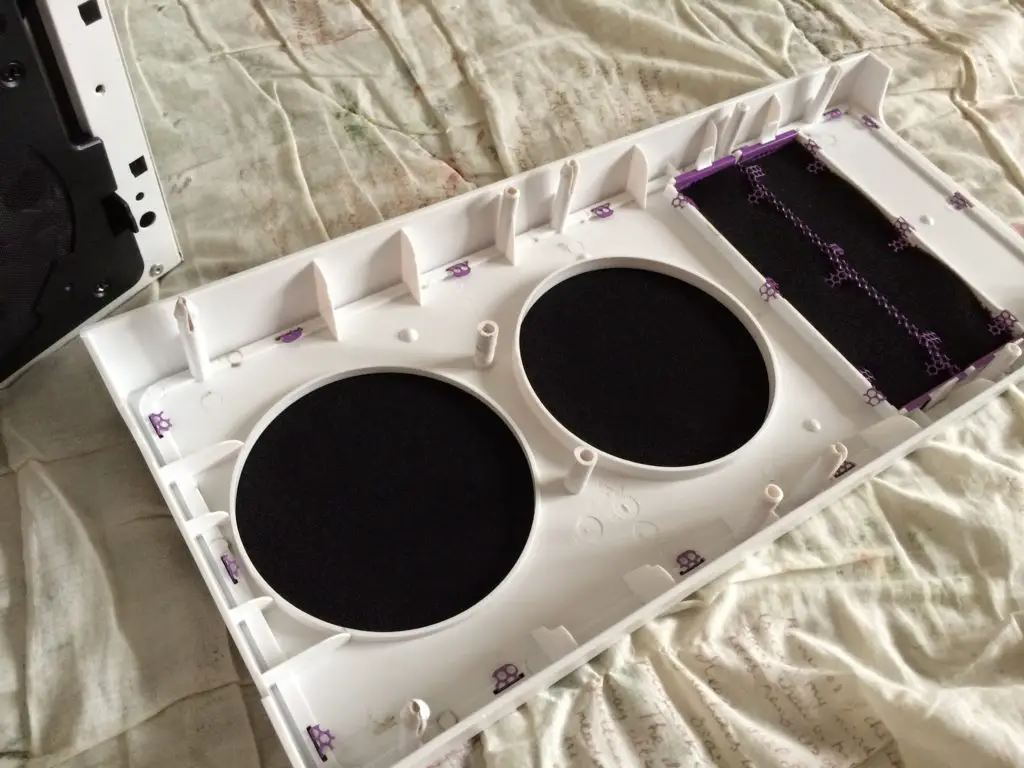
One thing to note is that the front panel of the Neos are interchangeable with one another and is available in 10 configurations to choose from.
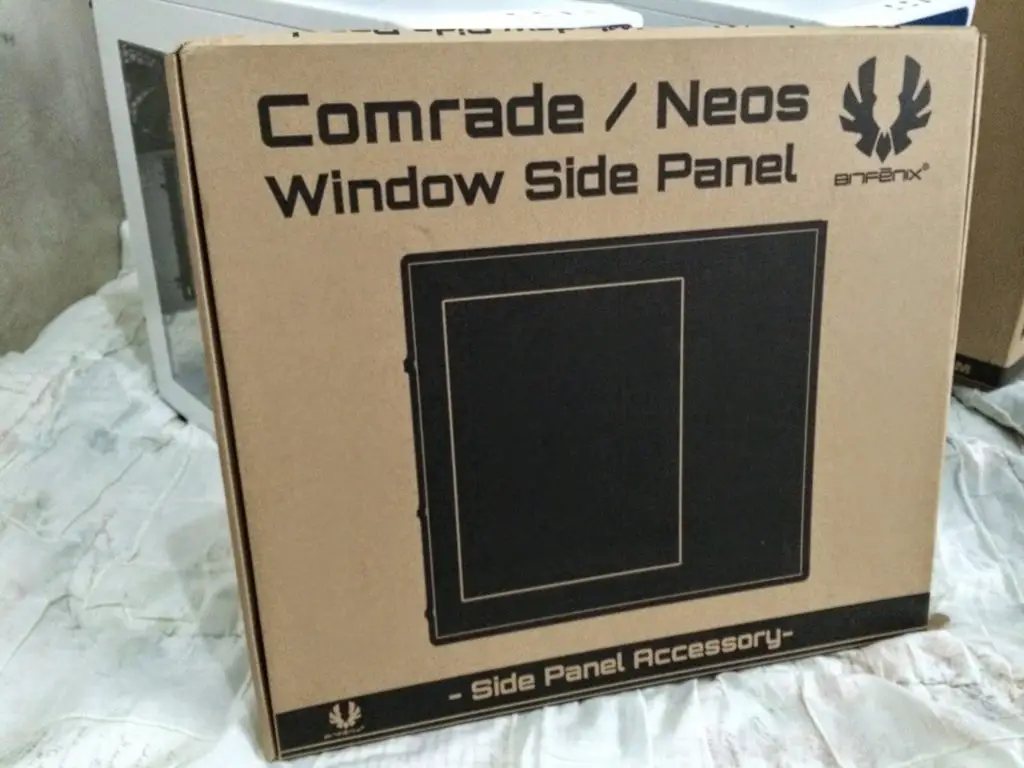
BitFenix is also kind enough to ship us an extra windowed side panel. Just to show that you could easily get one via BitFenix should the two window versions (Black/Gold & White/Purple) doesn’t suit your taste.
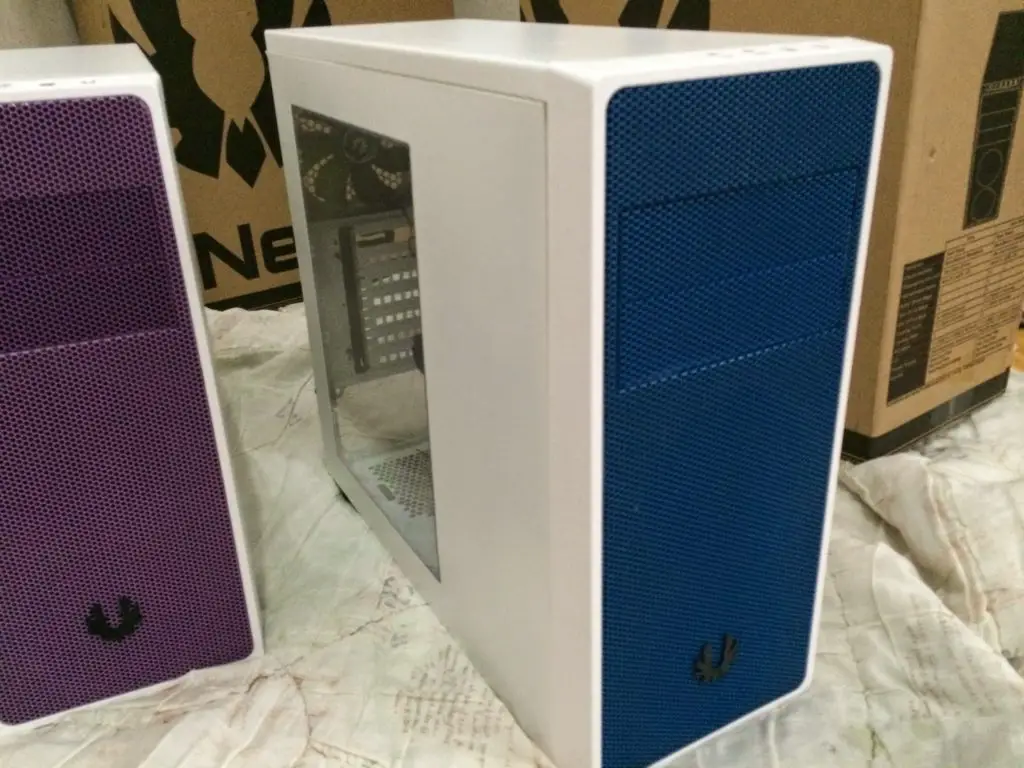
As seen here, now we have a White/Blue window version of the Neos 😉 saves you from having to buy two chassis or mod just to get the windowed side panel 😉 and yes as you might’ve guessed, the same sidepanel accessory will fit on the BitFenix Comrade as well.


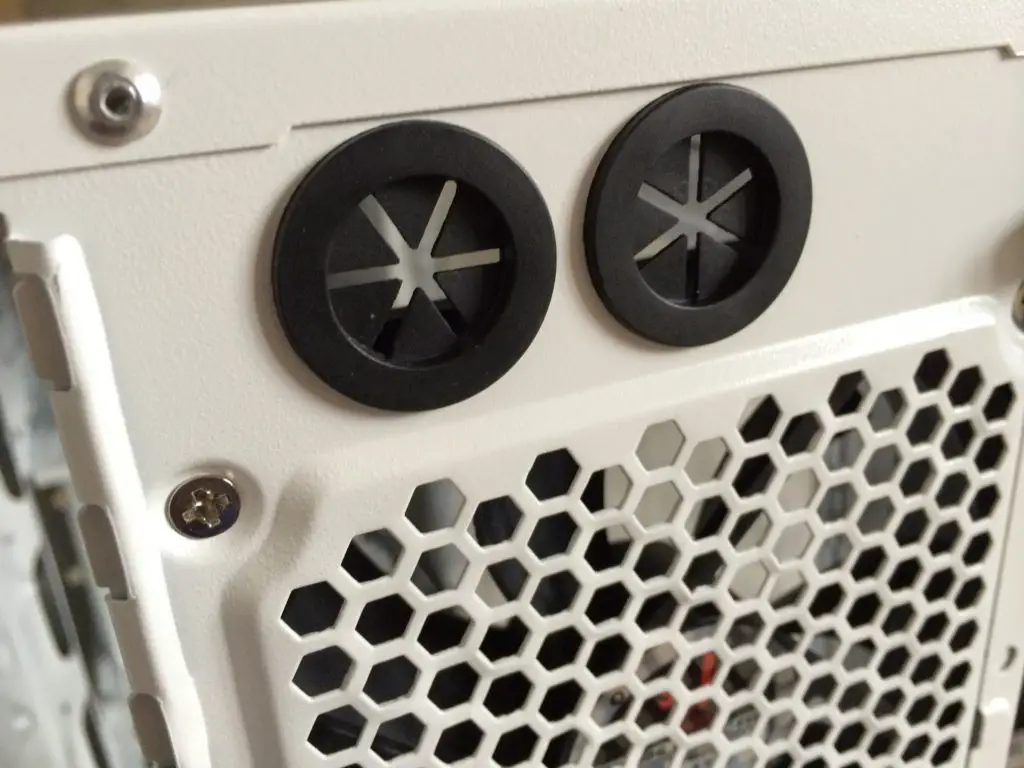
The 2 holes for external custom watercooling setup.

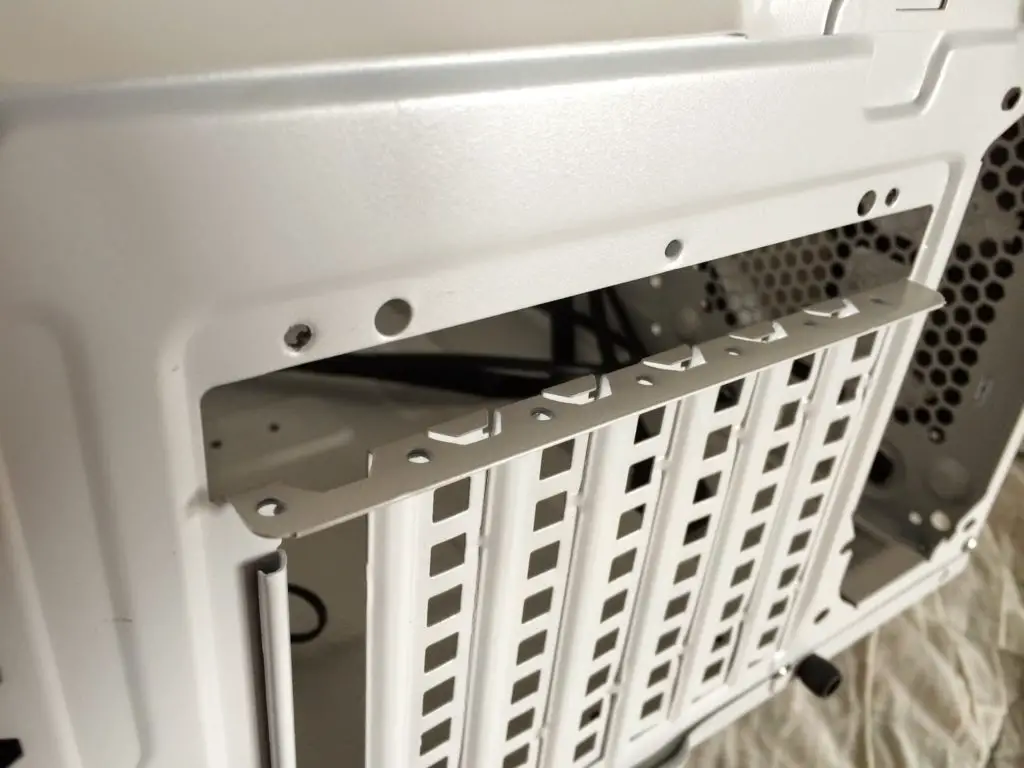
The expansion slots are covered by a plastic cover to make it look neat on the outside. Note that the slot covers are the breakaway type that are not reusable after it is removed except the first one which is present inside the accessory box. According to BitFenix, the reason for this implementation is because most people will be using the first slot anyway.
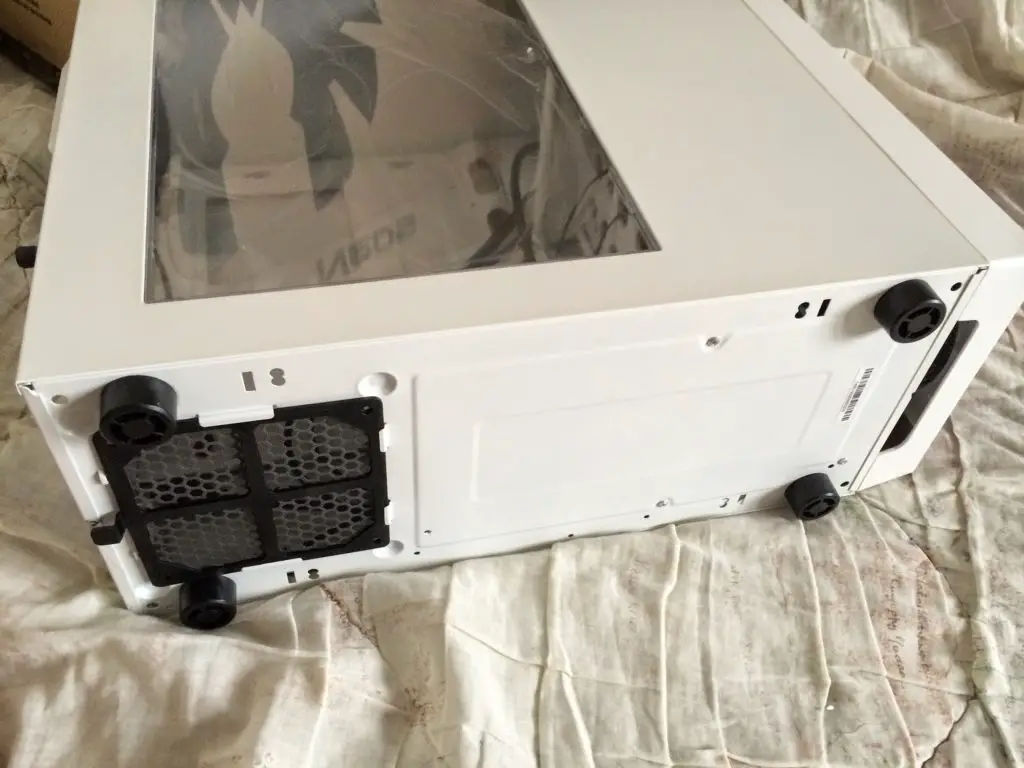


Dust filter for PSU air intake isn’t something commonly seen on budget chassis, except for the BitFenix Neos.
Internal Features
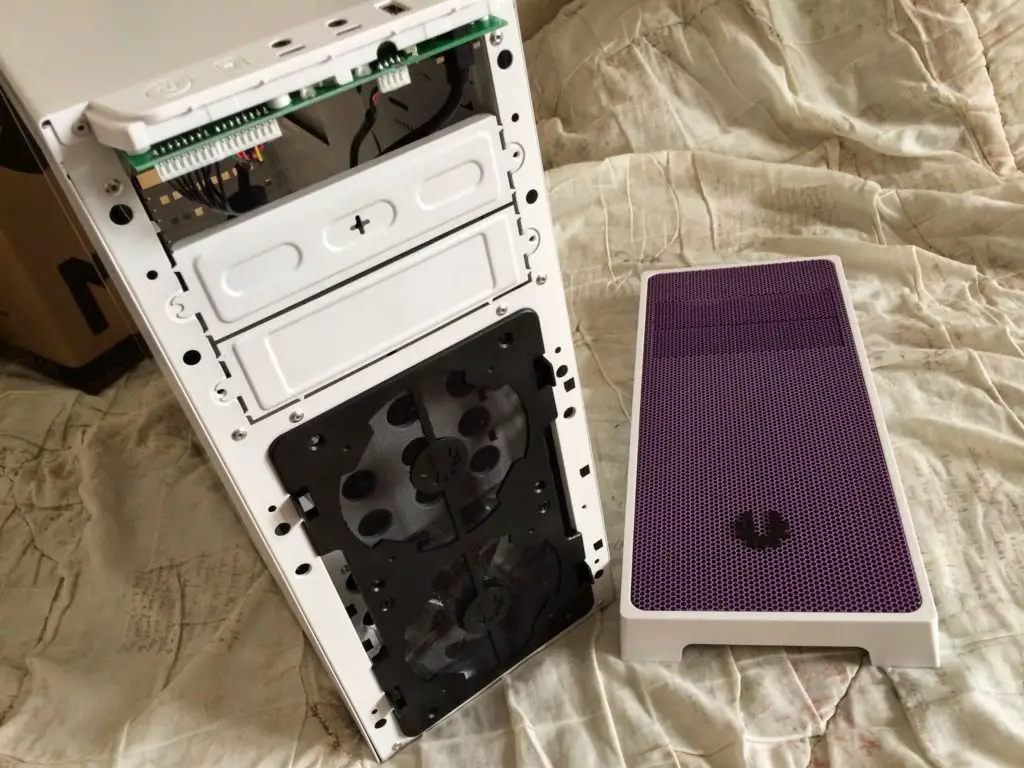
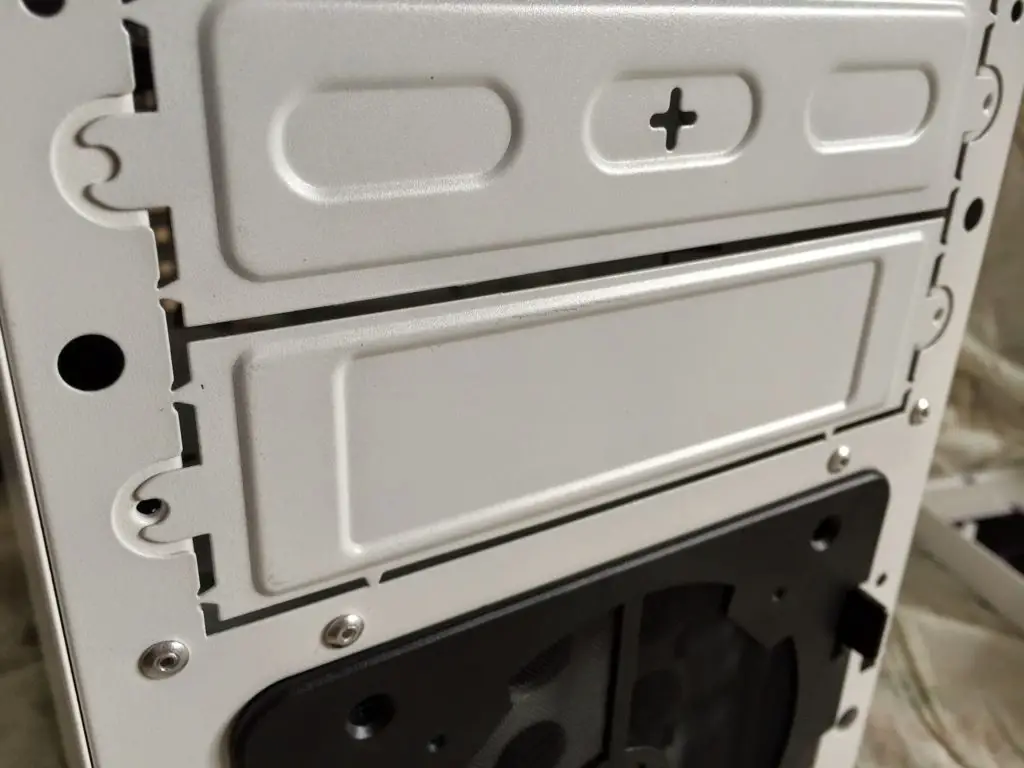
The breakaway type optical drive bay covers are made reusable so that it can be screwed back in place in case if you feel like having them back.
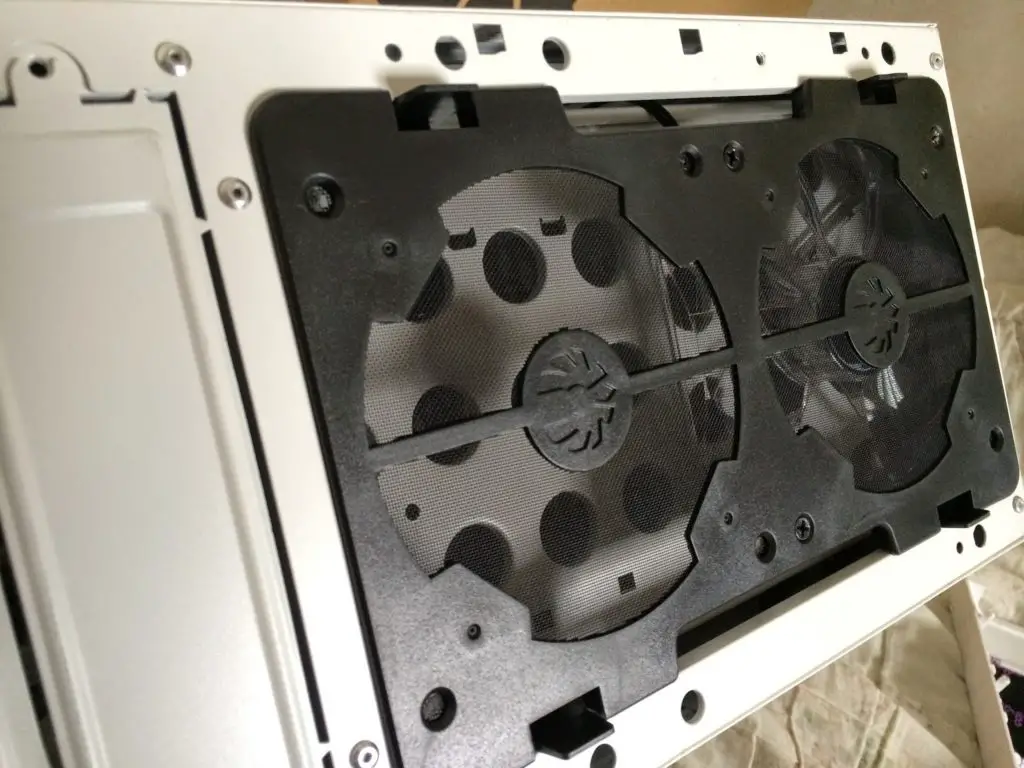

Unlike most traditional budget chassis, these extra holes allows air to move through the chassis easier for better overall airflow and lower temperature.
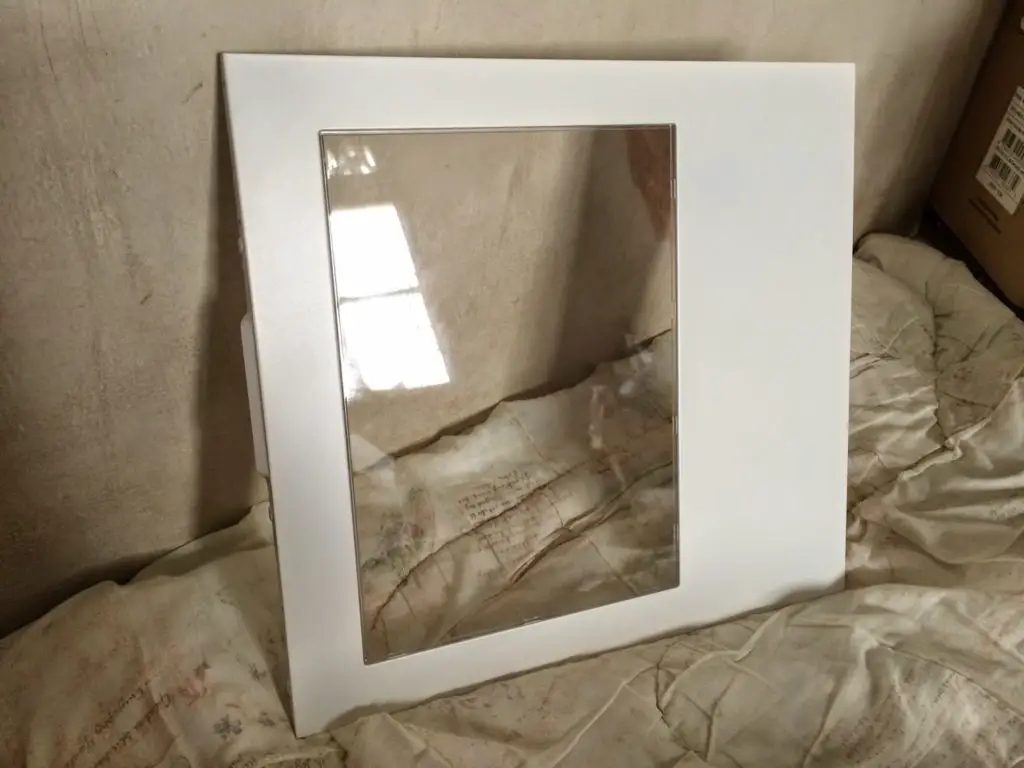
Before we dive into the main chamber of the Neos, let us direct our attention to the windowed side-panel. It’s a basic large window which is good but also means that the side-panel will be wobbly.

Good news for modders is that the window can be removed by undoing a couple of metal clips on the inside.

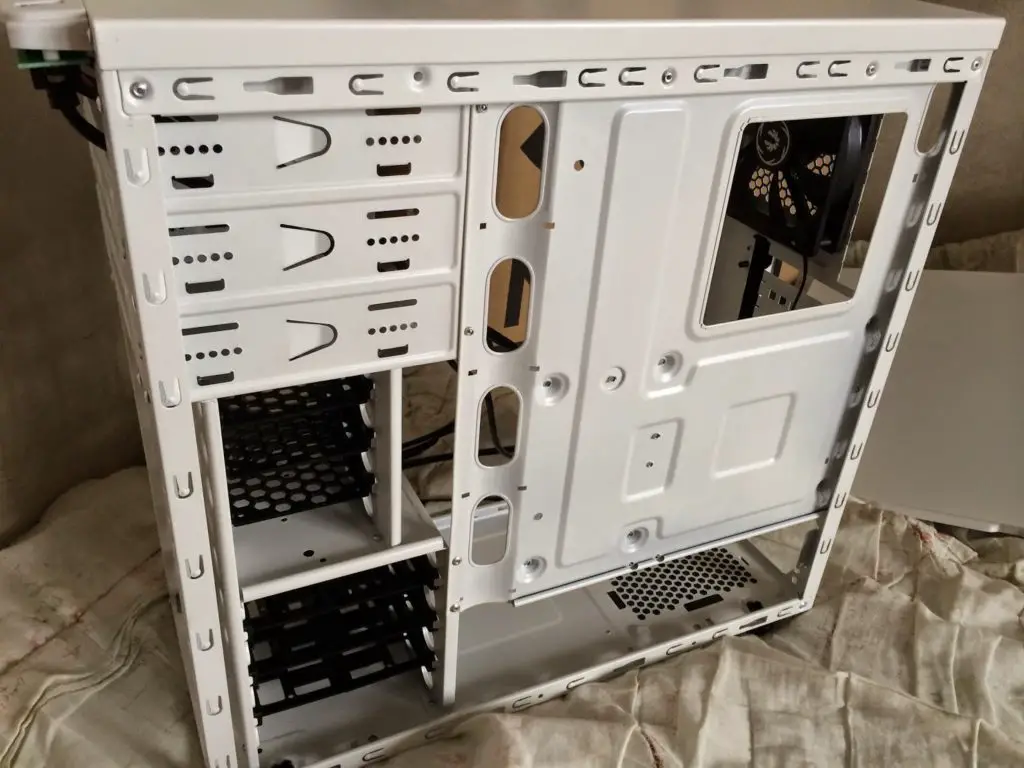
Back to the chassis, we see that BitFenix have opted for tool-less 2.5″ and 3.5″ drive cages. This will grant more clearance for long GPUs.
The front I/O connectors are black, a feature that’s a rarity on most budget chassis.
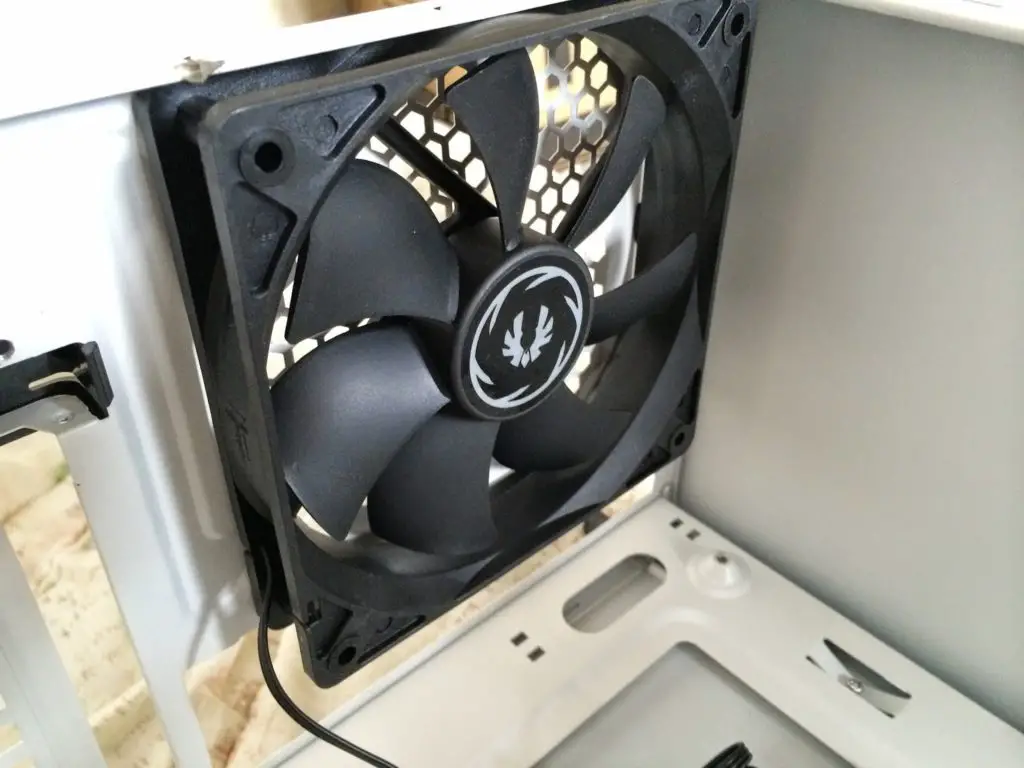
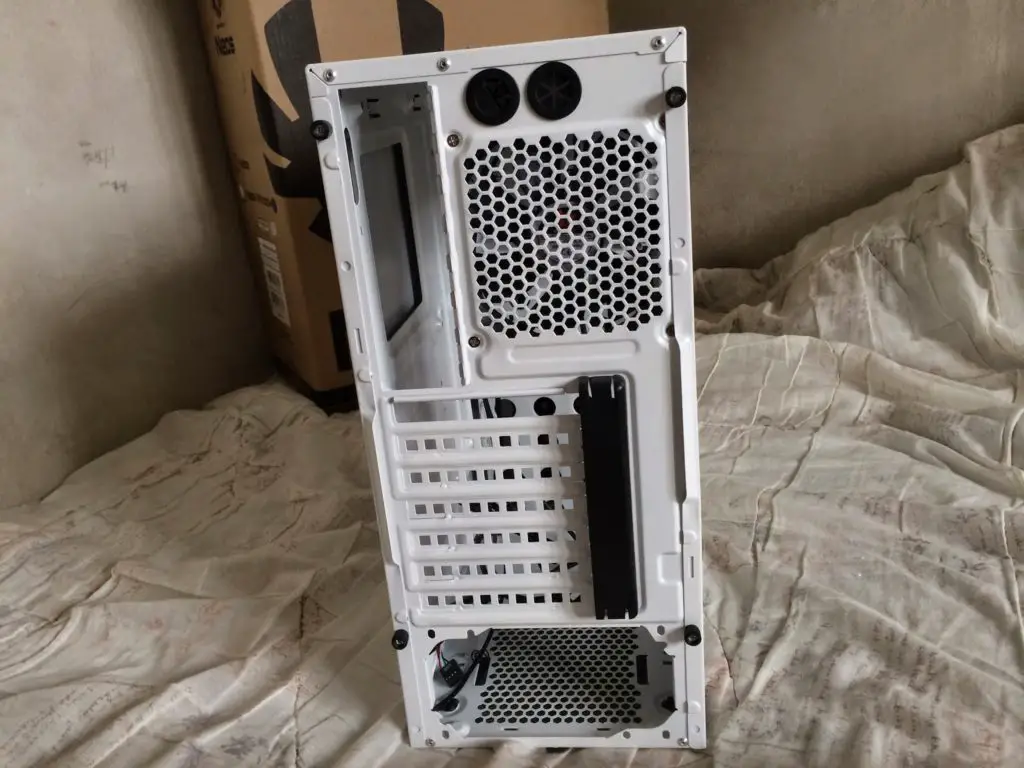
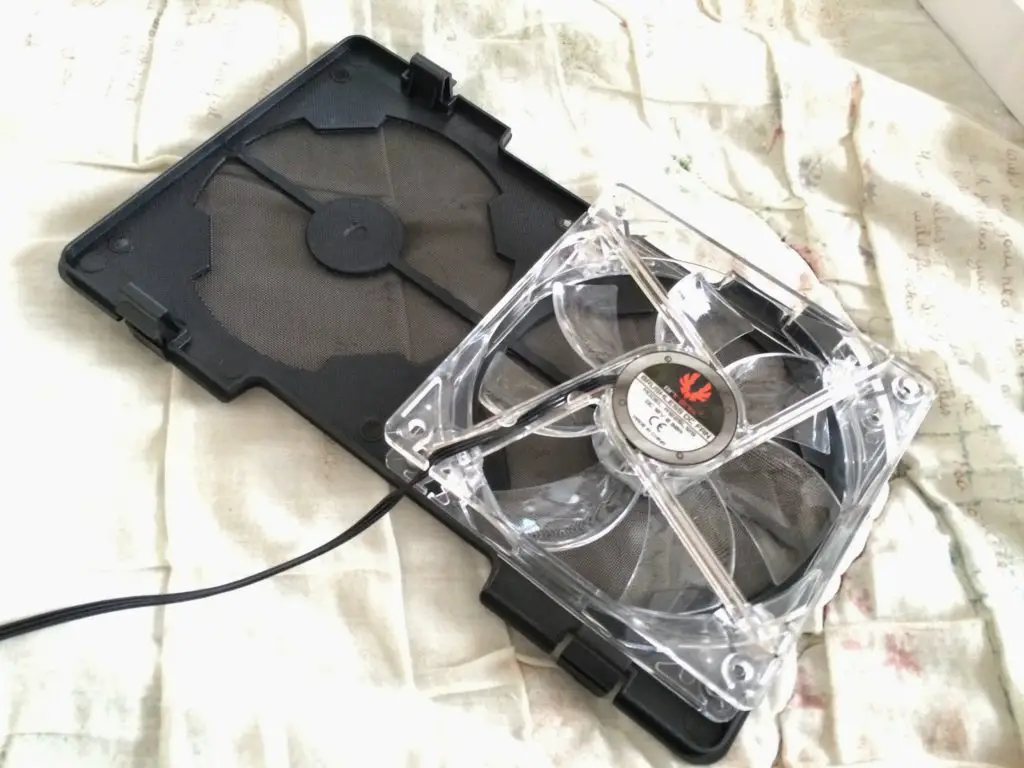
A 120mm Spectre fan is also included at the rear exhaust.
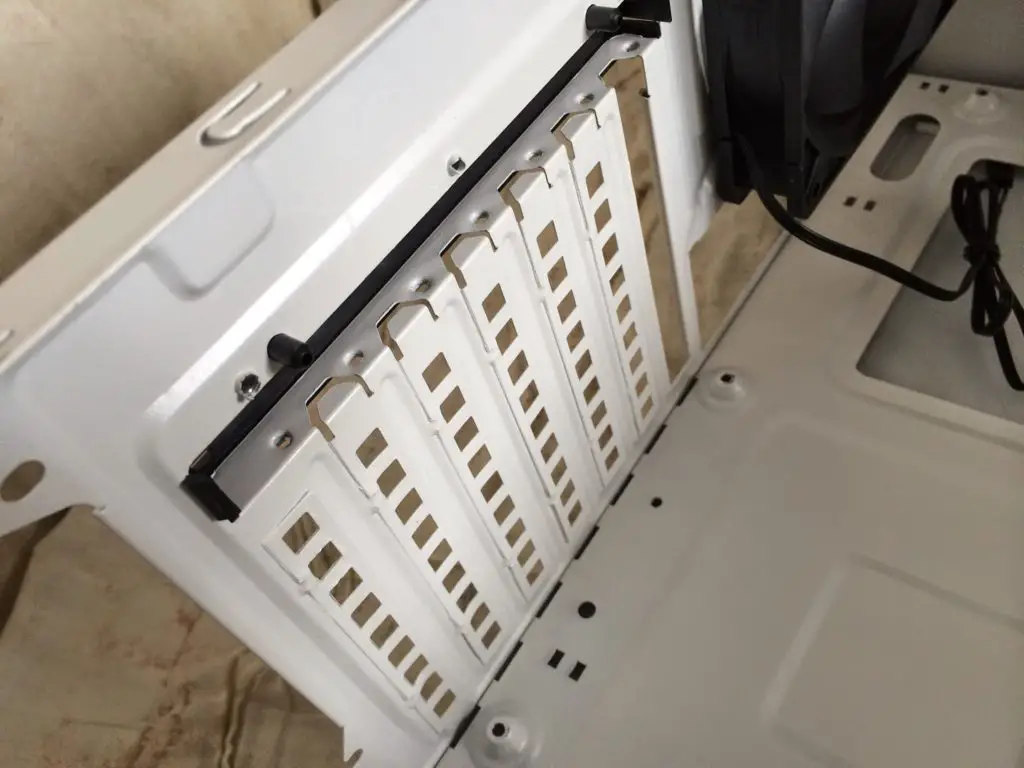
An inside view of the ventilated expansion slots.

PSU bay is a little disappointing as it doesn’t have rubber mounts to dampen any vibrations that may come from the PSU. We suppose that it is to be expected judging from the aggressive pricing of the Neos.
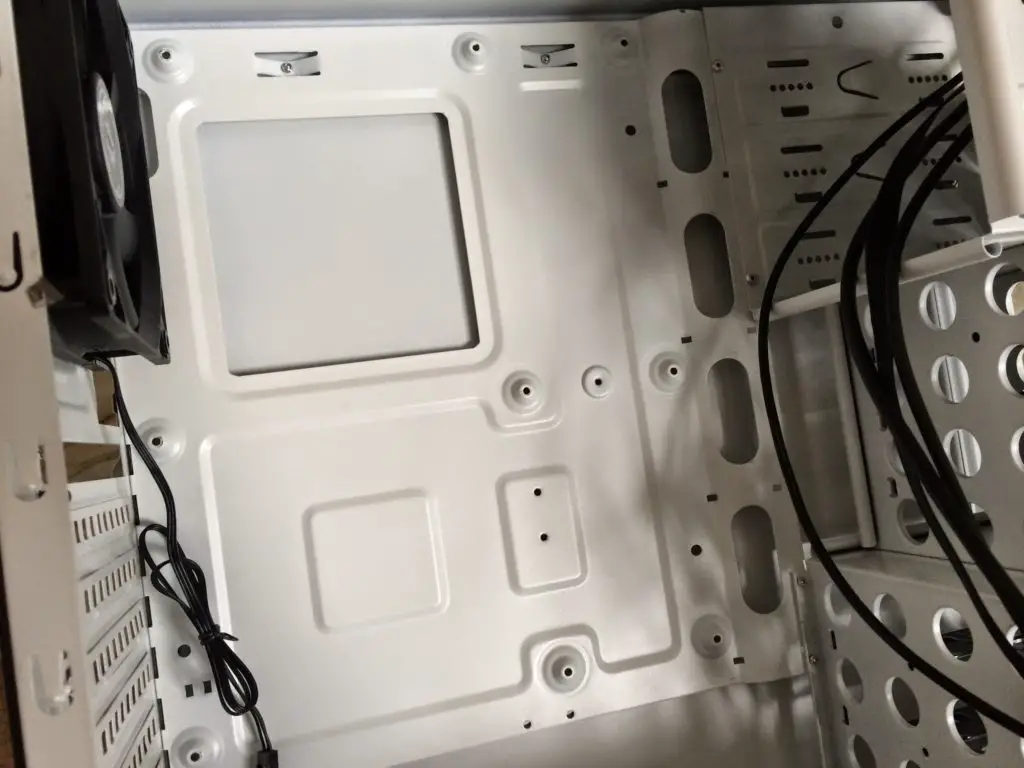
A large CPU cutout is present in the motherboard tray and some cable management holes near the drive cages. There is also not much need of motherboard stand-offs as these are built onto the motherboard tray, a nice feature that we last saw in the Corsair Carbide 330R reviewed a while back.

Tool-less mechanism for the dual 5.25″ bays is also a nice addition, kudos to BitFenix for supplying them.

The 2.5″ drive cage will house 3 drives via the plastic sleds provided.

These are not exactly tool-less so you will need to keep a screwdriver handy to secure the drives onto the sleds.
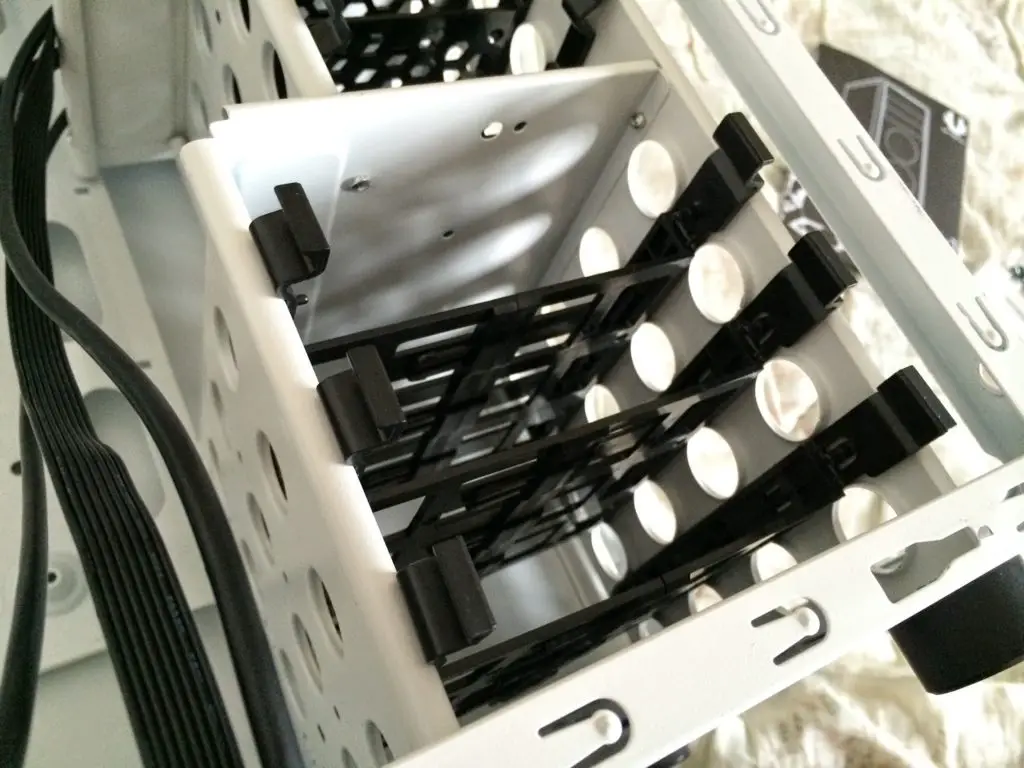
You’ll also get to fit three 3.5″ drives in the lower cage.
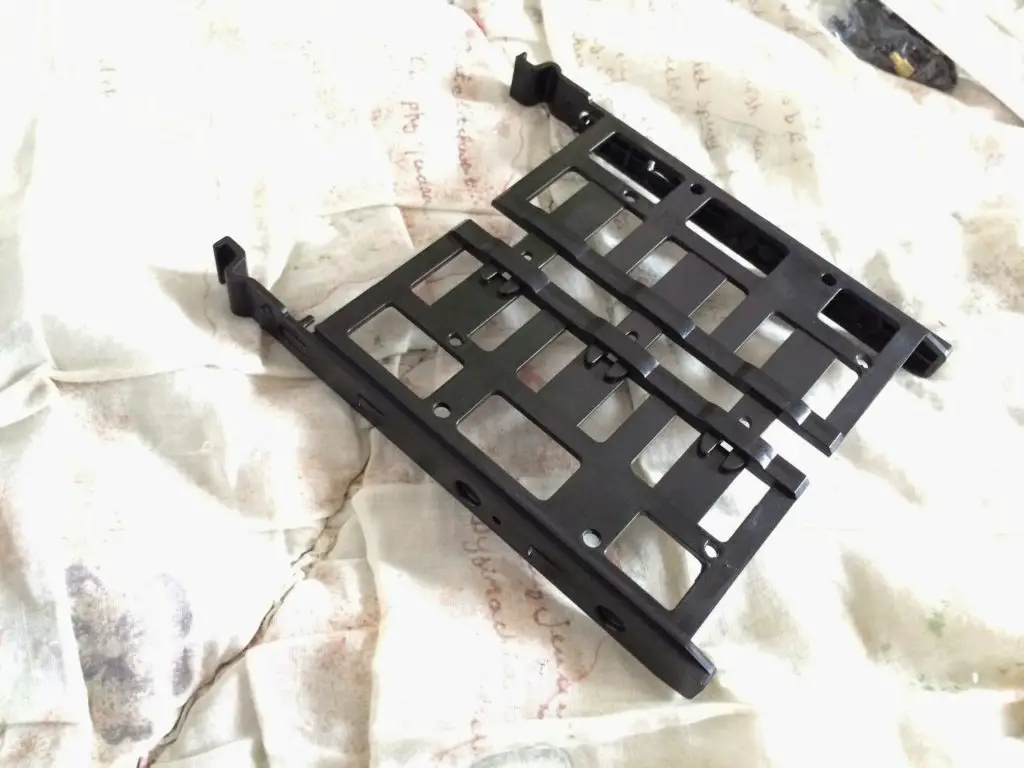
This time, it’s tool-less, just expand the plastic caddys and snap the drives into place for a secure fit. Note that you’ll be able to mount 2.5″ here as well by securing them with screws.
Not a whole lot going on at the back of the motherboard tray.

There’s hardly space behind the motherboard tray to route cables, maybe only the EPS 8-pin should be here.

Space behind the drive cages should be sufficient, thus it’s advised to route the PSU cables from here.
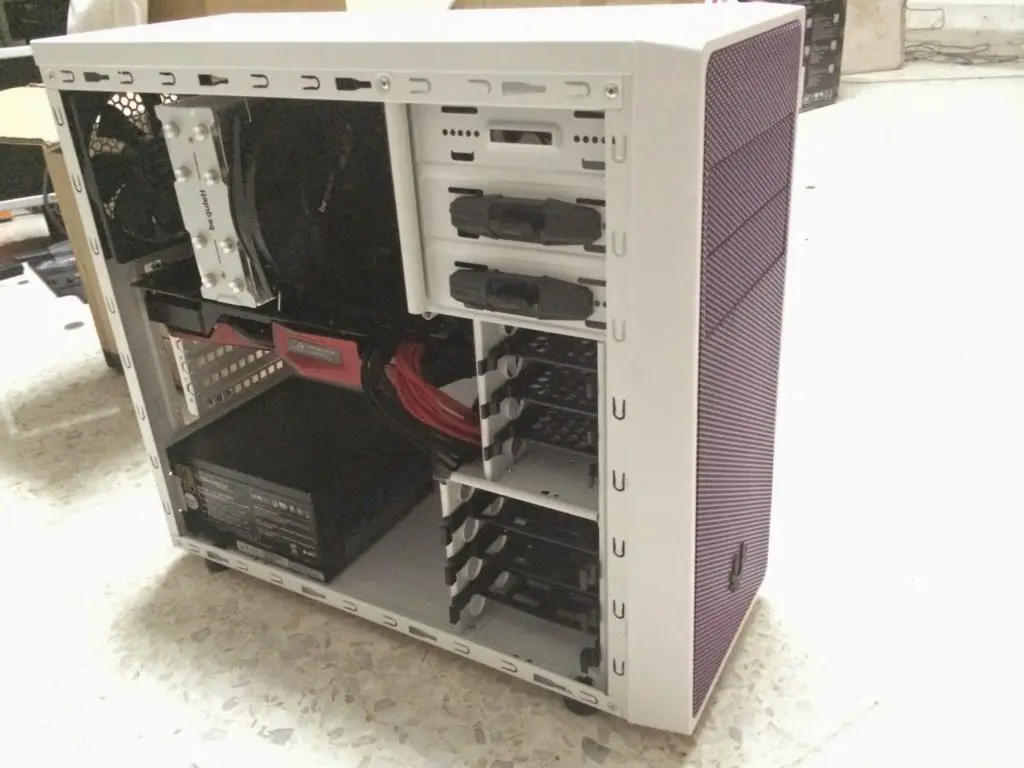
The BitFenix Neos with all the essential parts installed.

Performance Test
Test Rig Configuration | |
CPU Cooler | be quiet! Shadow Rock Slim |
CPU | I7 4790K |
Motherboard | ASUS Maximus Gene VI |
Memory | Corsair Vengeance Pro 4GB x 2 |
Primary Hard Drive | Crucial M500 120GB |
Power Supply | Silverstone ST60F-P 600W 80 Plus Bronze Certified |
Chassis | Bitfenix Neos |
Graphics Card | ASUS R9 290X Matrix Platinum |
Moving on with our performance test, we’re using the CPU stress test utility Prime95 with the option ‘In-place large FFTs’ and GPU stress test utility FurMark with its Furry Donut stress test for maximum heat output from both the CPU and GPU. Our room temperature throughout the test is 30ºC in average and the stress test is repeated for several times in order to get a stable temperature reading. The final result is presented in the following graph:
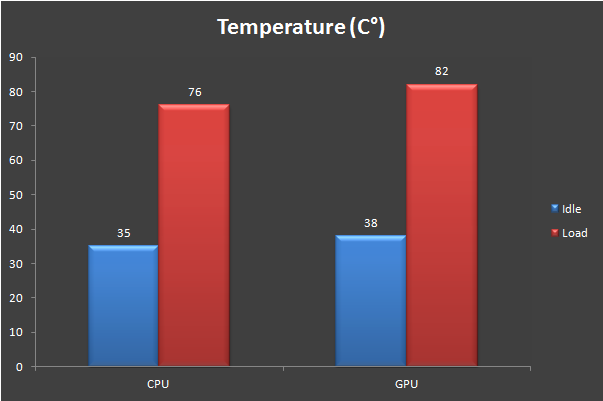
Do note that it is very unlikely for both components to hit this temperature reading in most of real world usage (gaming, office work, music, video,etc) as both CPU/GPU are being stressed to the limit only for performance testing purposes.
Despite of having only one non-performance fan for each intake and exhaust, the temperatures we’re getting here is pretty reasonable. Adding some extra fans or replacing the existing fans with high performance fans is recommended to improve the air circulation in the chassis for better results / lower temperatures.
Final Thoughts
Aside of its less solid construction, the BitFenix Neos beats a lot of budget oriented chassis when it comes to appearance and hardware compatibility – dust filters, high airflow design, good hardware compatibility, windowed side panel, etc. If you’re looking for a rich featured budget chassis, the BitFenix Neos is a worthy chassis to consider for.
Pros
- Good appearance and features
- Compatible with wide range of components
- Good appearance
- Good airflow
- Dust filters included for PSU air intake and chassis front intake
- Tool-free drive bay
- Windowed side panel is available to purchase from BitFenix Parts Store
- Affordable
Cons
- Limited space at the back of the motherboard for cable routing
- PCIe expansion slot plastic cover is not compatible with non-reference graphics card
- Less solid construction compared to other BitFenix budget chassis
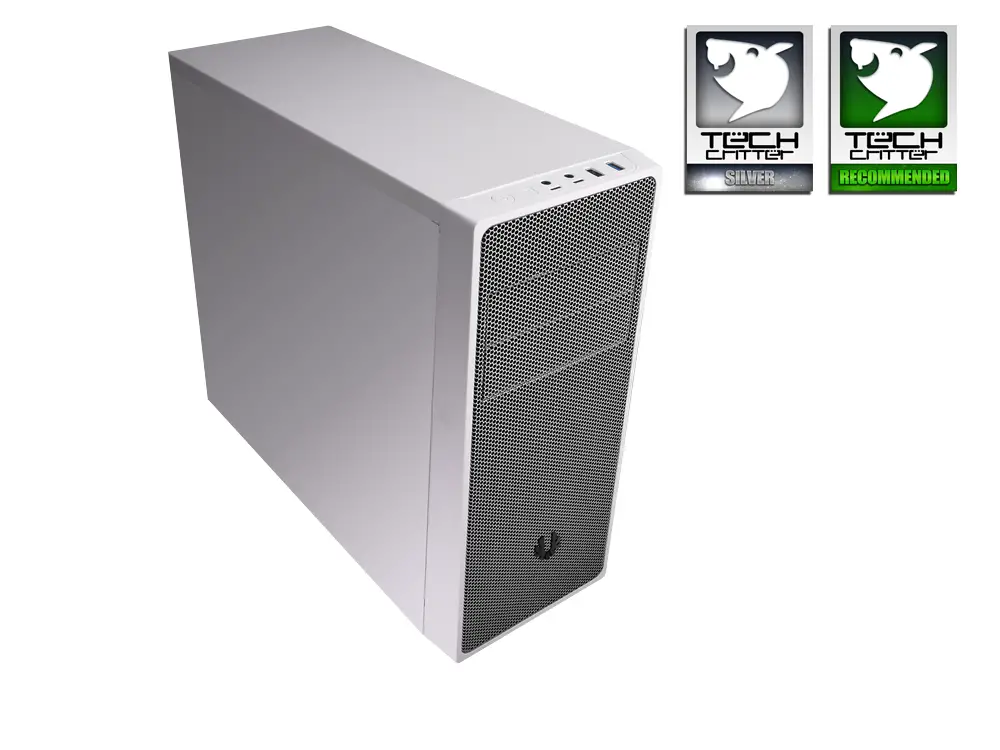
With each and every aspect considered, the BitFenix Noes is no doubt worthy budget oriented chassis that scores our Tech Critter Silver award and Recommended award.


2 thoughts on “Unboxing & Review: Bitfenix Neos”
that hole after taking out the front case i think should have been cut out from the case…. probably will get better airflow form the front case fan to the internals…
Do you mean the black foam intake filter on the cover? yes you will get more airflow that way of course, if dust isn't your concern then by all means you may remove it
Comments are closed.