Bykski, a brand that we’ve recently come across that offers a surprisingly good price for its water cooling kit at RM249 for its 120mm radiator kit and RM299 for its 240mm radiator kit. While these kits may be cheaper than most AIO liquid coolers out there, we’re eager to find out how will the kit perform – Special thanks to Emarque for sponsoring the Bykski water cooling kit with 240mm radiator for today’s review!
Packaging

The kit comes in a package consists of a black box for the reservoir, 2 cardboard boxes containing the 240mm radiator, CPU block and it’s mounting kit, a pair of 120mm fans and a 2m long PVC tube.

The pair of 120mm fans for the radiator and some mounting screws.

The fan blade has some rather familiar looking patterns to help lower operational noise.
 The CPU water block with its mounting kit, spacers for insulation purposes, hose clamp and Bykski compression fittings.

Bykski’s CPU block looks almost identical to the EK Supermacy Evo from EKWB at first look, similar looking top and the nickel plated base with mirror finish. We’re unsure if the top is made with the same quality POM Acetal used on the EK CPU block as Bykski never stated any of those on their web store.
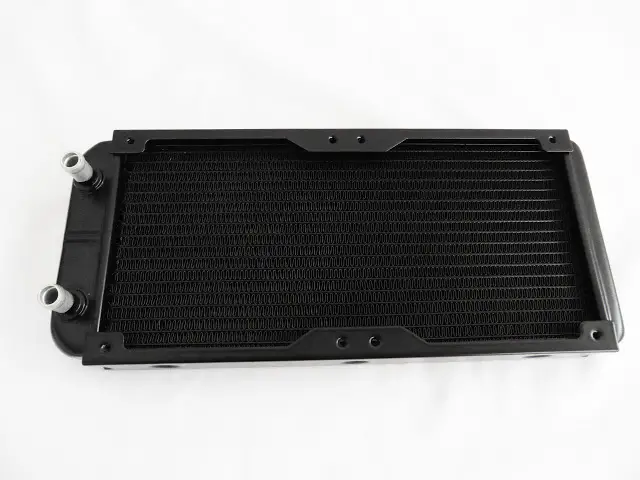
The radiator isn’t as fancy as the ones you’ll be getting from other renown water cooling kit brands like XSPC, Alphacool, EK Water Blocks, Bitspower, etc, but it’ll still get the job done.

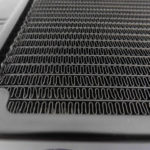
The radiator has a measured thickness of 32mm, narrower fins array compared to most mainstream AIO liquid cooler with measured FPI count of 22.

The reservoir kit comes with a 65mm cylinder reservoir, a pair of holder clamps with mounting kit, 1/4″ male to male fittings, 2 1/4″ to 3/8″ barb fittings with hose clamps, 2 fillcap, and Bykski’s latest 500 L/H pump.
CPU Block Installation

We first place the backplate by orienting its T-shaped cutout with the screws at the bottom of the CPU socket.
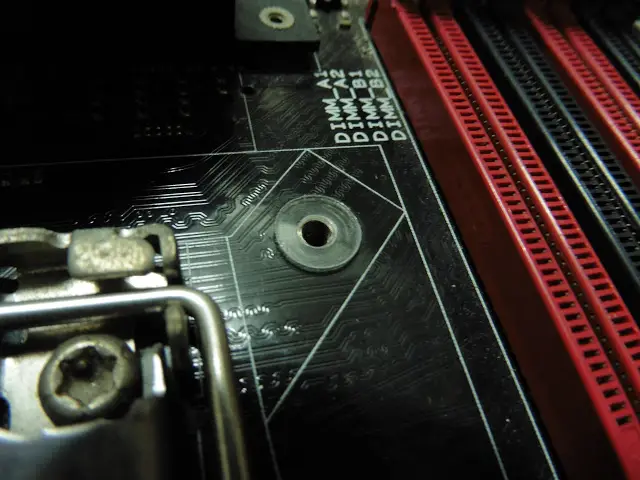
Next, we place the spacers as insulation pieces on the motherboard to eliminate any chances of having a short circuit on your motherboard.
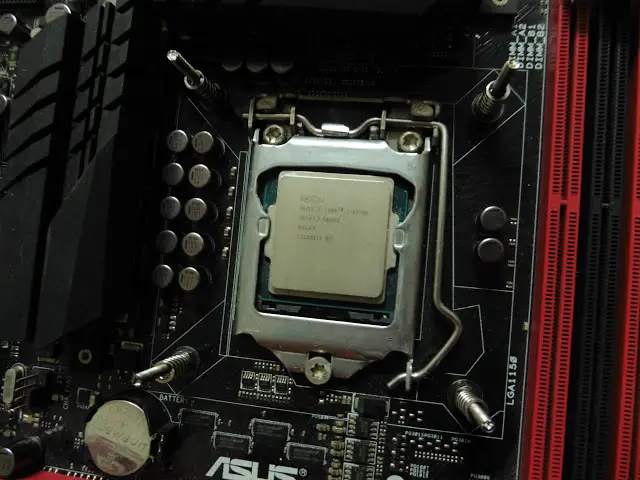
Once the spacers are placed, secured the screws and get the springs ready. Do note that the springs placed there are meant for display purpose and it will be on top of the bracket of the CPU block once it’s on the CPU.

After a suitable amount of thermal compound applied to your CPU, the CPU block can now be secured to the CPU. Once you’ve got everything installed, jump the PSU to let the loop run overnight for leak test and with tissue covering the end of each fitting to check for potential leaks.
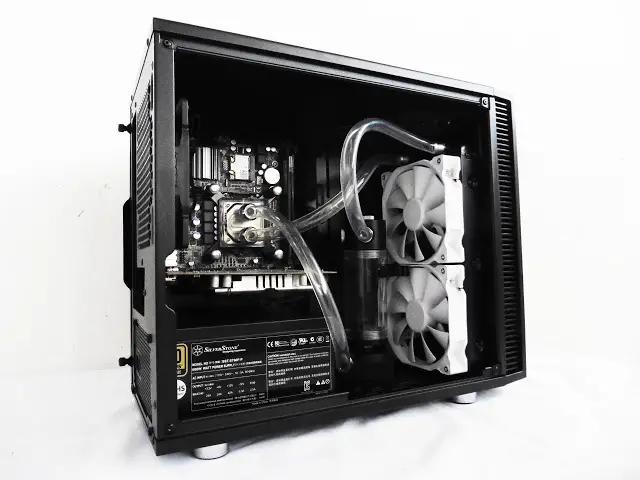
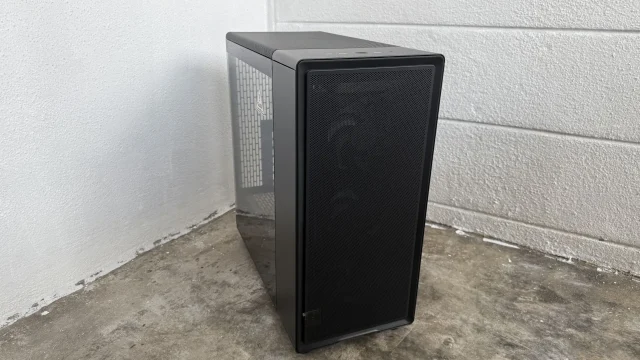
The orientation of the loop may vary, depends on the case that you’re using and here’s ours Bykski 240mm radiator water cooling kit installed in the Fractral Design Define Nano S.
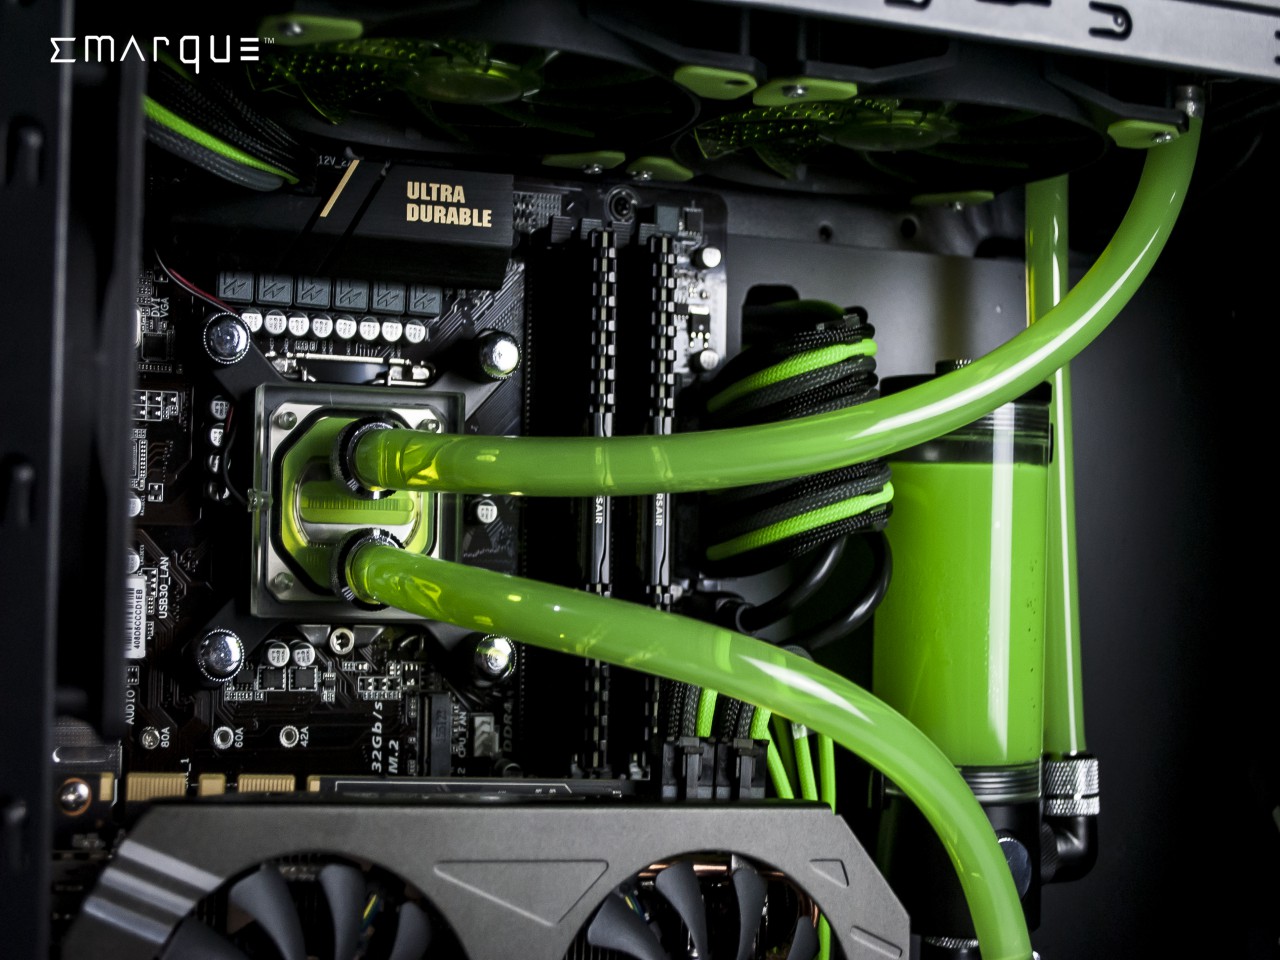
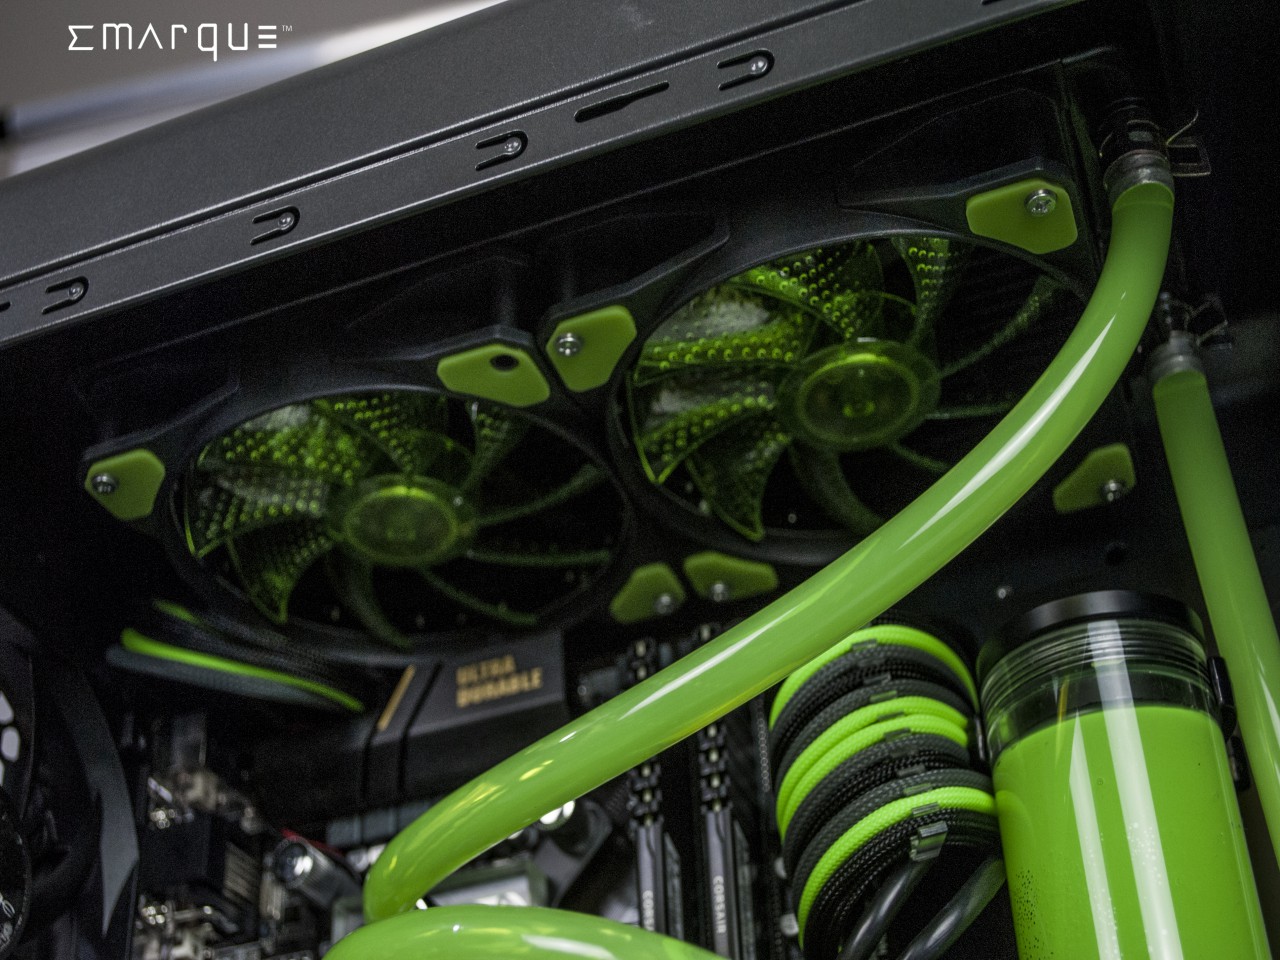
Not the best-looking setup around but you can make it better with some colored coolant and specialized fittings like what our sponsor from Emarque did:


Performance Test
Test Bench Configuration | |
| CPU Cooler | Bykski Water Cooling Kit with 240mm radiator |
| CPU | Intel Core i7 4790k |
| Graphics Card | ASUS R9 280X DirectCU II OC |
| Memory | Corsair Vengeance Pro 4GB x 2 |
| Primary Hard Drive | Intel 520 Series 240GB |
| Power Supply | be quiet! Straight Power 10 600W |
| Chassis | Fractal Design Define Nano S |
We fired up a CPU stress test with Prime95 with the option ‘In-place large FFTs’ for maximum heat output, under the room temperature of about 30ºC. We’ve also included results of some CPU liquid coolers that we’ve tested with the same configuration as a comparison with the Bykski kit.
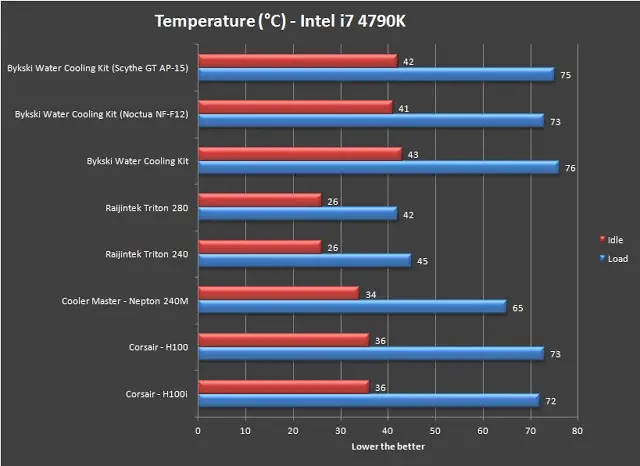
Performance wise, the Bykski kit isn’t doing as well and in fact, it’s the one that bottoms the list. The numbers aren’t looking good with its stock cooling fan as it’s not going anywhere with 76°C. Though, we’ve managed to cut down a few more degrees with a pair of better-performing fans from Noctua and Scythe.

As we cranked up the CPU clock to 4.6GHz, our Intel i7 4790k heated up a lot, and we really meant a lot. The outcome isn’t as good for the Bykski kit as well this round, with the stock cooling fan dragging down the performance. It managed to do catch up with the AIO liquid cooler that bottoms our list once we’ve swapped the stock cooling fans with a pair of fans from both Noctua and Scythe.
Our Verdict
Performance wise, the Bykski kit isn’t really delivering an awesome performance despite having a thicker radiator with higher fpi count. The stock cooling fan is definitely hurting the performance and it needs a decent pair of cooling fans to held up against the amount of heat from our i7 4790k clocked at 4.6GHz. Still, that little bump in performance is still not enough to stand up against the competition.
While the performance isn’t as impressive as we hope for, but its price is still an attraction for those who wants to prepare themselves and dive into the world of custom liquid cooling setup. If you’re one of those who are ready for it, the Bykski kit is an affordable kit to build up the basics for a custom water cooling setup.
- Pros
- Affordable starter kit for beginners
- Easy to install
- Cons
- The cooling fans is a drag down
- The overall performance isn’t that great