
Sometimes, the PC in the lab doesn’t need a monster rig. Yup, this one goes to the people who would need a sleek or small systems. Problem is that smaller systems tend to get quite toasty, especially on the CPU, as it may not be designed to be ‘airy’ so to speak. One solution is to get an efficient CPU cooler but one small enough to dissipate all the heat effectively, hence, we’re back with another Noctua product! Say hello to the NH-U9S, a 95mm U-Type Tower cooler. (SRP @ RM295)
Specifications

The Packaging
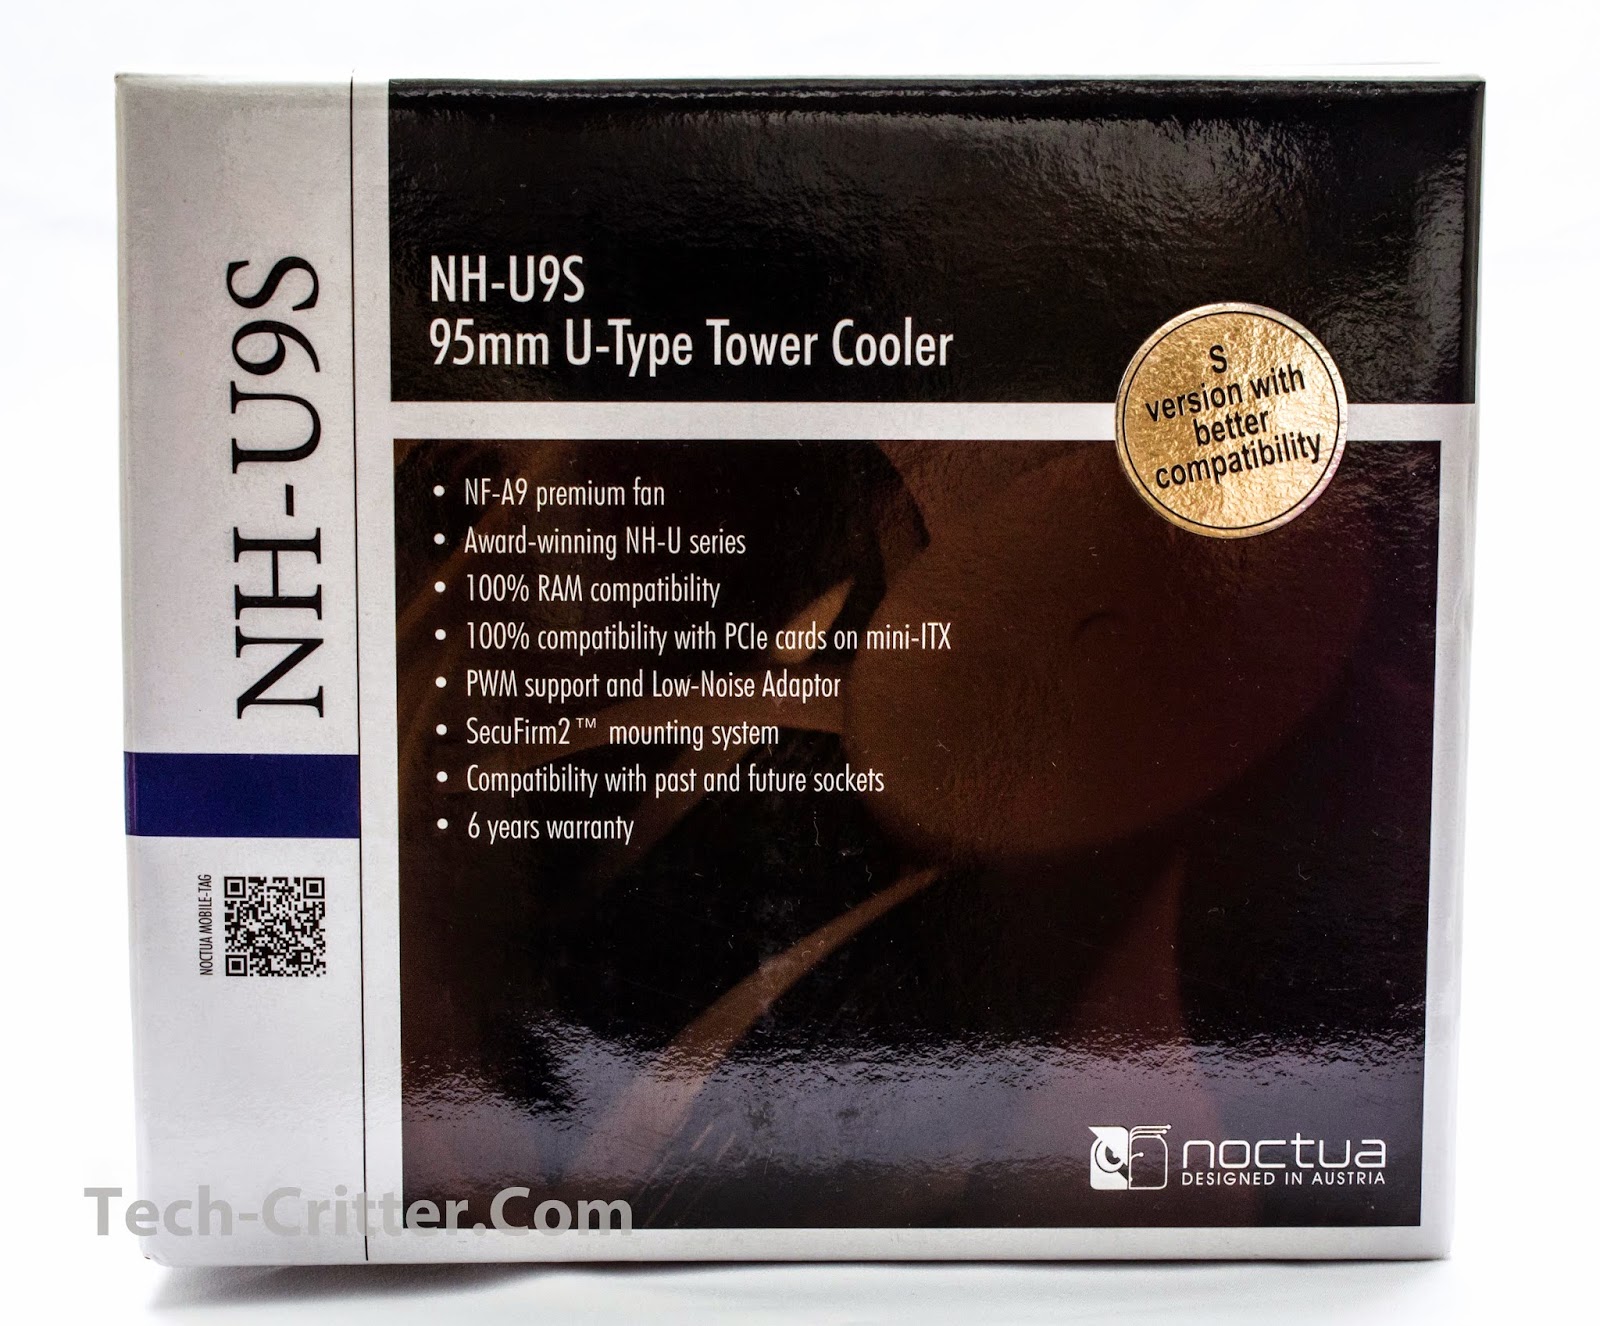
The NH-U9S comes packed in Noctua’s traditional white & brown cardboard box which displays the model, type and features on the front.

More features can be seen on the left side.

While the right side describes the heatsink and fan specifications as well as what’s in the box.


Finally at the top, a repeat of the contents.
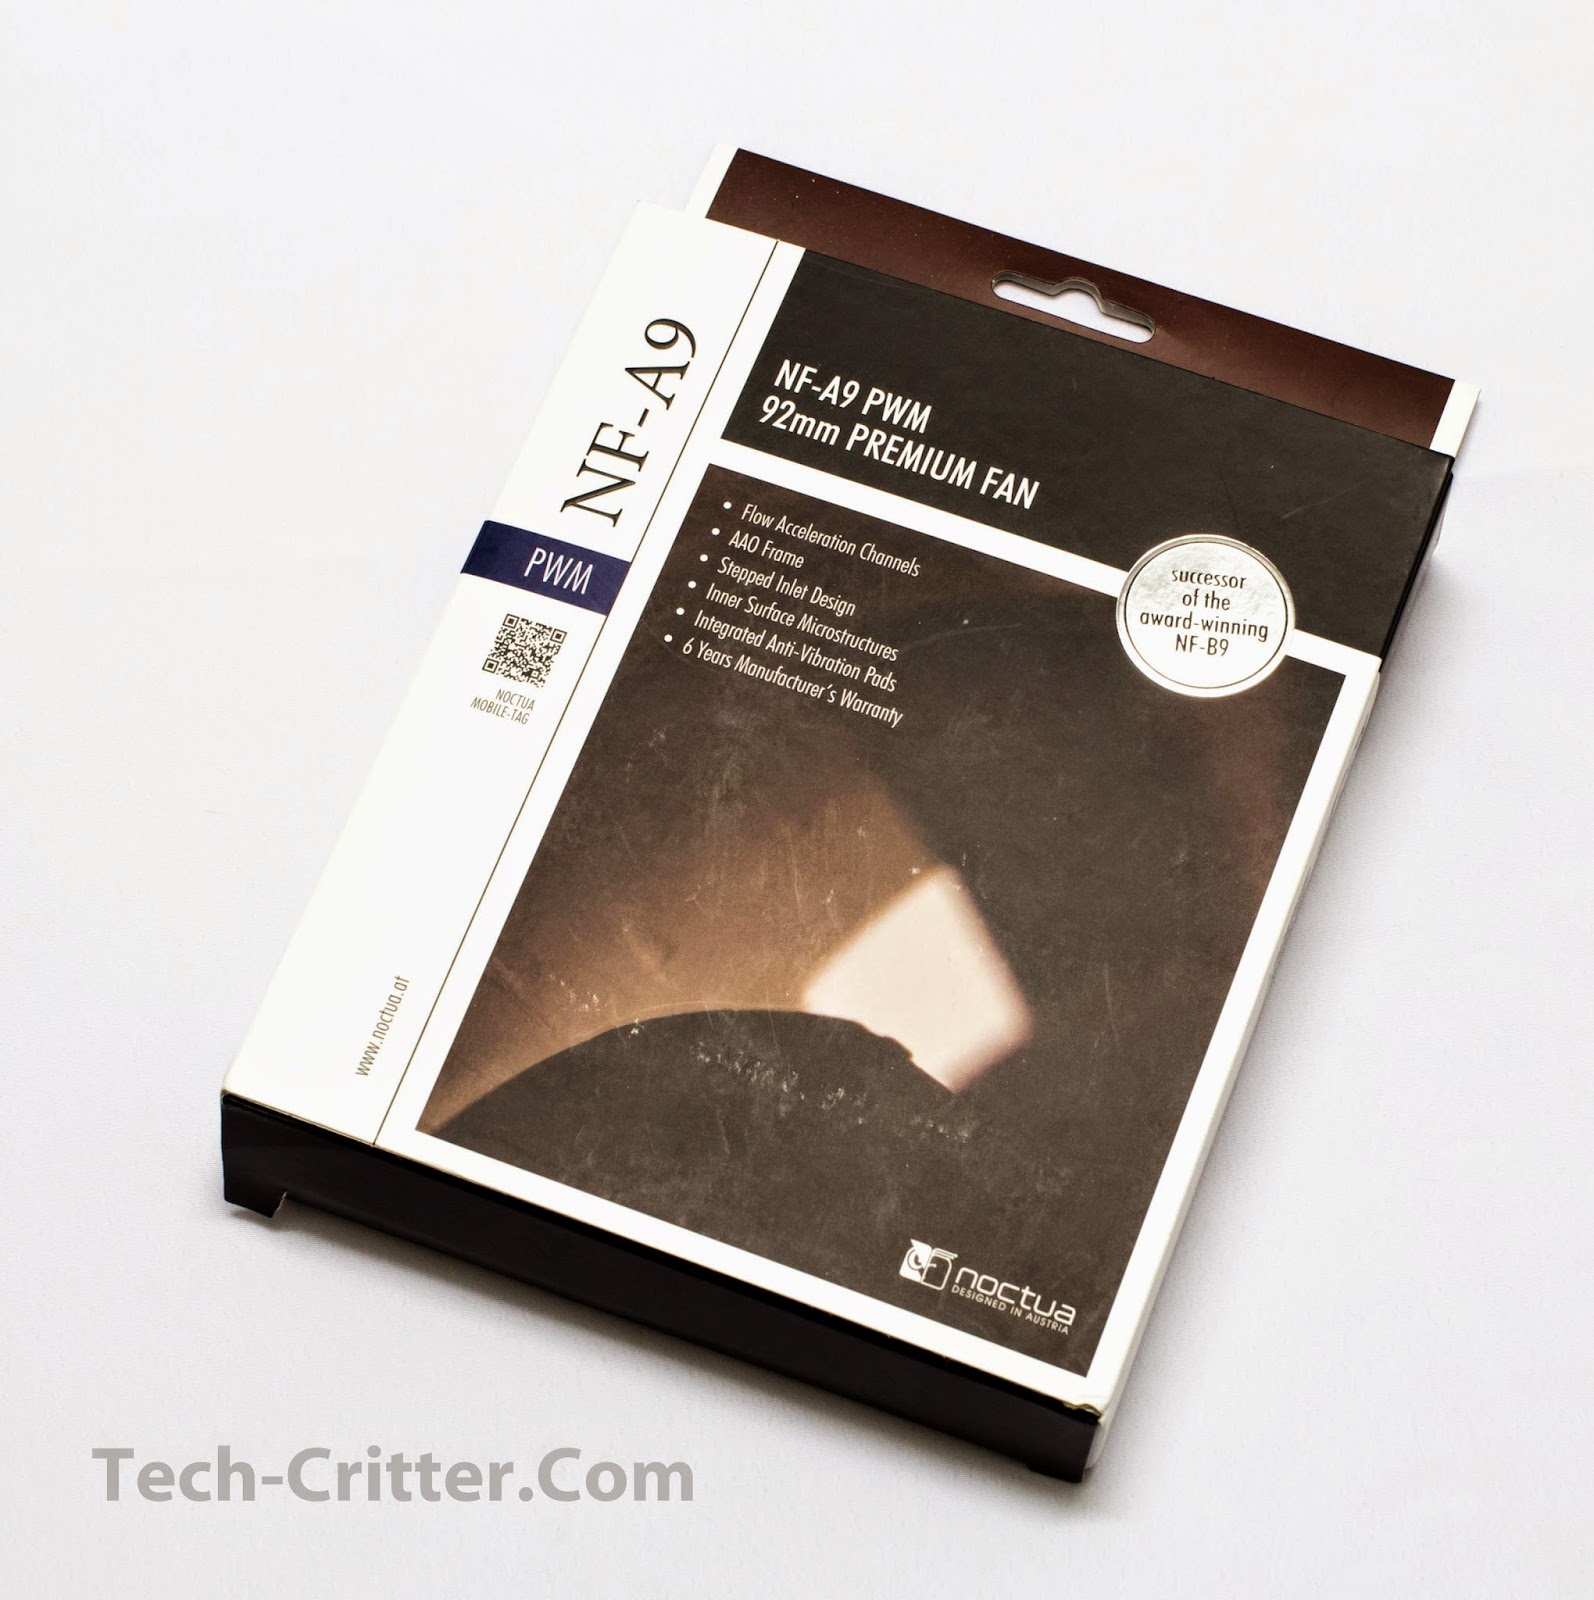
Since the NH-U9S only comes with a single fan, Noctua has been kind enough to supply another NF-A9 so that we could maximize the cooling potential.

The inner flap describes the technology of the fan while the contents are described on the other side with windowed view of the actual fan and rubber mounts.
Unboxing

You’ll get 2 smaller packages inside, a flat rectangular one that contains the mounting hardware and other accessories.
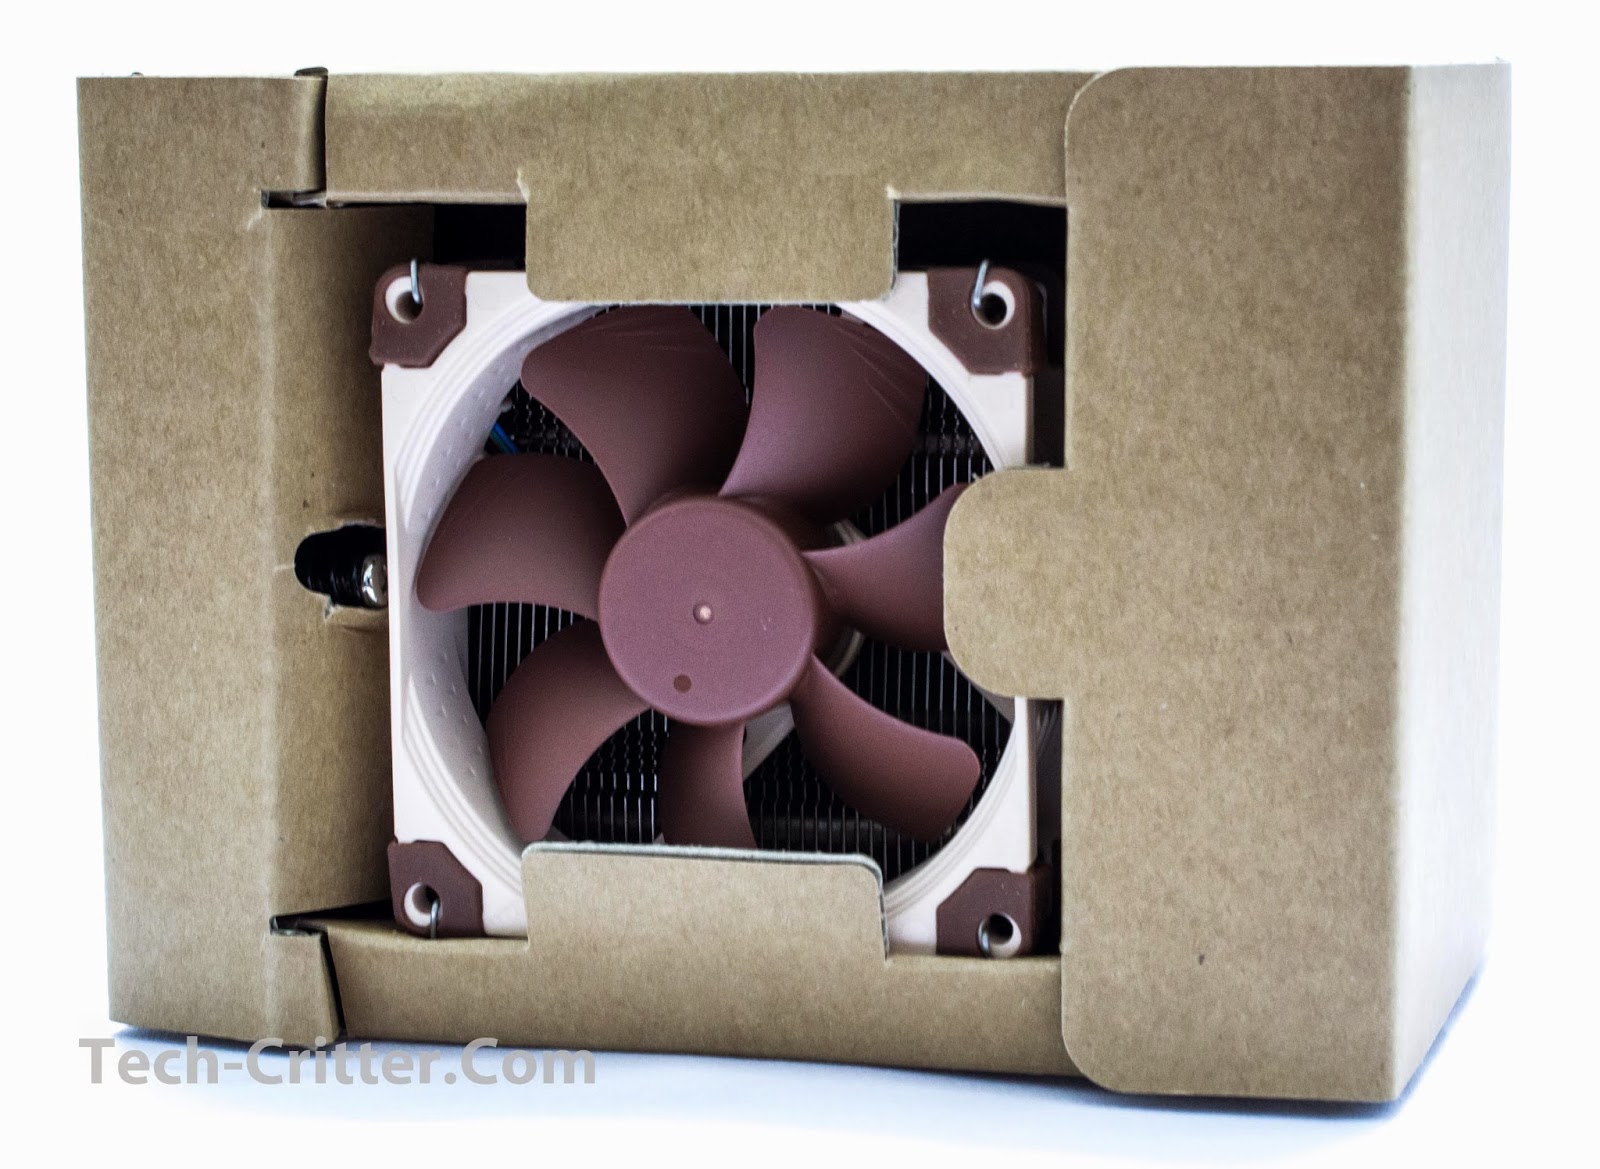
And an open ended packaging with the heatsink and fan. Kudos to Noctua for using environmentally friendly materials, let’s get them out of there.
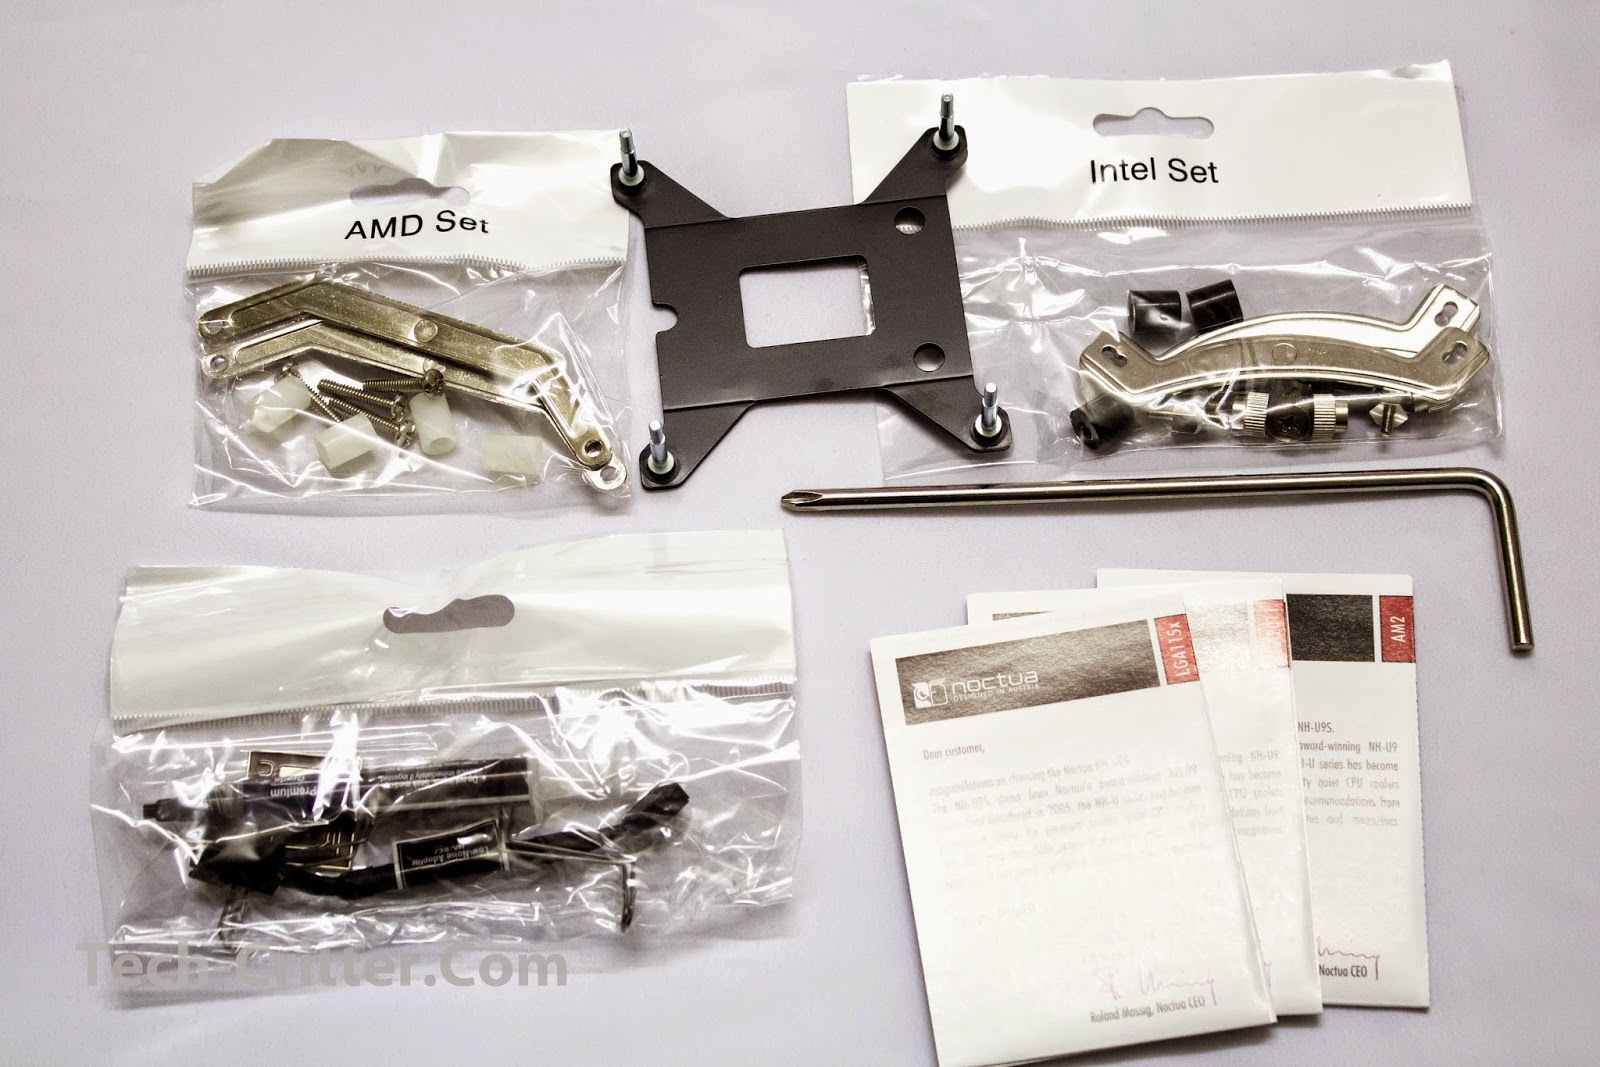
Here are all the accessories, very much similar to other Noctua coolers I’ve unboxed here in Tech Critter. Nice that they kept it as a standard.

Just a quick unboxing of the extra fan, quite a package considering the various splitters and connectors accompanying the fan.
The Cooler

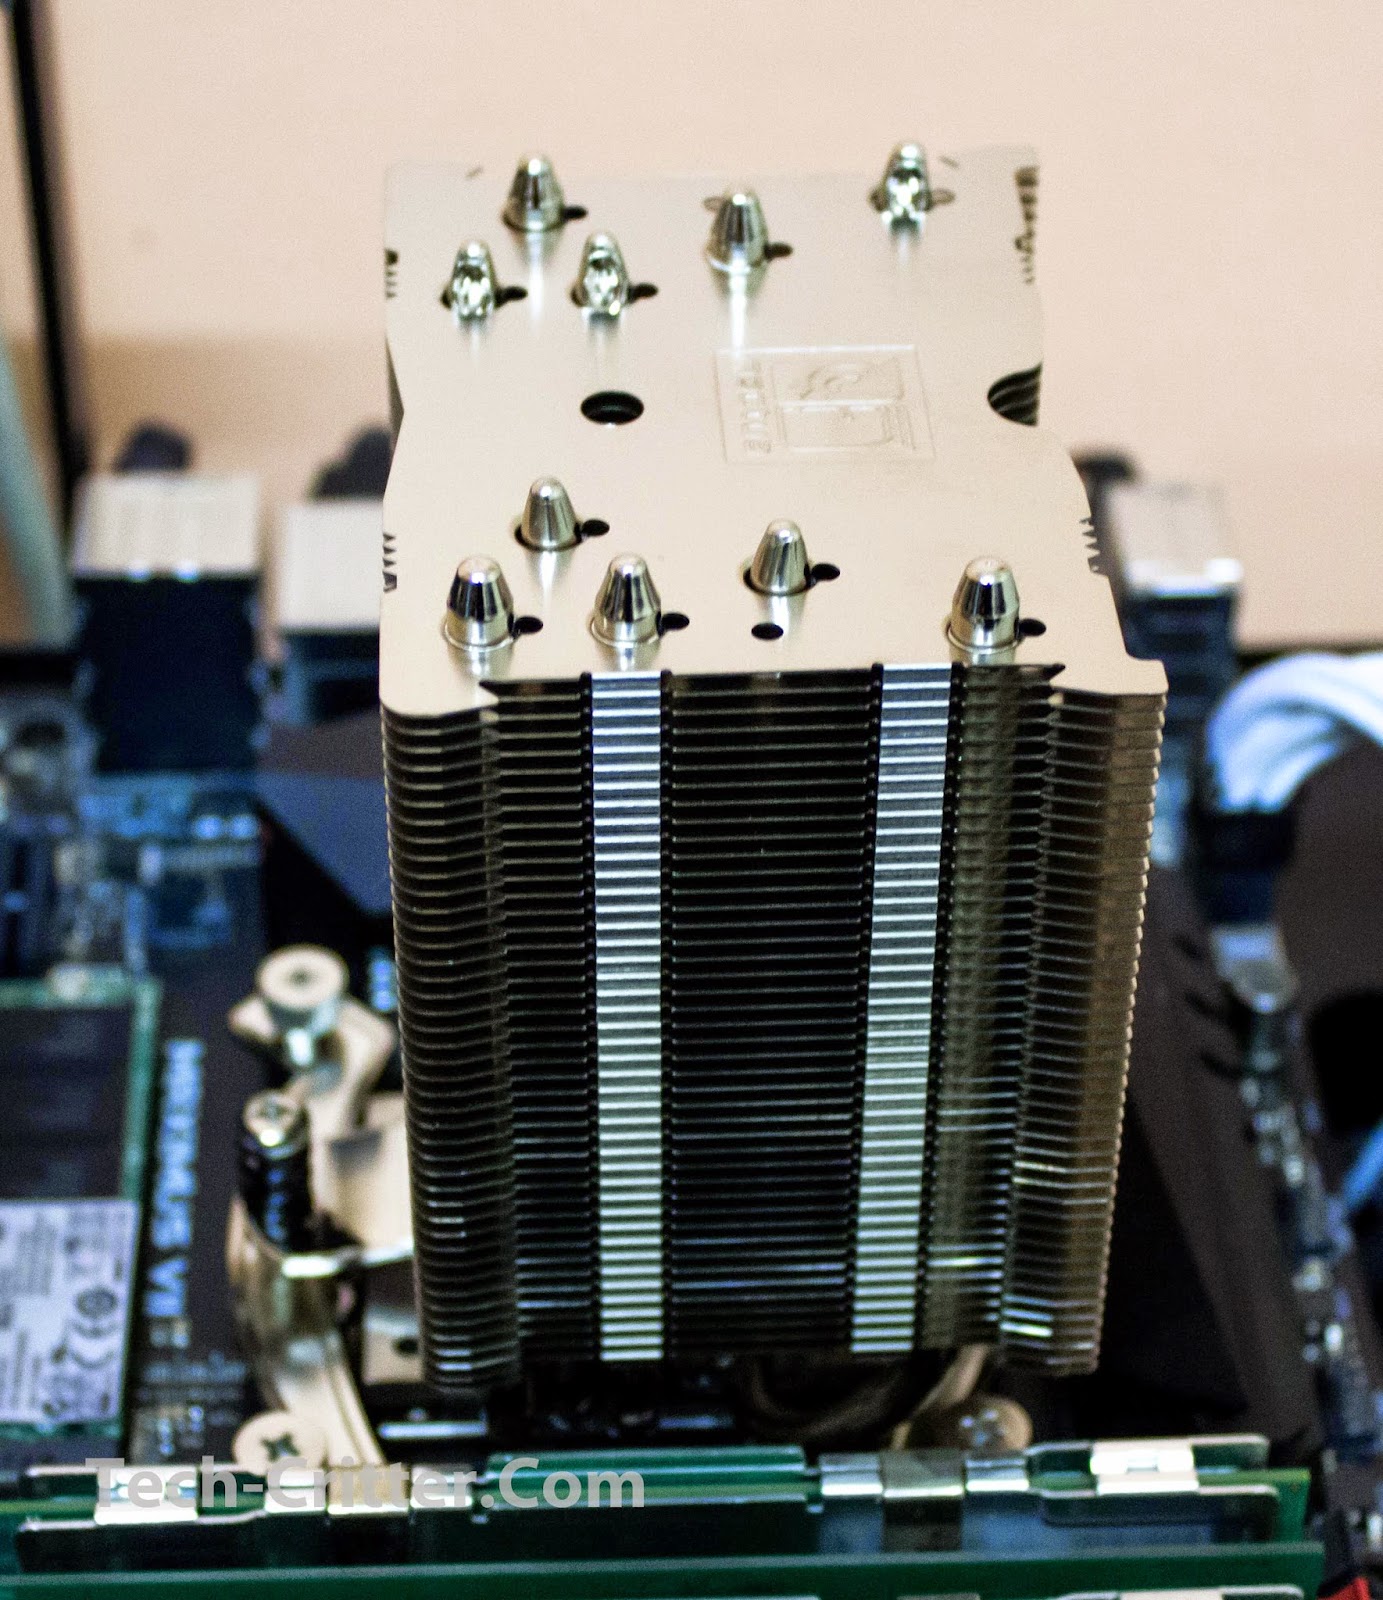
Out of the box, the cooler is rather small at only 125mm tall, which will fit nicely in tight enclosures such as the BitFenix Pandora.
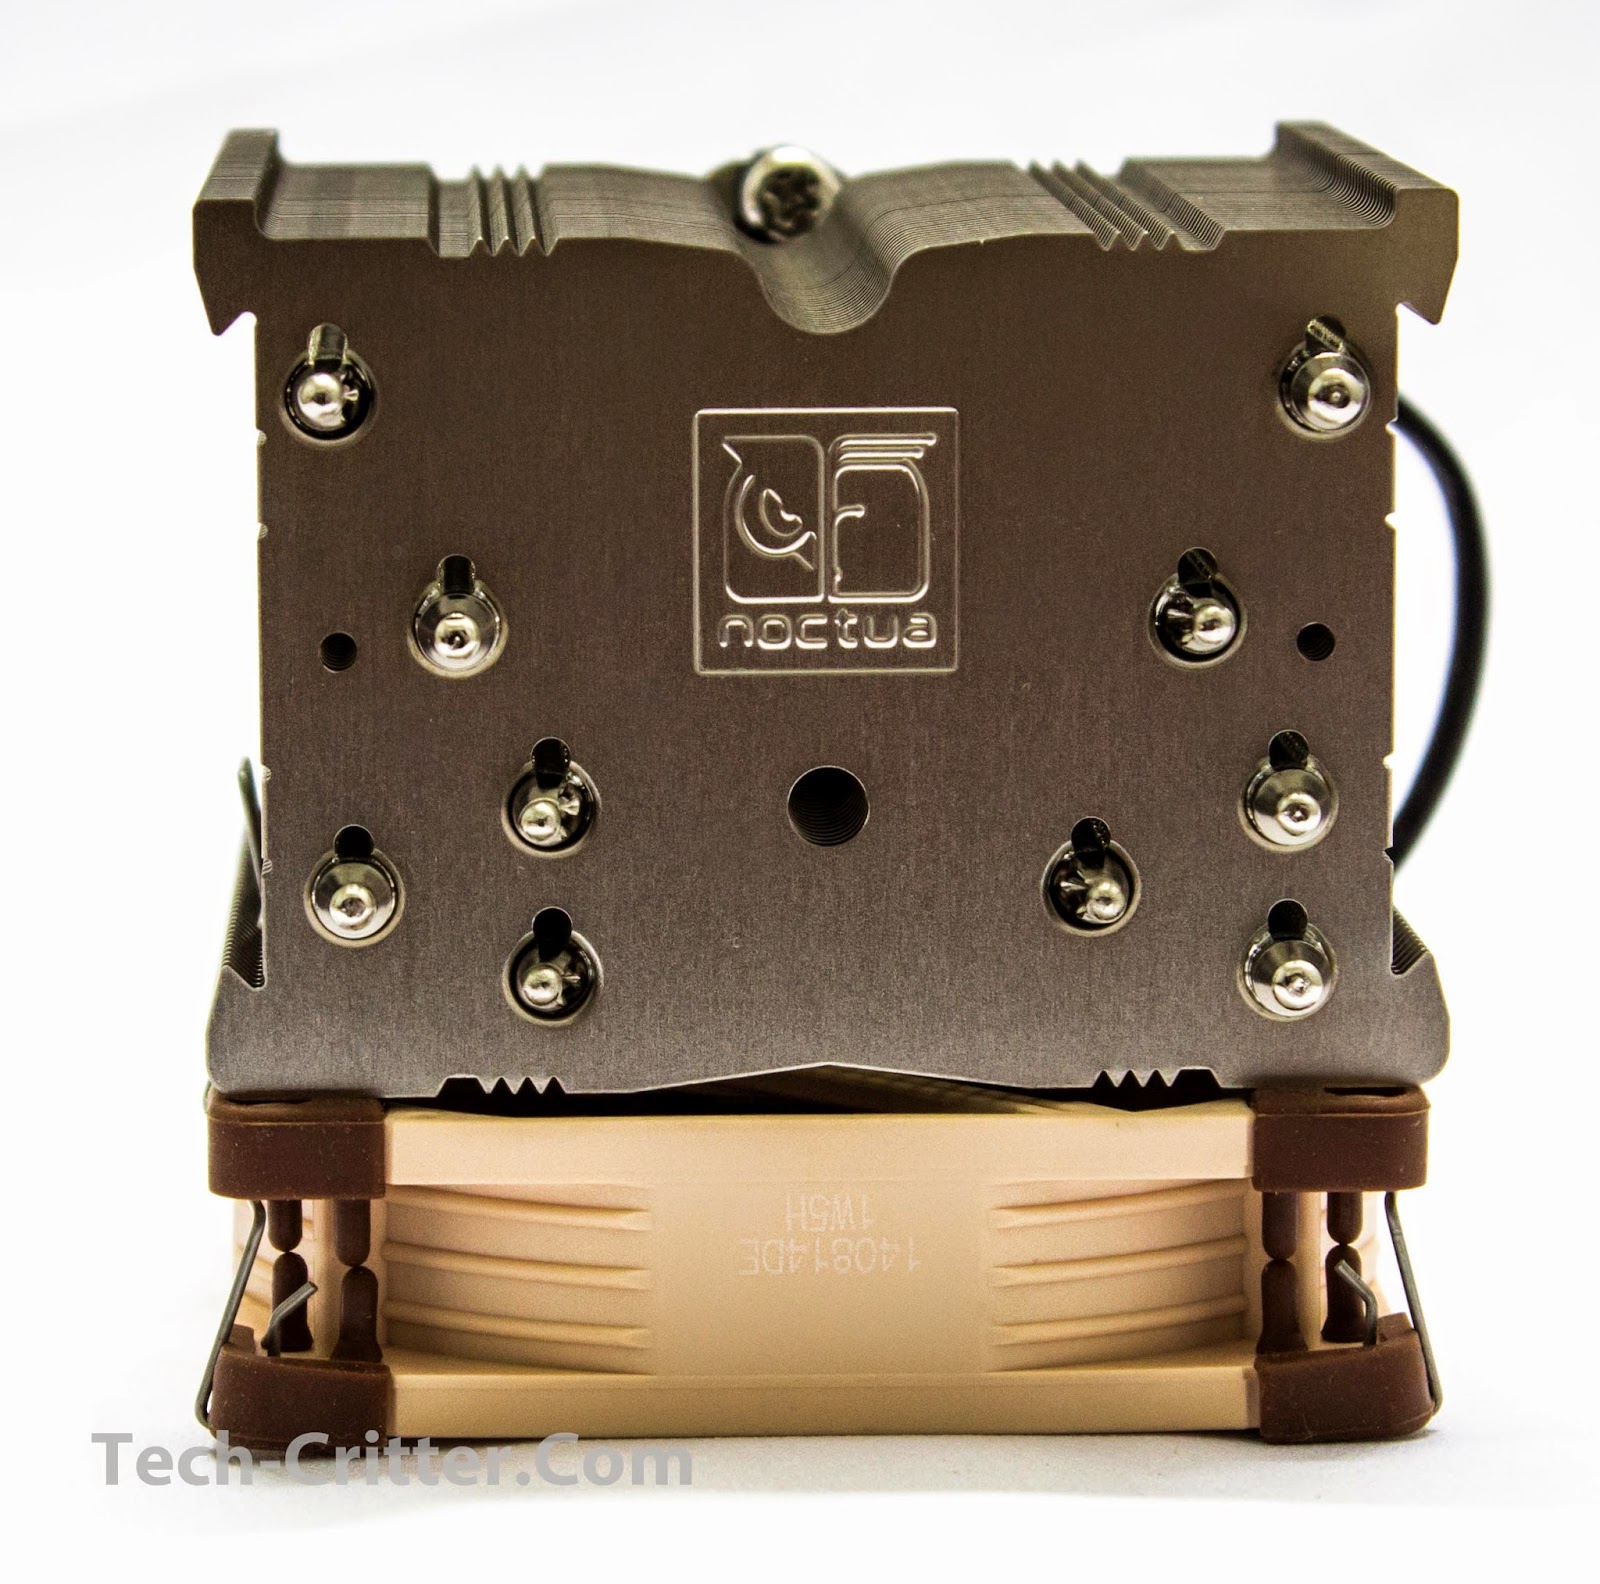
You can see the capped ends of the 5 heatpipes at the top with Noctua’s stamp at the top. That little hole at the center? it’s for increasing the mounting pressure via the screw right above the baseplate.
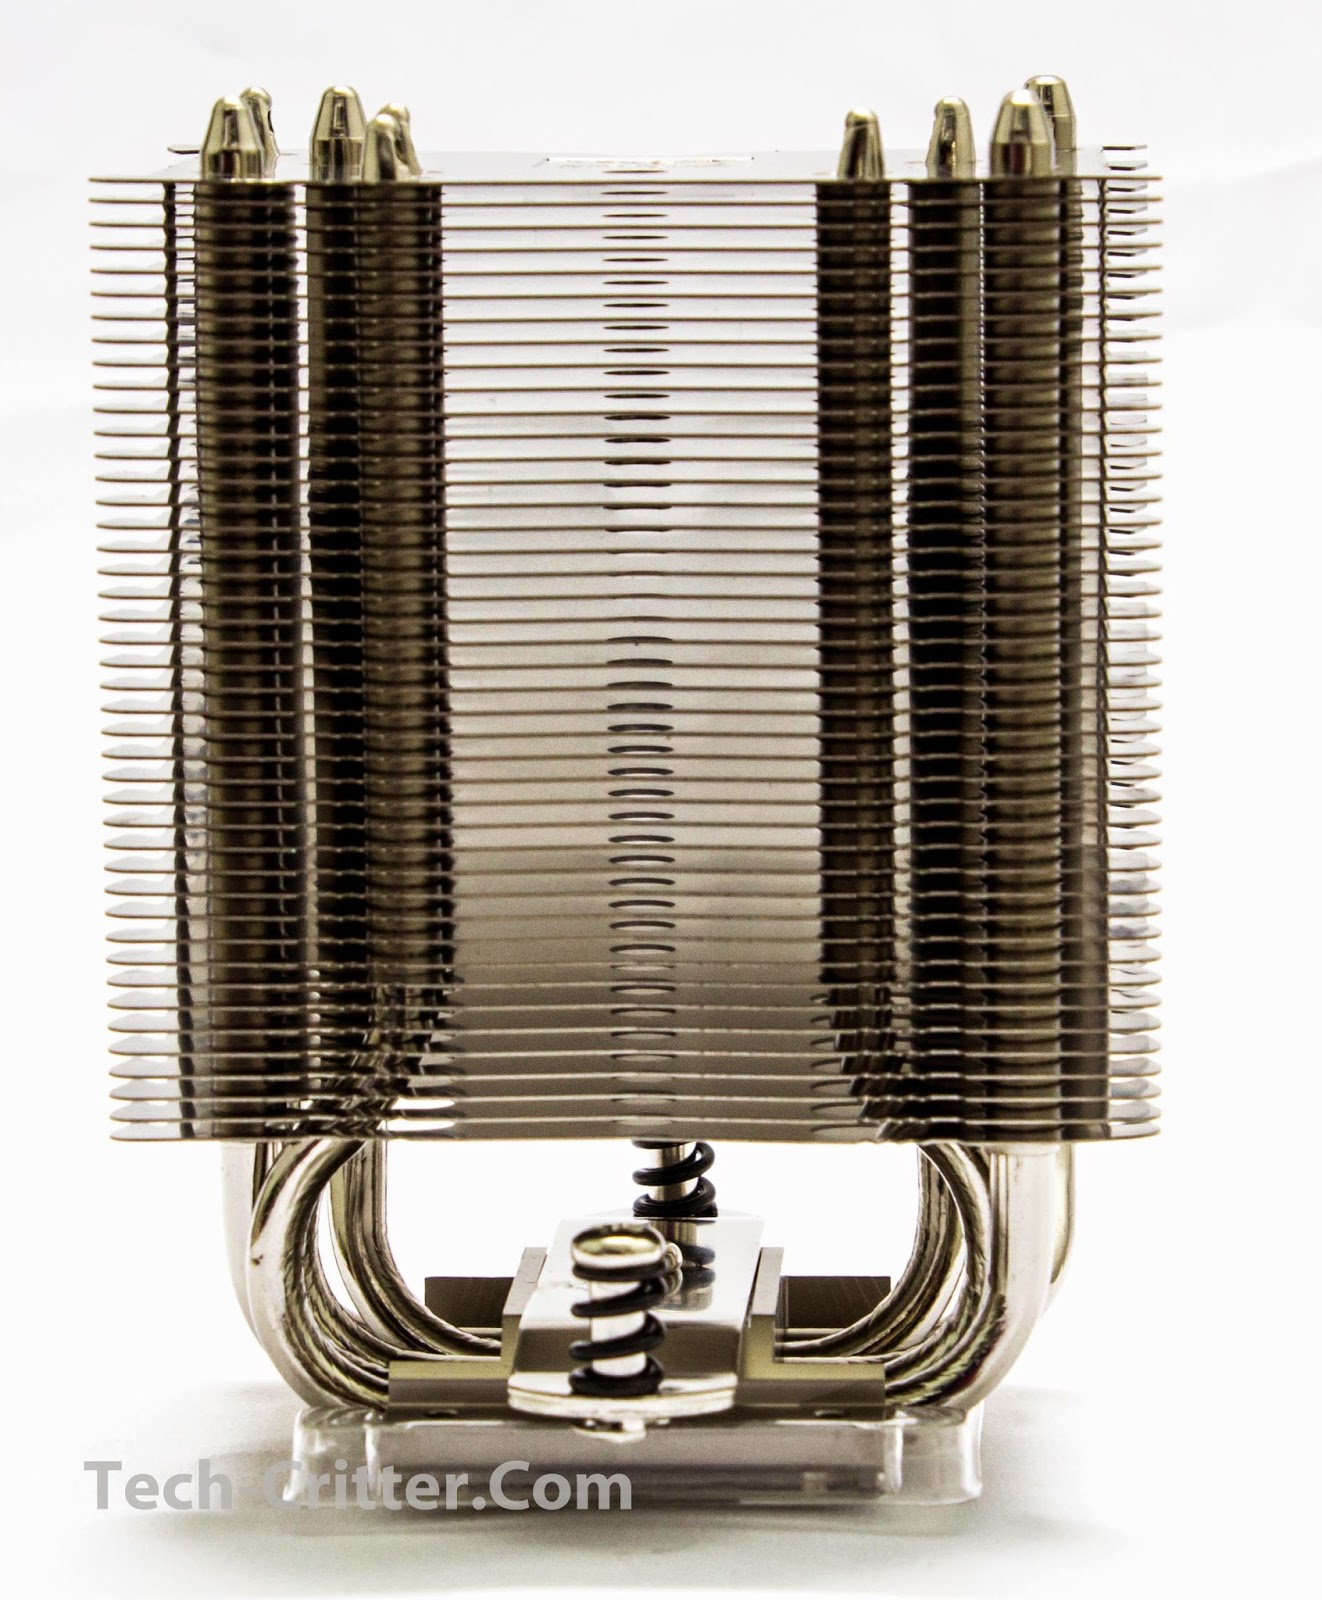
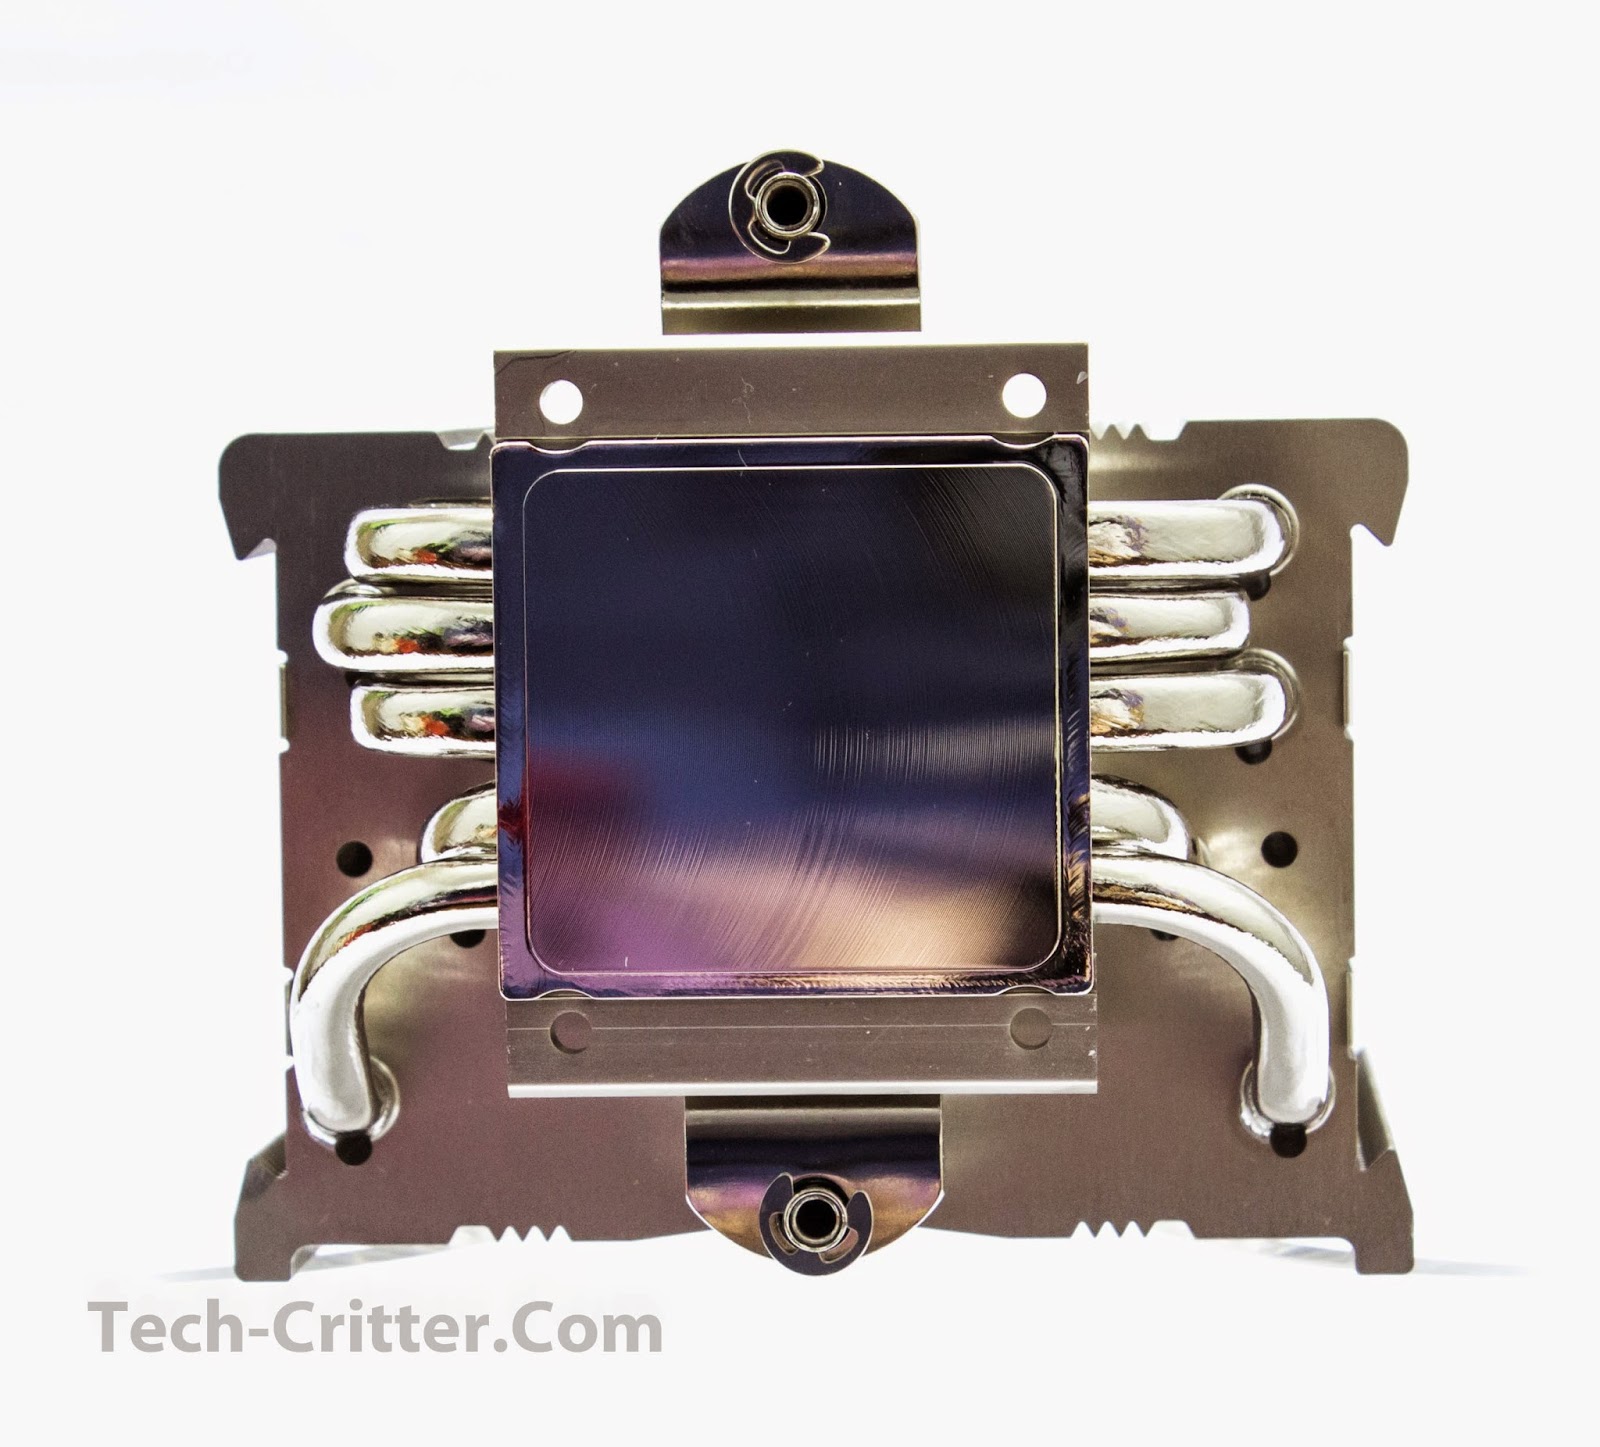
From this angle without the fan, you can see that the heatpipes are arranged in a U-shaped configuration along different configurations through the aluminium fins.
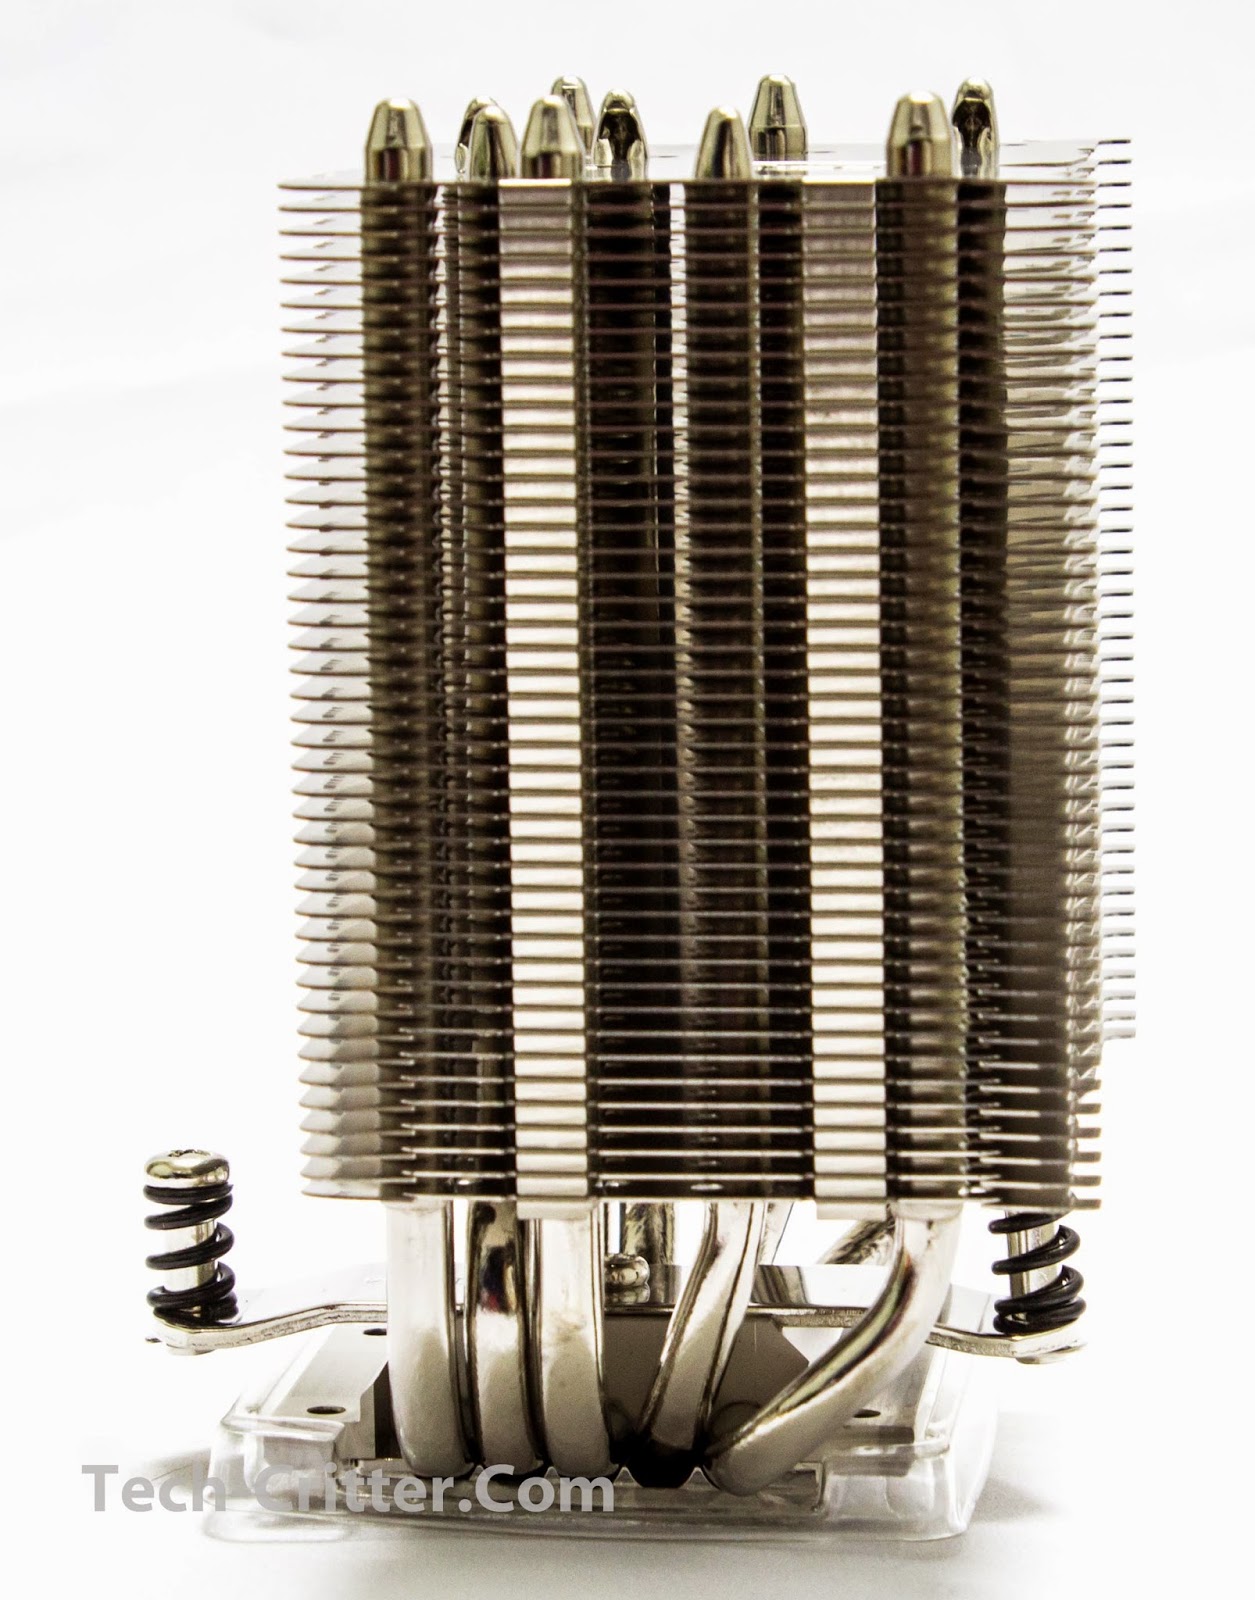
Just when you thought that the heatsink is symetrical, the NH-U9S is actually configured to lean more to the back-side for better RAM compatibility on small motherboards.
Things are not as symetrical on the arrangements of the heatpipes either, as you can see from the image above.

Installation
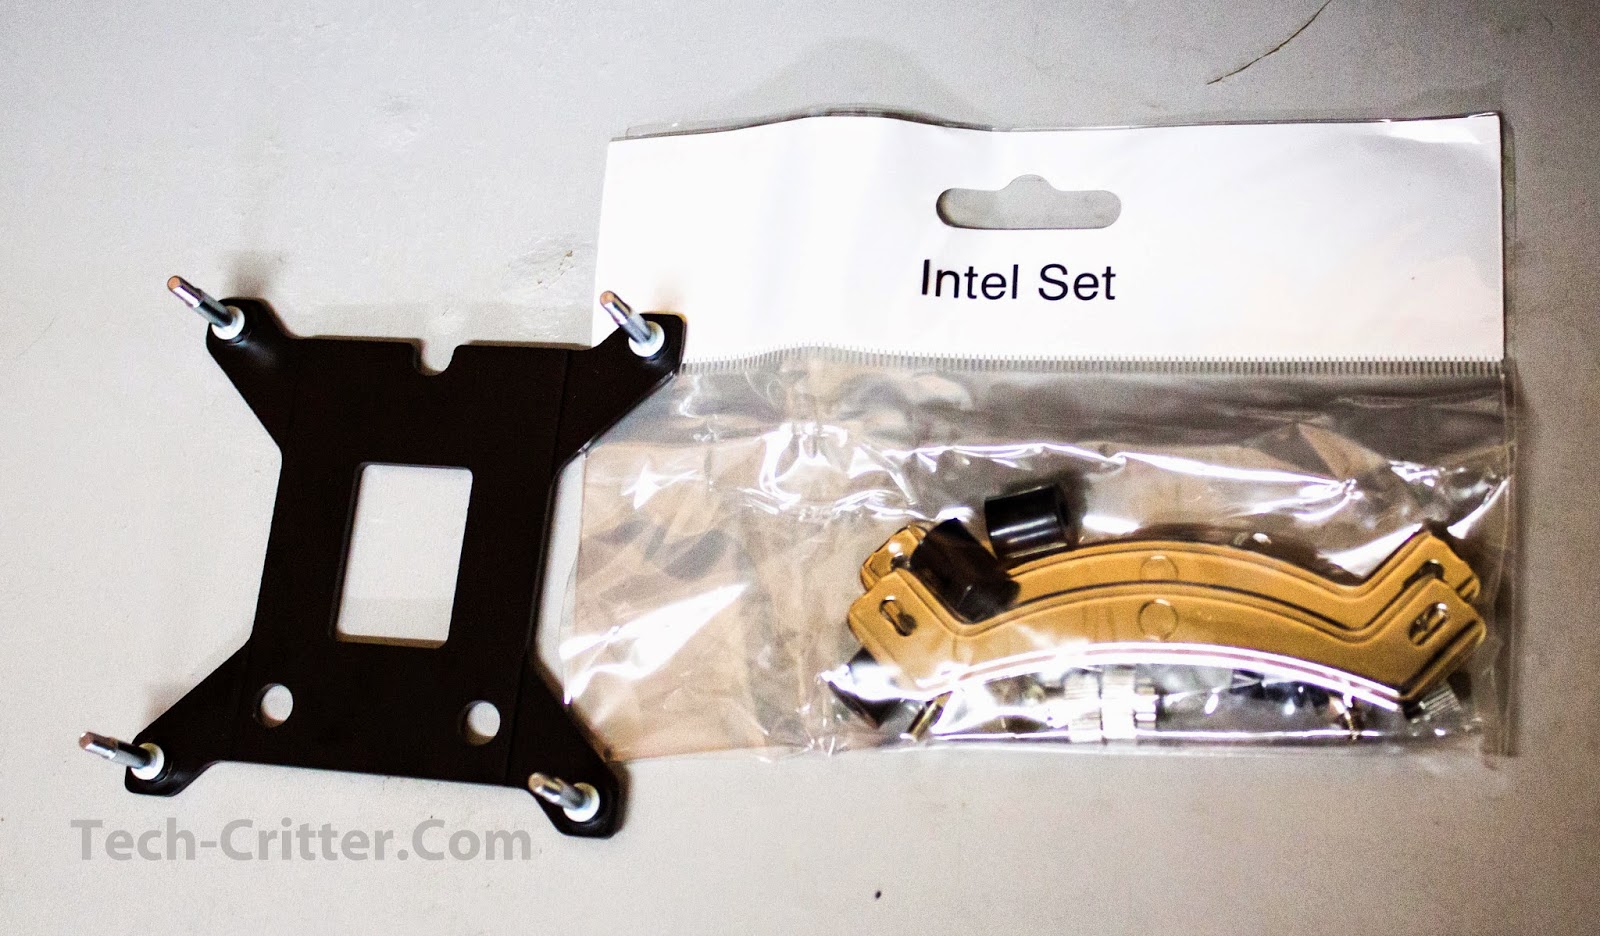
We’ll be installing the NH-U9S on an Intel i7 4770K so the Intel mounting set is needed.
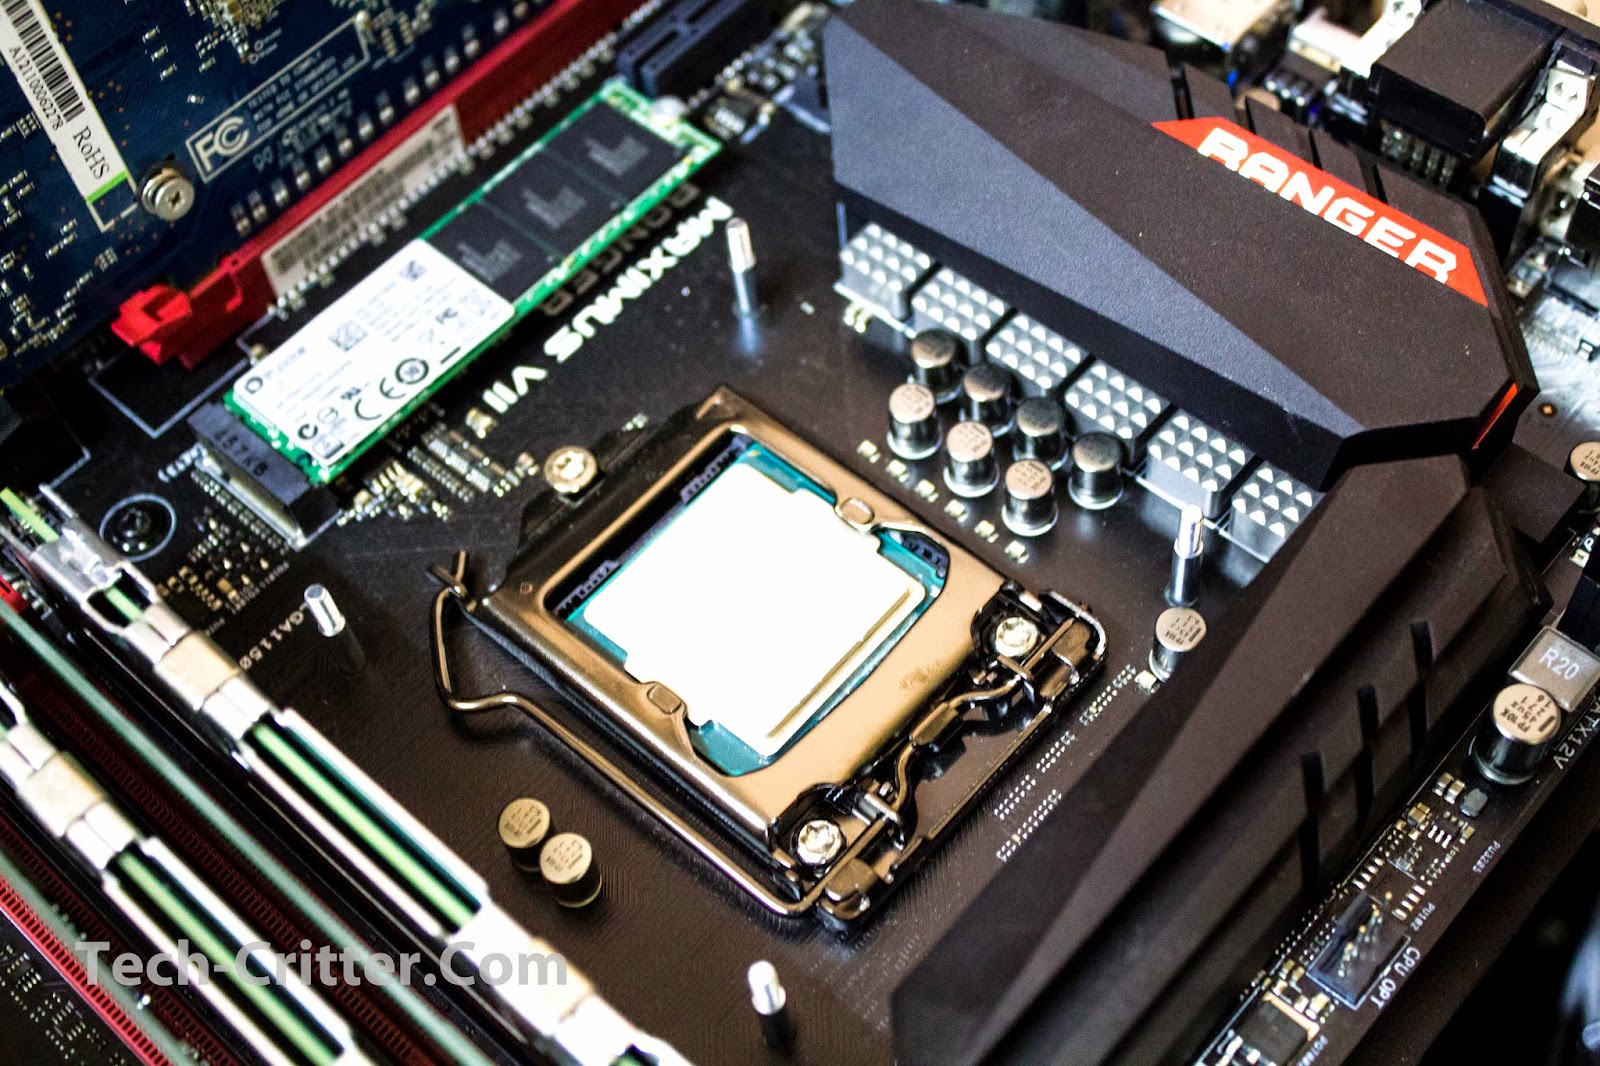
After dismounting the previous cooler (The NH-C14 from Noctua) and cleaning the CPU of used thermal paste, place the backplate behind the motherboard with the threaded prongs protruding through the allocated holes around the socket.

Next, place the plastic spacers.
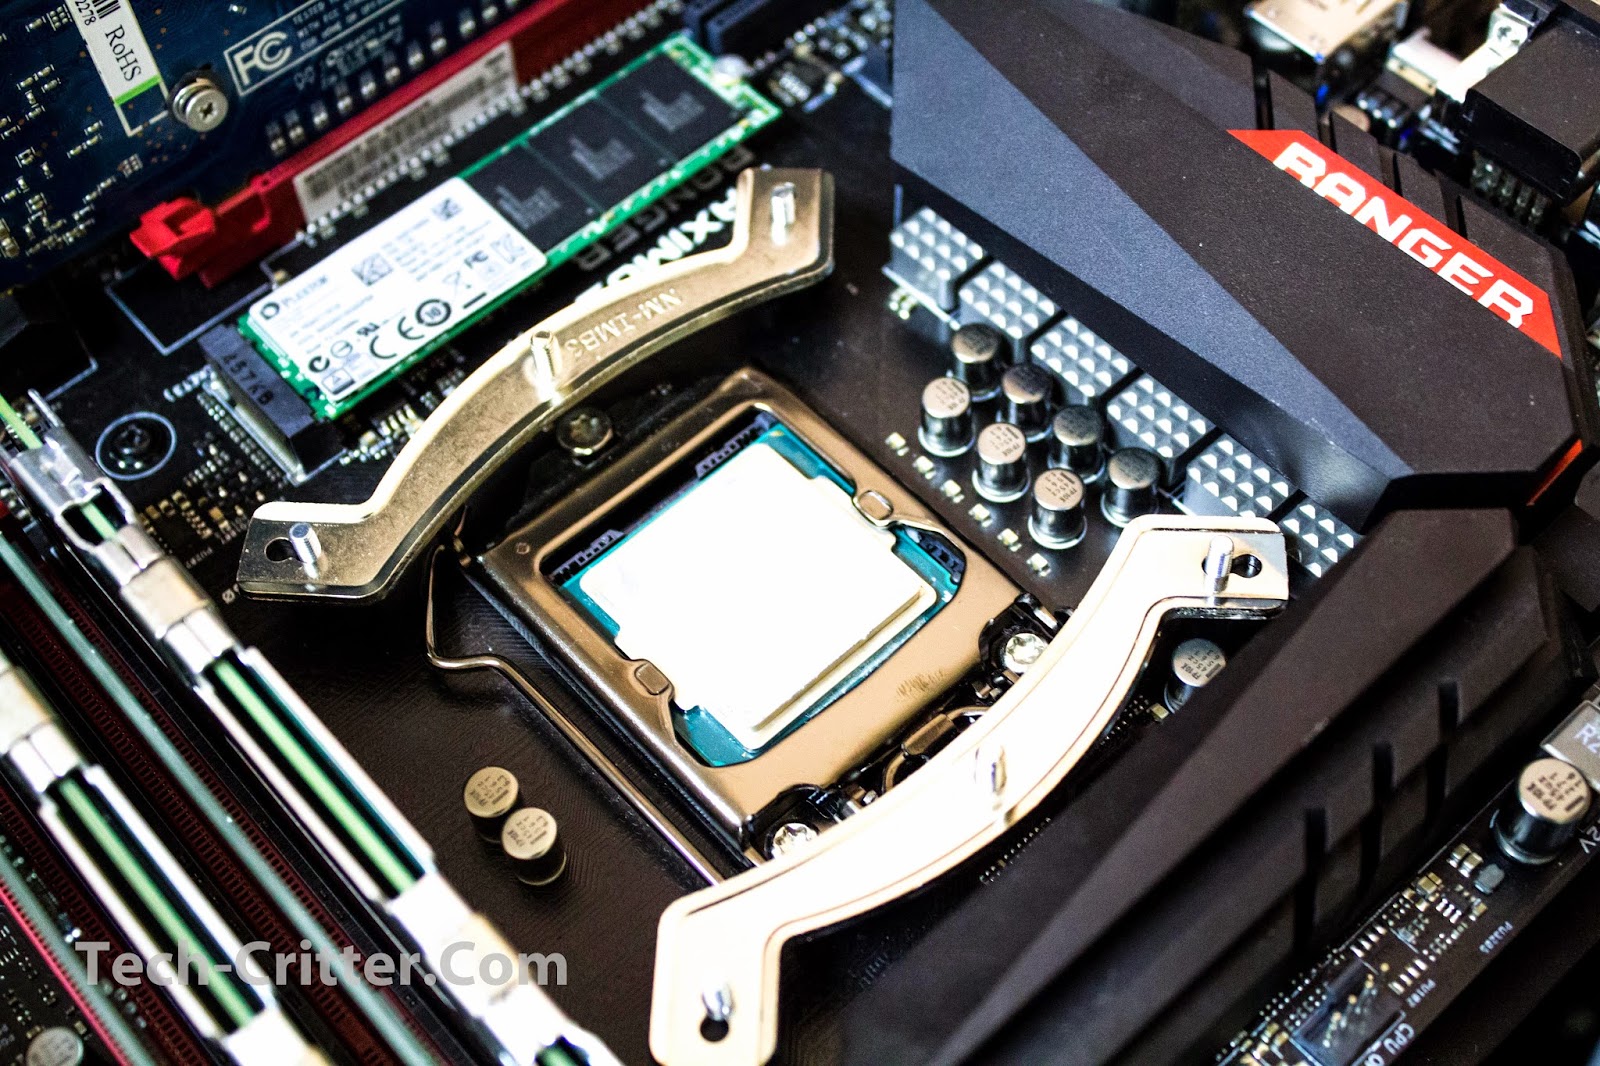
Proceed to place the mounting brackets, taking care to check the orientation of the cooler so that it will be facing the way you want it to.
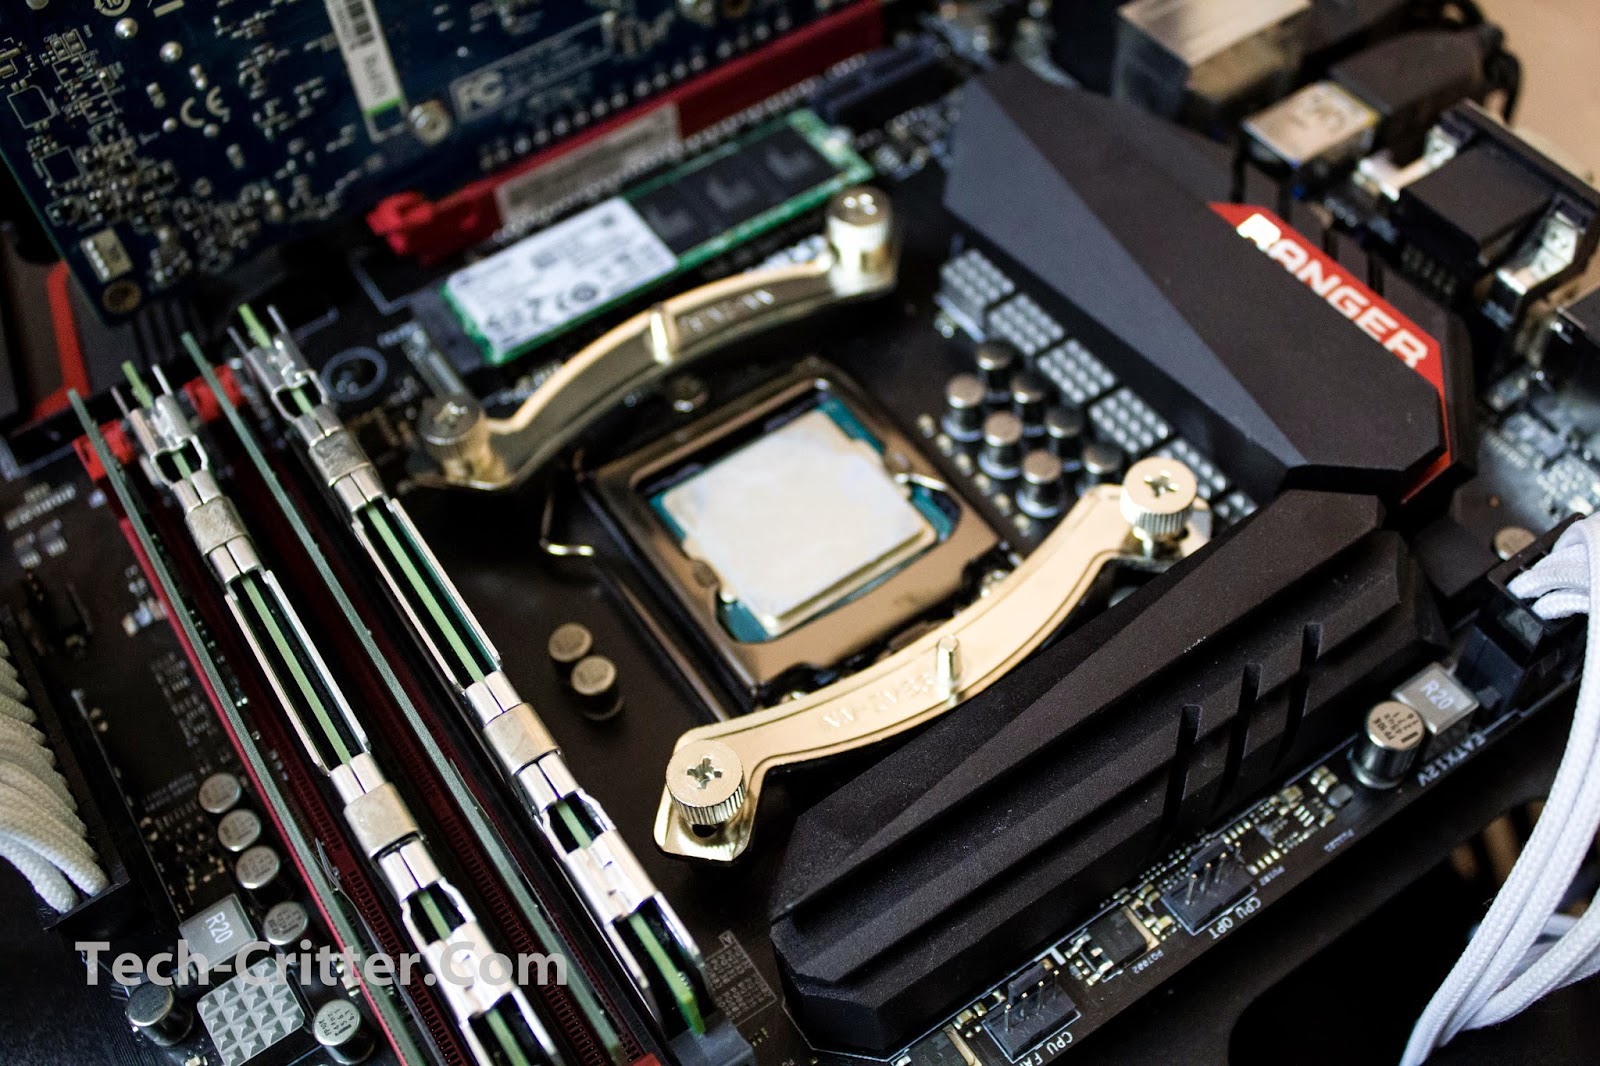
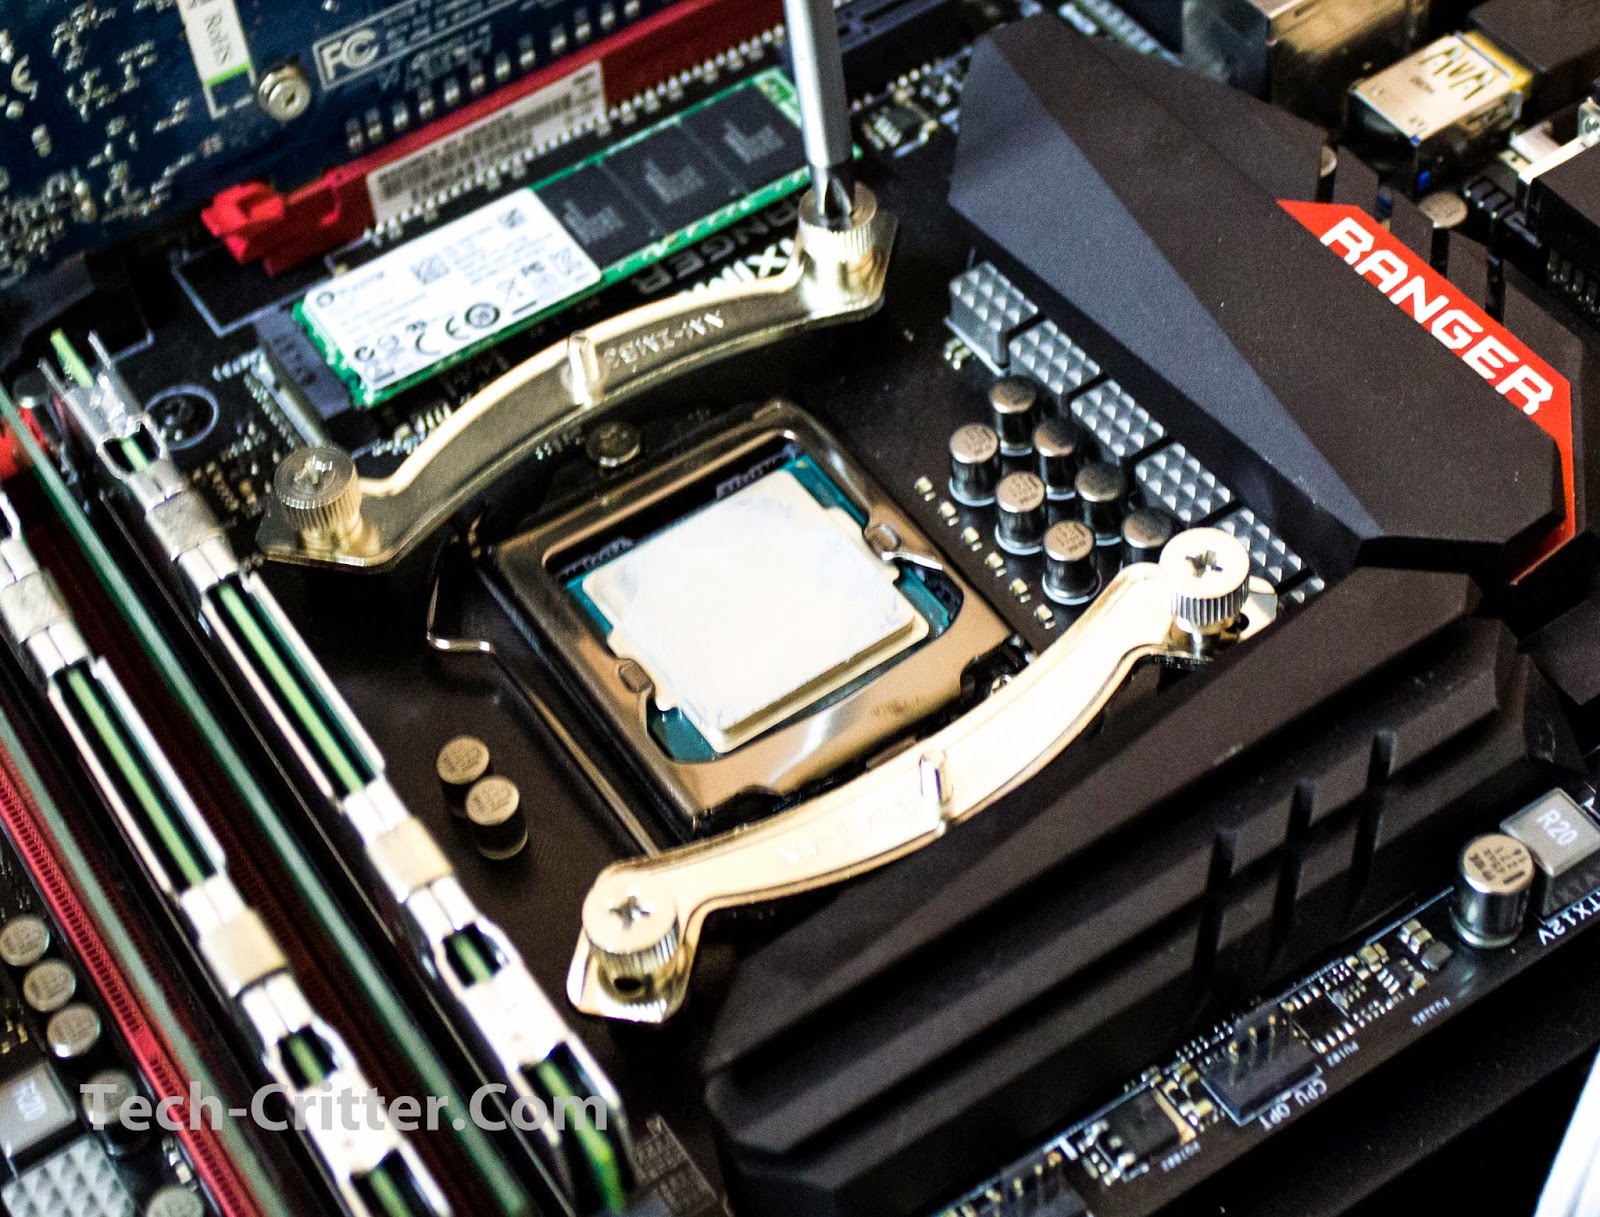
Place the screws to secure the whole assembly, taking care not to tighten too much.

Squeeze a tiny bit of TIM as needed onto the CPU.
Place the heatsink on top, aligning the screws with the threads on the mounting brackets and tighten till you can’t turn them any more.
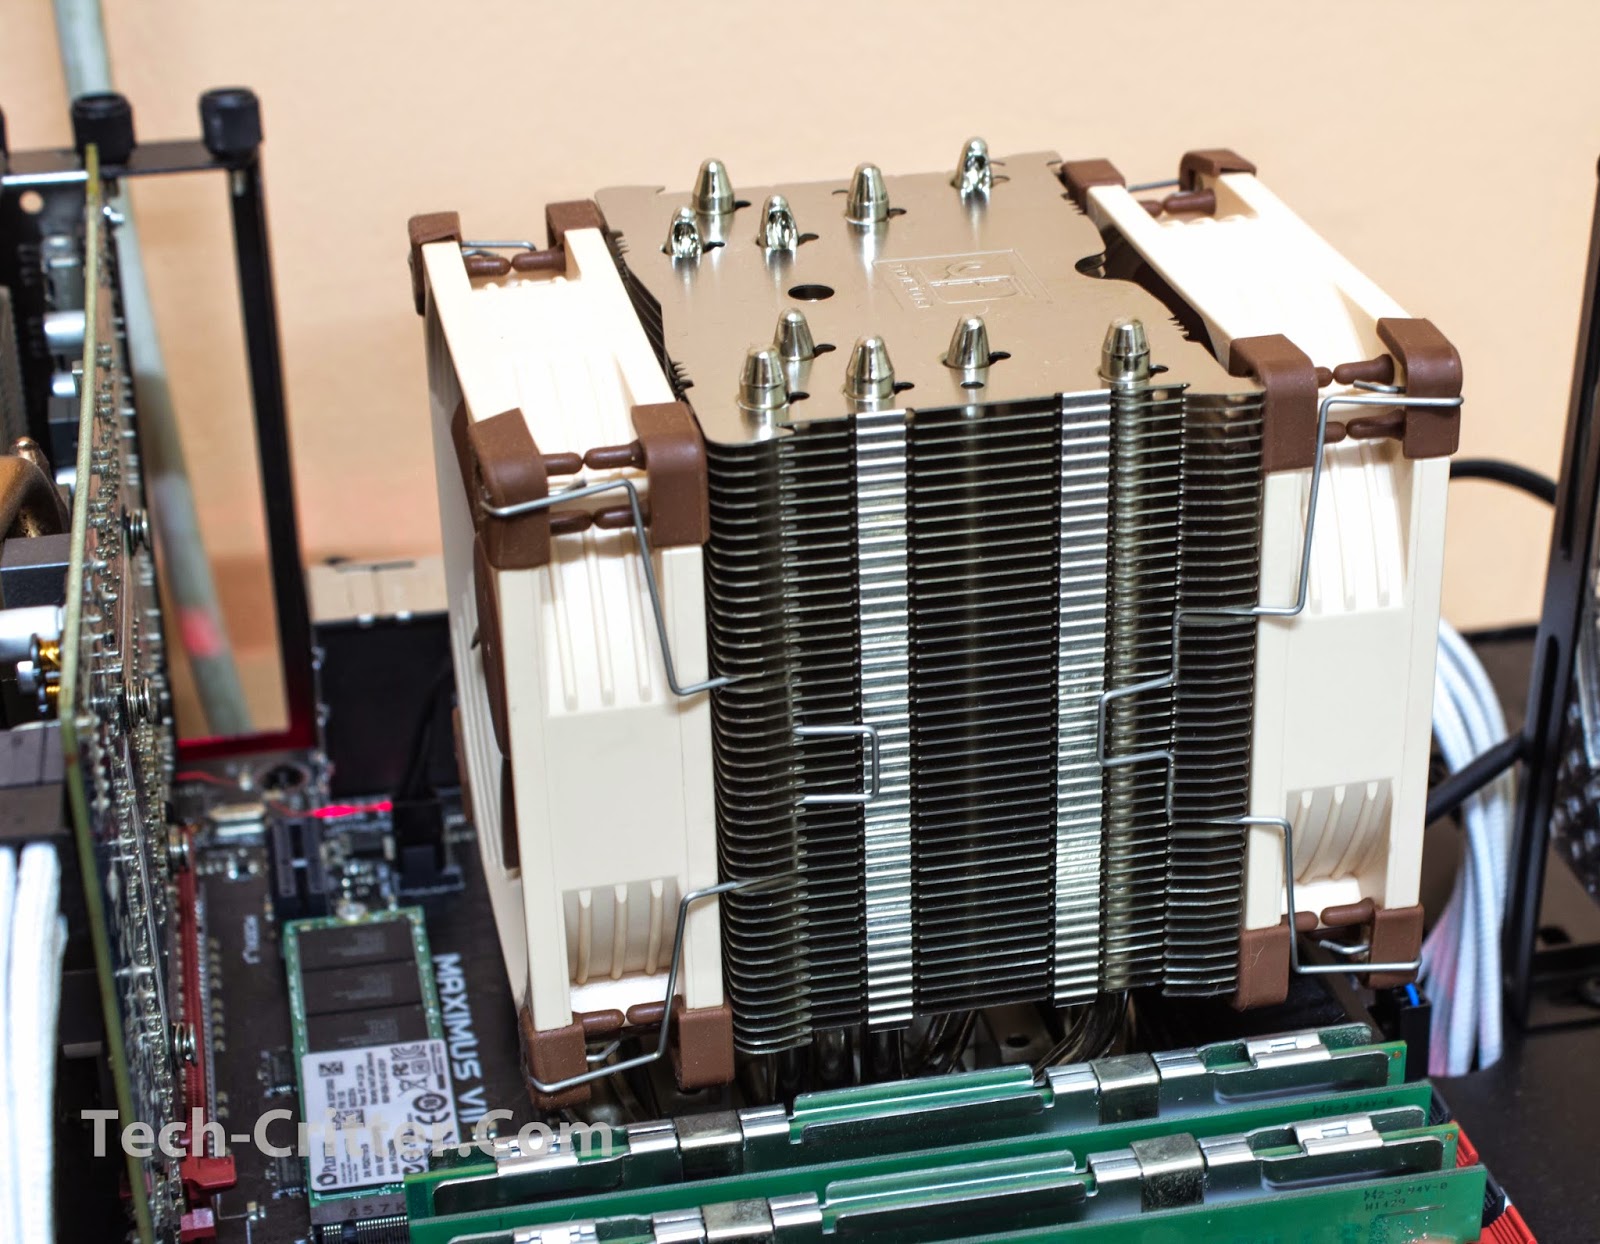
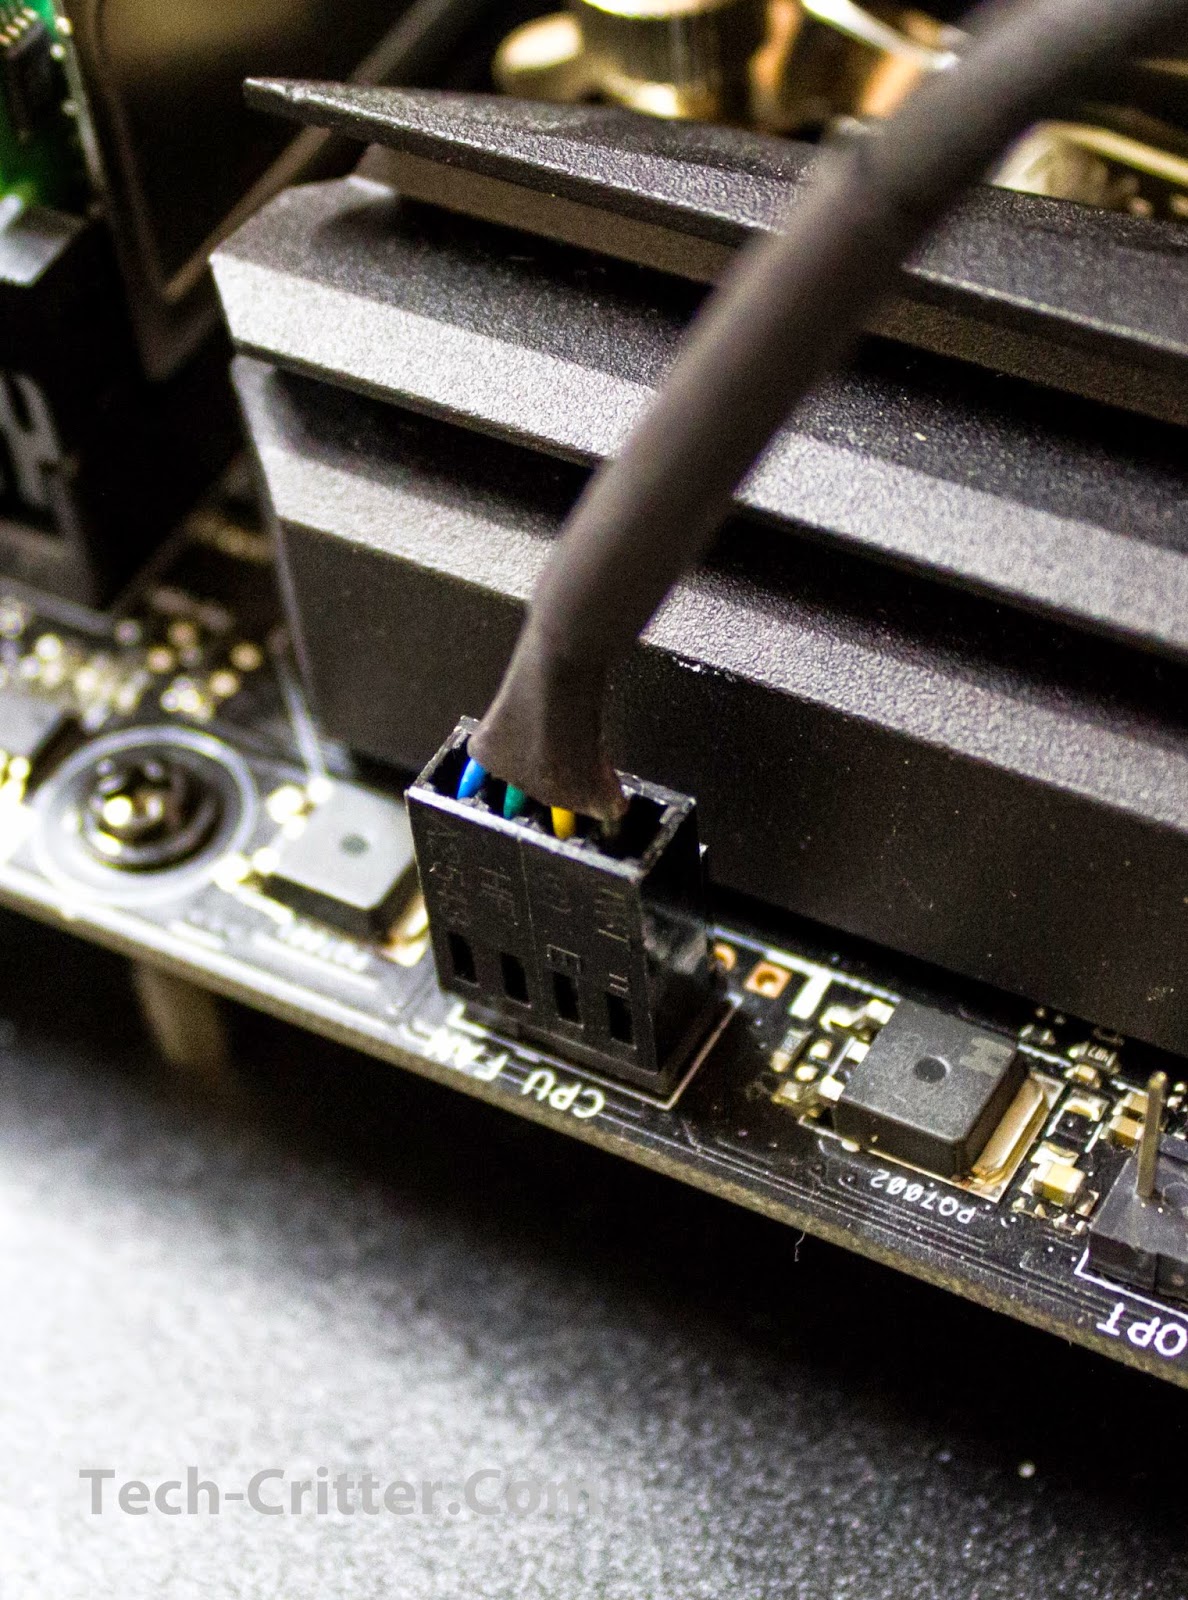
Mount the fans with the supplied fan clips and you’re done!
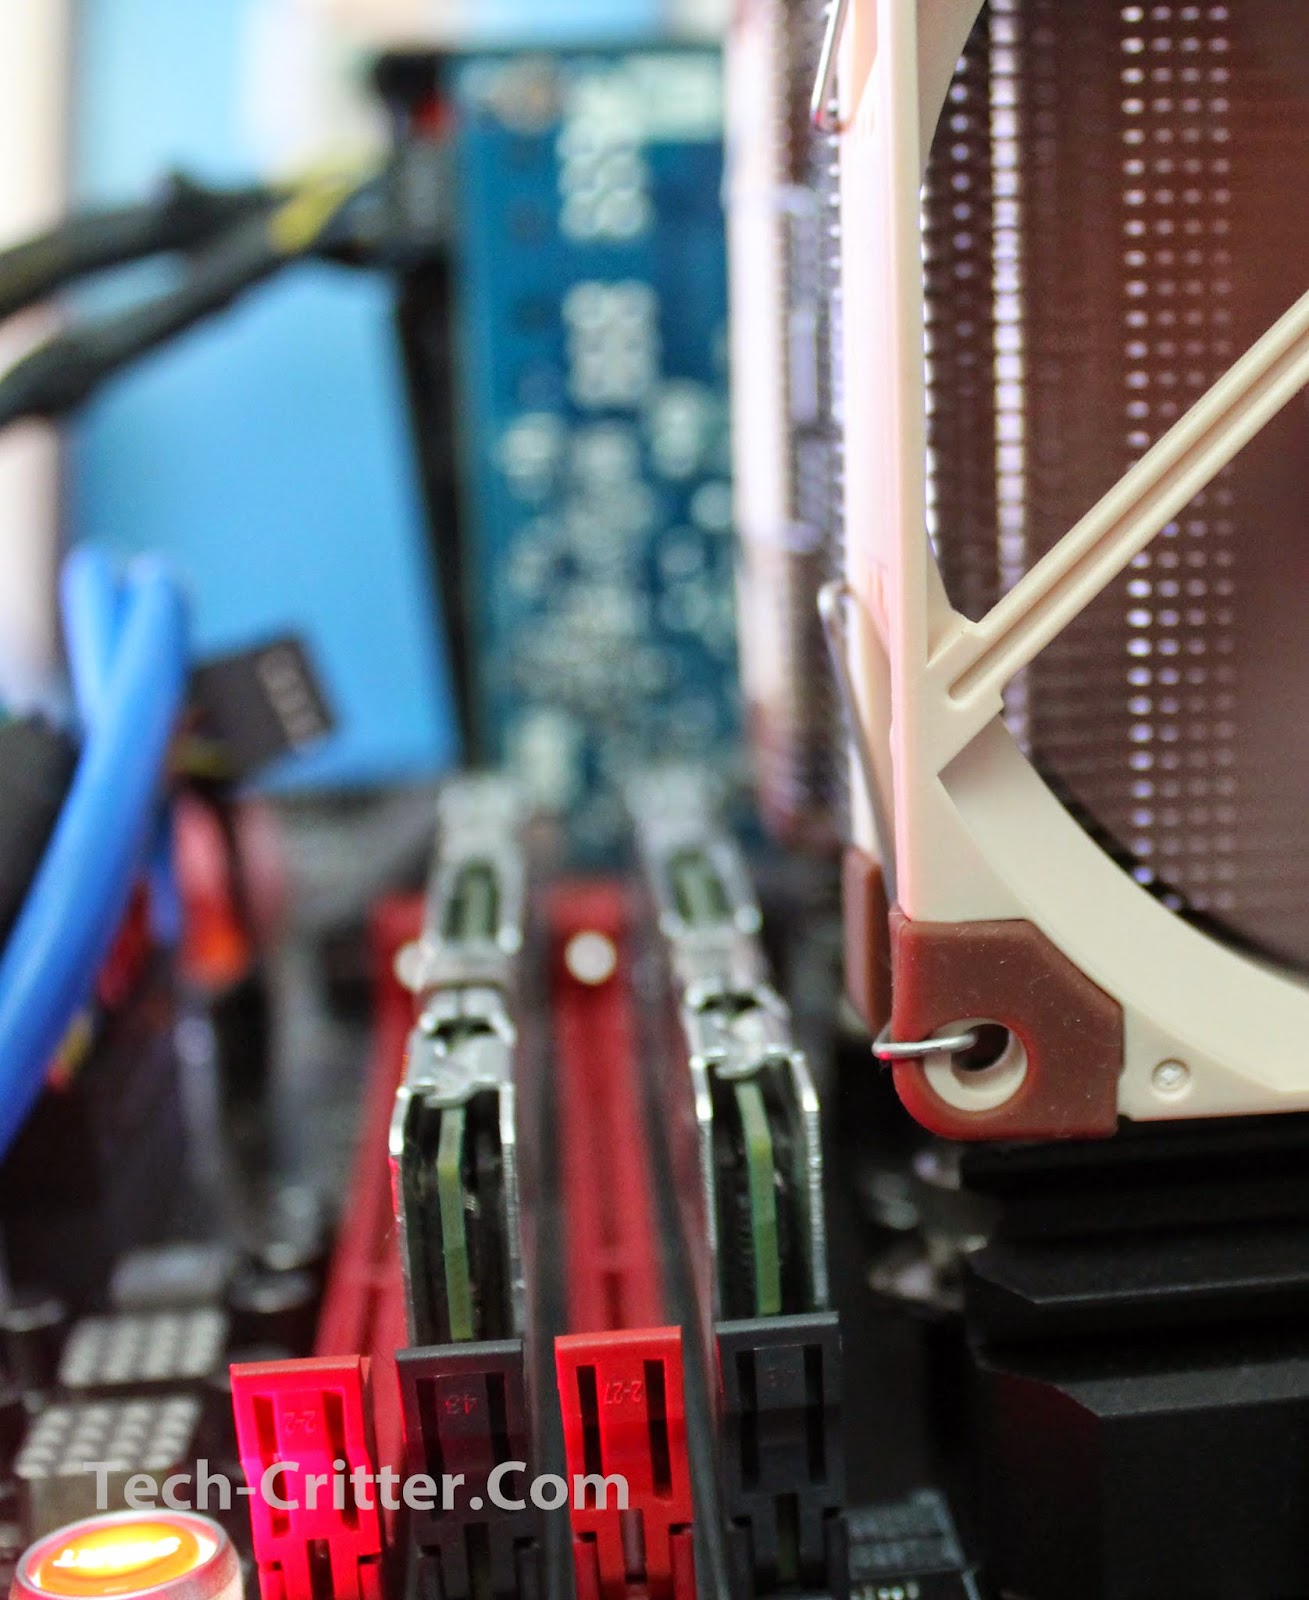
RAM clearance is all good! even tall RAMs will not pose a problem in this case.
Testing
Test Rig Configuration | |
CPU Cooler | Noctua NH-U9S |
CPU | Intel Core i7 4770K |
Motherboard | ASUS ROG Maximus VII Ranger |
Memory | Kingston Value RAM 8GB |
Primary Hard Drive | Plextor M6E M.2 256GB |
Power Supply | FSP AU-650M 80+ Gold |
Chassis | Vector Benchcase |
Moving on to the performance test, we ran the CPU stress test utility Prime95 with the option ‘In-place large FFTs’ for maximum heat from the CPU. Our room temperature throughout the test is 30ºC in average and the stress test is repeated for several times in order to get a stable and consistent temperature reading. The final result is presented in the graph as below:
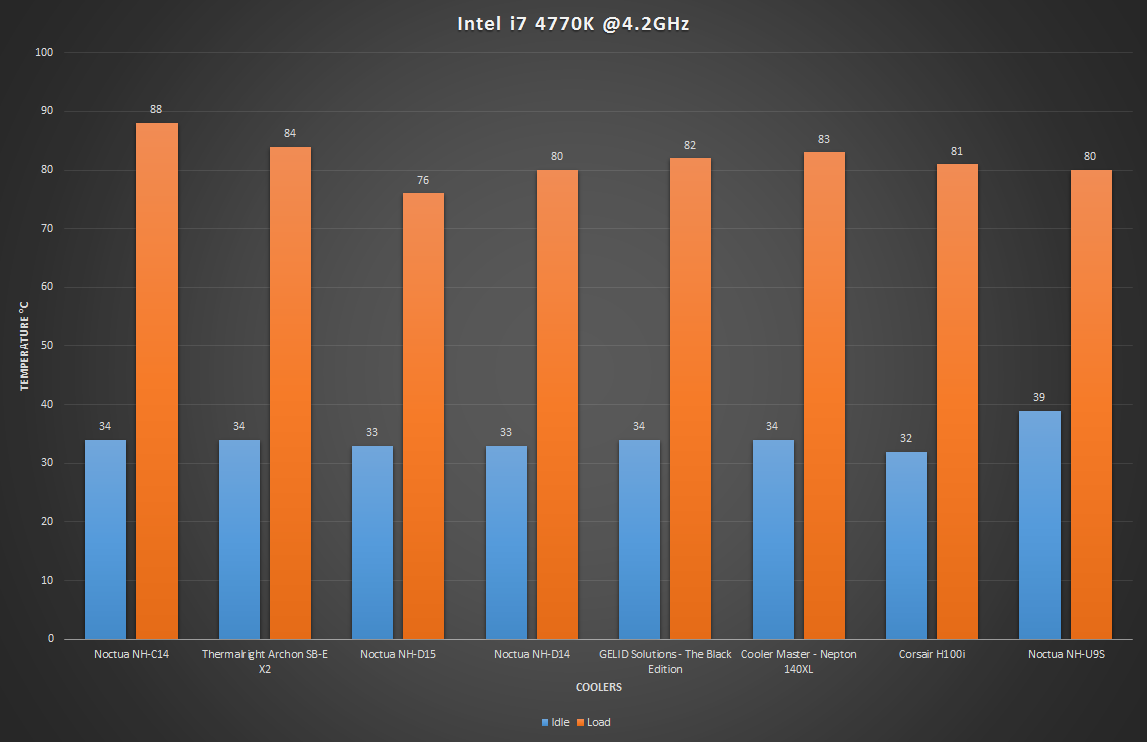
The results are very surprising indeed and honestly I found it hard to believe. Even though the idle temps are nothing to shout about, the load temps are amazing with the NH-U9S matching the NH-D14 and beating even the H100i from Corsair, truly incredible. Fan noise is very low and I’m glad to report that it’s hardly audible over my HD7850’s cooler fans even on load, they only run at about 1200RPM anyway.
Conclusion
- Solid build quality
- Extremely good cooling performance
- Efficient, quality and quiet fans
- Great RAM slot clearance
- Fan color still Noctua’s traditional Beige & Brown


