Introducing, the Gigabyte M34WQ. This monitor is a 34-inch flat ultrawide monitor with a resolution 3440×1440 pixels at up to 144Hz refresh rate with variable refresh rate too. With that said, this monitor is also priced at RM2,399 – but I still think that it is a pretty decent price for a monitor. So, let’s talk about why.
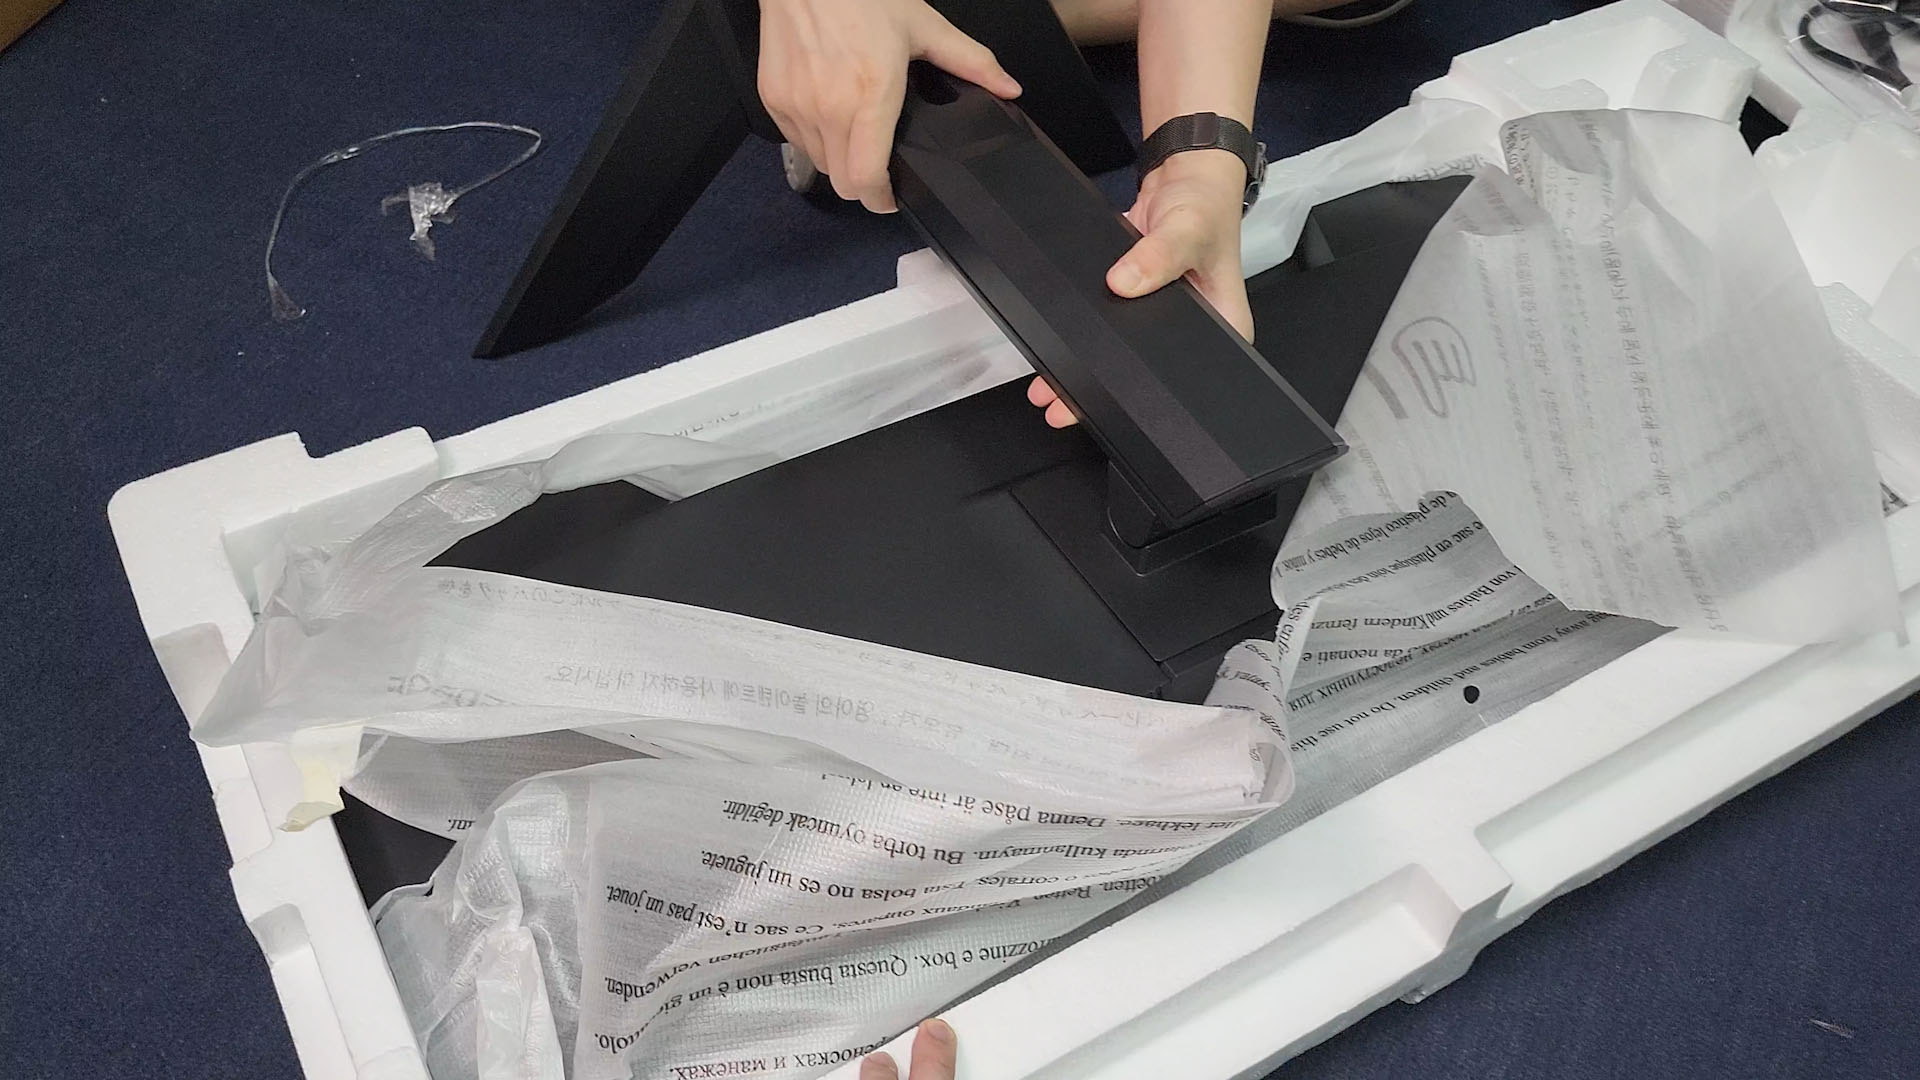
Okay, so let’s go through the things that are obvious about this monitor. The installation process – as mentioned in our random video where we unboxed 3 different monitors – it’s simple and easy too. The included monitor stand also provides all the necessary ergonomic features of tilt, height, and pivot adjustments. It just doesn’t have rotation, though.

As mentioned earlier, it’s a flat 34-inch flat ultrawide monitor with a resolution of 3440×1440 pixels with up to 144Hz refresh rate. It also has a pretty slim bezel overall and the design is simple and clean.

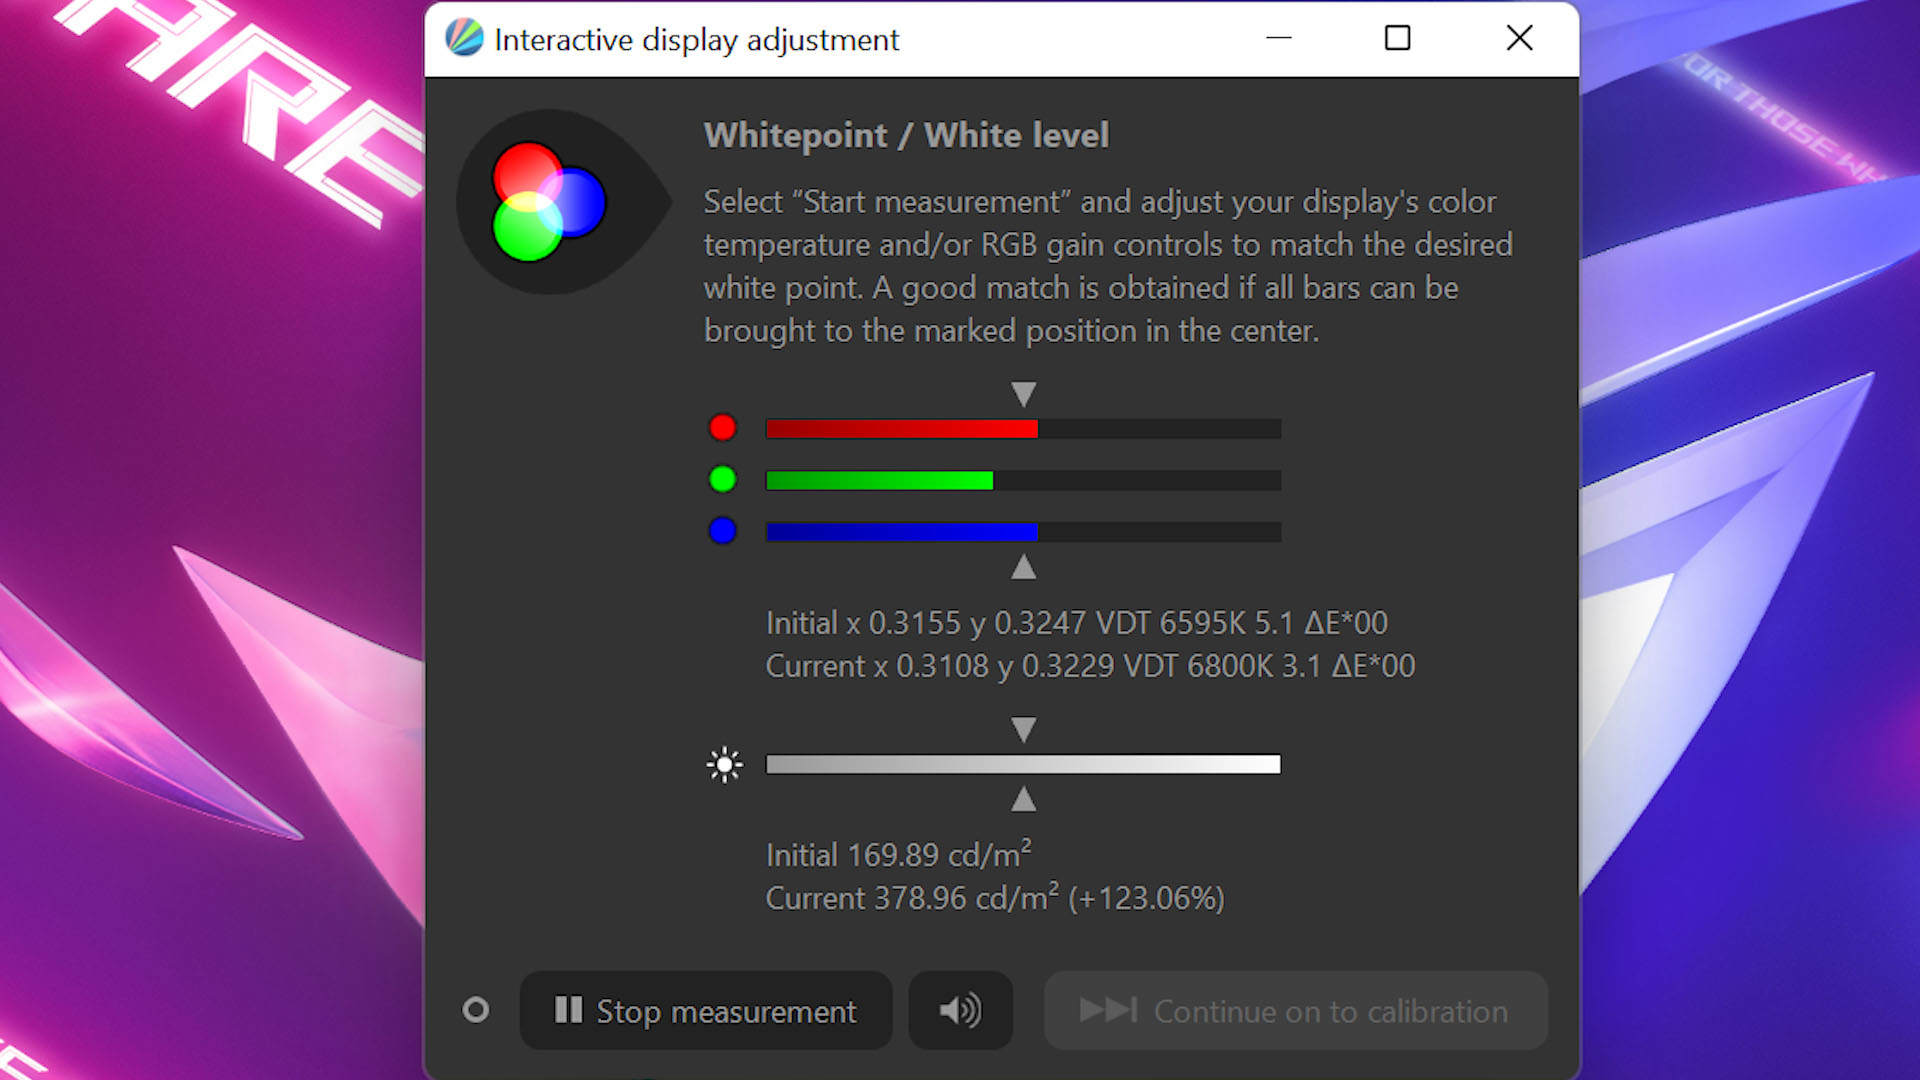
I’ve also been using the monitor as my work monitor and I use it to edit videos too. The colors, as according to our color test, it covers about 100% of sRGB and about 90% for DCI-P3 color gamuts. Honestly speaking, I only care about the sRGB color performance. And for brightness, it can go to about 378 nits for our unit here – and again, I’ll never use it at that brightness level because I’ll need sunglasses.

What makes this monitor special?
But then again, this doesn’t seem different than the Acer Nitro XV340CKP that I’m using at home, right? It’s also a 34-inch ultrawide flat monitor with a resolution of 3440×1440 pixels at 144Hz max – and cheaper than this Gigabyte M34WQ too – so why should we consider getting this Gigabyte M34WQ monitor then?

That is because of one special feature built into the monitor – KVM. This monitor is only one out of the many monitors that is listed under “KVM series”. Out of all companies, I think Gigabyte did the best in terms of highlighting this feature.

So, instead of explaining what KVM is, let me show you instead. Imagine you’re working from home and you have your own gaming desktop and you also have your work laptop and you want to use the same keyboard and mouse for both computers. What do you do? Just press the KVM button and it switches between the two computers.
 One dedicated button to swap between the two computers. Handy!
Of course, you still need to do some setting up. I think this is also the best time to talk about the ports too. We have:
- 2x HDMI 2.0
- 1x DisplayPort 1.4
- 1x USB Type-C upstream port
- 2x USB 3.0 downstream ports
To use the KVM, we need to connect the keyboard and mouse to these ports and the two computers to these two ports. Granted, you’ll need to connect one computer via USB-C. Just make sure your computer has USB-C with display output capability.

Then, we also need to setup the software part too. That is fairly simple as we just have to use the OSD menu to assign which USB host to use when the display output port is active. It’s difficult to explain – but it’s mostly like you need to “marry” the USB host (either PC #1 or PC #2) to the display ports.

For example, I’ve set the USB host to be controlled by whatever is connected on the USB-C port when the USB-C display is active, or setting the USB host to be using this USB-A cable when HDMI is active. This is to ensure the keyboard and mouse works across both computers when we switch displays.

As a quick mention here – the OSD menu is controlled via a joystick on the monitor and it is actually very functional. Gigabyte also developed a utility for Windows to control the monitor settings called the “OSD Sidekick”. However, the software is… less than stellar. It’s slow and also buggy. Gigabyte has firmware updates for the monitor but no matter what I do, I can’t update the firmware of this monitor and there was no error messages. So, I gave up.

Should you buy the Gigabyte M34WQ KVM monitor?
At the end of the day, why should you consider the Gigabyte M34WQ? Mostly because of the KVM, honestly. That depends. If you can make use of the features available on this monitor, it’s actually a pretty good deal overall!
To me, this monitor is perfect for my day-to-day use because I also got another monitor with similar specs at home. However, this Gigabyte M34WQ will suit my home usage a lot better since it has KVM so that while I am rendering a video on the MacBook Pro, I can press a single button on the monitor to switch to my desktop and play games while waiting.
For the price of RM2,399 officially, I think it’s quite worth the price. Some might argue that it’s better to get a separate KVM module instead of integrating it into the monitor – but seriously, any KVM modules with similar ports and features on this monitor are actually very expensive.


1 thought on “Review – Gigabyte M34WQ ultrawide gaming KVM monitor”
Hi Kok Kee, can the screen be extended and used as multiple display setup while using the kvm features? Thank you
Comments are closed.