Whether you are a host or a participant, it is important to record your Zoom meetings so you can keep track of them. Recording a Zoom meeting is not complicated; by following a few simple steps, you can effortlessly record it. Zoom provides an amazing option for recording online videos effortlessly when you want to capture an event or meeting.
However, many people don’t know how to record Zoom meetings on their PCs and mobile devices. But don’t worry, as we got you covered. In this article, we will tell you some of the best ways that you can follow to record a Zoom meeting.
How do you record meetings using iTop Screen Recorder?
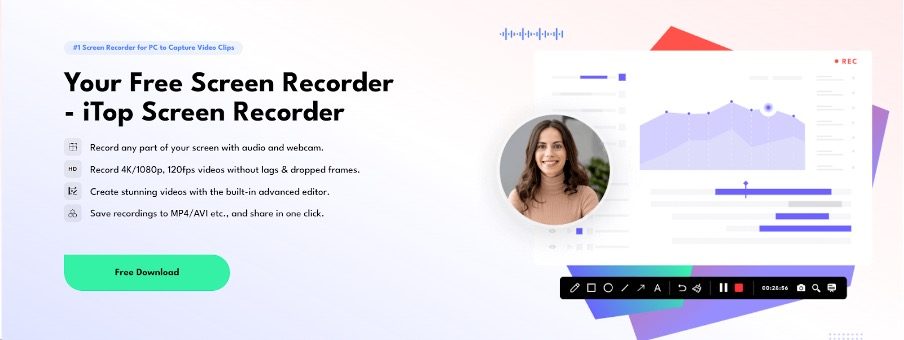
If you want to record your Meetings using a third-party application, you should use the iTop Screen Recorder application. It is one of the best recorders you can use for your desktop devices. It is a free screen recorder for Windows users and offers lots of wonderful features, such as recording 4K/1080p, 120fps videos without lags, saving recordings in high-quality formatting, creating stunning videos using numerous features, and recording screens with one click.
Moreover, it is easy to use and ideal for both new and professional users. If you want to record meetings using the iTop application, then follow the steps discussed below.
- Download the latest version of this application from the official website and launch it.
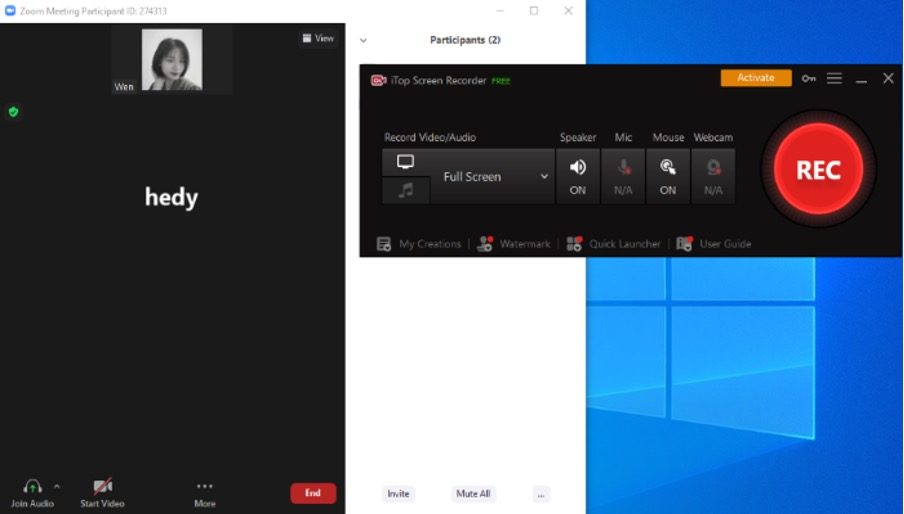
- Now, join the recent meeting and turn on the screen recorder.
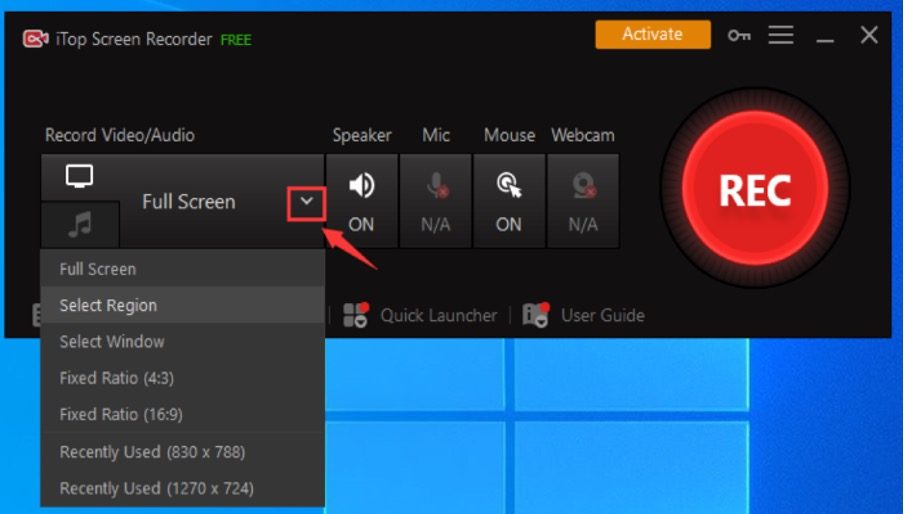
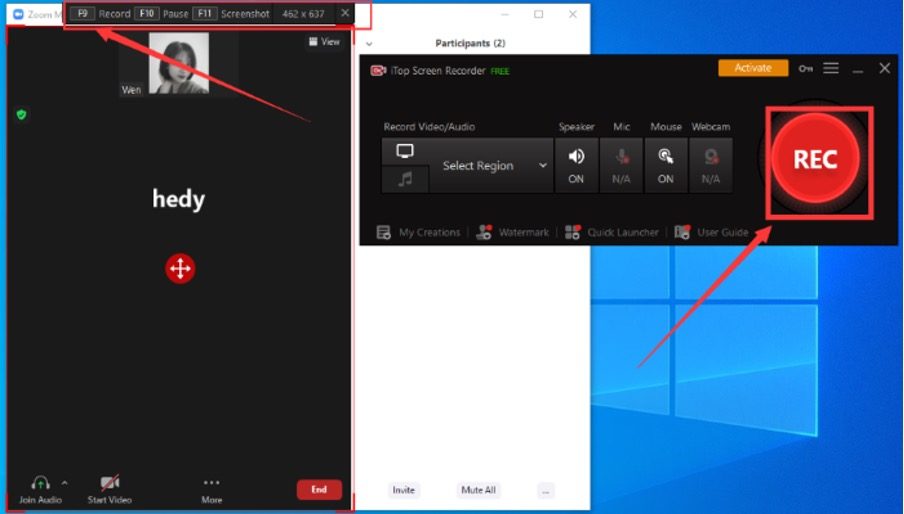
- In the end step, select the area that you are planning to record. On the screen, you will have multiple options.
- You can click the “Rec” icon to start the recording and click the f9 option as well.
- Once you are done, click the pause option to stop the recording.
- Go to the My Creations section, and you will get all your videos there.
That’s it! These are the simple steps that you can follow to record a Zoom meeting using iTop Screen Recorder. If you don’t want to use the iTop Screen Recorder and are looking for other ways to record a meeting, then check out the section below.
Record a Zoom Meeting on Desktop and Mobile Devices without Third Party Application
Before recording a meeting, you have to decide whether you want to record it as a Participant or as a Host. Below, we will explain both methods so you can record your meetings in no time. Let’s discuss these methods.
1. Record Meeting as a Host:
Here are some simple steps that you can follow to record your meeting as a Host. Let’s discuss these steps so you can understand better.
On Desktop:
Step 1: First, open your Zoom desktop app and complete the login process.
Step 2: Go to the Home tab and choose the Settings Gear option. You can find this option under your profile avatar icon.
Step 3: Next, look for the Recording tab and choose the folder where you want to save your recordings.
Step 4: Set up and start your Zoom meeting. Once you are ready, choose the Record button; you can find the option at the bottom of your screen.
Step 5: At the upper left corner of the screen, you will find the start recording message.
Step 6: You can easily pause or stop your recording by choosing the Pause or Stop buttons available at the side of your recording message.
Step 7: When you’re done with your recording, you can find the recording in your default location. You can also check your previous recordings in the meetings tab folder. From there, you can share the recordings anywhere you want.
Step 8: By following these ways, you will be able to record your meetings as a host.
On Android:
Here is how you can record a meeting on an Android device.
Step 1: Download the app from Google Play Store and launch your Zoom app. Once done, start your session as usual.
Step 2: Once your meeting has been started, click the More option.
Step 3: Click Record, and a Recording message will be shown on your screen.
Step 4: You can easily pause or stop the recording by clicking the More option. From there, you will see the Pause or Stop button.
On iPhone:
To record a Meeting on iPhone, follow the steps below.
Step 1: Open your Zoom app on your iPhone and start your meeting.
Step 2: Once your meeting has started, click the More option.
Step 3: Choose the Record to the Cloud option. Soon, you will get the recording message on your iPhone screen.
Step 4: After your recording has been finished, you can see all the files under the Zoom web portal.
2. Record Meeting as a Participant:
If you want to Record a Zoom meeting as a participant, it is a bit complicated, as you first have to get host permission so you will be able to record the meetings directly from Zoom. Moreover, you can use different third-party software, such as iTop Screen Recorder, which allows you to record the meeting as a participant.
Conclusion
Recording a Zoom meeting is not difficult if you know the right tools and ways. In this article, we have mentioned different methods that you can use to record a meeting on your mobile and desktop devices.
Apart from that, you can also use a reliable tool called iTop Screen Recorder, which helps you capture the screen without any hassle. It provides high-quality recordings that you can share anywhere you want. You can also use these recordings for creating content, lectures, and much more. With this tool, you can also edit the recordings if something is missing.


