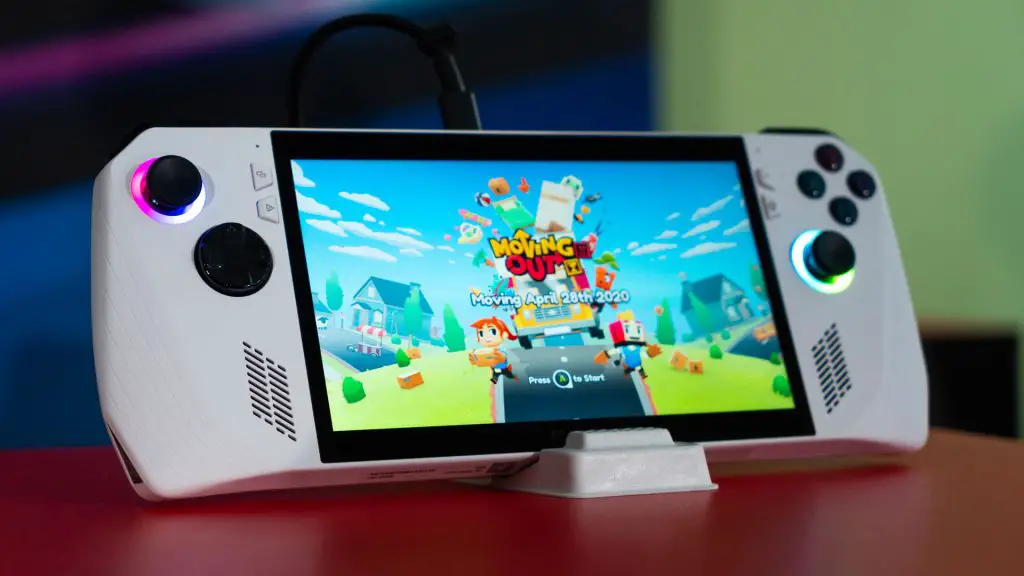
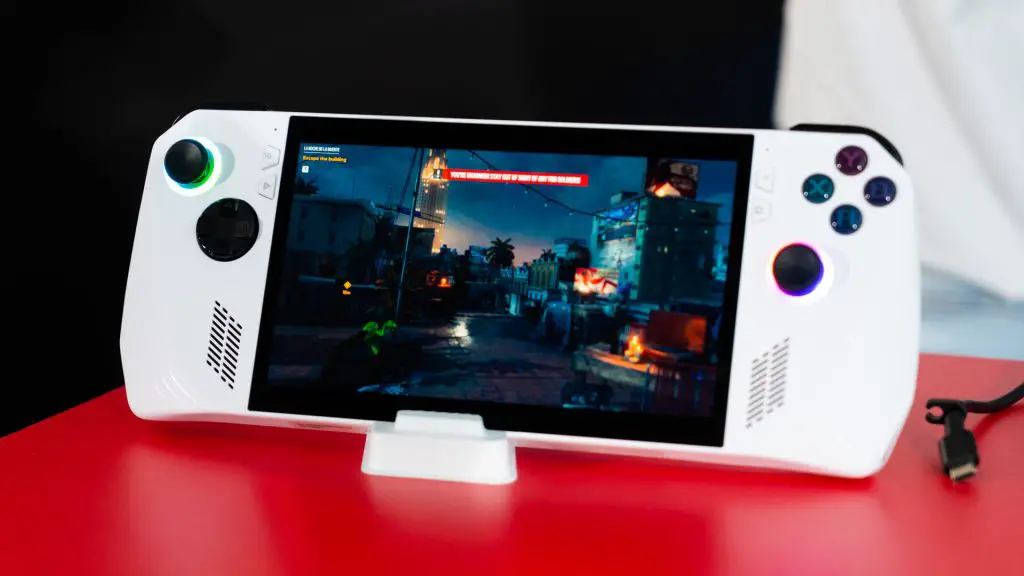
ROG’s latest handheld Windows gaming device is getting everyone hyped up. It’s a better Steam Deck – no, a superior one because it uses the Xbox controller layout. Yes, I said it even though I grew up with the PlayStation controller. I mean, I just think Xbox controller layout is so much better right from the moment I laid my hands on it.
That aside, the ROG Ally has a fantastic 1080p screen with great colors and brightness, and superb ergonomics while being lightweight too. Powered by the AMD Ryzen Z1 or the Ryzen Z1 Extreme depending on which variant you choose, you’ll enjoy your games with fantastic fidelity.
But that’s not what we’re focusing on today. Let’s take a look at serviceability, maintenance, and upgradability. That was one thing that the Steam Deck got right out of the gate – making the device as modular and as fixable as possible while also partnering with iFixit to sell the parts directly to us consumers who wish to fix the device ourselves. That’s a good way forward to the right to repair.
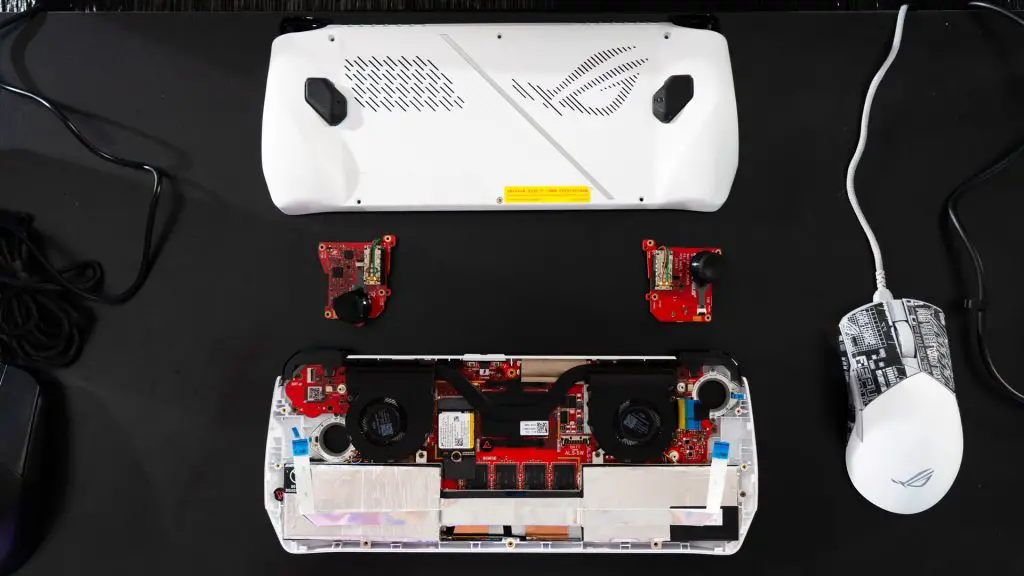
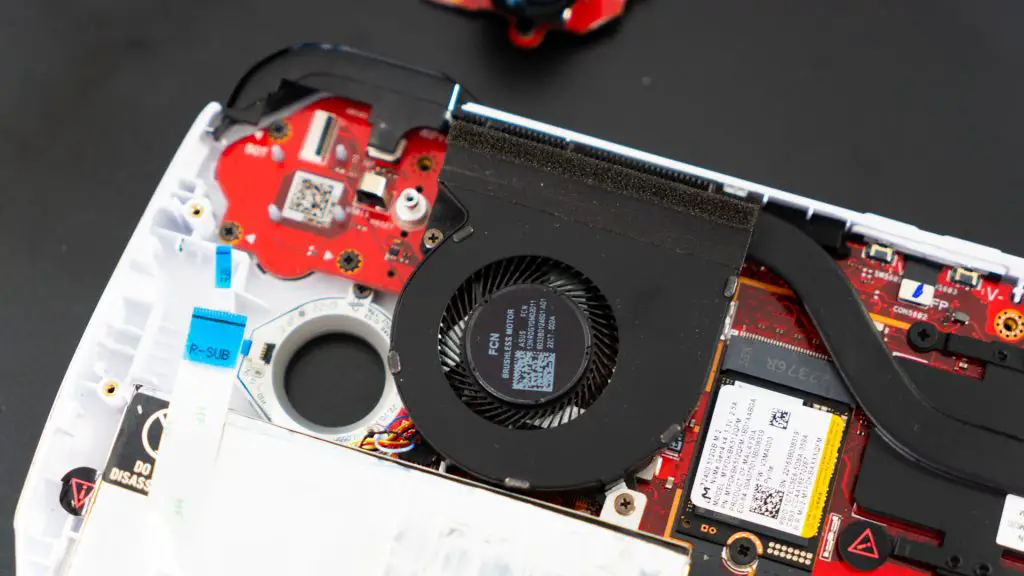
How about the ROG Ally then? Well, we got our hands on a fully dismantled Ally and I have to say, I was impressed. There are a few screws and one of them is a popup screw to help you lift the entire backplate off the device easily. This idea was lifted directly from their ROG laptops – and I truly like this feature.
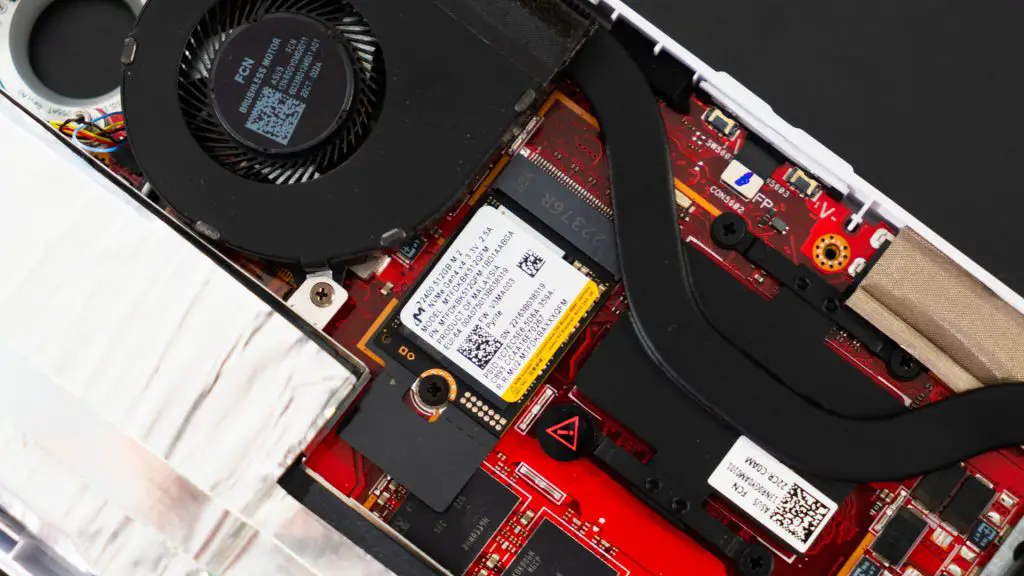
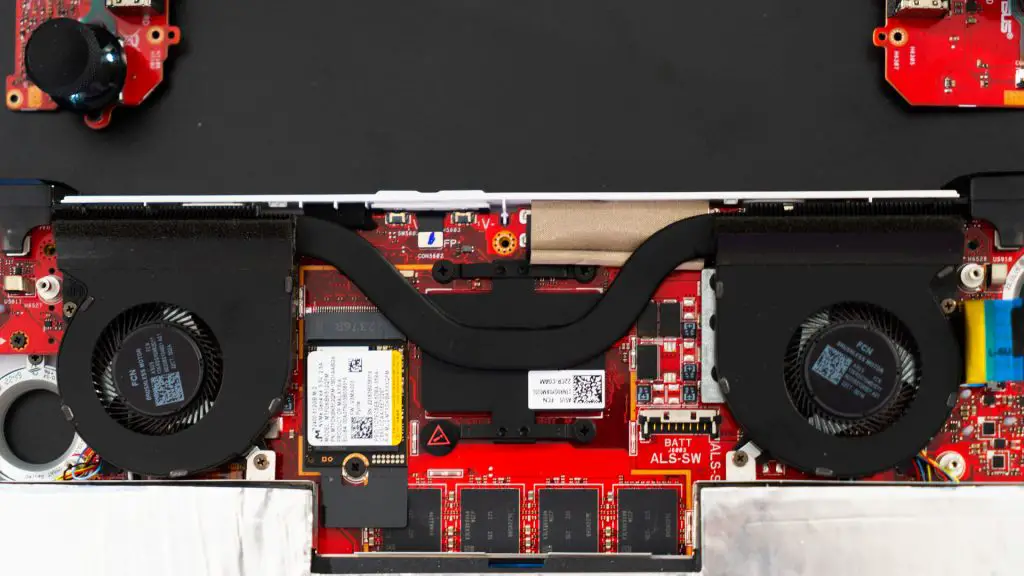
Once opened, we’re presented with the NVMe SSD that can easily be swapped out. It’s unfortunate that we can’t reuse our M.2 2280 SSDs but hey – M.2 2230 SSDs used in the ROG Ally are still easy to find in online shopping stores like Lazada, Shopee, Amazon, and AliExpress.
The heatsink and fans can easily be dismantled and serviced but that will void your warranty since the warranty sticker is on one of the screws for the SoC clamp.
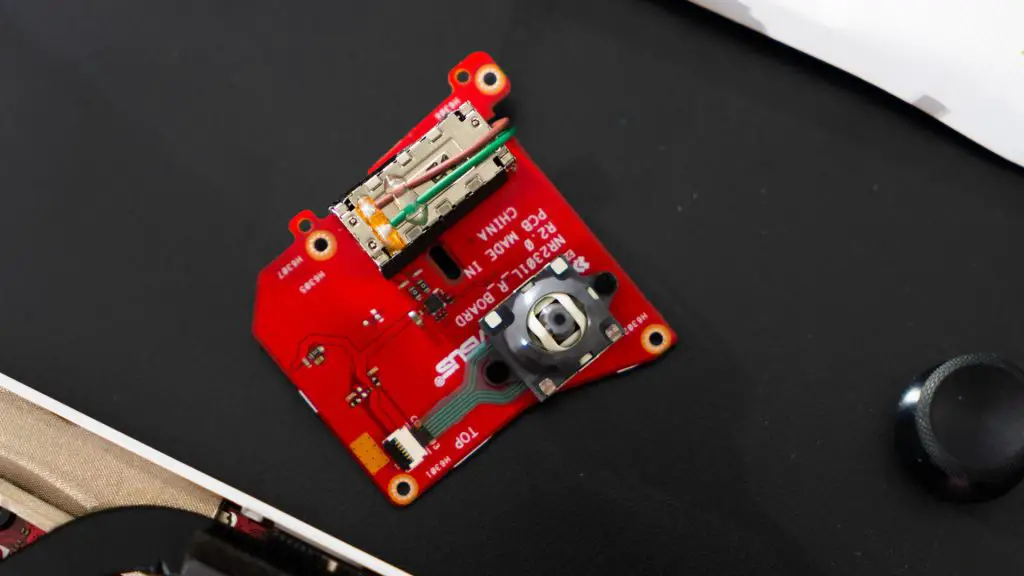
As for the joysticks – this is where things get interesting. Each joystick is screwed onto a daughterboard and connected via a small ribbon cable. While I’m okay with this setup overall, you do have to be careful as I do think that the ribbon cable might be a bit fragile for first-timers who are fixing the devices on their own. Even connecting the ribbon cable might be a bit difficult. Maybe having something like a Mill Max hotswap-style socket for the joysticks should be better and easier. The daughterboard has a vibration motor that seems to be just connected via some cables.
If you do want to swap out the battery as well, then you can also unscrew it easily but once again – you’ll be voiding the warranty too since there’s a sticker there.
The RAM however, is soldered onto the motherboard – I do understand why it is soldered since the SO-DIMM slots will take up some Z-height.
I do have to say though, even with all of these repair-centric designs, the ROG Ally still feels fantastic to hold in my hands.
We’ll need some more time to actually get a proper feel of how the device performs and feels after long hours of gaming. Of course, we’ll have a video about this in the future – so do subscribe to our YouTube channel too.

