While AMD Zen 5 CPUs work perfectly fine with the existing 600-series chipset motherboards, it is recommended to pair them with the new 800-series chipset motherboards. This pairing allows you to fully leverage the new CPUs’ features and enhanced capabilities. Most of the AMD 800-series chipset motherboards we’ve tested so far have performed exceptionally well, particularly in memory overclocking.
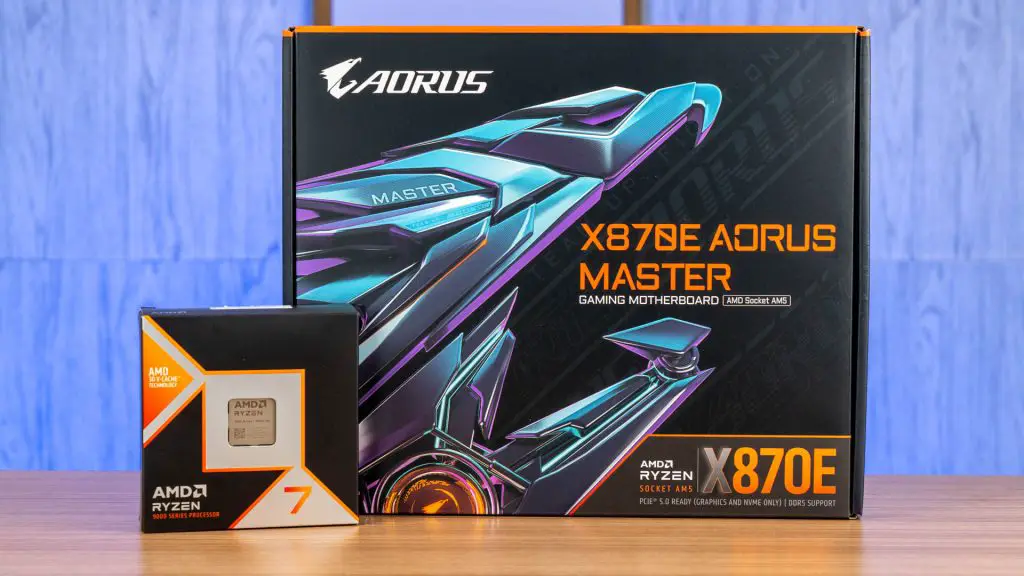
Today, we’ll be taking a closer look at the X870E AORUS MASTER from Gigabyte, one of the latest enthusiast-grade motherboards the brand offers for the new AMD CPUs. How does it improve upon the X670E AORUS MASTER, which was already an excellent option? Let’s dive in and find out.
Box & Accessories
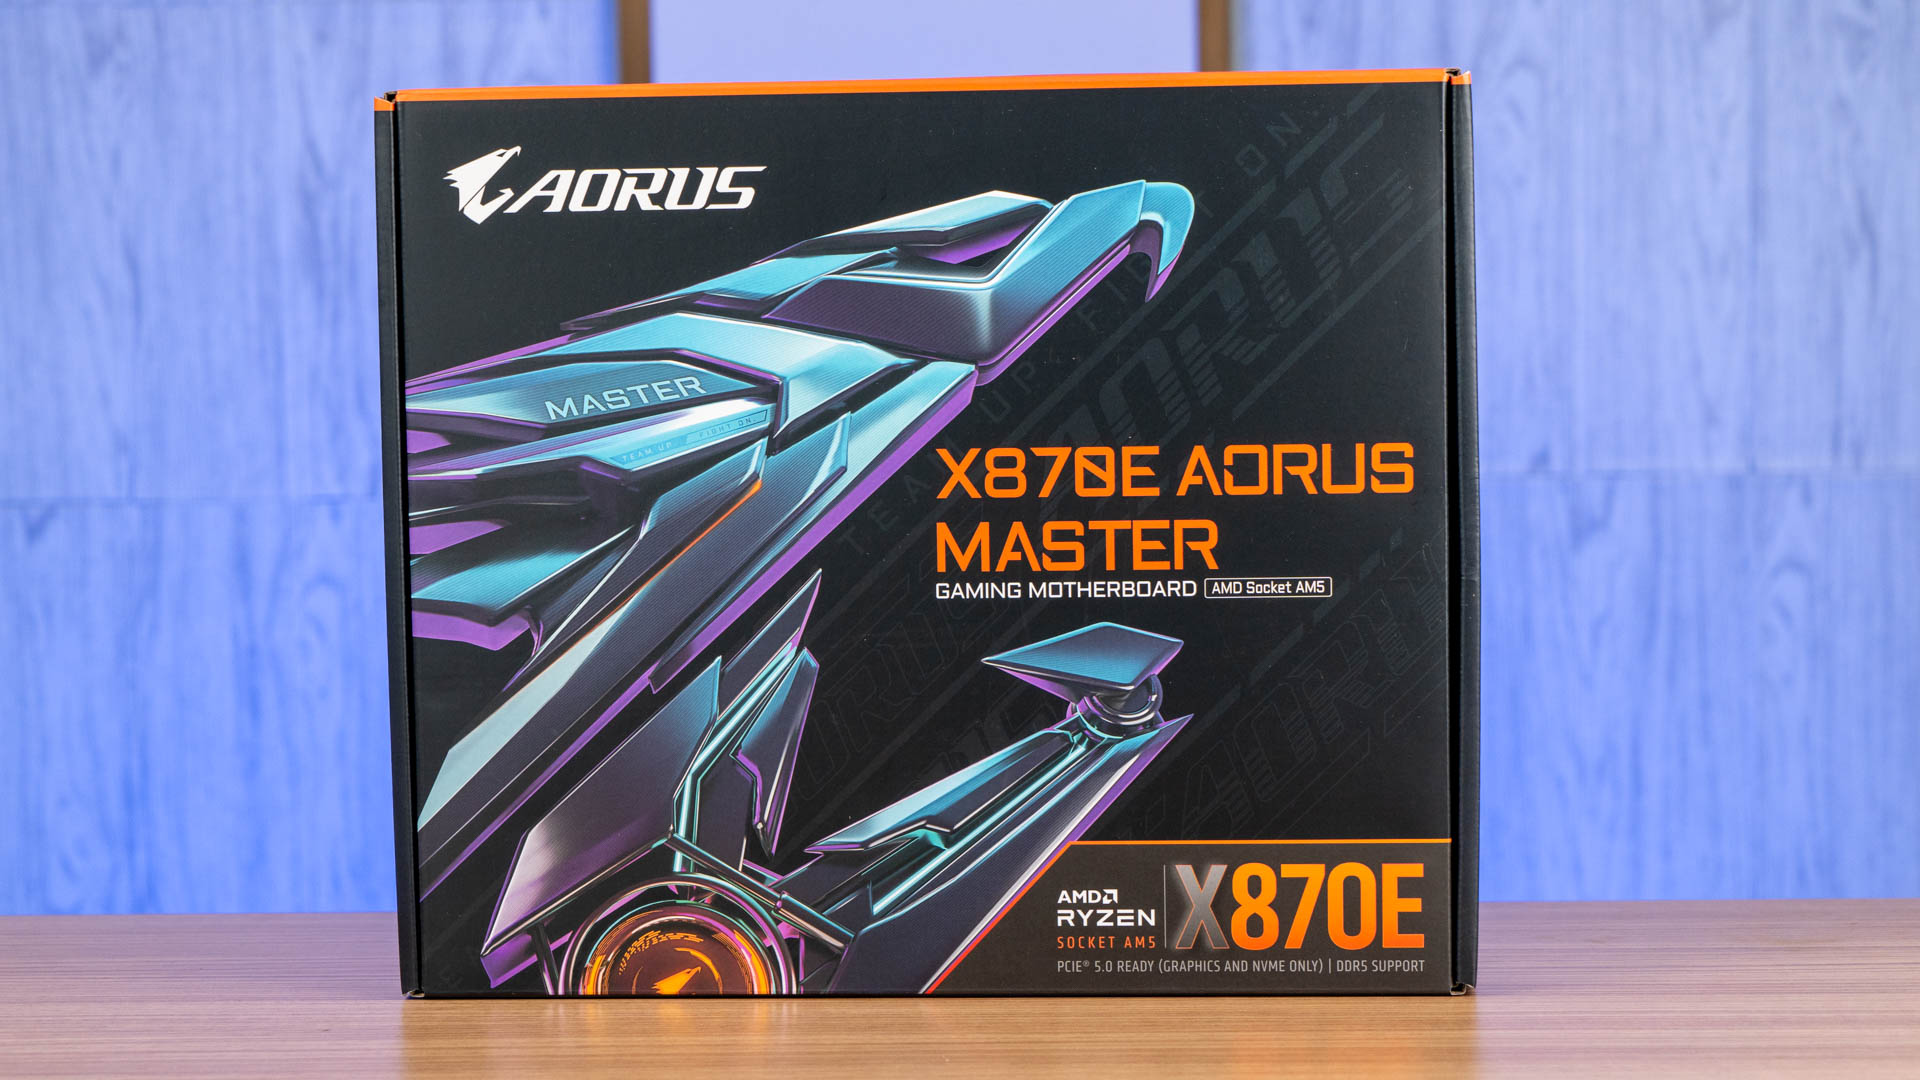
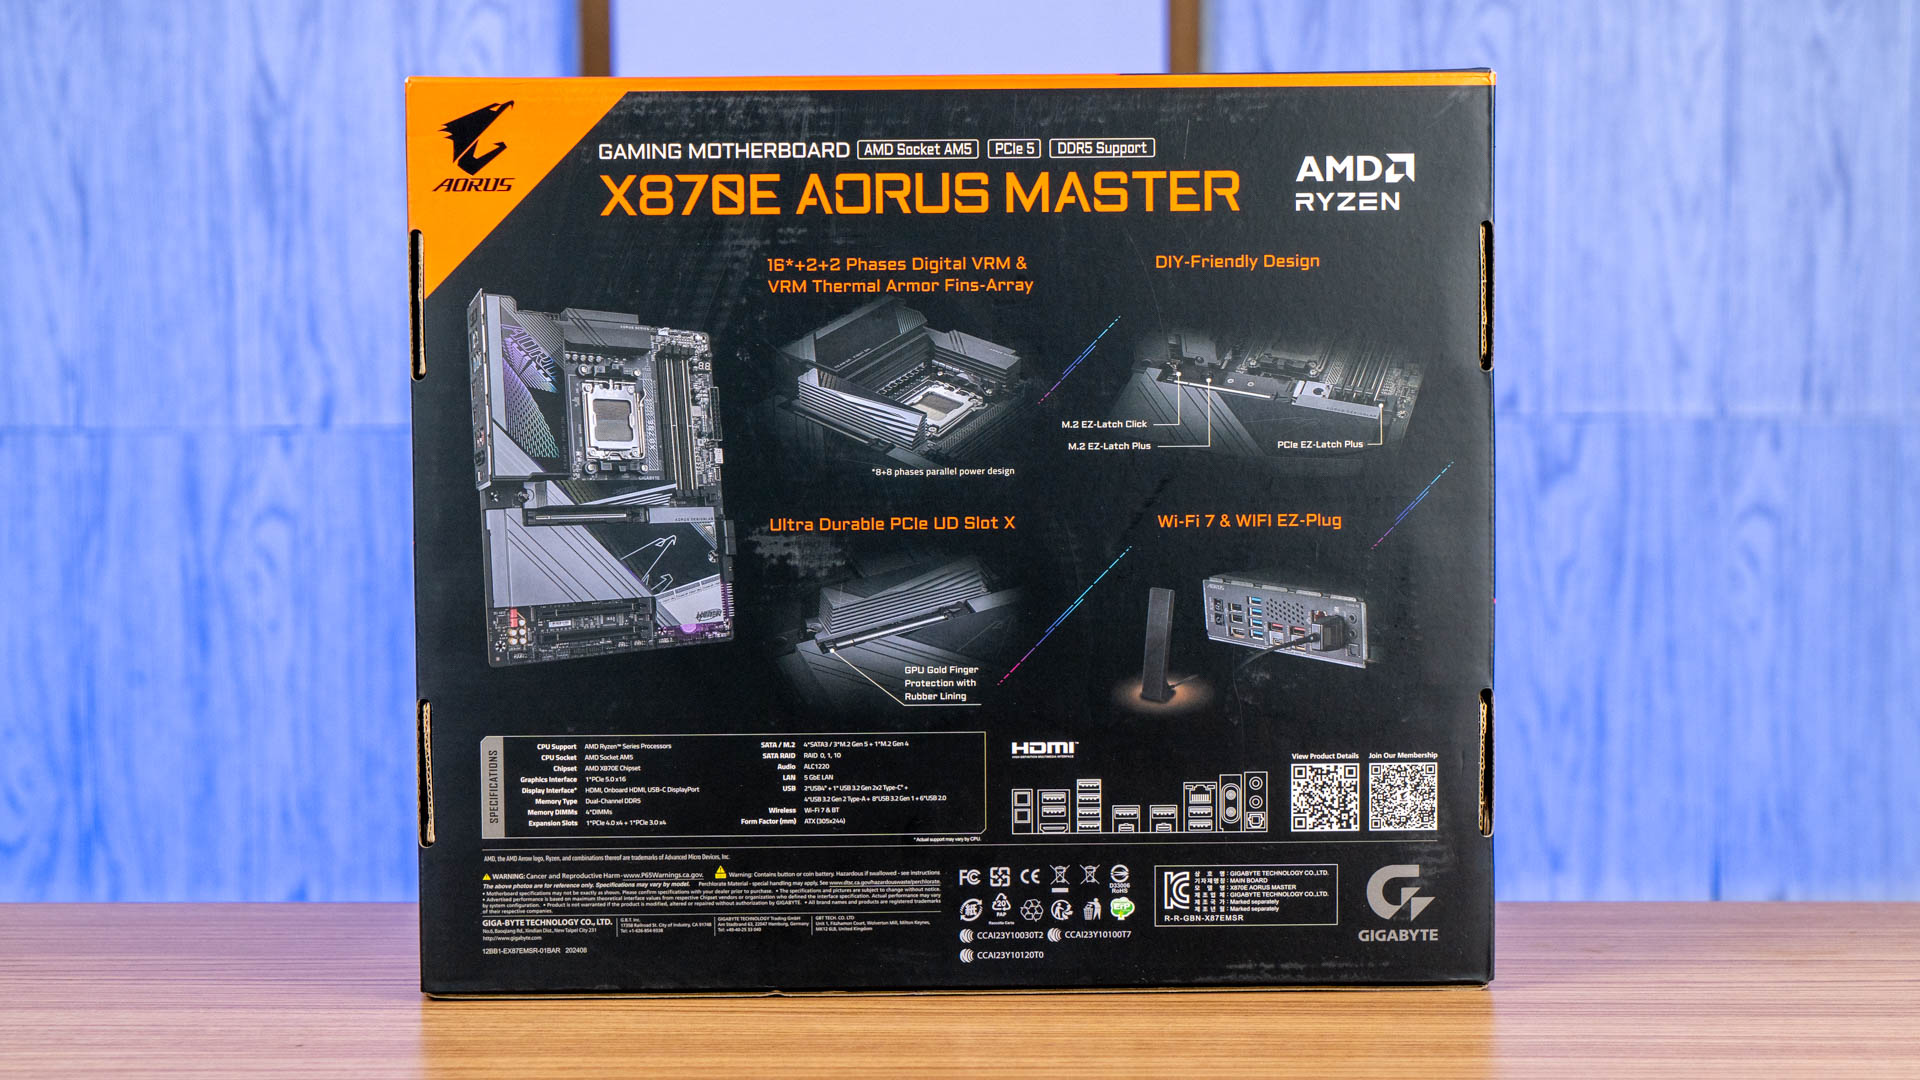
The box design has received a bit more of a makeover this time, appearing flashier compared to the X670E AORUS MASTER. Core details and prominent features of the motherboard are still clearly presented on the back of the box, as expected.
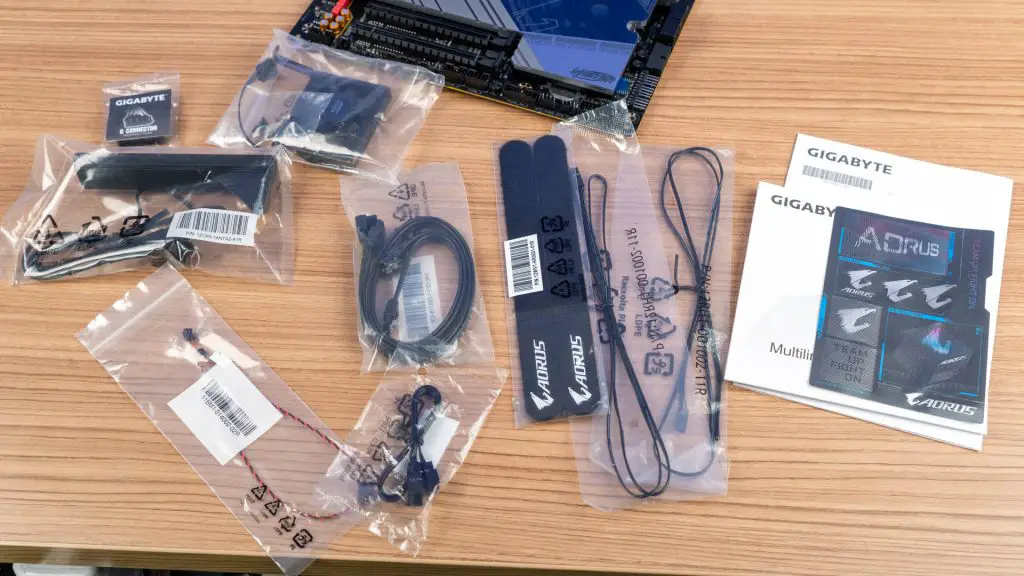
In terms of accessories, it’s quite similar to what its predecessor offered: a User Guide, AORUS stickers, RGB extension cables, a Q-connector, SATA cables, Velcro straps, thermal probes, and the Wi-Fi antenna.
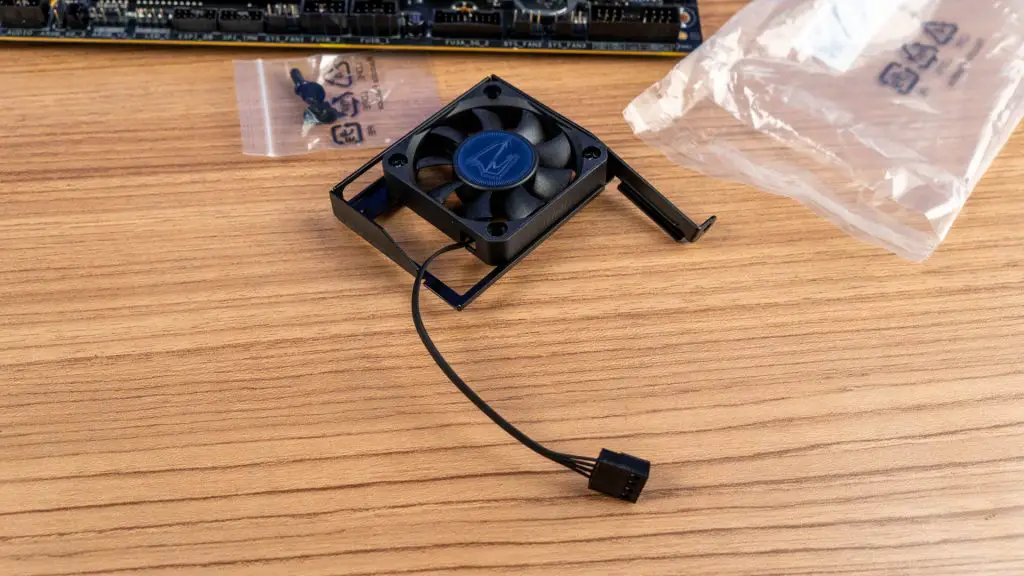
However, a noteworthy addition is the cooling fan for the DIMM slots, which Gigabyte has included this time. This is a particularly useful accessory, as DDR5 modules tend to run warm when operating at higher memory frequencies.
The X870E AORUS MASTER
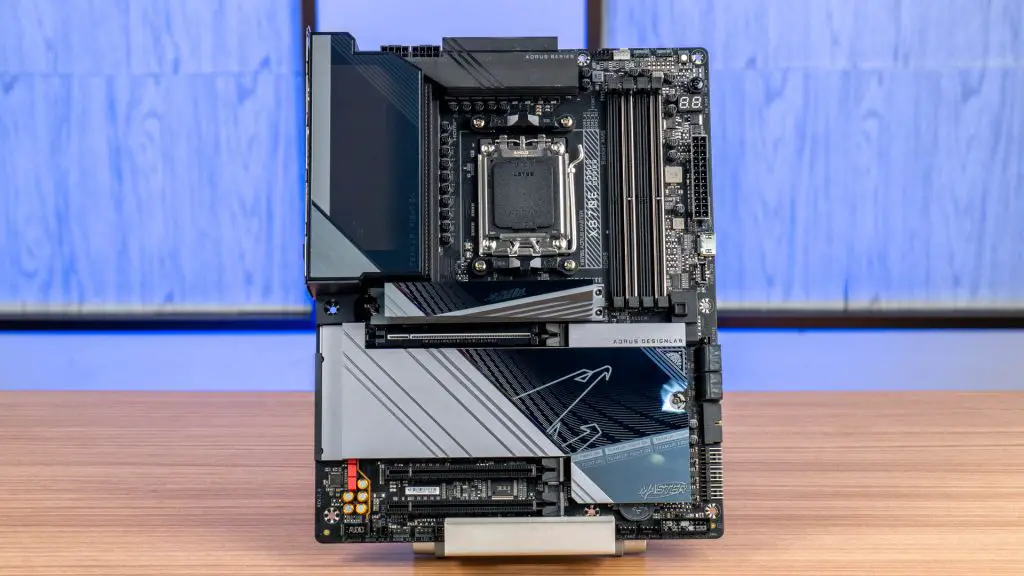
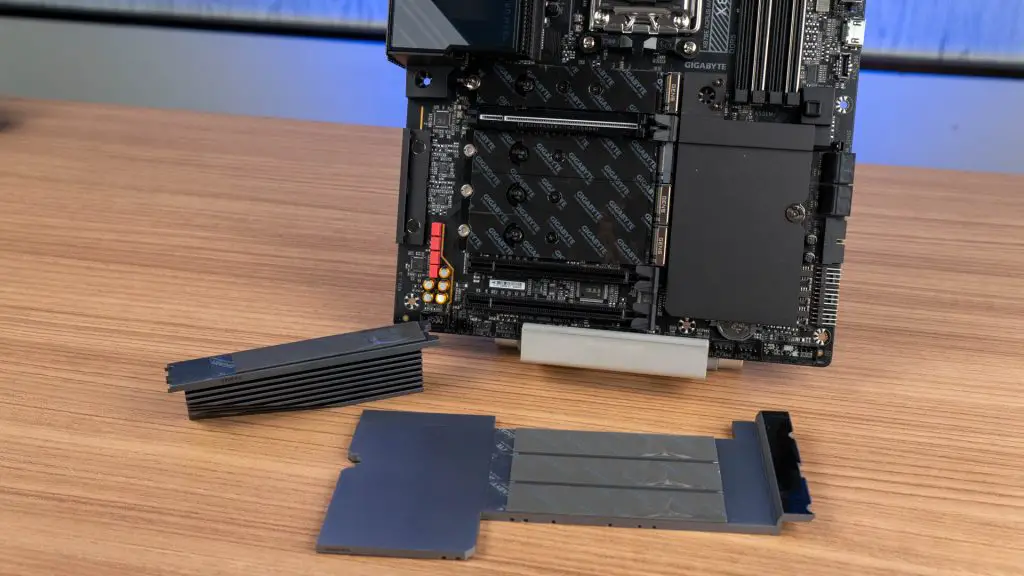
The overall layout of the X870E AORUS MASTER remains somewhat similar to the X670E AORUS MASTER, but a closer inspection reveals that Gigabyte has made further improvements to its quality-of-life (QOL) features. Notably, the M.2 SSD heatsinks are now completely toolless, significantly simplifying the process of installing or replacing M.2 drives.
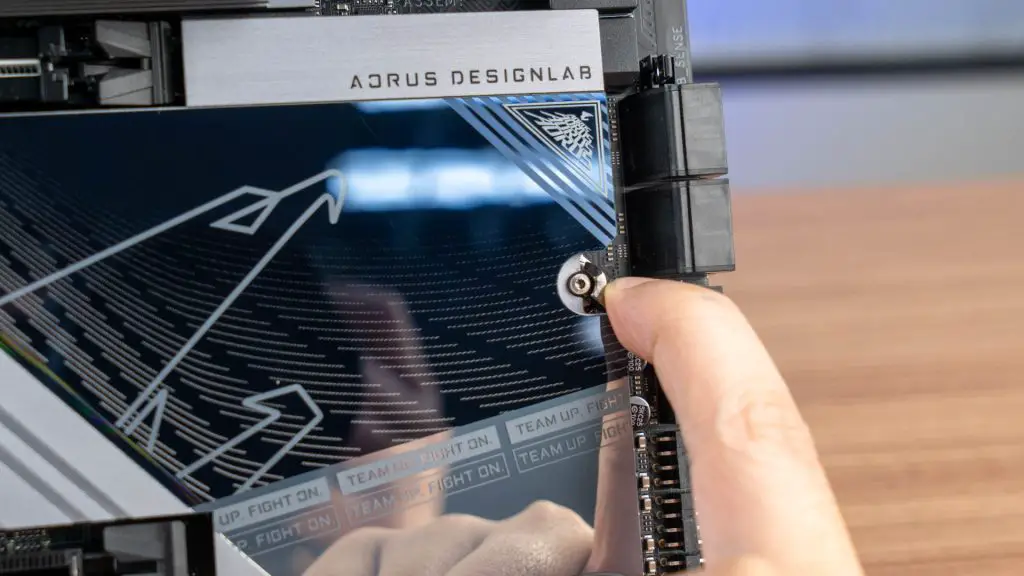
Other thoughtful QOL updates include a PCIe release button and the relocation of one front USB 3.0 header to a side-mounted 90-degree angle position—both commendable enhancements that meet the expectations for a board in this class. However, we did encounter a minor inconvenience: the M.2 heatsink obscures the labels for some fan headers, which took us a while to locate.
One surprising change is Gigabyte’s decision to remove the backplate from the X870E AORUS MASTER. Additionally, some fan and pump headers have been relocated, and the onboard reset button, which previously matched the size of the power button, has been downsized. While the removal of the backplate may eliminate compatibility issues, it could be seen as a bittersweet adjustment for long-time AORUS MASTER users.
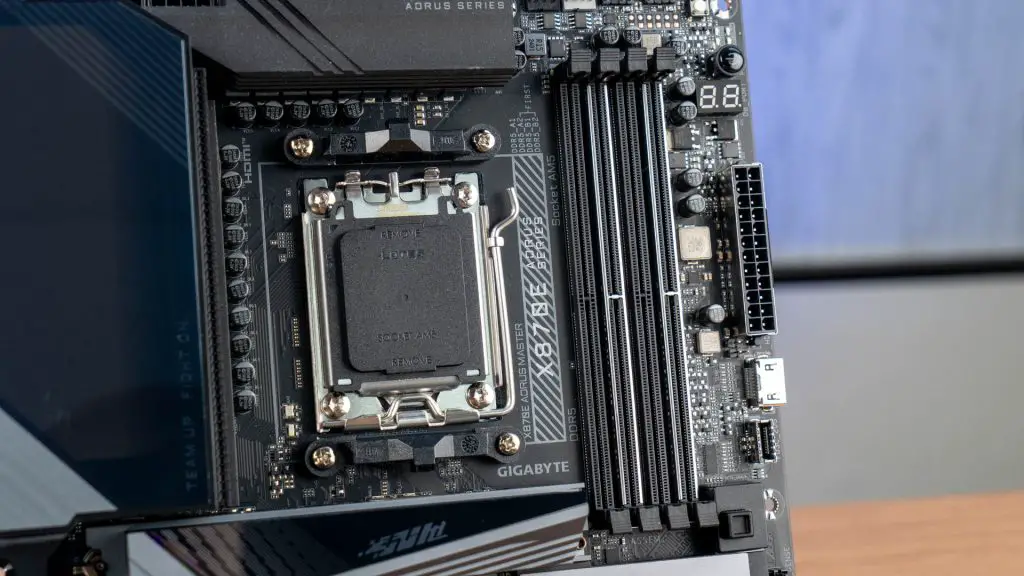
The board retains four DIMM slots, providing flexibility for different user needs, though a 2-DIMM configuration generally delivers the best performance. Interestingly, Gigabyte opted to include only two DIMM slot shields this time—a decision that may feel like a step back for some users.
Despite this, the board supports up to DDR5-8600 for those willing to invest in premium EXPO-enabled DDR5 kits, and it can accommodate up to 256GB of RAM using 64GB modules in all four slots.
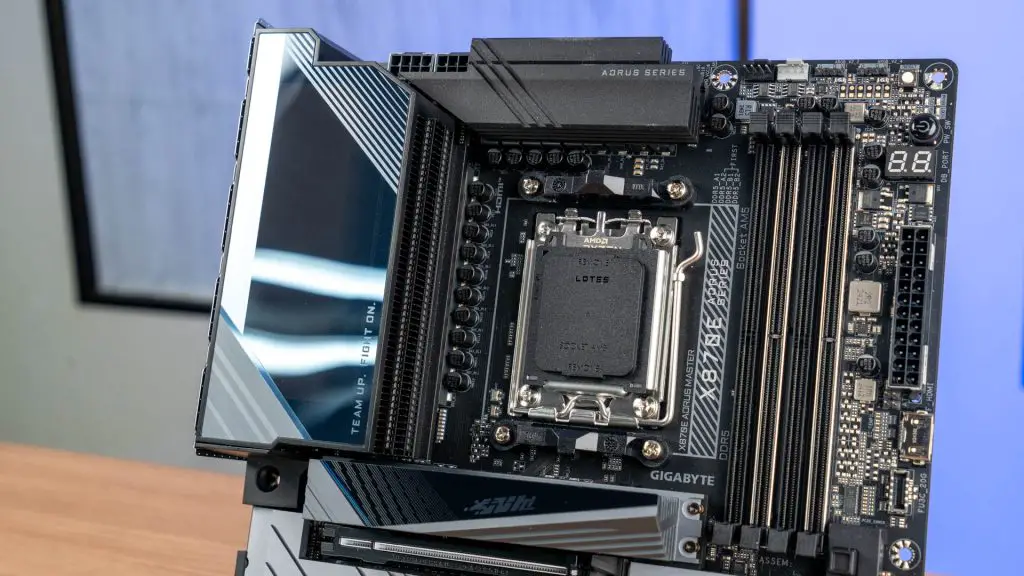
In terms of power design, the X870E AORUS MASTER carries forward the twin 16+2+2 phase VRM configuration from its predecessor but upgrades to PMC41430 110A power stages for the Vcore rails, PMC41410 80A stages for the SoC, and 45A stages for additional components. It utilizes the XDPE192C3B PWM controller from Infineon, which is also featured in many of Gigabyte’s X670 motherboards.
Cooling the VRM is a larger Thermal Armor Fins-Array heatsink, offering improved heat dissipation compared to the Fins-Array III design on the X670E AORUS MASTER.
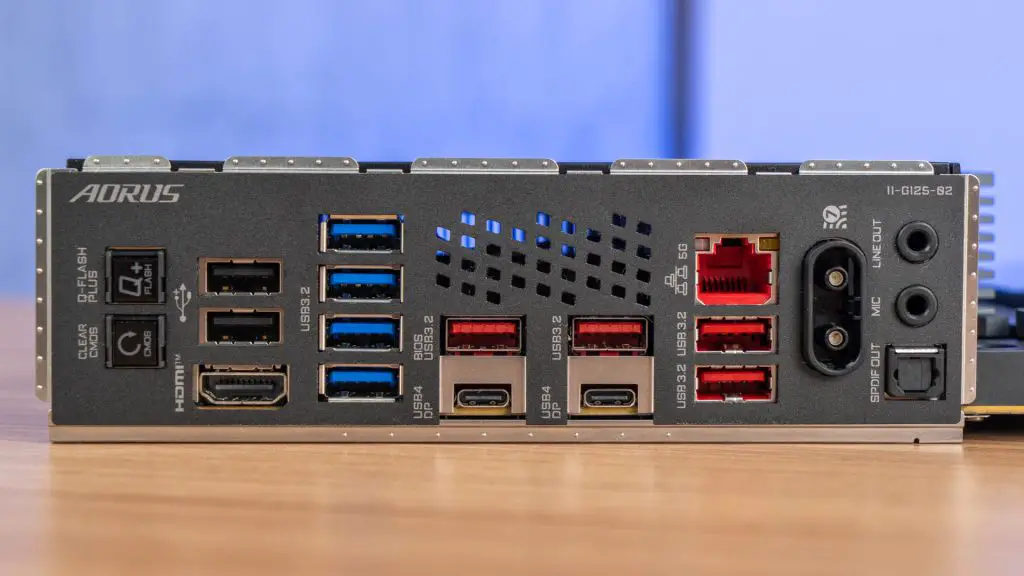
At the rear I/O panel, the number of USB ports and their variants remain unchanged. However, the inclusion of USB4 on the Type-C ports with DisplayPort alternate mode is a welcome upgrade, as are the faster networking options, including 5GbE LAN and Wi-Fi 7. Gigabyte also introduced the new WiFi EZ-Plug connectors, which enhance convenience—a small but appreciated touch.
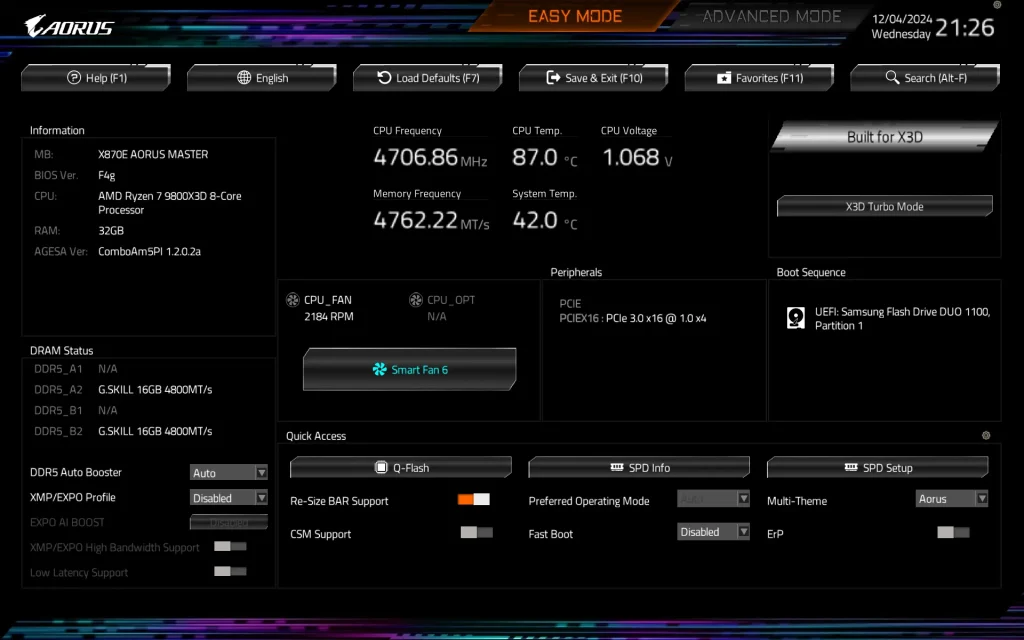
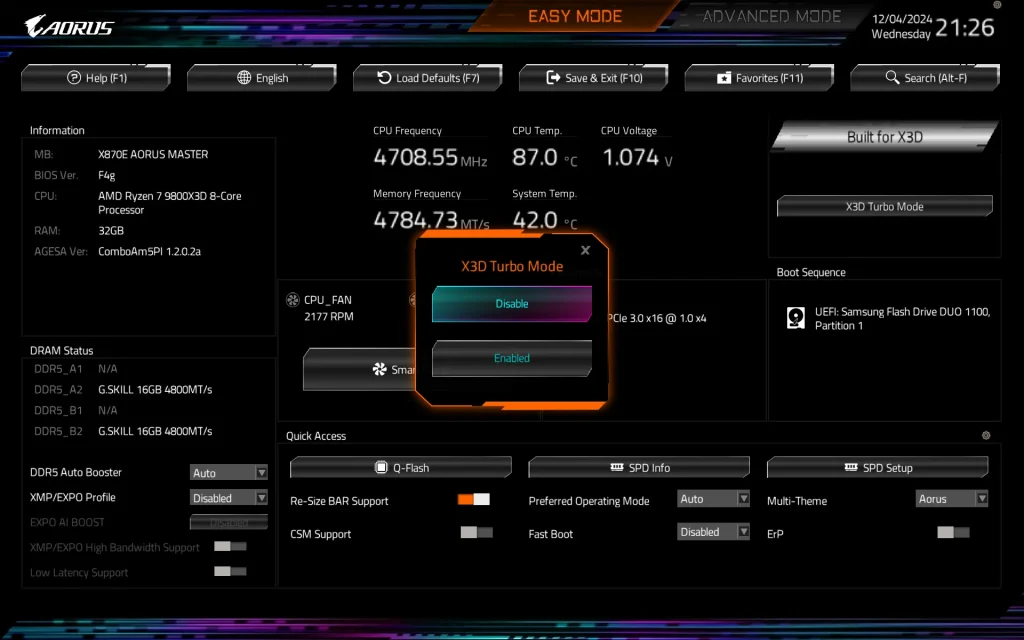
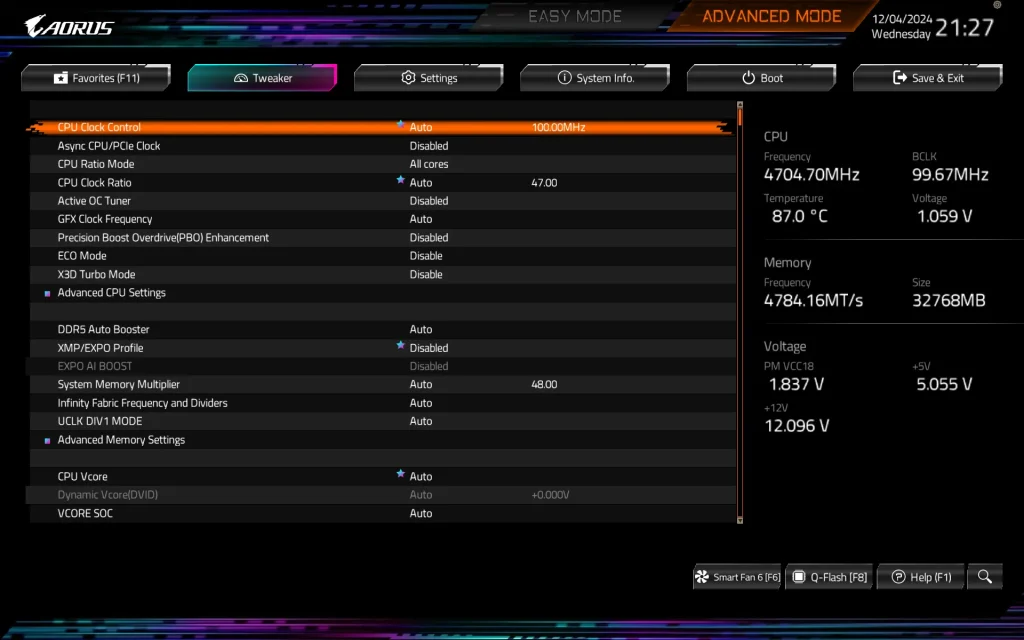
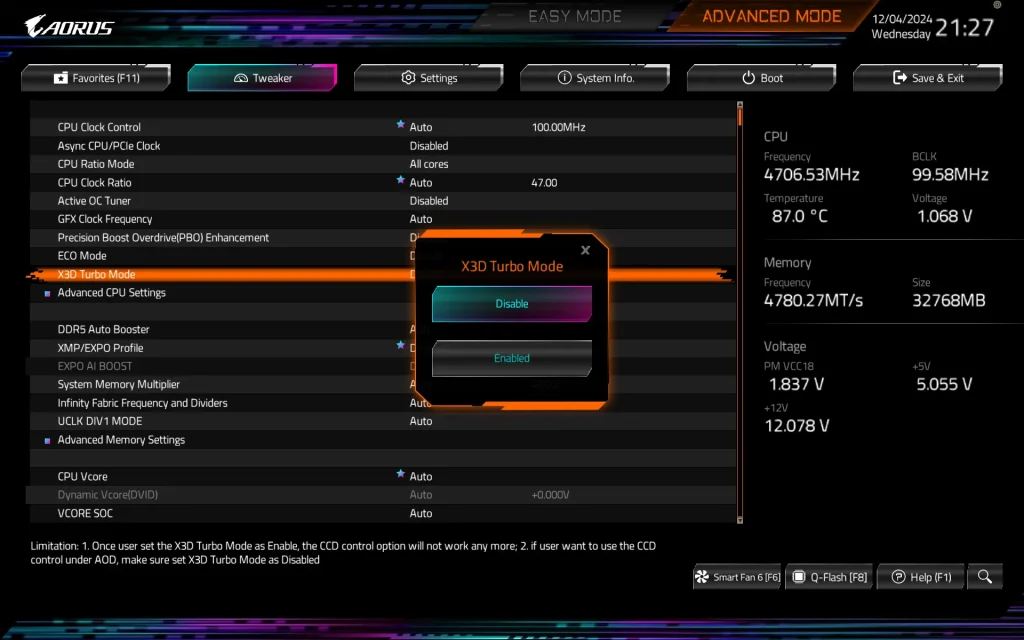
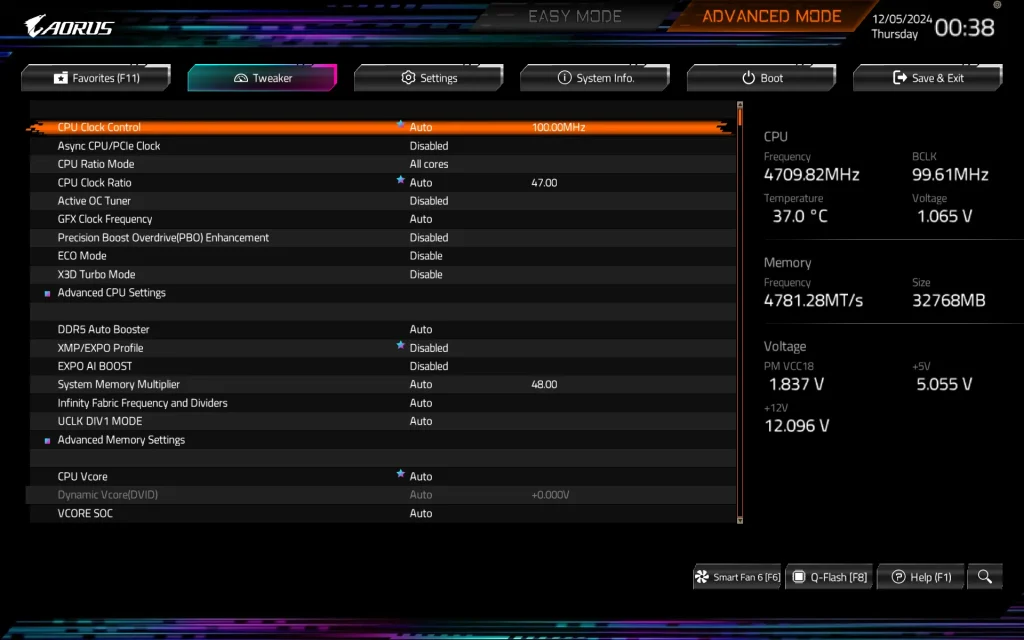
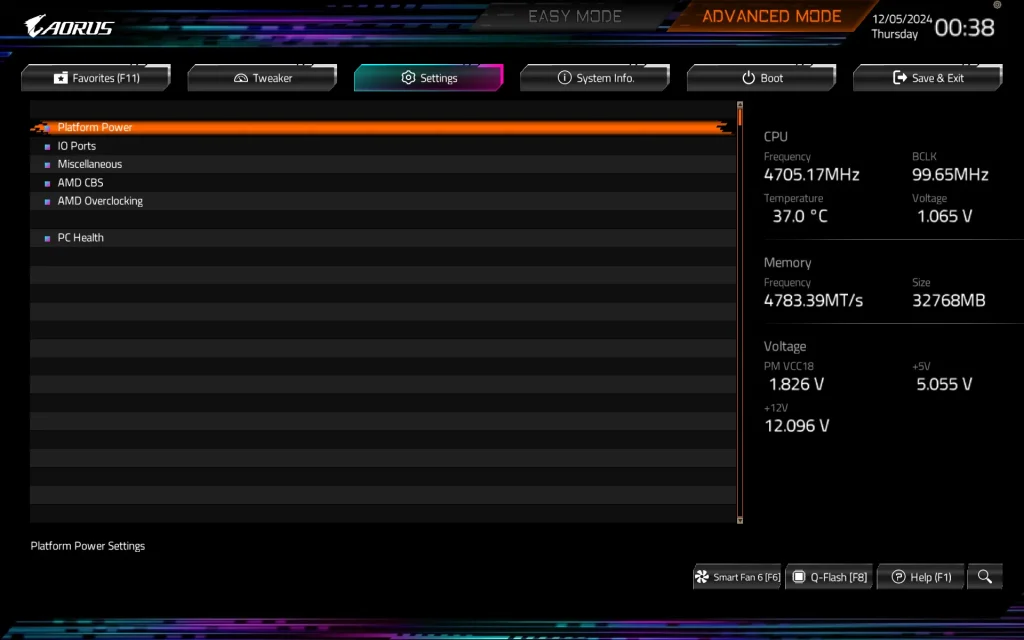
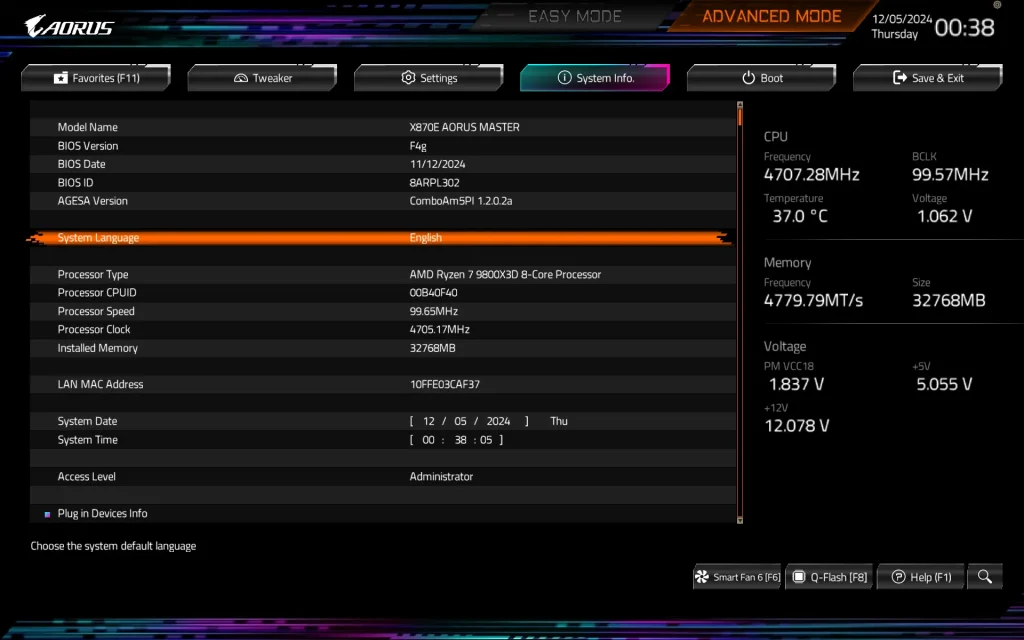
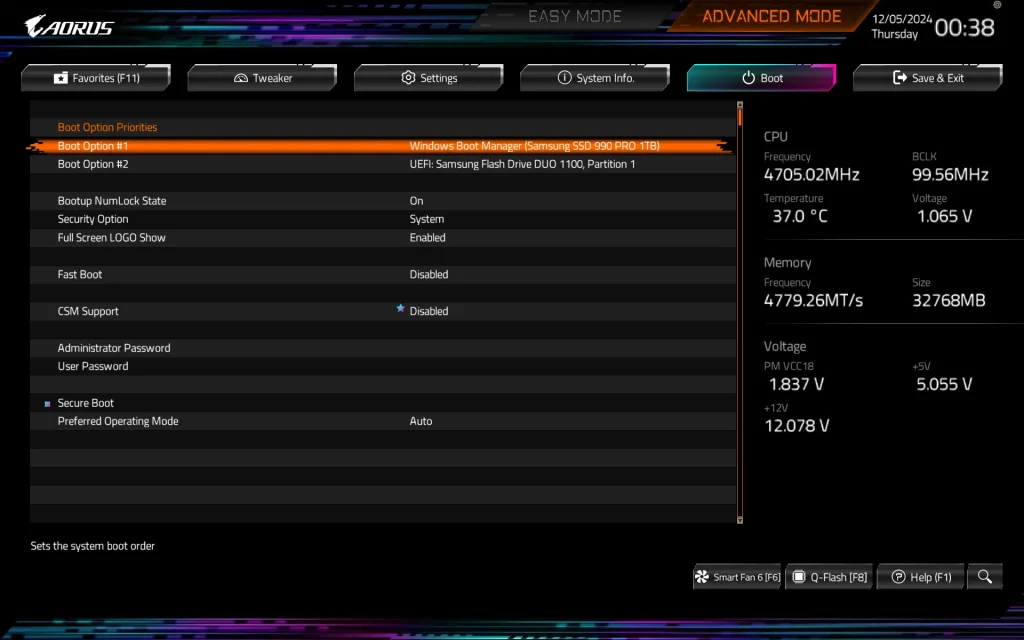
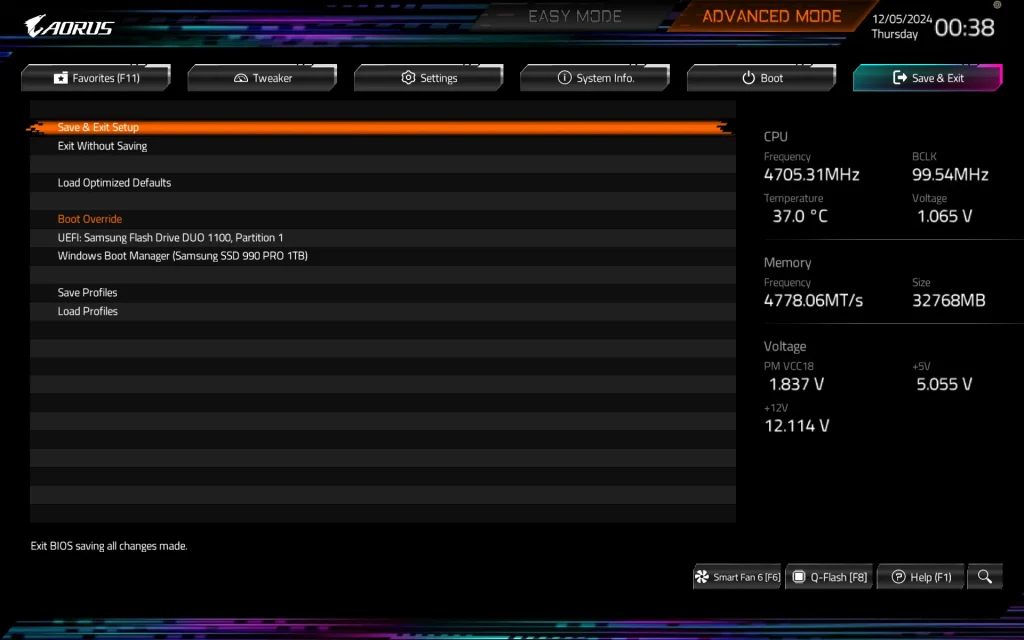
BIOS Interface

CPU Load Test and Thermals
Although the maximum CPU load temperature remains set at 95ºC, as with the Zen 4 CPUs, the same principle applies: the cooling capacity of your cooler plays a crucial role in determining how far the CPU can go, particularly in sustaining clock speeds across all cores under load. A capable cooler ensures optimal performance, leaving the rest up to the motherboard’s power design.
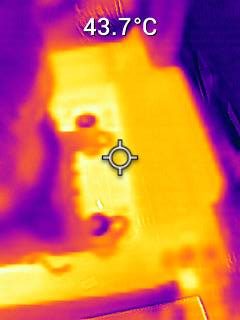
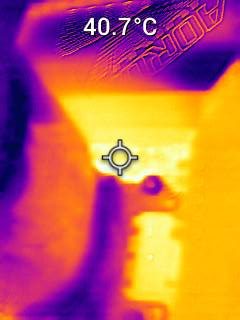
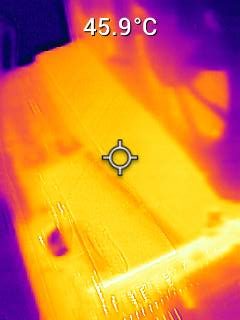
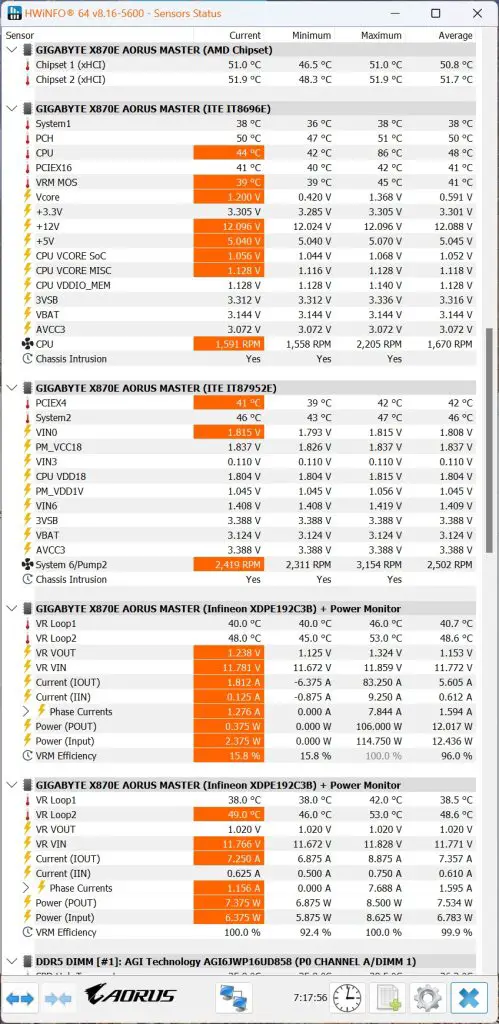
In our load tests with creative content and productivity benchmarks, the VRM performed exceptionally well, barely exceeding 50ºC throughout the session. The chipset temperatures were equally impressive, peaking at just 53ºC—a significant improvement compared to the X670E AORUS MASTER. Thermal imaging camera captures corroborated these results, showcasing Gigabyte’s excellent work on the X870 AORUS MASTER.
One noteworthy observation during testing was an issue with certain AIO coolers featuring larger brackets, such as the DeepCool LS720 and LT720. These brackets can obstruct the M.2_1 heatsink, leading to poor contact between the AIO block and the CPU.
Fortunately, this issue can be resolved by adjusting the heatsink position slightly downward to avoid interference with the mounting bracket. This workaround ensures compatibility, allowing users to utilize these coolers without further complications.
Memory Overview
For memory support, AMD has shown its continued commitment to improvement. This time, memory compatibility has been enhanced, enabling smoother operation with DDR5-6400 configurations.
Most existing DDR5 kits will function well under JEDEC specifications, but for higher frequencies and tighter timings, it’s best to opt for an AMD EXPO-certified kit. We found it much easier to achieve DDR5-6400 CL28 this time around. However, for those who prefer a simpler setup, the sweet spot remains DDR5-6000 with an Auto 1:1 FCLK:MCLK:UCLK configuration.
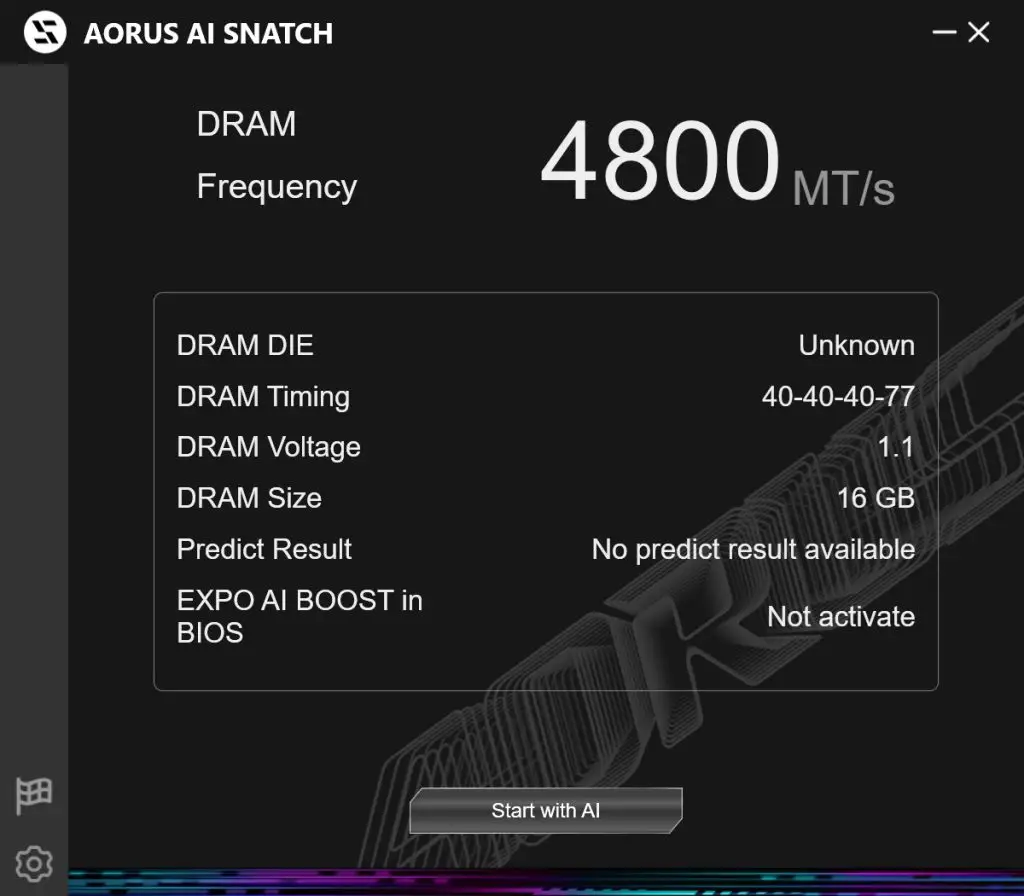
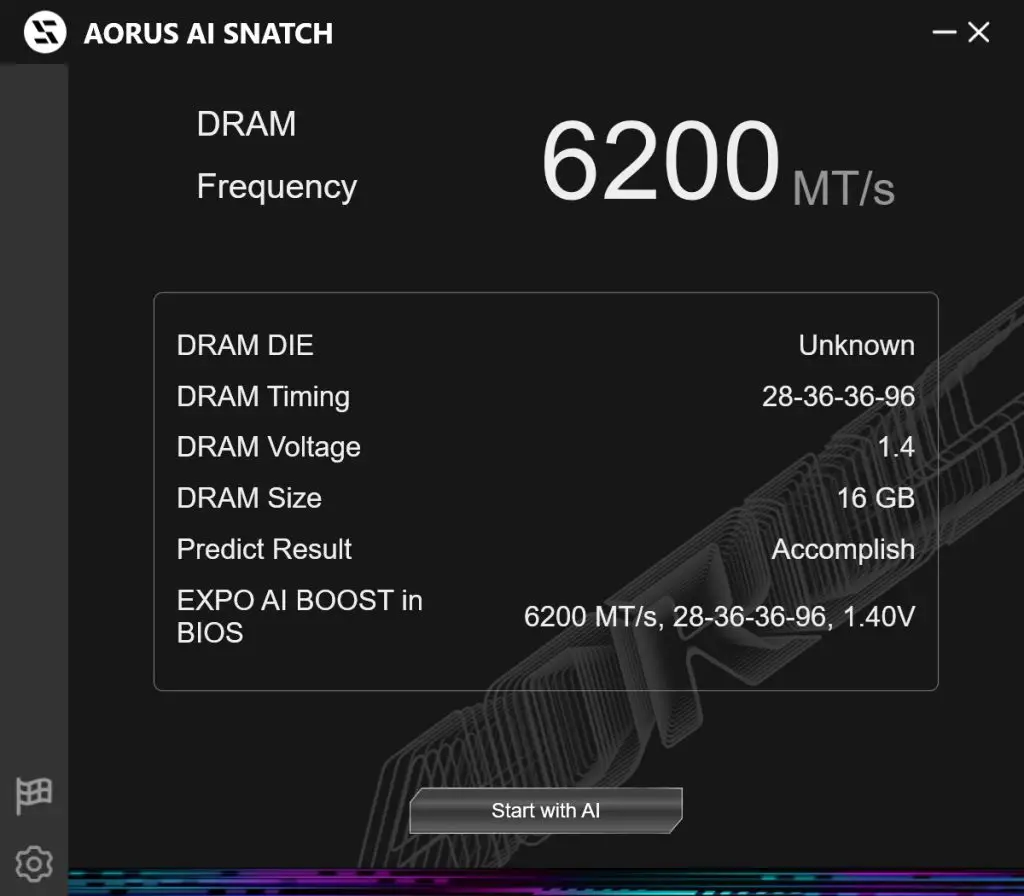
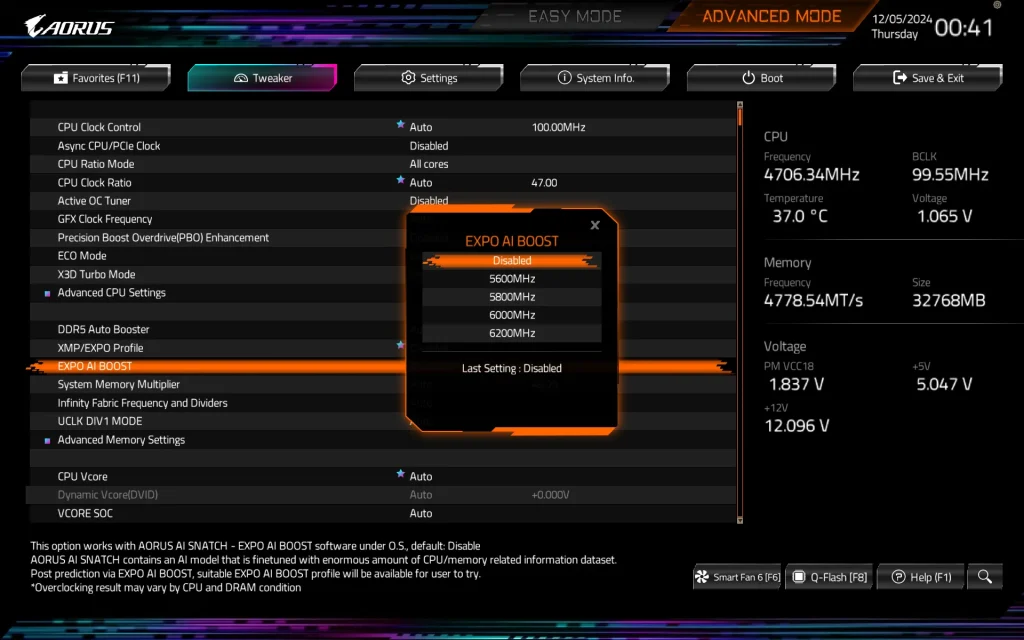
For users looking to push their memory kits further without much technical know-how, Gigabyte introduced a new feature called AI Snatch, available in the Gigabyte Control Center. While the feature is convenient, I wish Gigabyte would provide a standalone installer on their product page. Many users might want to experiment with AI Snatch without needing to install the entire Control Center app. A simple desktop shortcut for the feature would be a welcome addition.

The effectiveness of AI Snatch largely depends on the memory kit and CPU being used—it will not work on non EXPO kits. Gigabyte’s demo video showcased a premium DDR5-8000+ EXPO profile kit, which is beyond the budget of many users. In our tests using an older EXPO kit from the Zen 4 launch era, we achieved a respectable improvement, moving from DDR5-6000 CL40 to DDR5-6200 CL28.
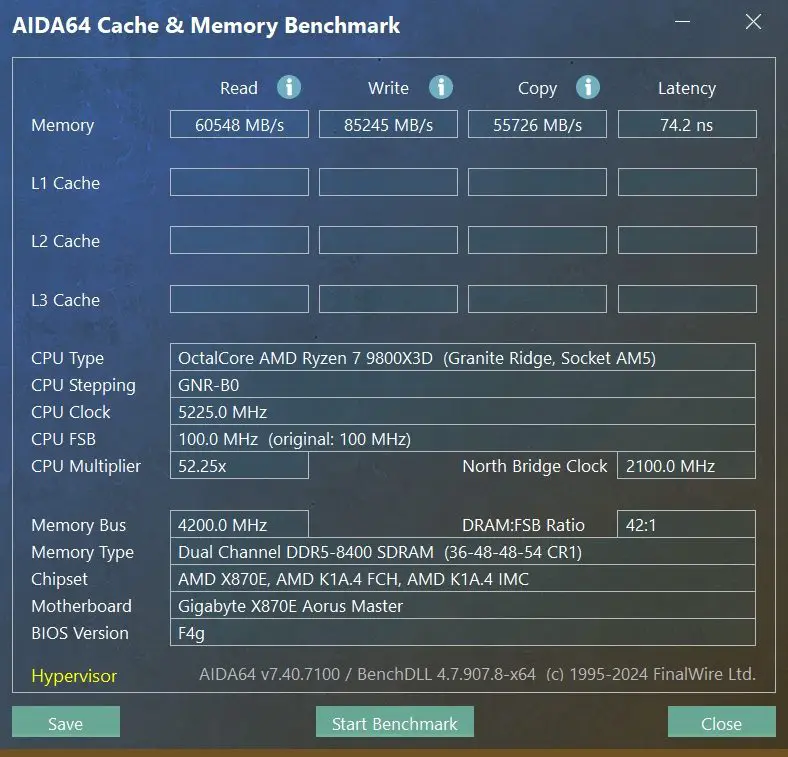
Naturally, we attempted to push the limits further to explore Gigabyte’s claimed DDR5-8600 support. After several attempts, we managed to boot into Windows at DDR5-8600, but the system crashed consistently when running benchmarks like TestMem5 or Karhu RAM Test. Ultimately, we settled on DDR5-8400, which proved stable during both stress tests and gaming benchmarks.
Thoughts For Now
Our impressions of the Gigabyte X870E AORUS MASTER are somewhat mixed. Let’s start with the positives. This motherboard excels in user-friendliness and thoughtful design. The tool-free M.2 SSD and heatsink features streamline installation, reducing hassle compared to competing options.
Useful utilities like thermal sensor ports, a POST code LED, and conveniently placed power and reset buttons make it an excellent choice for high-performance builds. Its clean and minimalist aesthetics add to its visual appeal, and the inclusion of an internal HDMI port boosts versatility, even though it doesn’t support the latest resolutions and refresh rates.
However, there are notable drawbacks. The motherboard lacks a competitive number of USB 3.2 10 Gbps and Type-C ports and is missing 10 Gbps Ethernet—a significant oversight for a board priced at RM 2,799. These shortcomings are even more evident when compared to alternatives like the ASRock X870E Taichi or MSI X870E Carbon WiFi, which offer better connectivity and similar features at lower prices.
Design quirks such as a less robust graphics card release mechanism and hidden port labels beneath the chipset heatsink make setup slightly more challenging. Furthermore, the decision to exclude a backplate and provide only two DIMM shields may be polarizing for long-time AORUS MASTER users.
Despite these criticisms, the X870E AORUS MASTER delivers solid performance and a comprehensive feature set, making it a dependable option among X870E motherboards. Whether these trade-offs justify its price will ultimately depend on the specific needs and preferences of the user.