In today’s digital day and age, I think everyone has a bunch of data they want to store in a personal, digital vault. But, we’ll also want to access it from anywhere in the world. The solution that many of us opted for is just basic cloud storage. However, we’ve seen many cloud storage services switching their policies all of a sudden and causing massive headaches for everyone. Case in point – Google Photos no longer offering its free service. Even small-medium enterprises (SME) or businesses need a similar self-hosted cloud storage solution.
That is why we opted to get a NAS, or network-attached storage. We have even calculated the cost of using a NAS versus paying cloud storage providers for data backups and our conclusion is that self-hosting our own cloud storage via a NAS is actually more economical while offering us more control.
But the question is – which NAS should you get? Today, we have the Synology DiskStation DS920+ NAS with us and I’ve been using it for about a month. We’re only going to review this today and go through its capabilities alongside its features.

We have yet another interesting article coming up as we are using this particular NAS as an offsite backup for our office’s NAS.
Unboxing
I’m going to keep this short – inside the box, everything is separated into 3 compartments. The only things that we need to use are:
- The DiskStation DS920+
- Ethernet cables
- Power supply
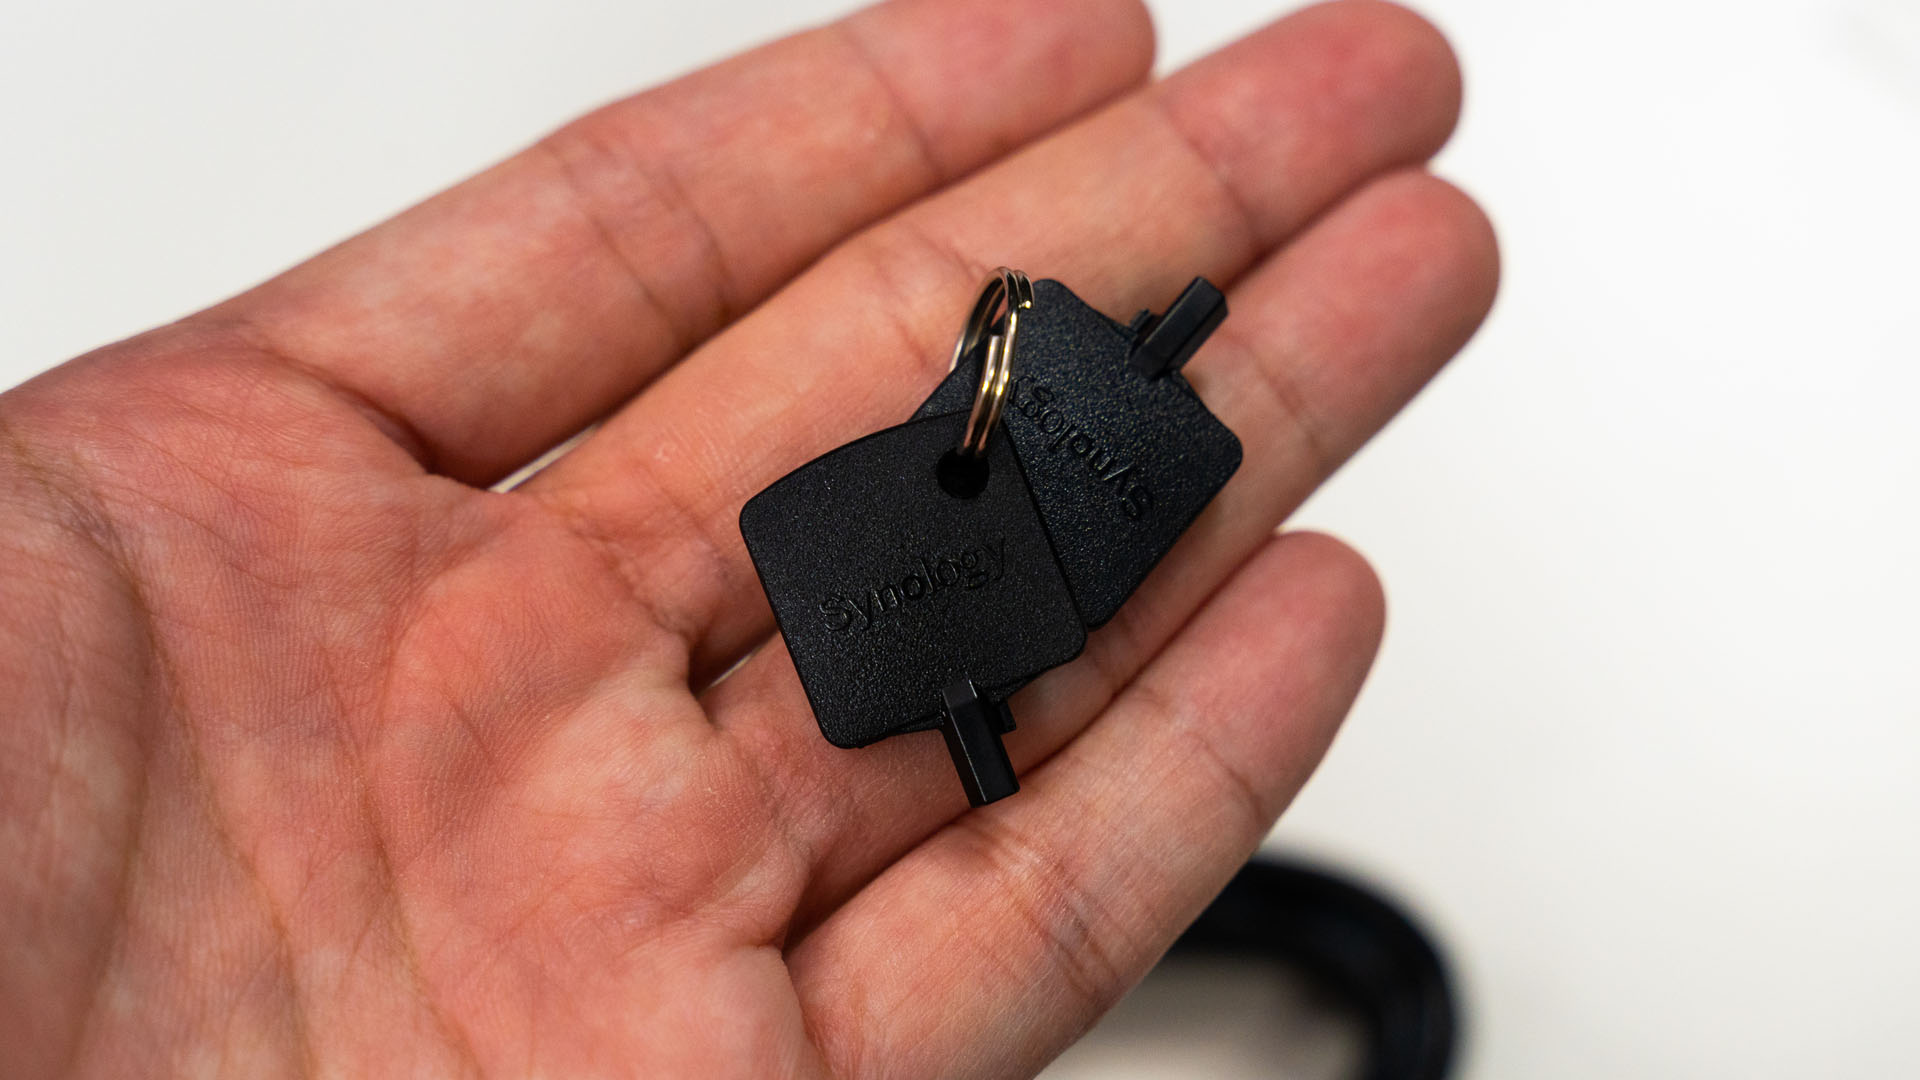
- A locking key
- Some screws (more about this later)

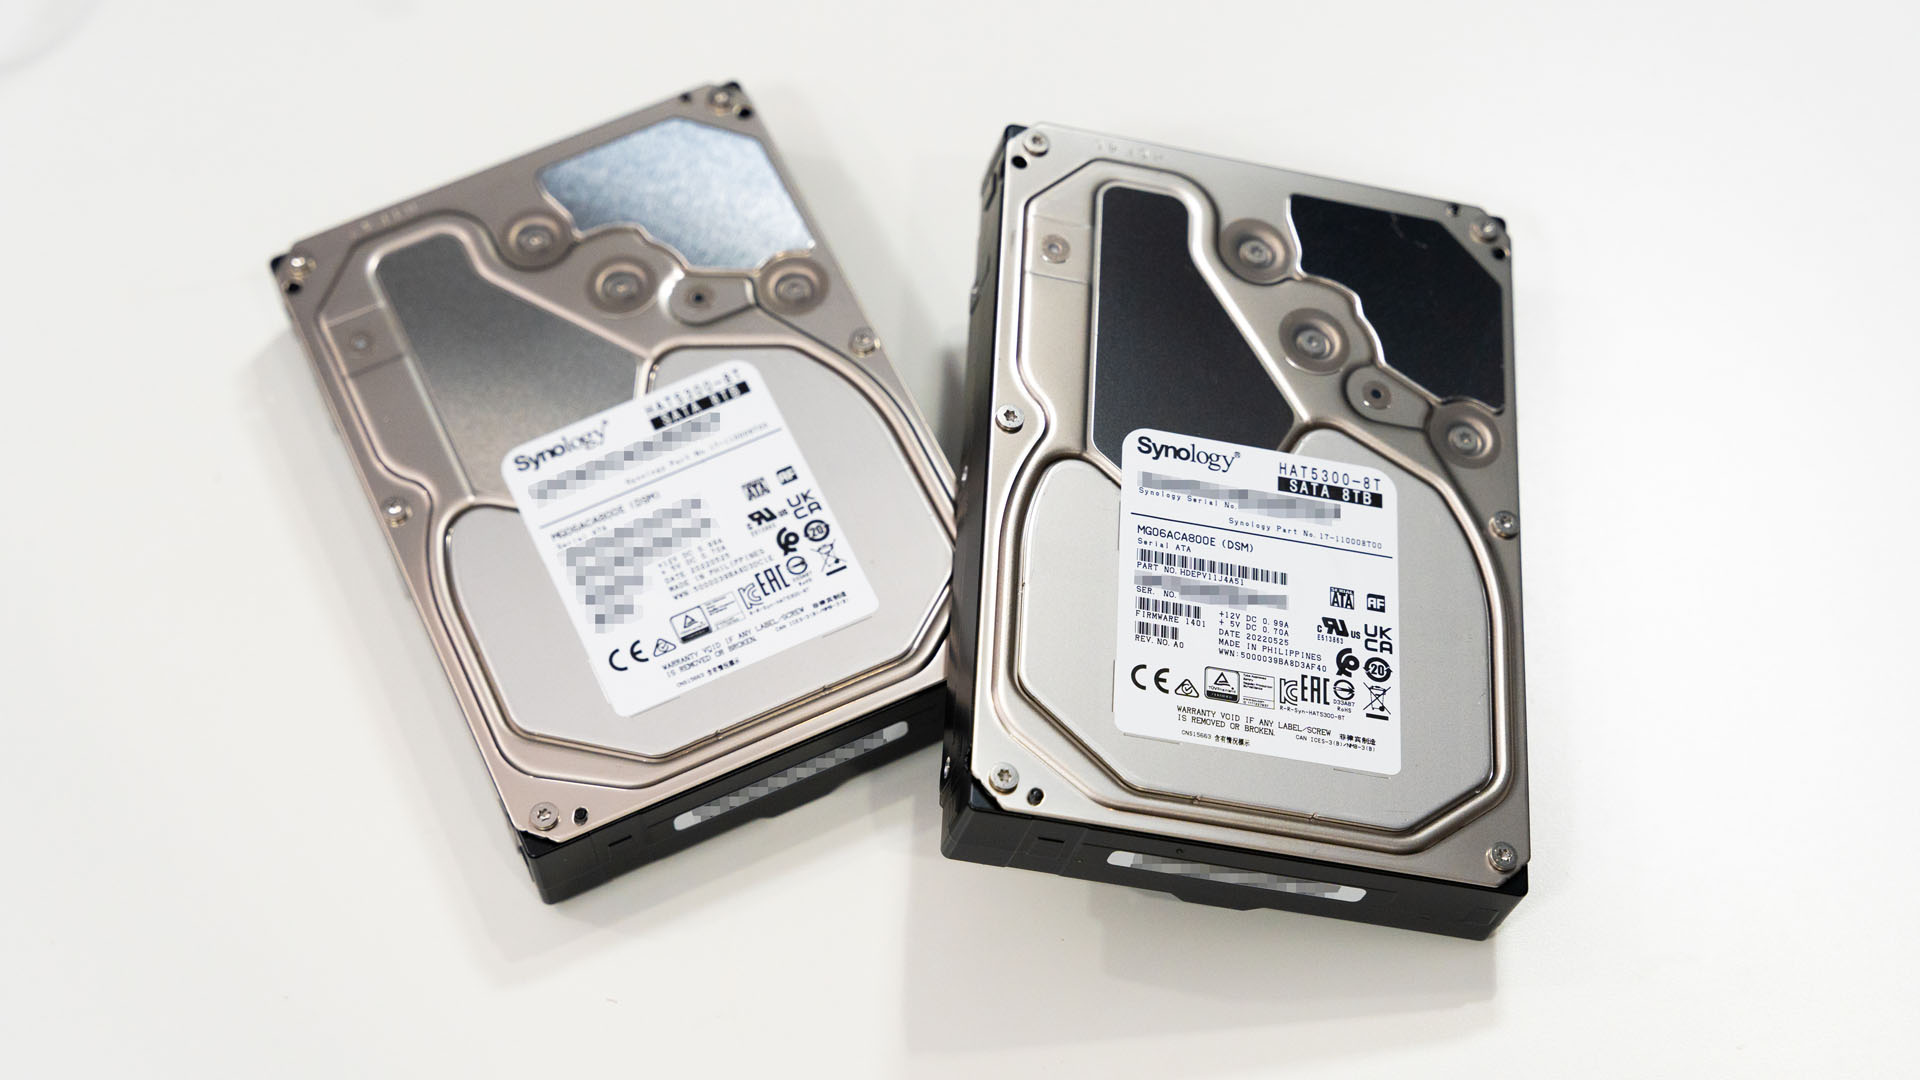
We also got two 8TB hard disks with the model number HAT5300. They’re SATA III hard disks that are made, optimized, and certified to work with Synology NAS units. They are also backed by Synology’s 5-year warranty policy.

Setting up the hardware
First, we’ll need to open up the hard disk bays on the DiskStation DS920+. There are a total of 4 bays on the DiskStation DS920+ and the bays are easily opened with a latch and there are also included plastic clips to easily install the hard disks inside. It is considered “tool-free”, in my books.
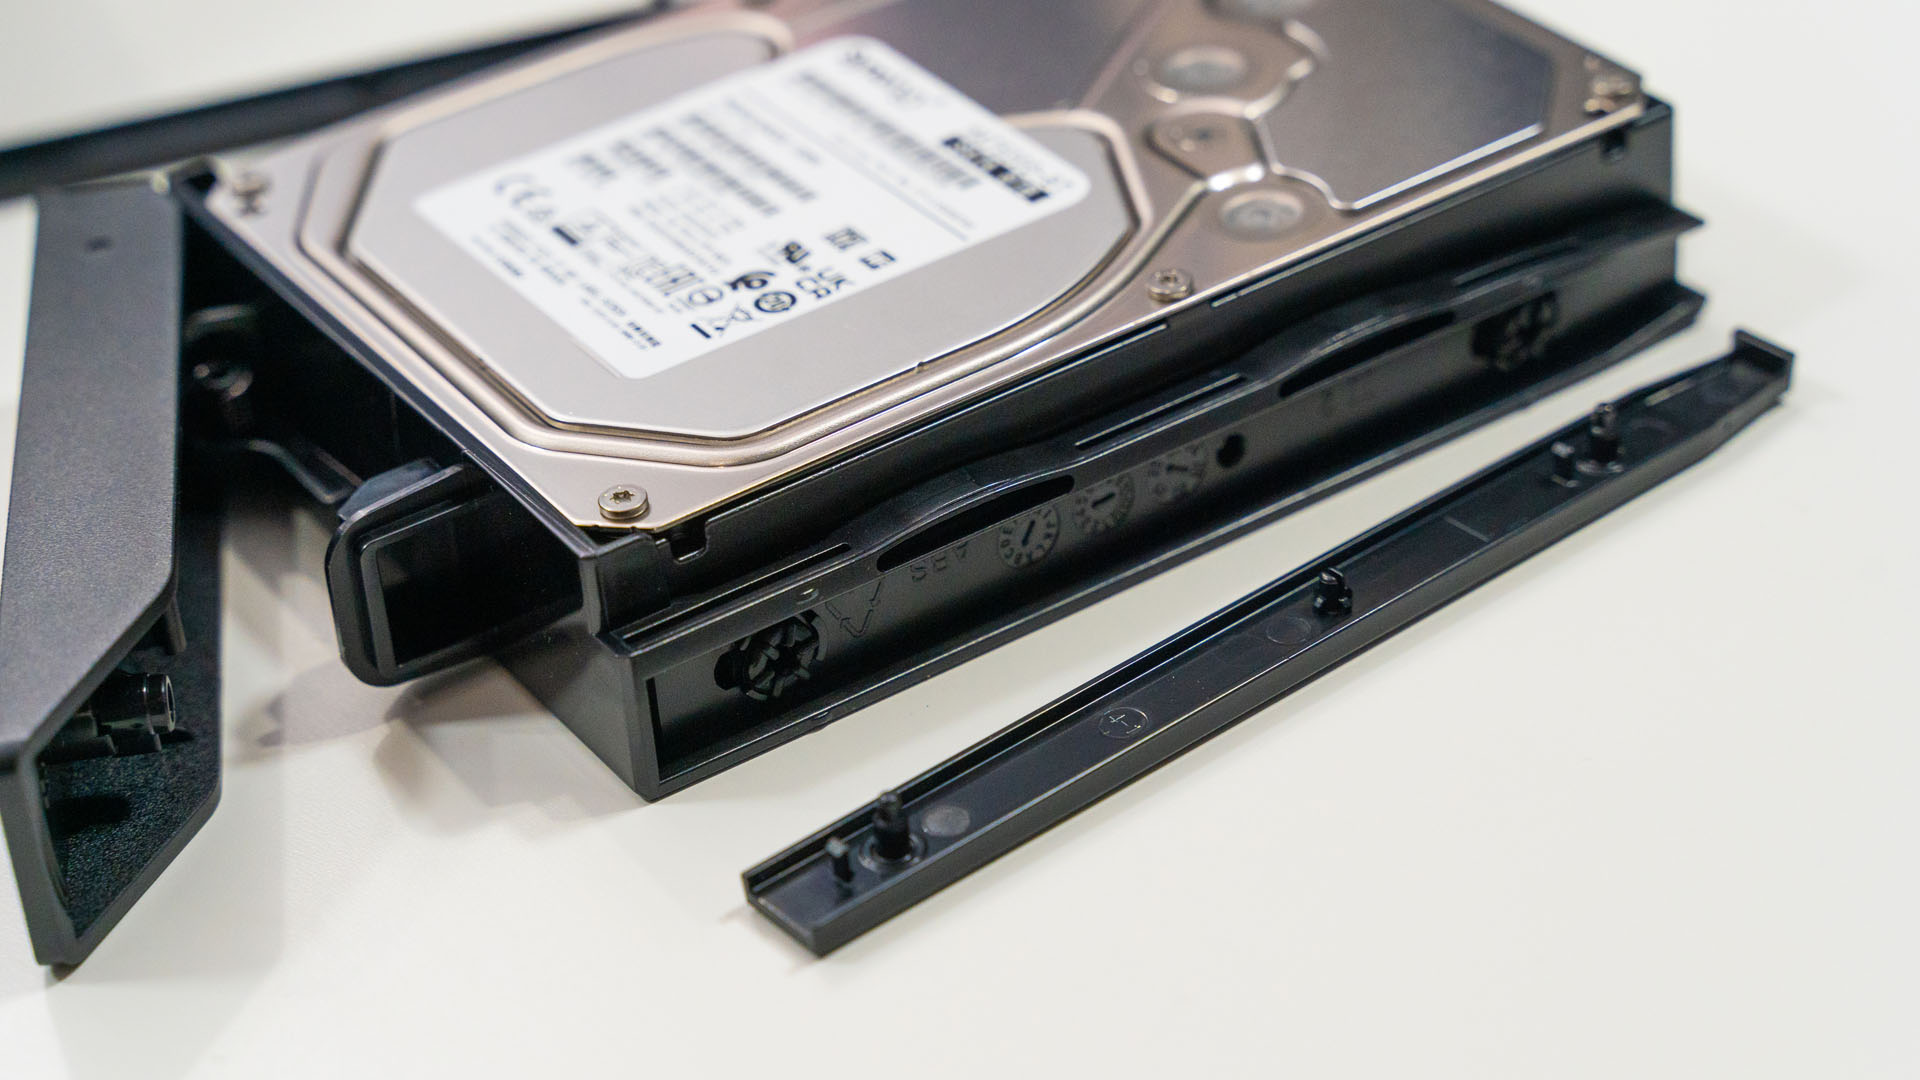
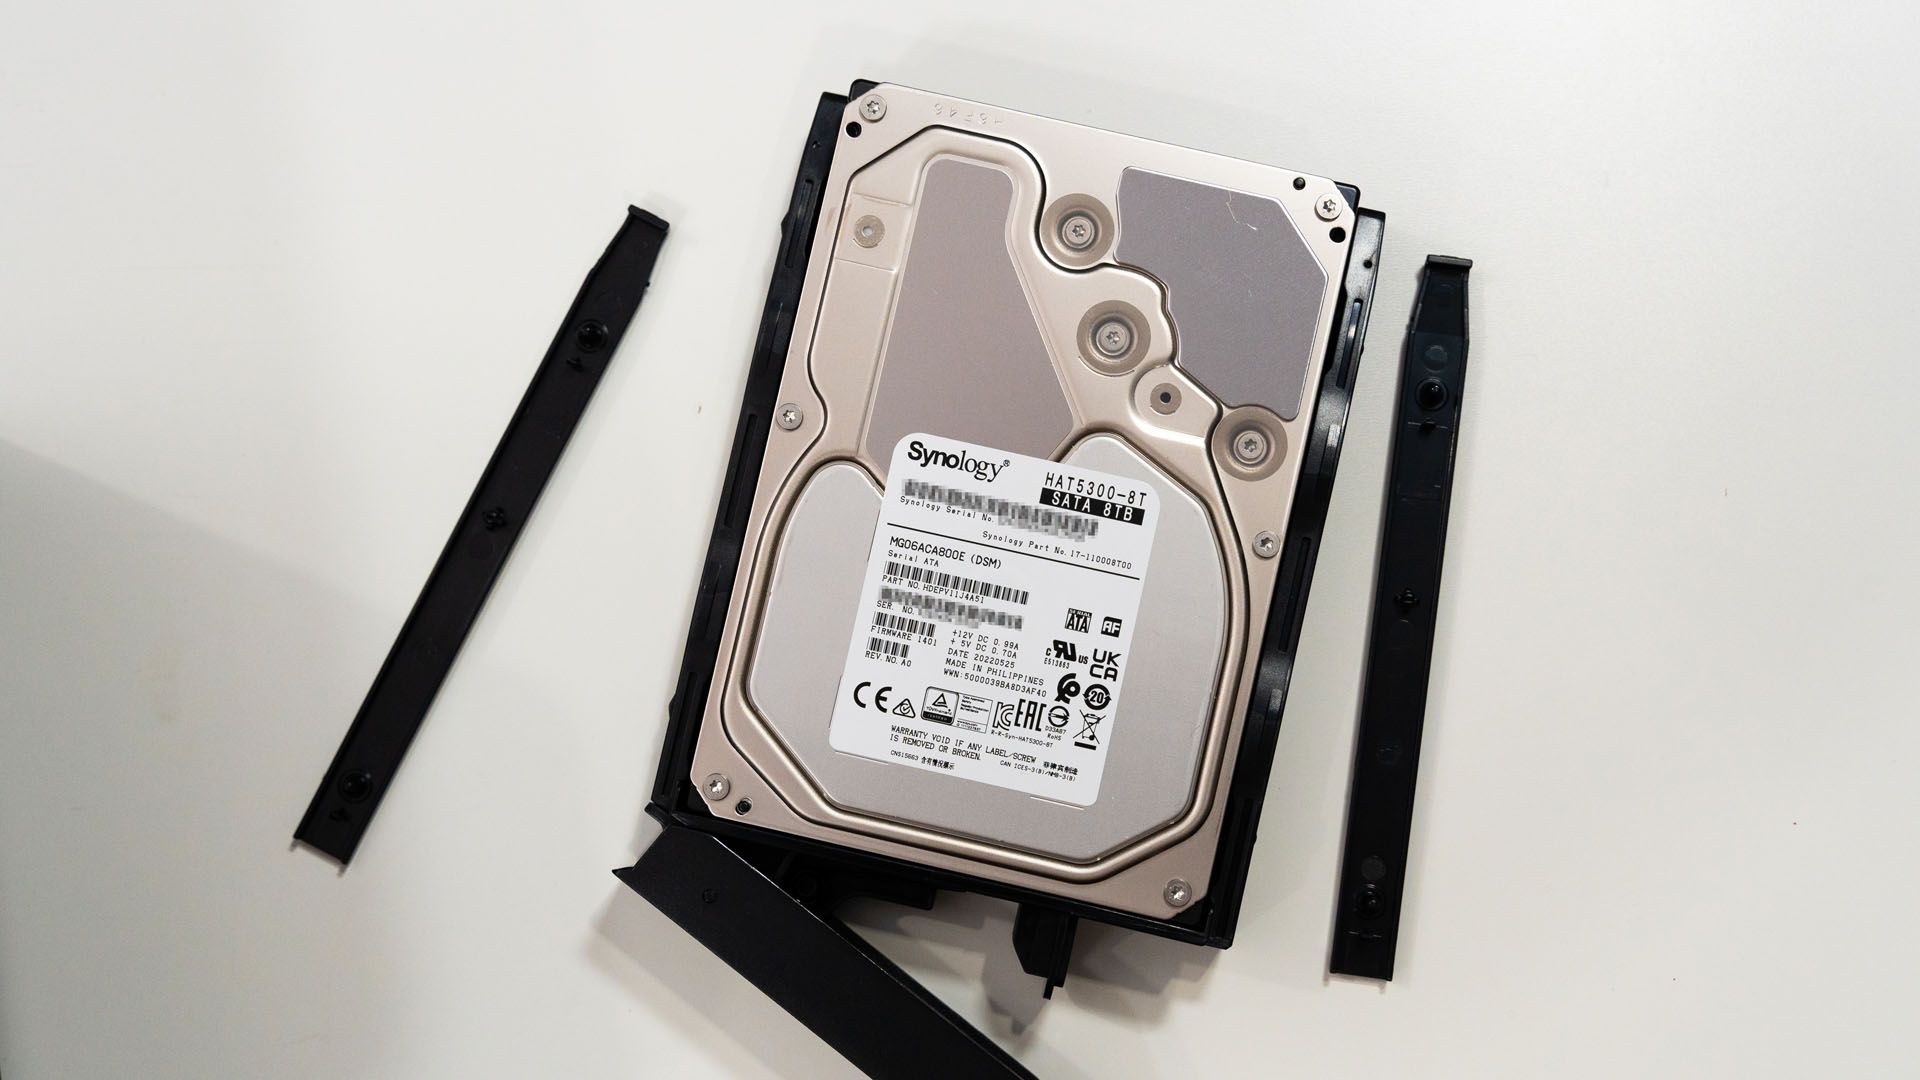
You could also use the aforementioned screws to secure the hard disks into the rails instead of using those plastic clips. I find it more convenient to just use those clips.
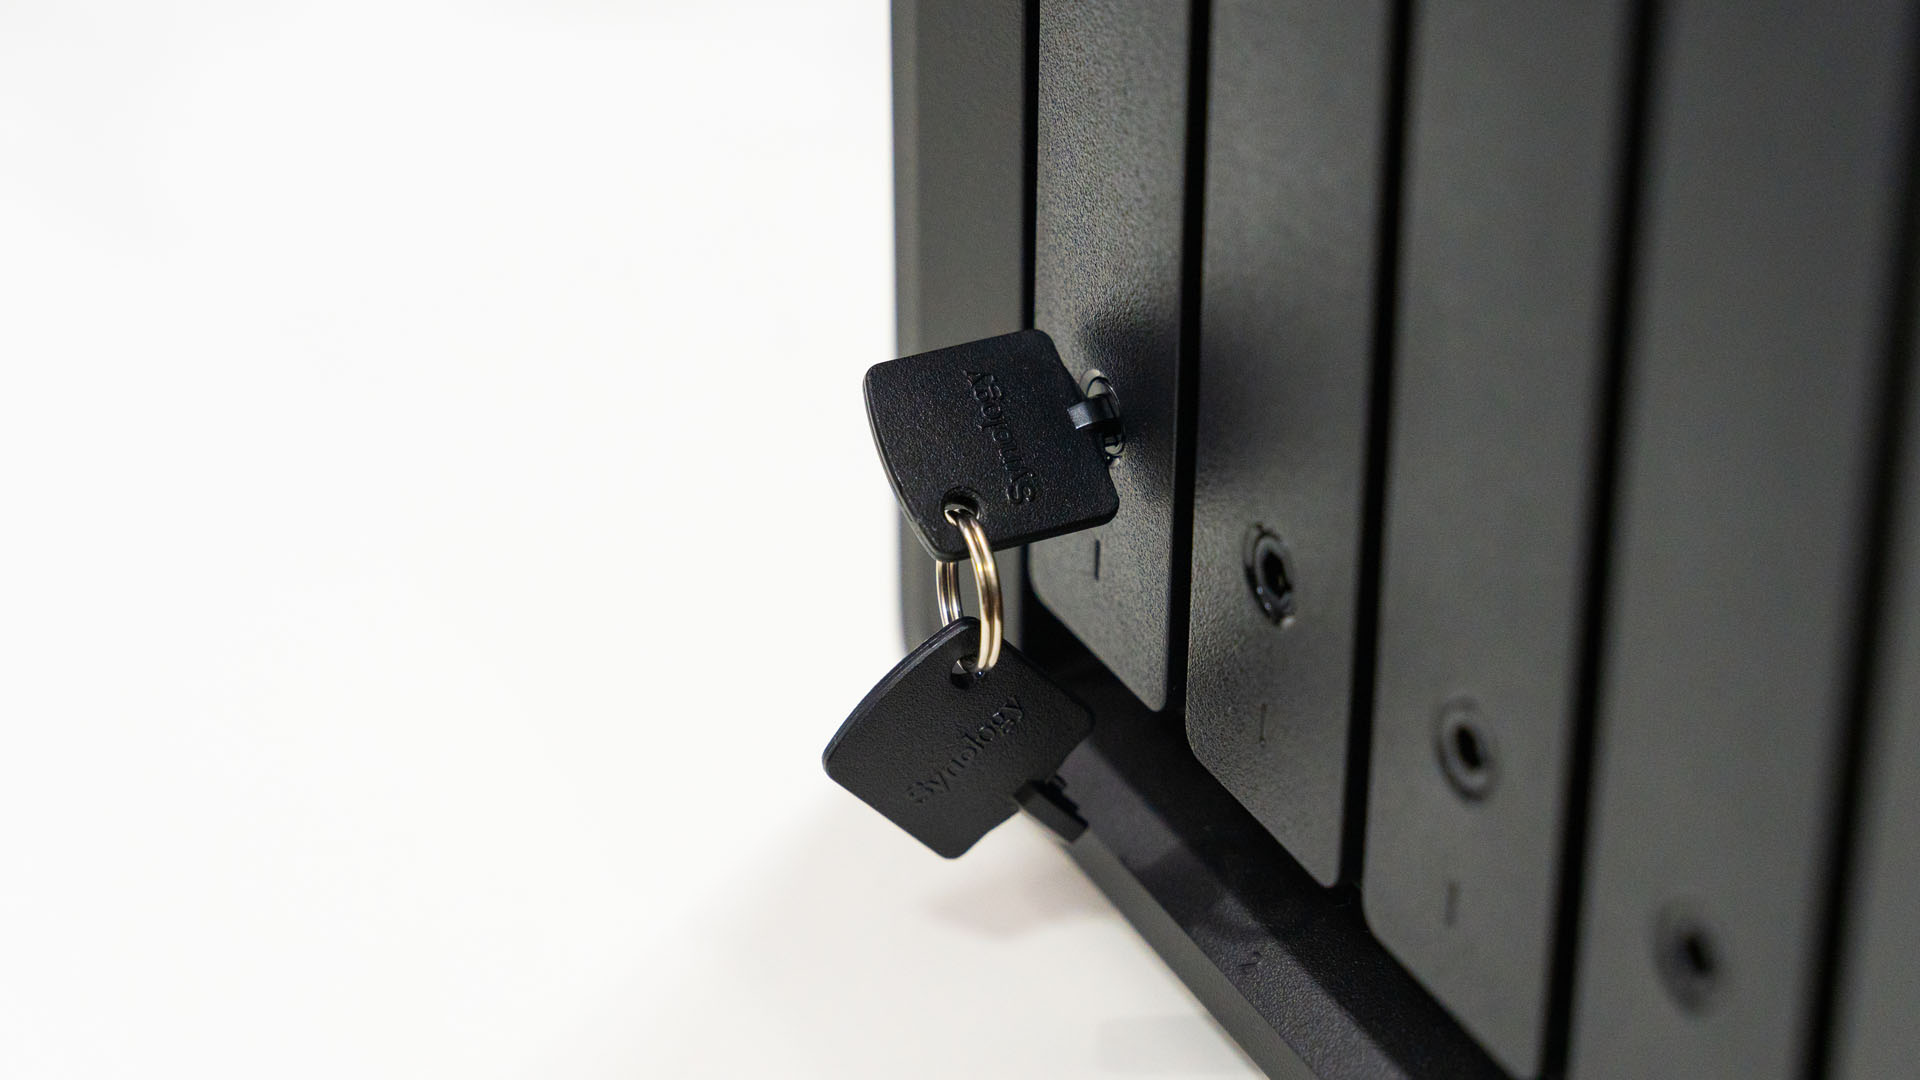
The included locking key is meant to “lock” the hard disk bays so no one can open them and yank the hard disks willy-nilly.
Now, you might wonder why we don’t make use of all 4 bays available on the DiskStation DS920+, and the reason is that I’m already using it in “basic” mode. They’re not striped or linked together – and that is exactly what I want to use them for. We’ll explain more about this later.

Once the hard disk is installed, we plugged in the appropriate cables – particularly the power supply and the Ethernet cable to either one port, and we’re done with the hardware.

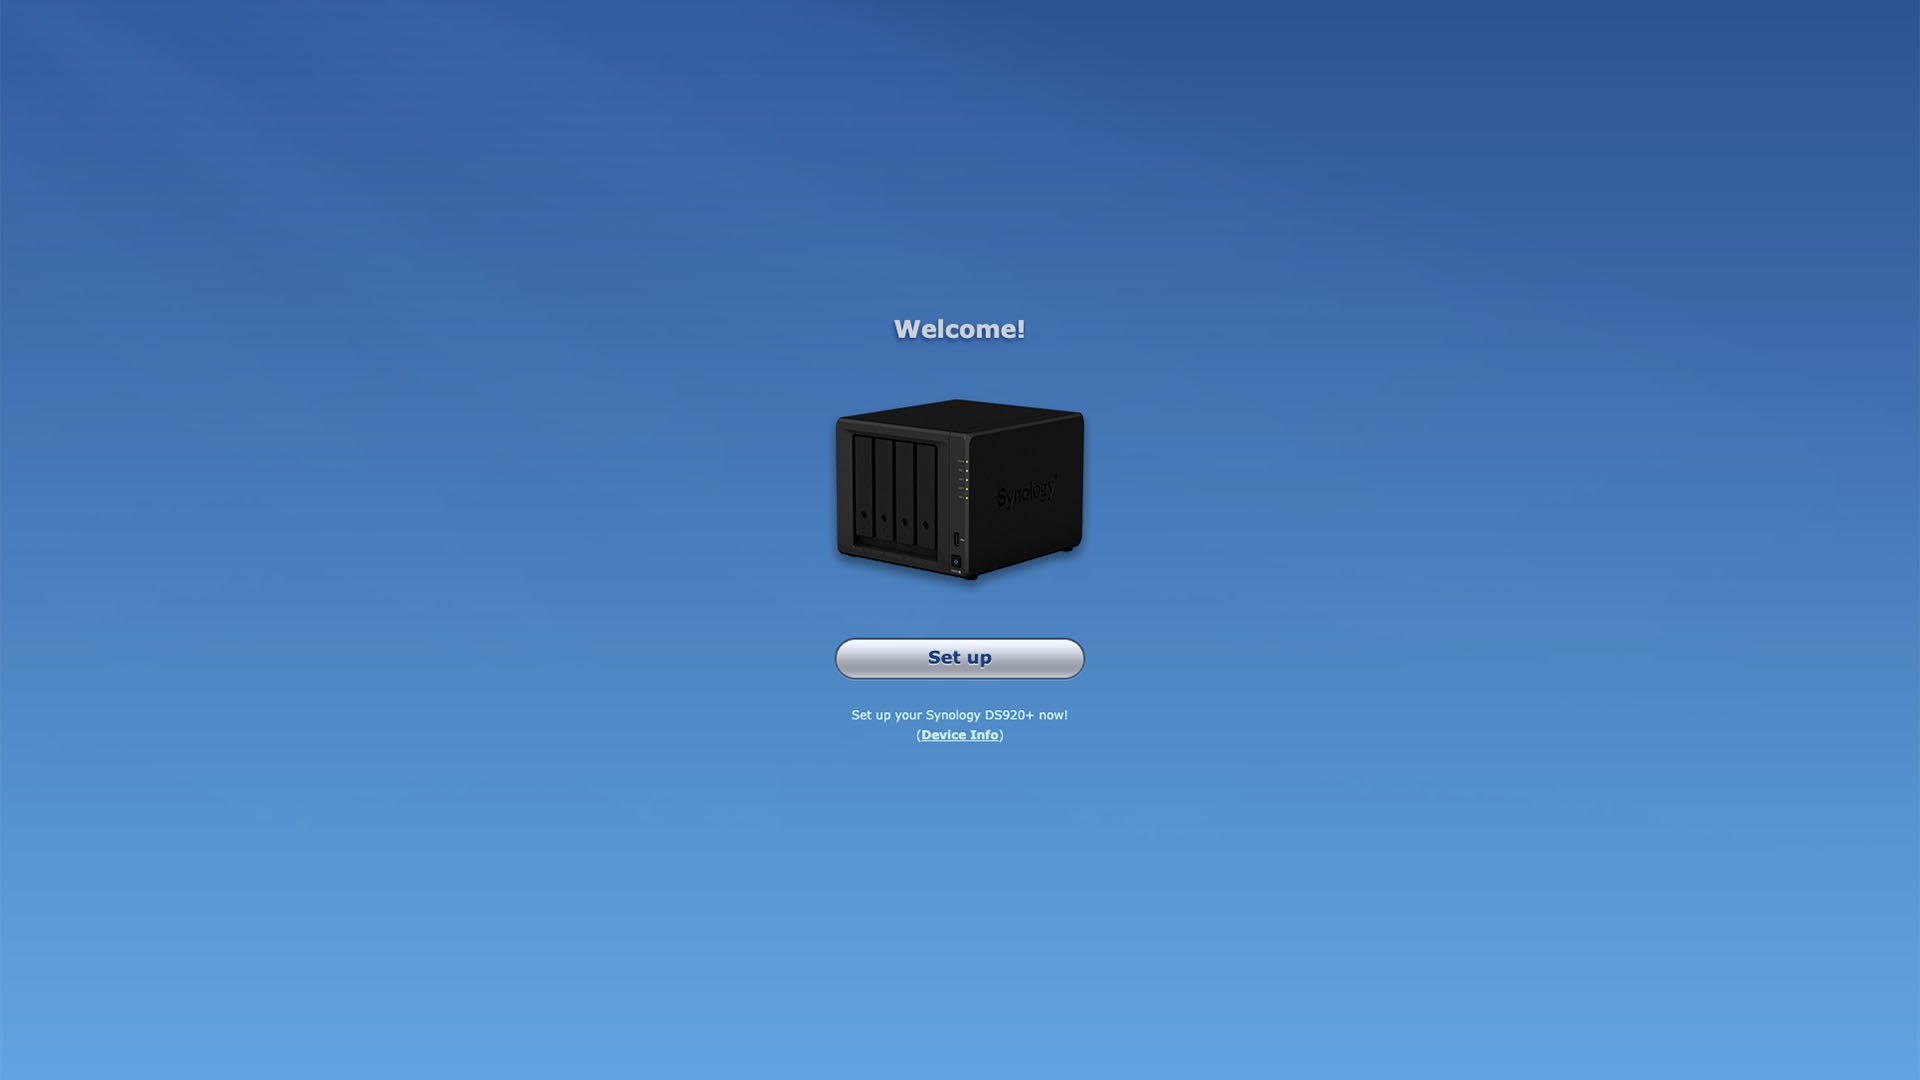
Setting up the software
This is fairly straightforward but the process is rather long. I’ll skip most of the basics and just let you know a few things – you’ll have to install the DSM software, also known as the DiskStation Manager, which is Synology’s proprietary software for their NAS systems.
The important things are:
- Setting up the Synology QuickConnect ID to something that you remember since it is basically an ID for your NAS.
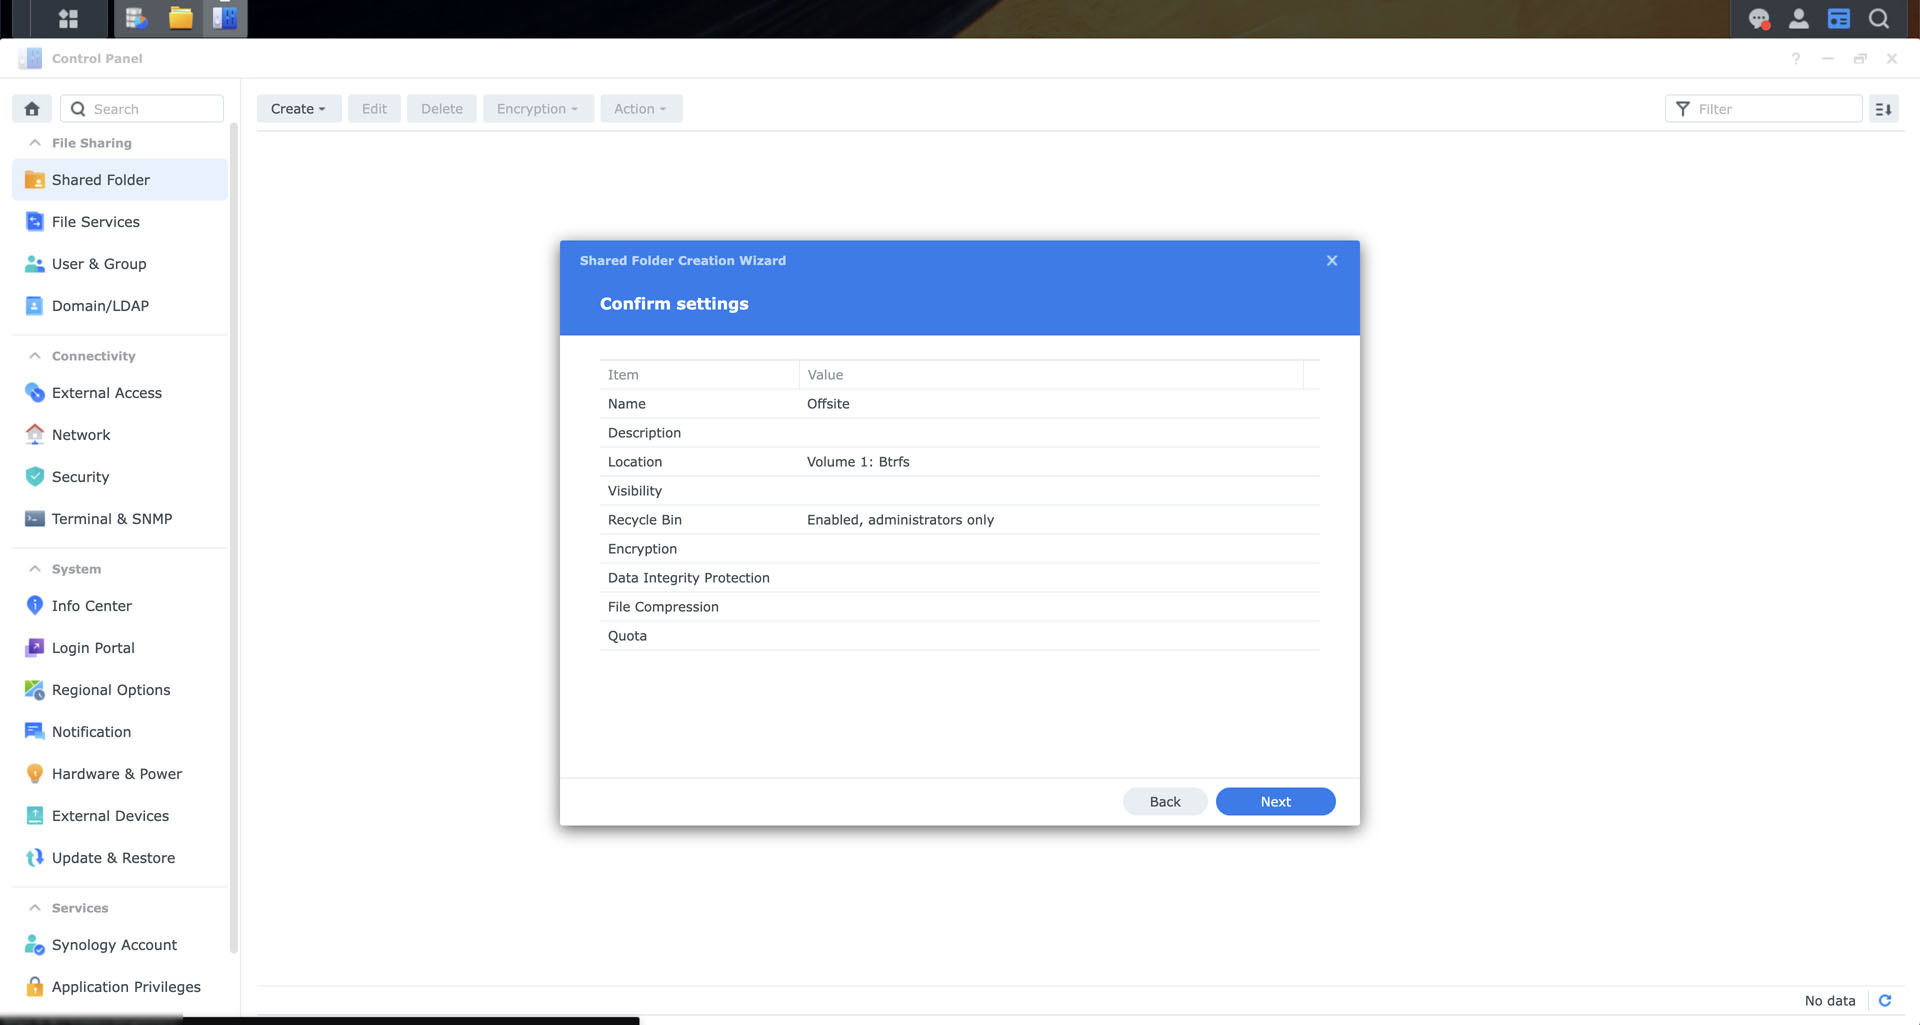
- It is important to know the purpose of the NAS before creating your storage pool and volume. E.g. an offsite backup, general purpose storage, storing important and sensitive data, or any combinations of purposes mentioned earlier.
- Use Btrfs.


For my purpose, I am using the DiskStation DS920+ as a general-purpose NAS to back up my files and also as a secondary server for the office’s NAS. More like a replica of the office’s NAS, but they both synced with each other.
So, I set the storage pools to be “basic” and have each drive independent of the other, and then I created one volume for each drive. One drive for backups from the office’s NAS, another one for personal data.


After that, I also verified that everyone else is working properly and I can access via the internet through the Synology QuickConnect, and I’m done with the essentials in terms of software.

Additional apps
The beauty of Synology NAS is how powerful the DiskStation Manager operating system really is. They have an app store called the Package Manager and they have a bunch of apps and utilities for us to choose from. Ranging from media players to GoodSync and even a download manager (called Download Station) so that we can schedule files to be downloaded while we’re sleeping.
 All first-party apps available
Many of the apps developed by Synology themselves are extremely useful too – like the Synology Active Insight, WebDAV server, and also VPN server. We can also install Active Backup for Google Workspace or Active Backup for Microsoft 365 so we can also use those cloud services to backup some of the data from the Synology NAS.
 All the apps I personally use
Furthermore, we can even install third-party apps that aren’t available on the Package Manager too. For me, I installed Plex because I need to watch the videos that we produced to check for errors and the easiest way to do that is through Plex.
We do need to enable special permissions for these apps, and I won’t in detail here because each app is different in terms of the setup process.
Making full use of it
I gotta admit, I download a bunch of large files from the internet. So, having the ability to use the Download Station is super useful as I don’t have to rely on my desktop to download those files overnight.
Furthermore, I used to use my desktop as the offsite backup for the office NAS. I paired it with GoodSync (which is a fantastic syncing software) and it worked well albeit super clunky and I had to dedicate a hard disk in my desktop for the office NAS. Let’s not forget about the power consumption of the desktop. Even at idle, the desktop consumes way more power compared to a dedicated NAS.

Also, the NAS can do much more than just be a storage device. It can also act as a media server (hence that is why I installed Plex), a UPnP/DLNA server for the Sonos One speaker that I’m using, or even become a website host.
You might say that the Synology DiskStation DS920+ wouldn’t be powerful enough to do all that – and that’s incorrect. The DS920+ comes with an Intel Celeron J4125 quad-core processor that allows really fast and efficient processing, and also comes with 4GB RAM. However, we can expand the RAM since it has a SO-DIMM slot that is readily accessible.

We also have two M.2 2280 slots at the bottom of the NAS that can be used as cache drives. Since SSDs are much faster than hard disks, using it as cache drives will have a huge performance boost for frequently-accessed files.
Wrapping up
This entire review might seem like a scattered brainfart of highlights about the Synology DiskStation DS920+. And I sort of agree – it’s difficult to review a NAS that can do so much. The DiskStation Manager also involves a lot of technical know-how which is already made as simple as possible but if you bought the Synology DiskStation DS920+, then I assume that you aren’t a beginner in the world of computers.

There are also many things that I can’t show as it contains sensitive data. I tried to go through all of my many different use cases of the Synology DiskStation DS920+ but there are just way too many things to talk about it.
One particular reason why we got the Synology DiskStation DS920+ is that we needed a proper offsite of the office’s NAS – and we’ll go through our setup process and what apps and settings we used in the next article.